

One of the most irritating 3D printing issues to run into is warping. Warping is when the bottom of your 3D print is distorted, with one or a few corners lifted up and not sticking to the print bed.
On top of making your prints less visually appealing, the effects of warping also mean your print isn’t dimensionally accurate. This is especially bad if you’re printing a part that needs to fit in a certain space, like a screw or a phone case.
Luckily, you can fix warping by increasing the bed temperature and putting your 3D printer in a warmer environment. Drying your filament and lowering the print speed also help!
Want to learn more about warping, what causes it, and some other solutions for this issue? Keep reading!
Table of Contents
What is Warping on 3D Printers?
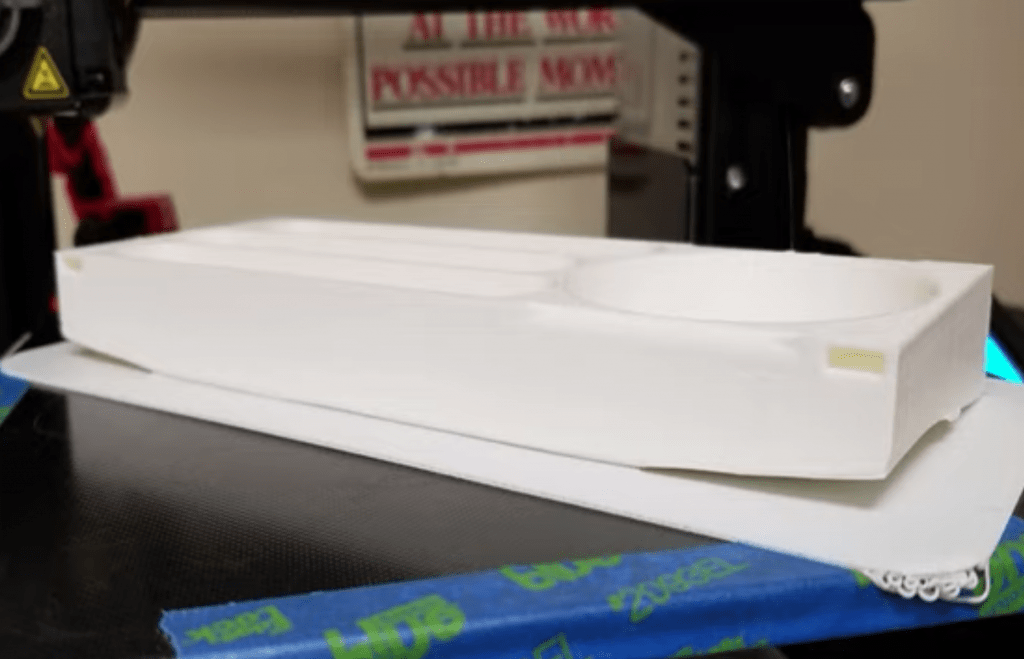
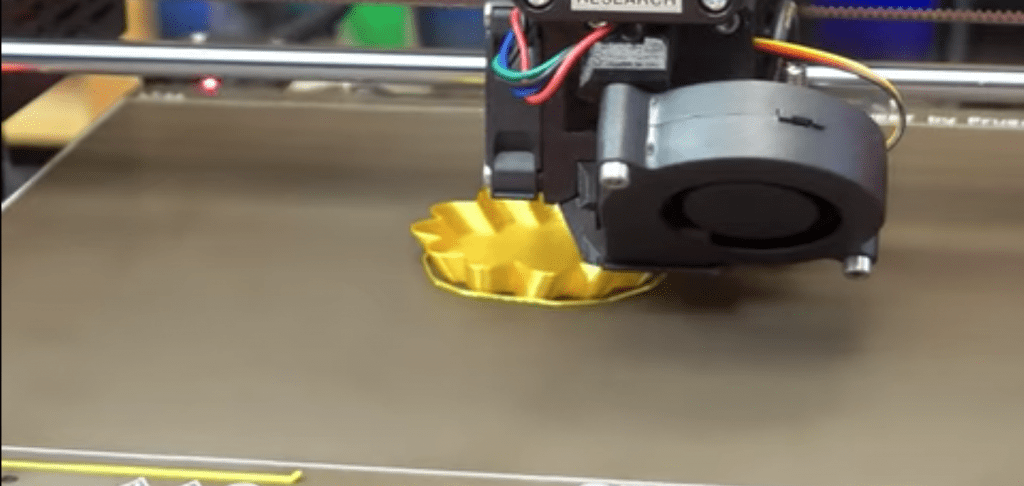
Warping is a print quality issue on 3D printers where one or more bottom corners on your 3D print lift up off the build plate. In other words, warping makes the bottom of your prints deformed so that they’re not flat, which is extremely annoying in many cases.
You can see a visual example of a warped 3D print above (the print warps at the edges first).
Does PLA Warp?
Yes!
Warping can happen with any filament material, whether it’s PLA, ABS, PETG, or nylon.
Certain materials are more prone to warping than others, though. To rank them, ABS would be the most likely to warp, then PLA, and finally PETG, which is more likely to over-stick to the build plate than warp.
Why is Warping Bad?
Warping is bad for prints because it deforms the overall structure of the print. Let’s say you were printing a cube. If warping occurred, it wouldn’t just be the first layer of the cube that would be distorted, but every layer after too.
But visual appearance isn’t the only concern for warping. If you need a 3D print to fit somewhere, like in a screw hole or around a phone, the warped print might not fit because the shape and dimensions of the structure are not what they were supposed to be.
So, unless you want to have to repeatedly re-print models because they’re warping, I suggest you fix the source of the issue.
What Causes Warping?
The first step to fixing a print quality issue is to identify its causes. For warping, there are a handful of causes, most relating to temperatures. In the mini sections below, I’ve given a brief description of each and how they cause warping.
1. Cold Environment
The main root cause of warping is a cold environment. That’s because 3D printing filaments are thermoplastics, which contract in a cold environment.
So, if the ambient temperature around your 3D printer space is cold, then the layers on a 3D print will try to contract, pulling the base layers (first layer) up with it. This creates the curved bottom effect of warping.
2. Low Bed Temperature
Similar to a cold environment, a low bed temperature also causes warping 3D prints. That’s because if the base layer of your print isn’t warm enough, the plastic will contract, lifting up to reach the above layers, causing the curved bottom effect of warping.
3. Fast Print Speed
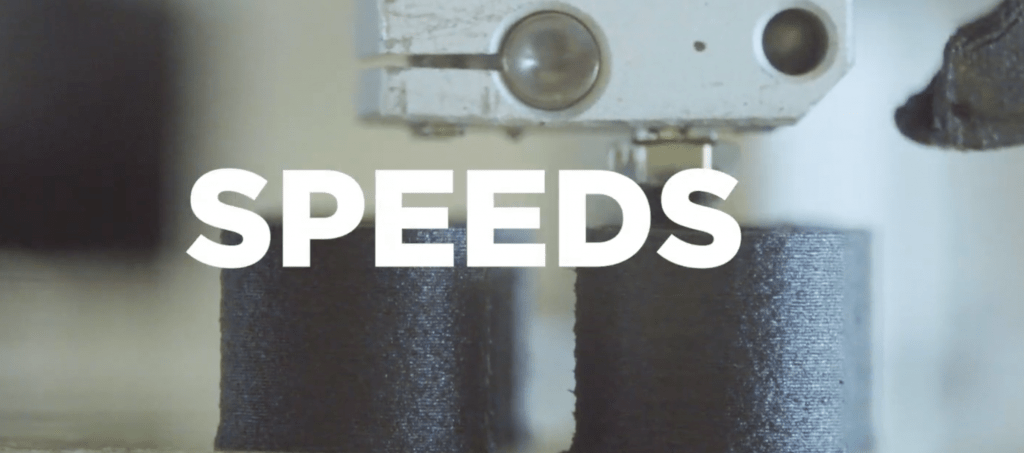
If the printer is laying down layers too fast, then there won’t be enough time for each layer to settle. And if the layers aren’t completely solid, they will be much more likely to contract and cause warping.
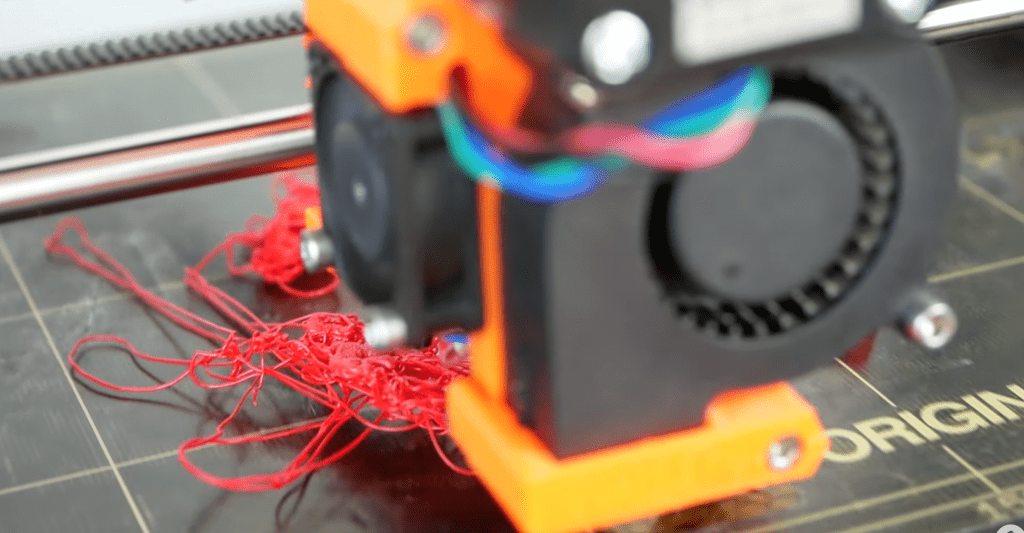
4. Wet Filament
Wet filament can cause a lot of issues with the printing process, from brittle layers to stringing. Wet filament also commonly causes poor bed adhesion for prints because of the moisture released after the filament is melted. And, if there isn’t adequate bed adhesion for the first layer of your print, you’ll definitely experience warping.
How to Fix Warping? 9 Simple Solutions
Now that you know what causes warping let’s get to the solutions!
1. Increase Bed Temperature
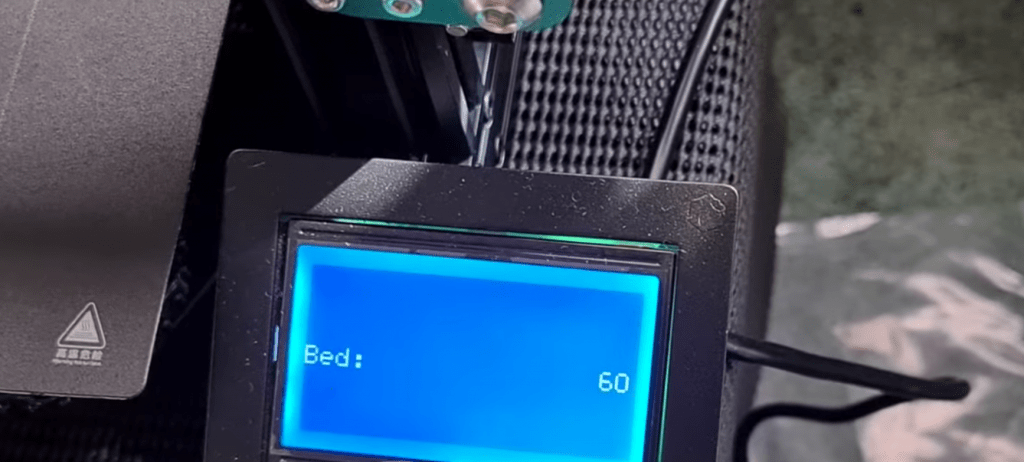
The first and most effective way to get rid of warping is to increase your heated bed temperature, which you can do in your slicer settings. For PLA, it’s recommended to use a bed temperature of 60 °C, so try that first.
But if 60 °C just ain’t doing it, try increasing the bed temperature in increments of 5 °C until you hit 75 °C. That’s because, at 75 °C, you’re way past the suggested value for PLA, meaning the bed temperature probably isn’t the cause of your case of warping.
2. Keep Printer in Warm Environment
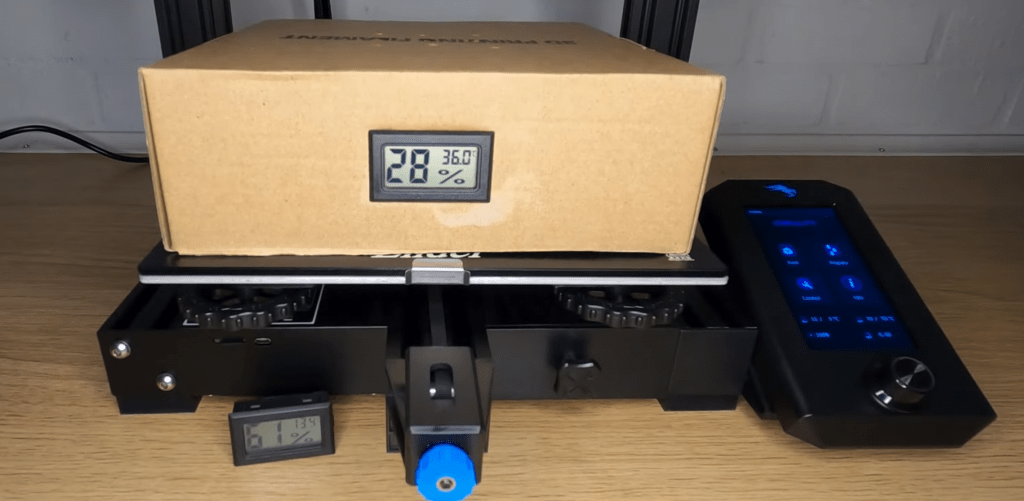
Second, you should do whatever you can to keep your 3D printer in a warm environment so that the ambient temperature around your 3D printer is as high as possible. I’m not saying put your 3D printer in the oven, but just try to keep it away from unwanted winds and cold air.
The best way to do this is to get an enclosure for your 3D printer. An enclosure is an enclosed print chamber for your 3D printer that prevents air drafts from touching your printer and traps the heat produced from your printer around the print space.
3. Lower First Layer Print Speed
You should also lower your print speed, more specifically, the first layer print speed. That’s because the first layer (or really the first few layers) is the most important when it comes to preventing warping, and printing this layer slowly will ensure the best bed adhesion.
If you’re printing PLA, I suggest using a first-layer print speed of 20 mm/s. But you can go to 15 mm/s if this isn’t fixing your issue.
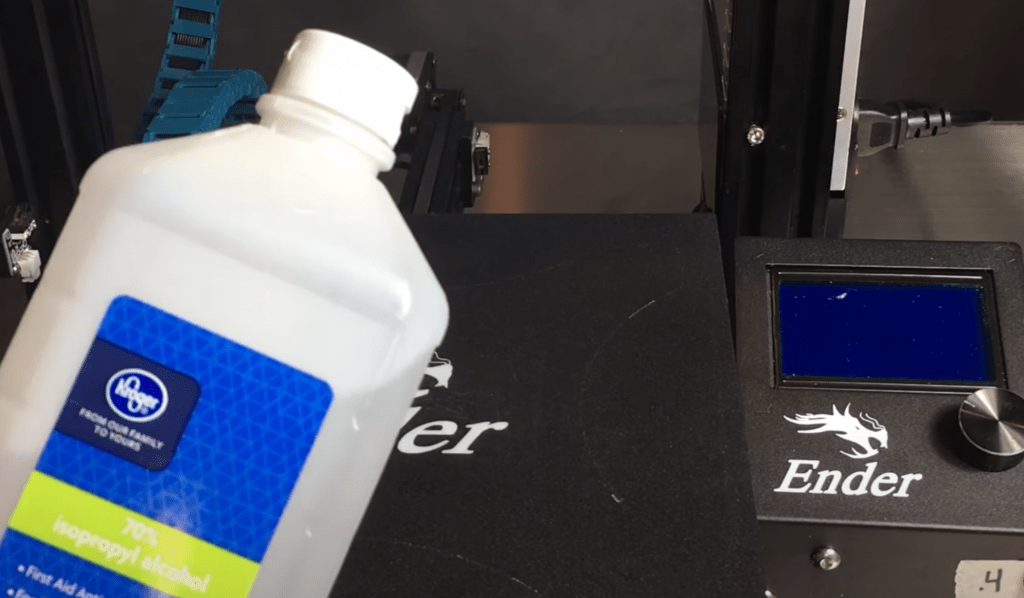
4. Dry Filament
Drying your filament is the process of removing moisture from wet filament, and it does a lot to better the first layer bed adhesion of your prints and stop warping. To dry filament, you just need to heat it up slightly so the moisture can vaporize, and there are a few ways you can do this.
My personal favorite is sticking a few filament spools in a conventional cooking oven, setting the temperature as low as the oven can go, and letting it dry out for 4-6 hours. But you can also purchase a filament drying device, such as the ones we reviewed in our article all about filament drying!
No matter what drying method you choose, make sure to use the correct drying temperature and time for the filament you’re using. For PLA, 40-50 °C and 4-5 hours work great!
5. Add a Brim or Raft
A brim and a raft are two slicer features that expand the bottom surface area of your 3D print.
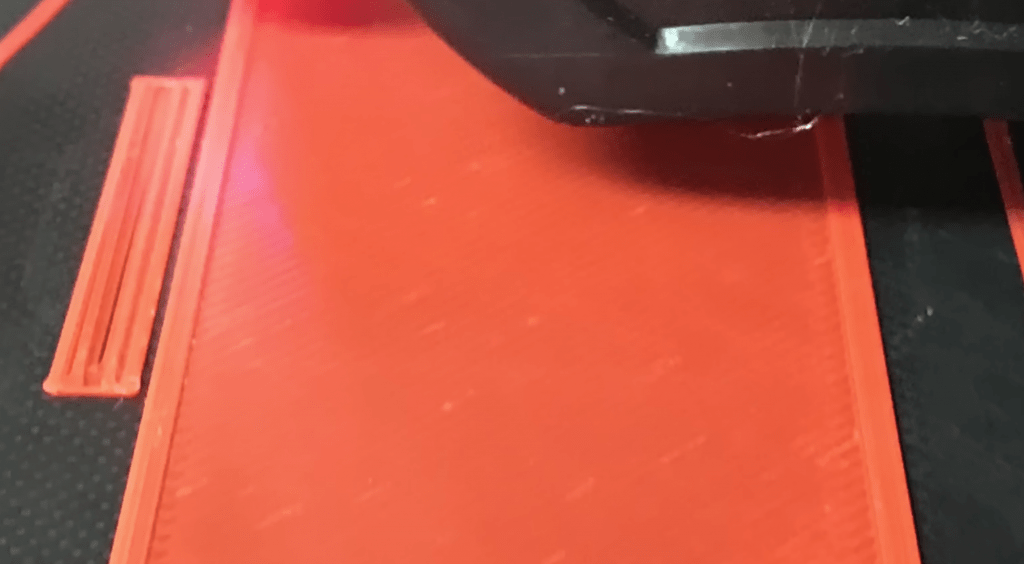
A brim is a set of single-layer-tall perimeters that connect to the bottom of your 3D print to expand the surface area of the first layer, thus improving the first layer bed adhesion for your print and reducing the chances of warping. You can see an example of a brim below:
A raft is similar to a brim, but all the perimeters are a few layers tall. A raft takes up a lot more filament and adds a lot more print time than a brim, but it reduces the chances of warping by a lot more because the actual print doesn’t touch the bed at all. You can see a visual example of a raft below:
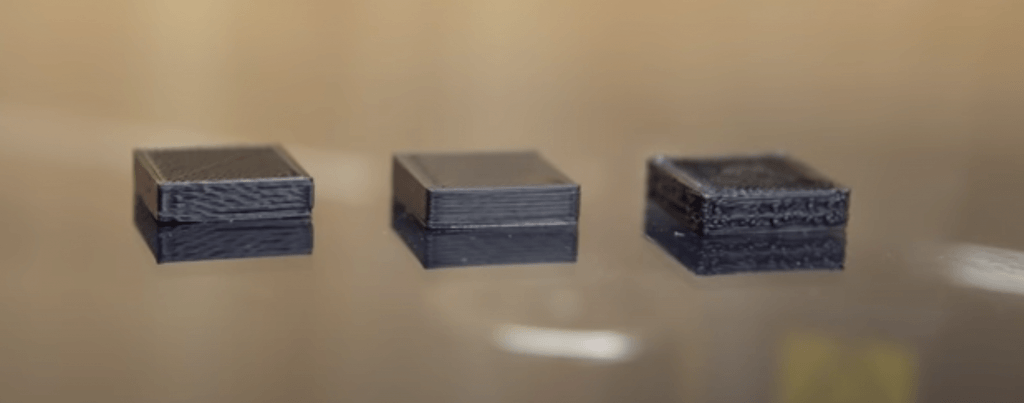
6. Lower First Layer Fan Speed
While fans are important for the printing process because they help layers cool, if they’re spinning too fast, they’ll over-cool layers, causing them to contract. The fan speed is especially important for the first layer, so I suggest lowering or even turning off the first layer fan speed in your slicer settings.
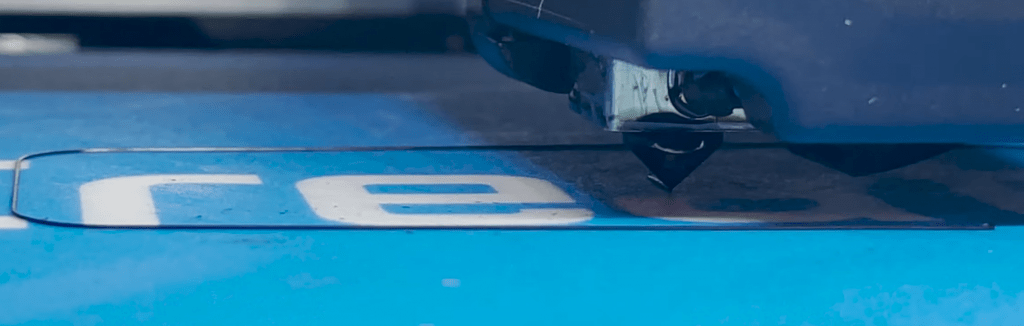
7. Level Build Plate
An un-leveled build plate can also cause warping because the nozzle might be printing one corner of your print higher than another. As such, you should level your bed.
8. Use Adhesive
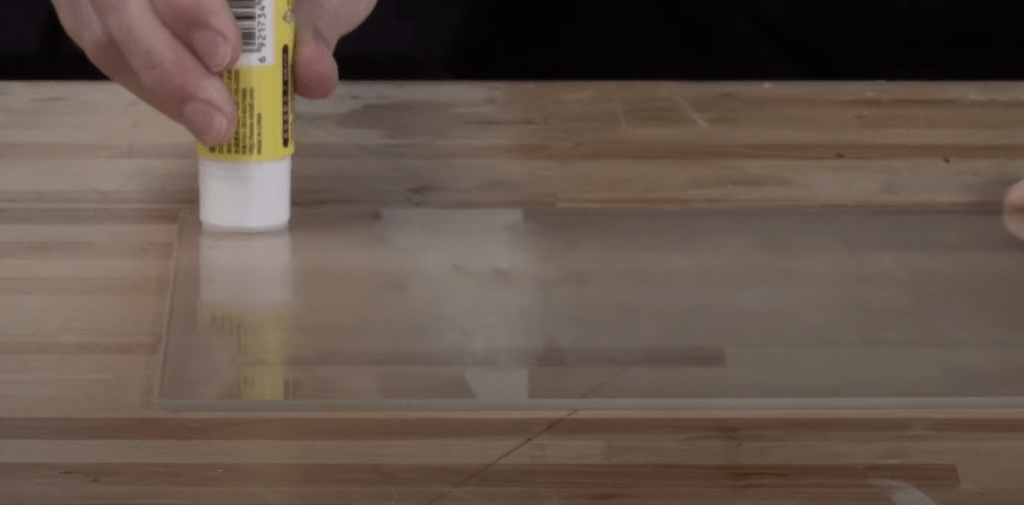
Another way you can improve the first layer bed adhesion for prints and stop warping is by using an adhesive substance on the bed. Most people, including myself, use a glue stick, but you could also use a specialized substance that’s meant for 3D printer beds, like Magigoo.
9. Clean Print Bed
Finally, you can clean the build plate. Over time, gunk, grease, oils, and other unwanted substances will build up on your bed, making it more difficult for the first layer of your print to stick down properly. Cleaning the build plate will remove all of these contaminants so that your first layer will stick better and won’t warp.
Conclusion
Overall, warping is not an issue to ignore. It makes your prints look not only bad but also completely alters their dimensional accuracy and structure.
If you’re experiencing warping, you should increase the bed temperature, move your printer to a warmer environment, and add a brim (or raft) in your slicer settings. This usually does the trick, but if not, you can dry your filament and lower your first layer print speed.
Hope this helps!