

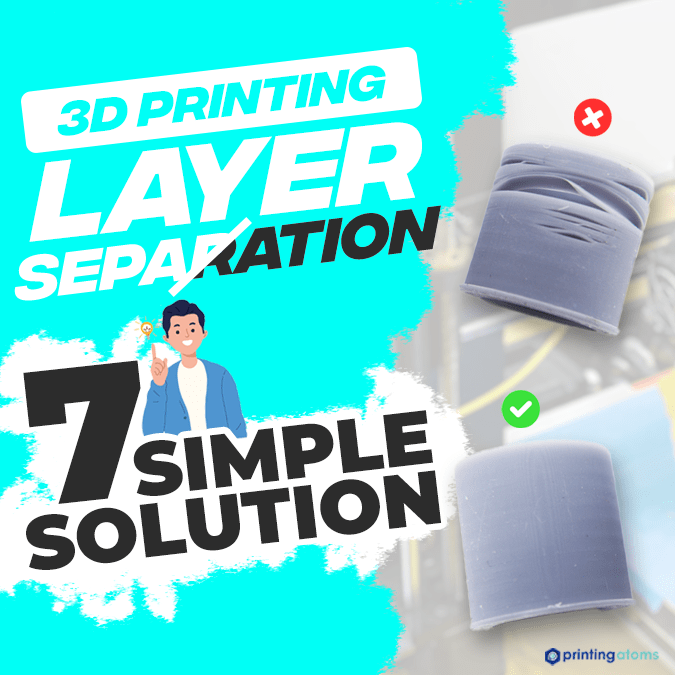
Ever have weird cracks in the layers of your 3D print? Almost as if someone pulled them apart mid-print?
Well, don’t worry. No one snuck over to your printer and did that. It’s a problem called layer separation, and it’s one of the most common printing issues.
Layer separation not only makes prints look bad but it also significantly hurts the strength of the model, making it much more likely to break where the cracks are.
But don’t panic because you can stop layer separation from happening again by increasing the nozzle temperature and using an enclosure. Drying your filament also usually helps!
Want to hear more about layer separation, its causes, and more ways you can solve it?
Keep reading!
Table of Contents
What is Layer Separation?
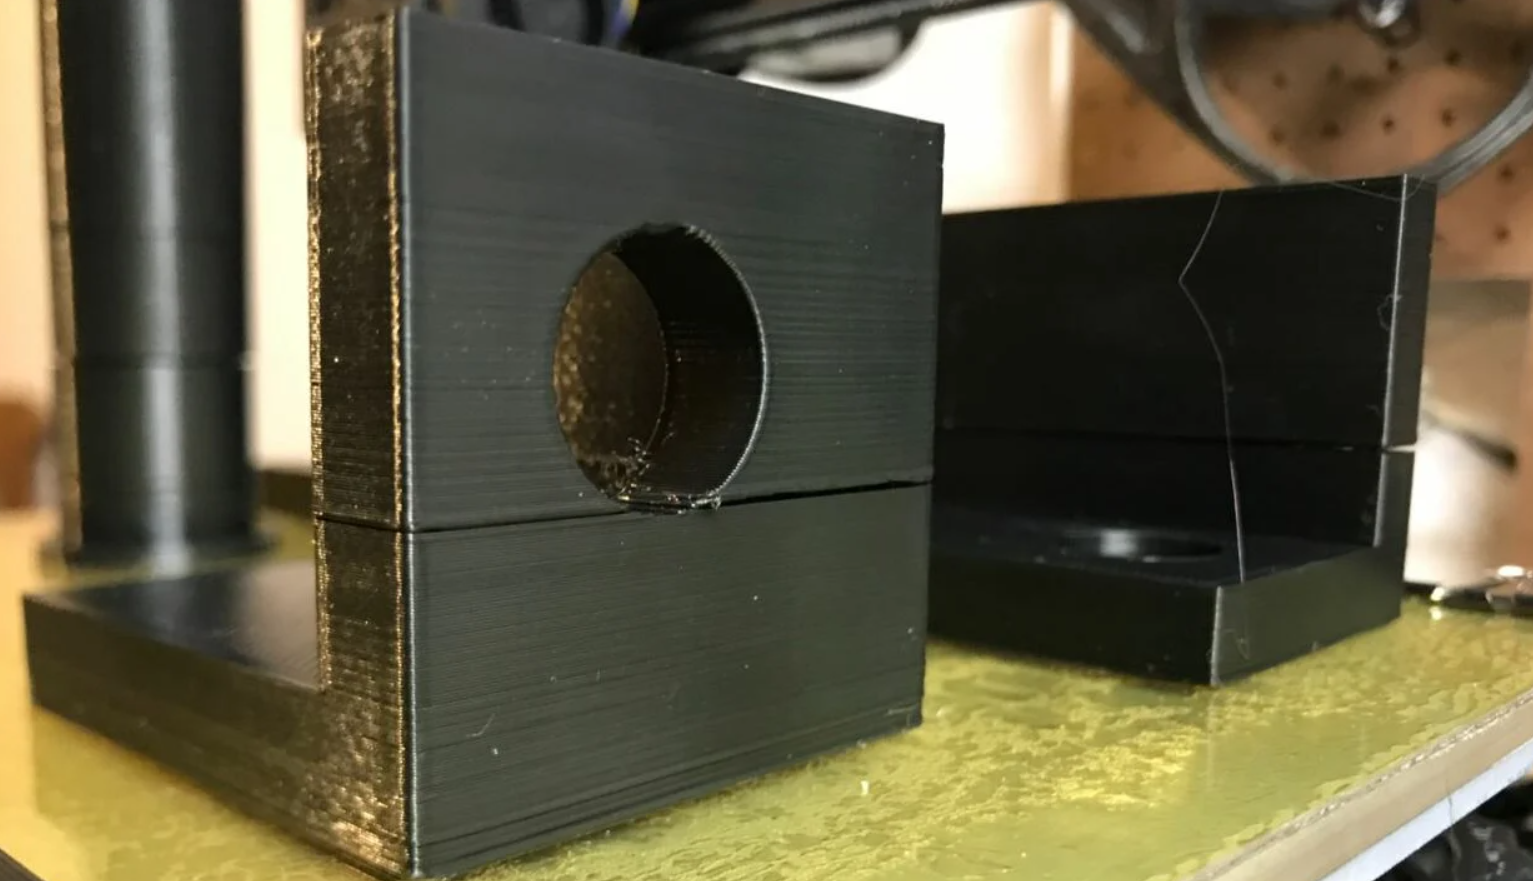
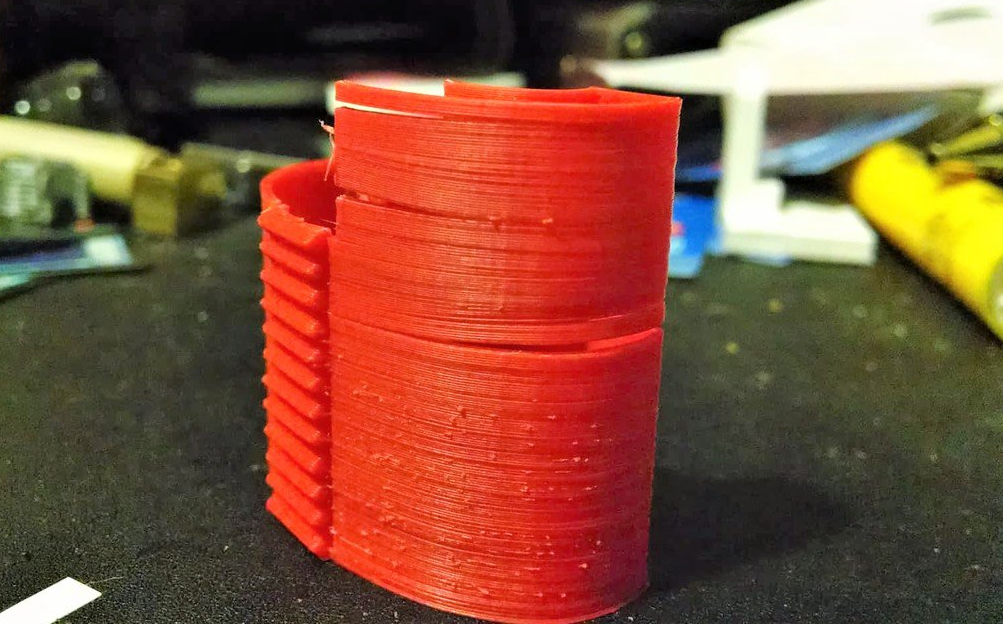
Layer separation, also called delamination, is a problem for 3D printers where the different layers of a 3D print don’t bond well enough, and they separate during a print. As such, the layers basically peel apart along the Z-axis.
Layer separation typically looks like a warped first layer of a print… but in the middle of the model rather than the first layer. Usually, in the case of layer splitting, there are many cracks or delaminations throughout a model’s surface.
Layer separation makes your 3D print look terrible. But, on top of that, it also ruins the strength of your model because the layers are deformed. Moreover, each crack is another likely breaking point for the model if it ever is faced with physical pressures (e.g. strength tests).
Additionally, layer separation harms the dimensional accuracy of your model. That’s because each separated layer is an area where the dimensions of the model aren’t accurate. This is especially bad if your 3D printed model needs to fit inside another part or vice versa.
What Causes Layer Separation?
There are a few different causes of 3D printer layer separation, and in the sections below, I’ve gone over the most popular ones. Try to see if any of these causes align with what’s happening with your 3D printer because knowing the cause of a problem is helpful in determining the best solution.
Low Printing Temperature
The most common cause of layer separation on 3D prints is a low nozzle temperature.
The nozzle temperature is directly correlated with the flow of filament as well as the layer-to-layer adhesion of a model. So if the nozzle temperature is too low, not enough filament will flow out the hot end, resulting in a less dense and, thus, more easily separable layer.
Additionally, a low nozzle temperature will result in a weaker bond between the different layers of your model.
Clogged Nozzle
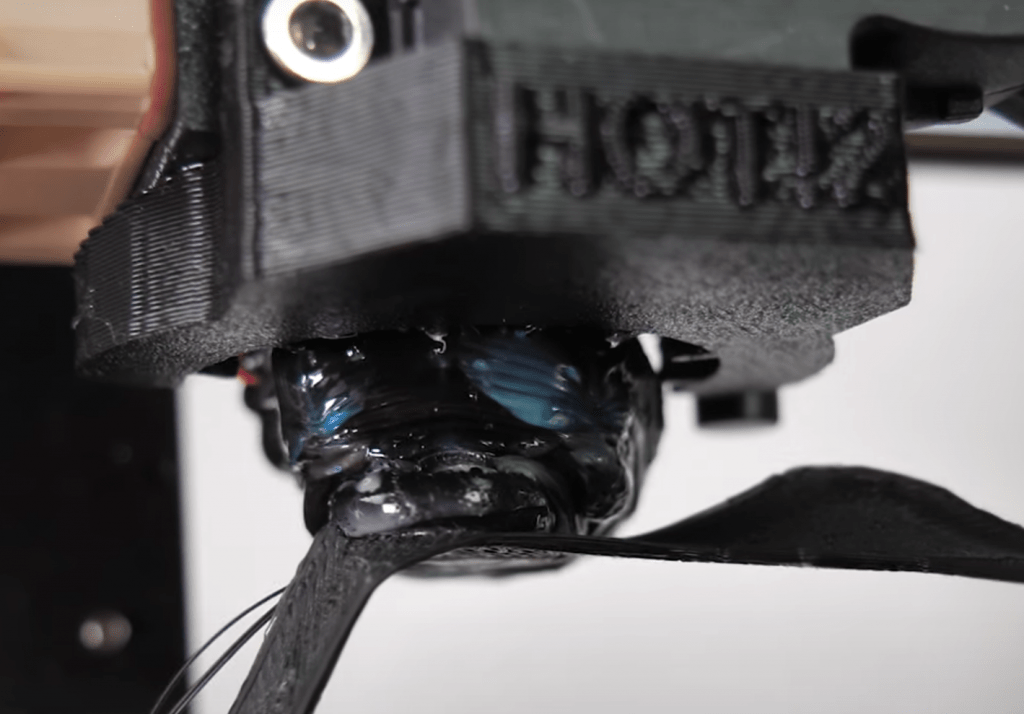
If the nozzle is clogged, the flow of filament out of the hot end will be restricted. And, if this happens, your print will be under-extruded. While under-extrusion usually appears on prints as gaps in layers, it’s also possible for it to cause layer splitting due to the layers being too weak to stick together.
Cold Environment

The colder an object, the more it will contract. The same is true for the layers on a 3D print.
Moreover, if the ambient temperature is too low around your printer, the layers will contract, causing them to separate. This is similar to how warping occurs when prints are in a cold environment.
Wet Filament
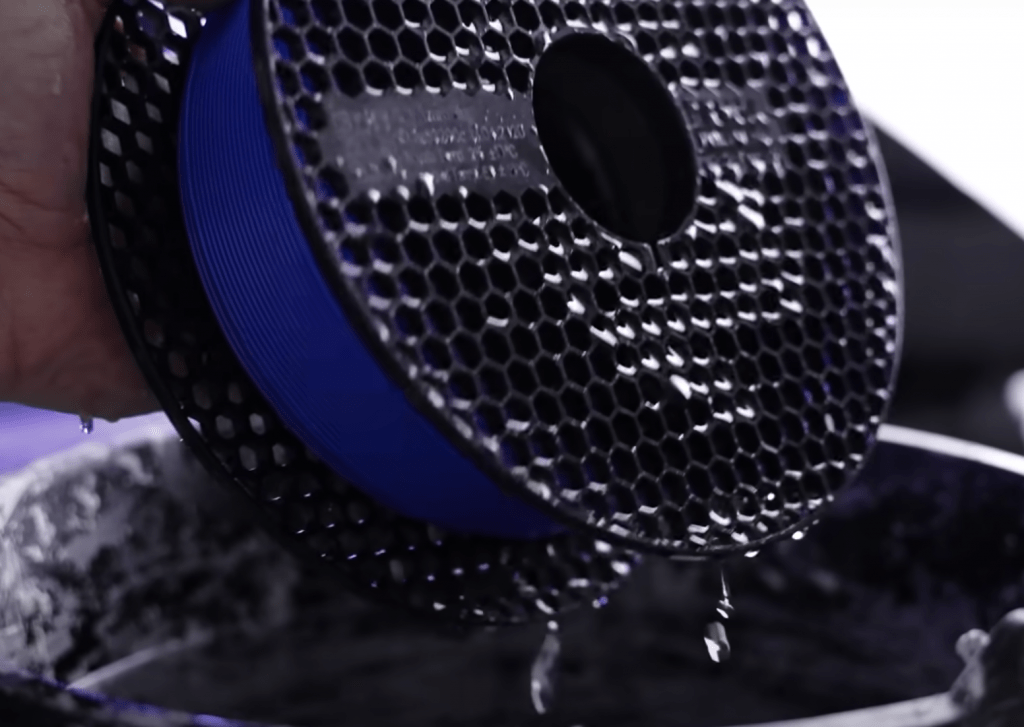
Whether you feel it or not, there’s always some moisture in the air. And, if you leave your filament spool out in the open air, it will absorb this moisture, which degrades the quality of the filament and causes printing issues, potentially including layer separation.
It’s also important to note that some filament materials are more hygroscopic (prone to absorbing moisture) than others. For example, nylon and PETG filaments will be much more affected by moisture in the air than PLA or ABS filaments.
Fast Print Speed
If your print speed is high, then the filament might not be fully ready to leave the hot end before it’s pushed out by the extruder. This can cause a whole host of issues relating to under-extrusion, such as gaps in your layers and even layer separation sometimes.
Large Layer Height
The layer height is the distance the nozzle moves up (along the Z-axis) after it finishes every layer. The larger the layer height, the more spaced-out the layers will be. And if the layer height is too large, then the layers might start separating during the print because they’re not close enough to fuse together well.
Too Much Cooling

Lastly, similar to a cold environment, if there’s too much cooling for a print, layer delamination can occur. That’s because the part cooling fan on a 3D printer blows new air to the surface of a 3D model, usually lowering the temperature of the layer. While this is necessary to solidify the layer in time for the next one to be laid down, if there’s too much cooling, then the layers will start to separate.
How to Fix Layer Separation: 7 Simple Ways
Now that you know what causes layer separation, let’s get into how you can fix it. In the sections below, I’ve gone over the best and most effective solutions for this specific printing problem.
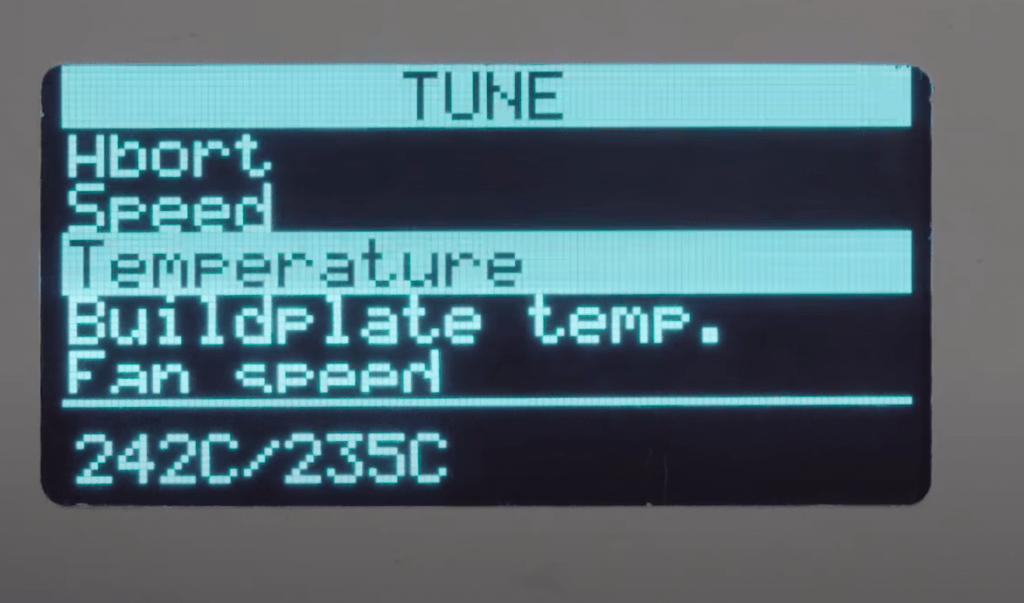
1. Increase Printing Temperature
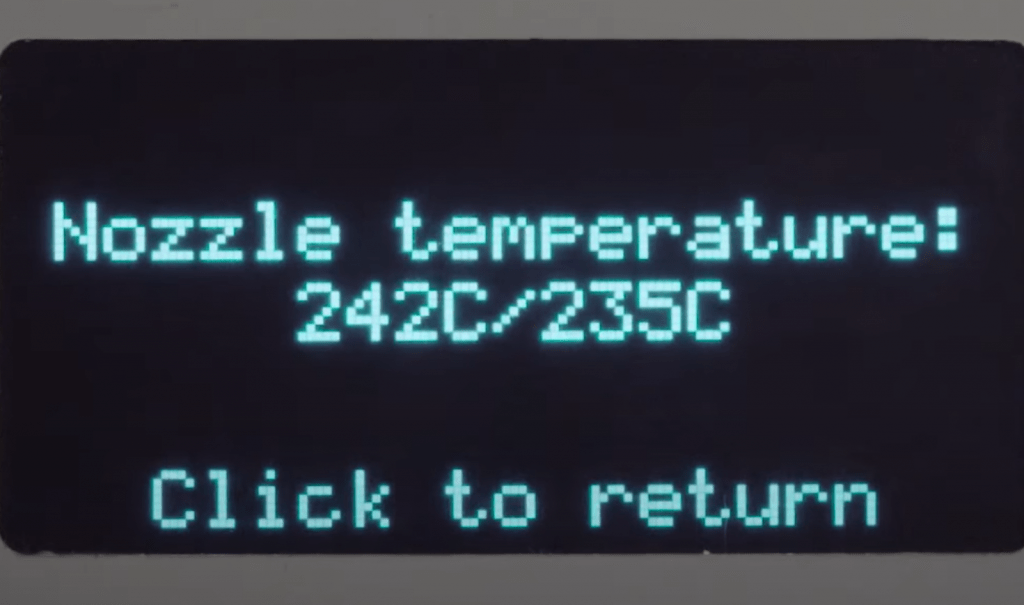
The most effective and perhaps easiest way to eliminate the separation of layers in your prints is to increase the nozzle temperature. Raising the nozzle temperature will provide more heat for the melted plastic so that each layer will better fuse with the previous layer. This establishes better layer-to-layer adhesion, significantly reducing the chances of any layer delamination.
Additionally, increasing the hot end temperature will allow for a higher filament flow. As such, each layer will be more solid and, therefore, stronger and more difficult to separate.
2. Clean/Replace the Nozzle
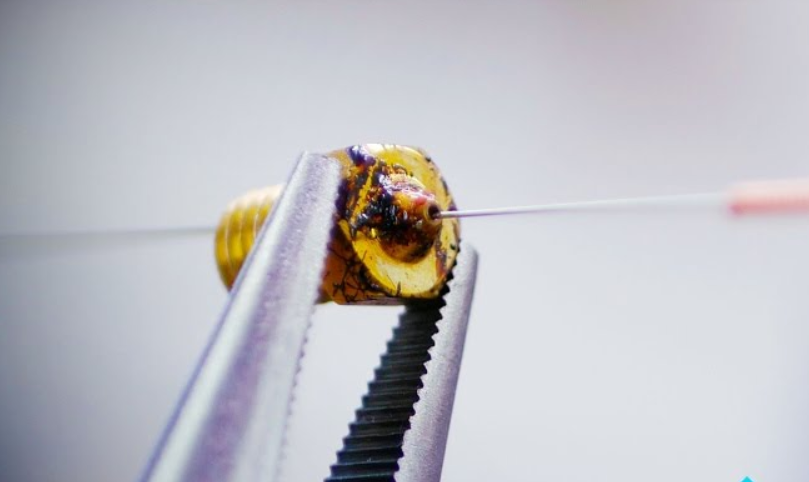
Cleaning the nozzle is another great way to get rid of layer separation. As we mentioned, a partially-clogged nozzle will restrict the flow of filament, leading to less dense and more easily separable layers. Cleaning it will reinstate the proper flow of filament so that the layers end up stronger and don’t separate mid-print.
You can clean the nozzle on your 3D printer by heating the hot end to a regular hot end temperature, pulling out the filament, and sticking a thin metal needle up the exit hole of the part. Once the needle is in the nozzle, push it up and down until it moves smoothly, indicating that all debris inside has been dislodged.
And if the nozzle is too dirty to clean, then you’ll have to replace it. I suggest using a steel nozzle, such as the MicroSwiss A2 Hardened Steel nozzle, as this material won’t degrade as easily as brass.
You also might want to switch to a wider option, such as a 0.5-mm nozzle diameter, as these typically are better for preventing layer delamination due to the increased filament flow they allow.
3. Use an Enclosure
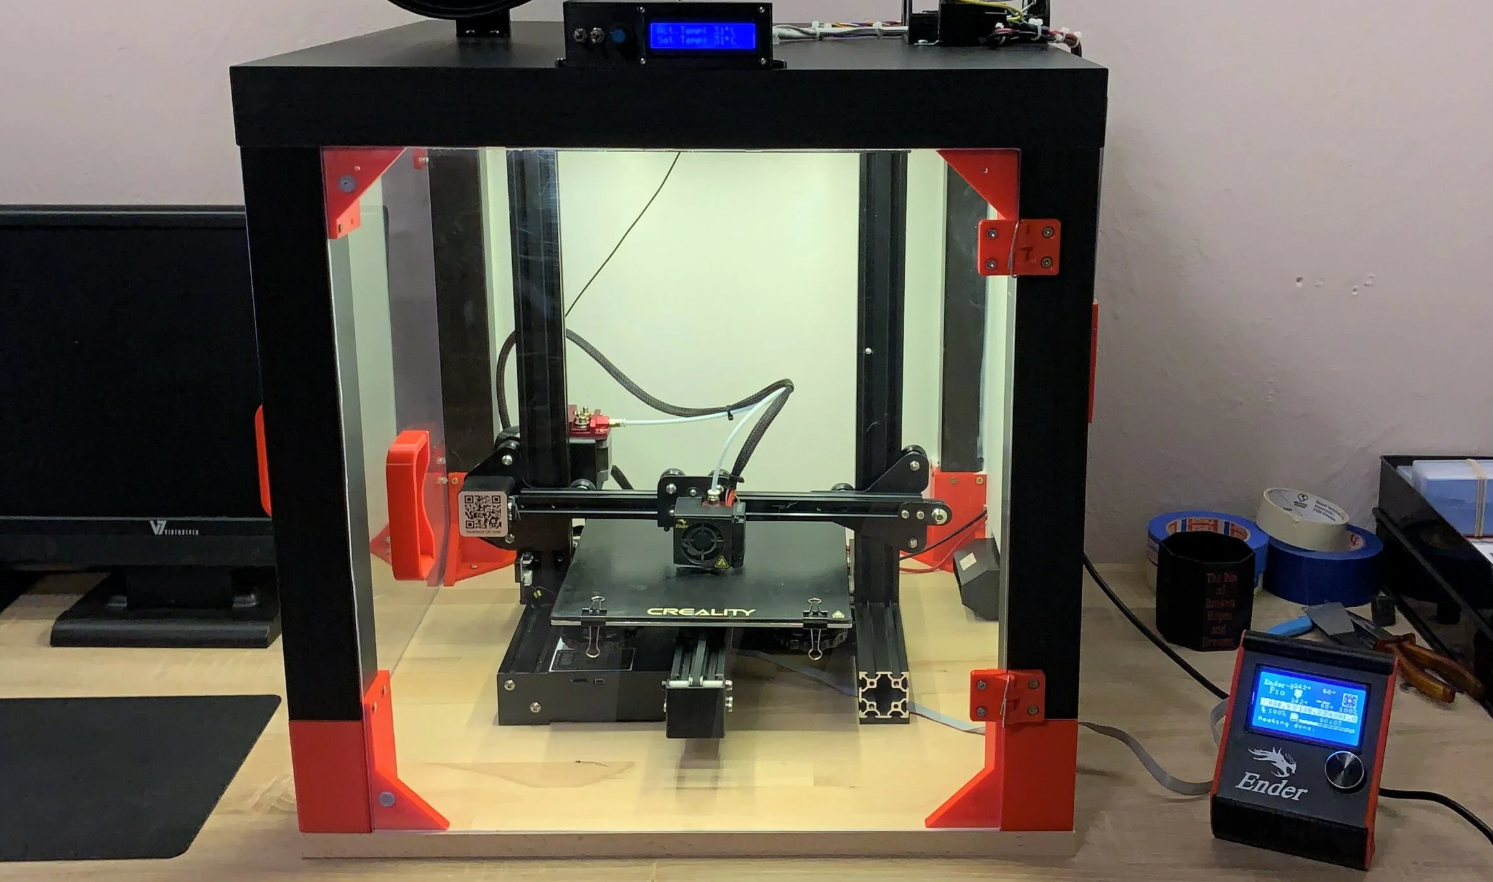
An enclosure is a container or box that goes around your 3D printer and traps heat inside so that the ambient temperature for the print space is warm. They’re necessary for printing certain high-temperature materials like ABS or polycarbonate, and they also help tremendously in stopping layer separation.
As such, it’s a good idea to get an enclosure for your printer.
You can check out our article all about purchasable and DIY enclosures to learn more about the options! The Creality Ender 3 enclosure works great for many printers, as does the Wham Bam Systems HotBox V2!
4. Dry Filament

Drying your filament is a great idea for improving the overall quality of your print, and it’s also very effective at preventing layer delamination.
There are a few ways you can dry your filament, but my favorite, and the most convenient method, is to use a conventional cooking oven. Simply set the oven to 100-150 °F depending on what filament material you’re using, place the spools inside, and leave them there for a few hours.
For PLA, I like to set it to 120 °C and leave spools inside for 5 hours. Once I take them out, they print like new, with much-improved print quality.
Another way you can dry your filament is by getting a filament dryer, a device specifically meant for removing moisture from 3D printing filaments. Filament dryers have a space for a filament spool and a heater that actively drys the inserted filament. They usually have a humidity sensor and desiccants (oxygen removers), too, for an even better drying process.
You can check out our article all about filament dryers and the best options. My favorite right now is the Sunlu FilaDryer S2!
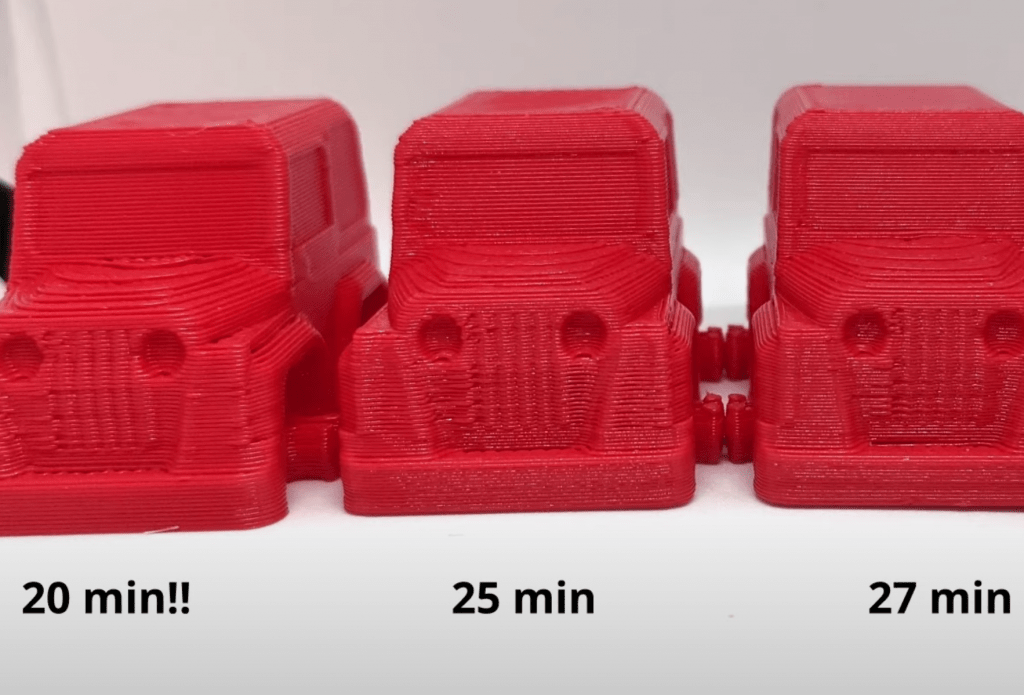
5. Lower Print Speed
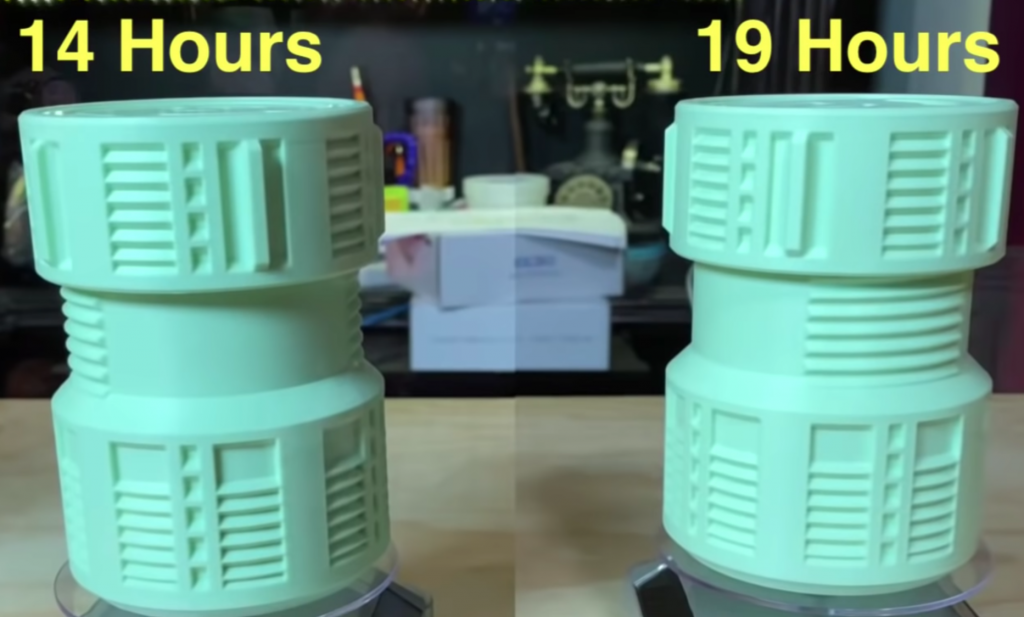
Lowering the print speed is another way you can combat layer separation on prints. Doing so will reduce how fast filament is extruded to give it more time to melt and stick to the previous layer, resulting in a stronger layer-to-layer adhesion.
You can lower the print speed in your slicer (e.g. Cura), and I recommend dropping the setting by around 25%. For example, if you’re printing PLA at 60 mm/s, maybe try seeing if going down to 45 mm/s does the trick. If not, maybe go another 5 mm/s lower.
But I suggest you stop dropping the speed once you hit around 35 mm/s. That’s because if you’re using a print speed that slow and still aren’t seeing your layer delamination go away, then this solution isn’t the right one for you.
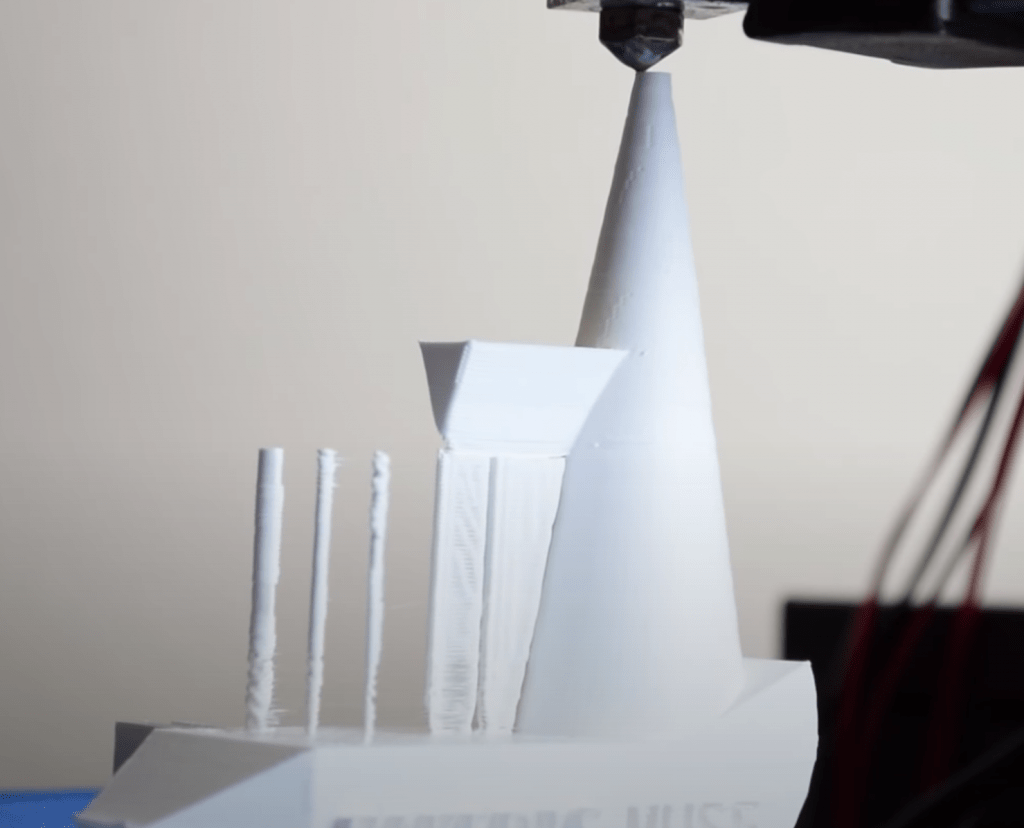
6. Decrease Layer Height

Another slicer setting you can lower to prevent layer separation is the layer height. As we went over, a large layer height means the layers of a print are more spaced out along the Z-axis, which technically weakens the layer-to-layer bonding.
Decreasing the layer height will bring the layers closer together, so they fuse better. Additionally, a smaller layer height will enable you to print models with more detail.
I suggest starting with a layer height of 0.2 mm if you’re using something higher than that. And, if you’re already using 0.2, try going to 0.16 mm.
7. Lower/Turn Off Cooling Fan
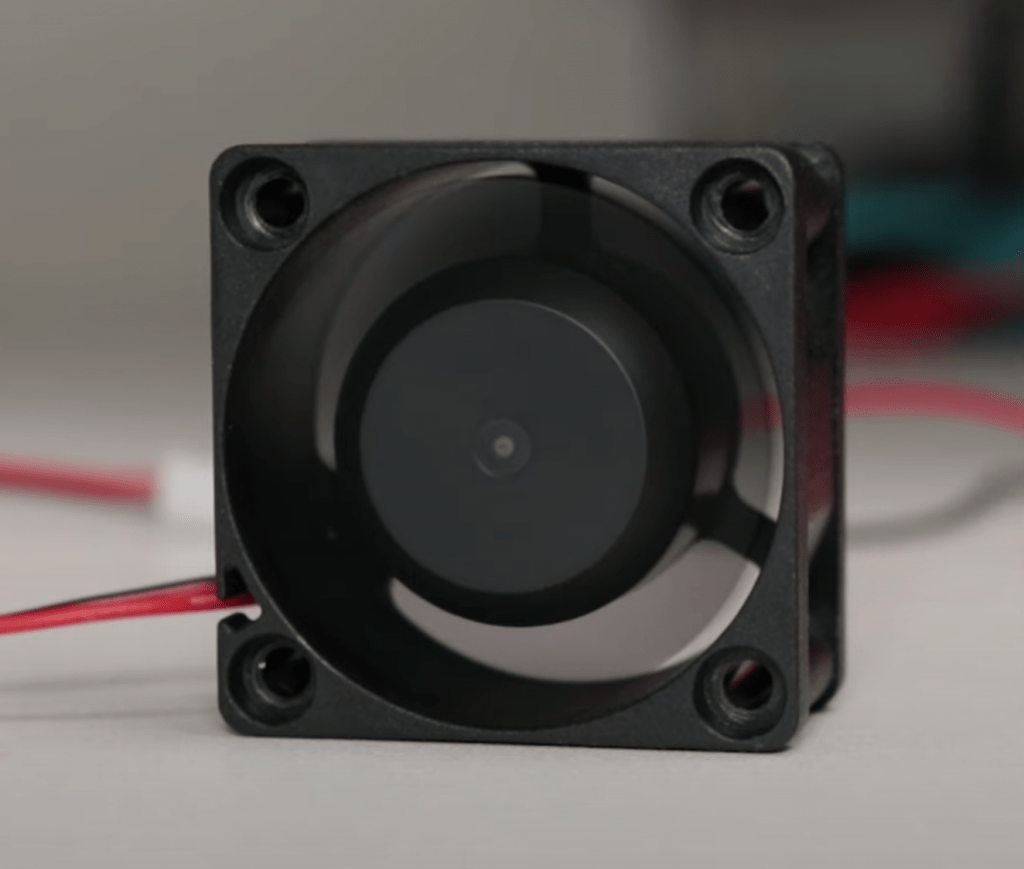
My last solution for you is to lower or even completely turn off the part cooling fan.
The more airflow around your 3D print, the more likely the layers of your model are to contract, causing layer separation. Lowering your part cooling fan will give the layers more heat so they can fuse better.
How much you should lower your part cooling fan speed depends on what material you’re printing. For PLA, try going down by 25-30%. But if you’re printing ABS, just turn the fan off completely.
What’s the Difference Between Layer Separation and Layer Shifting?
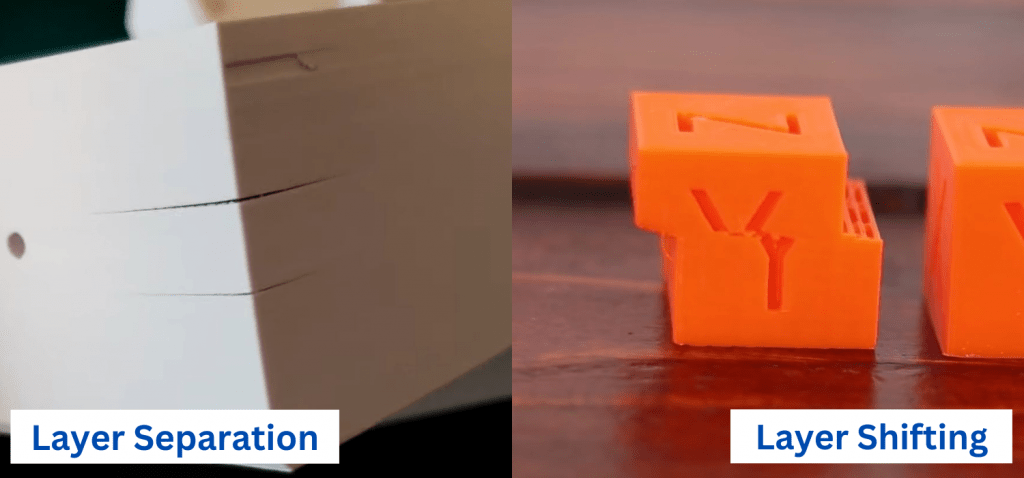
It’s worth pointing out that layer separation is not the same thing as layer shifting. As we’ve explained, layer separation is caused by insufficient heat and poor layer-to-layer adhesion, resulting in the layers of a print splitting.
On the other hand, layer shifting is caused by issues with the printer’s movement components (e.g. belts) and leads to each layer of a print being offset from the previous one.
Conclusion
At the end of the day, while layer separation can be a daunting problem that has major effects on your 3D prints, there are many ways you can beat it.
I’ve found the best way to stop layer delamination on your 3D prints is to increase the nozzle temperature and lower the cooling fan. Doing this will provide better layer-to-layer adhesion, which helps prevent layer separation.
And if that doesn’t work, you can try cleaning your nozzle, lowering the print speed, and putting your printer in an enclosure, as these can also help!