

I’ve been working with 3D printers for many years now, and the one problem that put me in a loop longer than any other was Z banding. It had me staying up until 3:00 am on a school night, wishing I had never bought my first Creality Ender 3.
I failed tests, ruined my sleep schedule, and probably caused even more problems for my printer trying to fix it.
Don’t be me!
Z banding is actually pretty easy to fix if you know the proper solutions. Lucky for you, I’ve gathered all of the information I found scouring the internet on those long, restless nights, as well as some of my own tips I picked up through my experiences, into one article (hint, hint, this one).
I’ve found the best way to solve Z banding is by calibrating my extruder, PID tuning the hot end, and checking that my Z-axis is completely straight. However, there are a few other solutions you can use if these don’t work.
So, if you want to learn about Z banding, its causes, and, most importantly, exactly how you can solve it, just keep reading!
What is Z Banding?
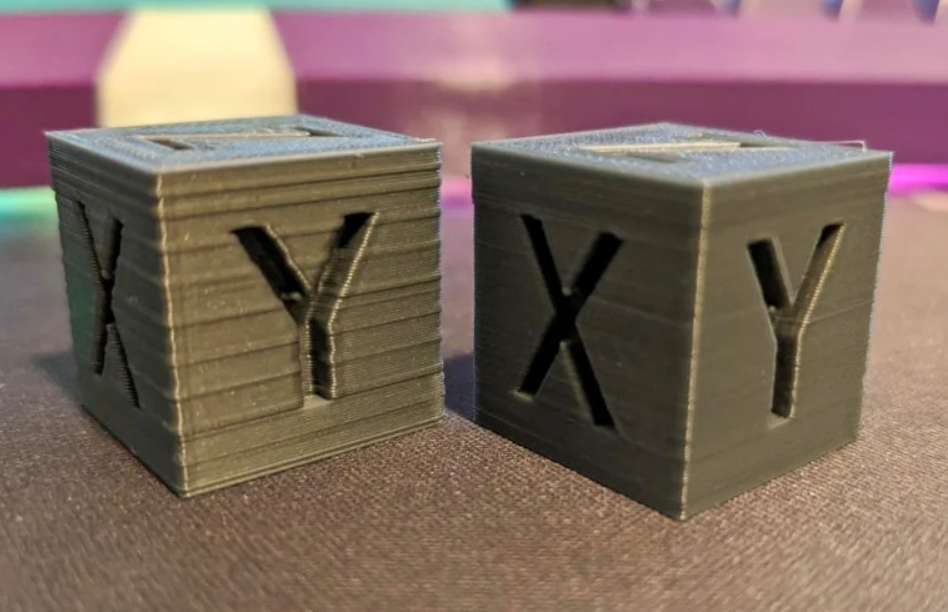
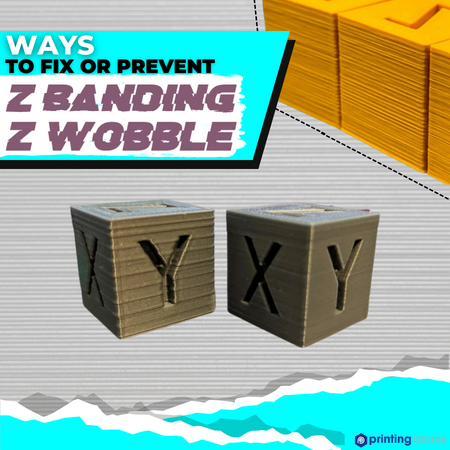
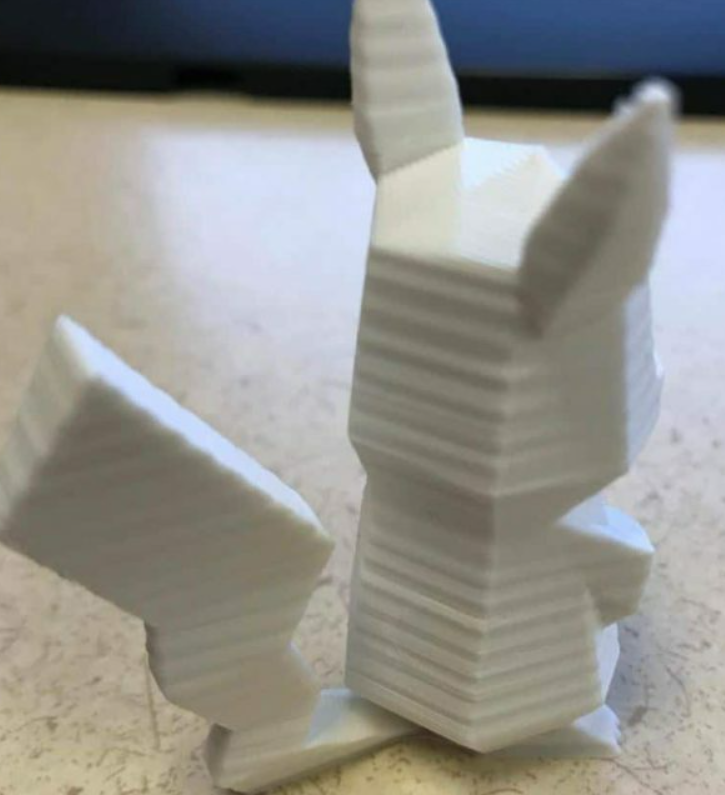
Z banding is a 3D printing issue where prints have noticeable “bands” that wrap around the outer surface of your print. On top of hurting the appearance of your prints, this print quality issue also makes models dimensionally inaccurate and rough to the touch.
Z banding is most commonly a problem on i3-style FDM 3D printers (AKA “bed slingers”), such as the Creality Ender 3 or Prusa i3 MK3S+. And, if the printer only has a single Z-axis motor, the problem is even more likely to occur.
But more on that later!
It’s also worth mentioning that Z banding, like all vicious criminals, has many aliases, including “Z wobble”, “Z-axis wobble”, or, simply, “banding”. As such, don’t be confused if you see or hear people call Z banding by these other names.
What Causes Z Banding?
Z BANDING
Now that you know what Z banding is, it’s important to go over what causes it as this will help us determine the best solutions for the problem.
There are a handful of different potential causes for Z banding, some involving mechanical issues and others relating to electrical or digital problems. I’ve gone over the most popular causes in the sections below.
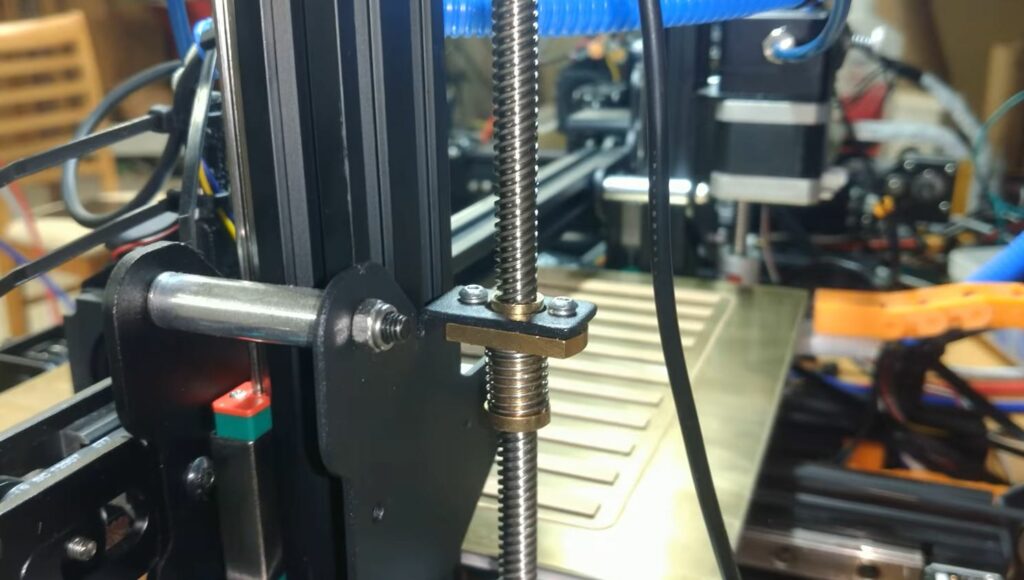
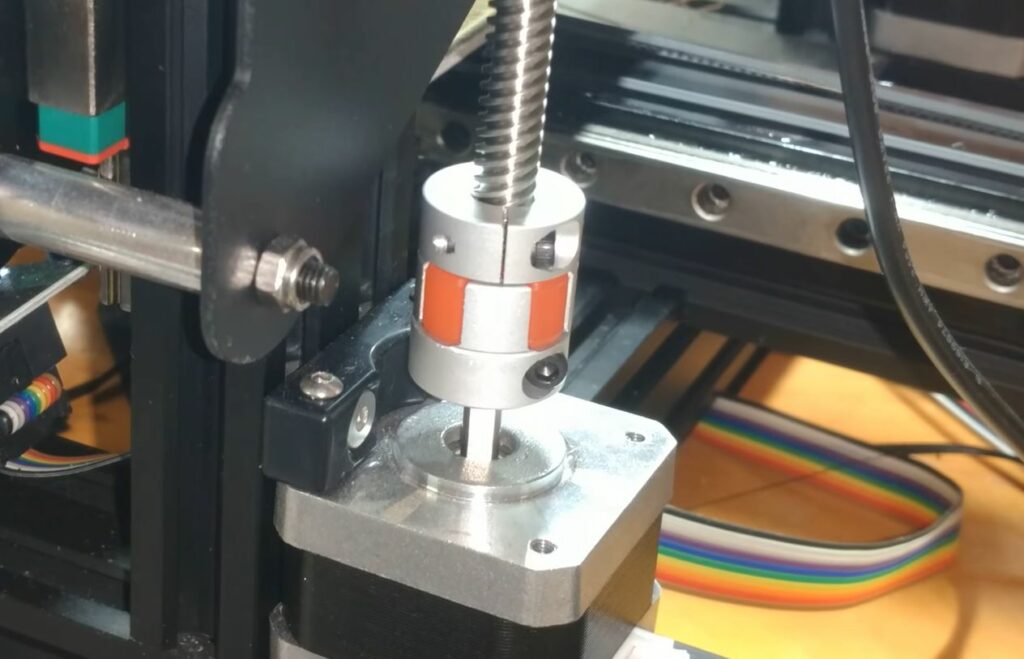
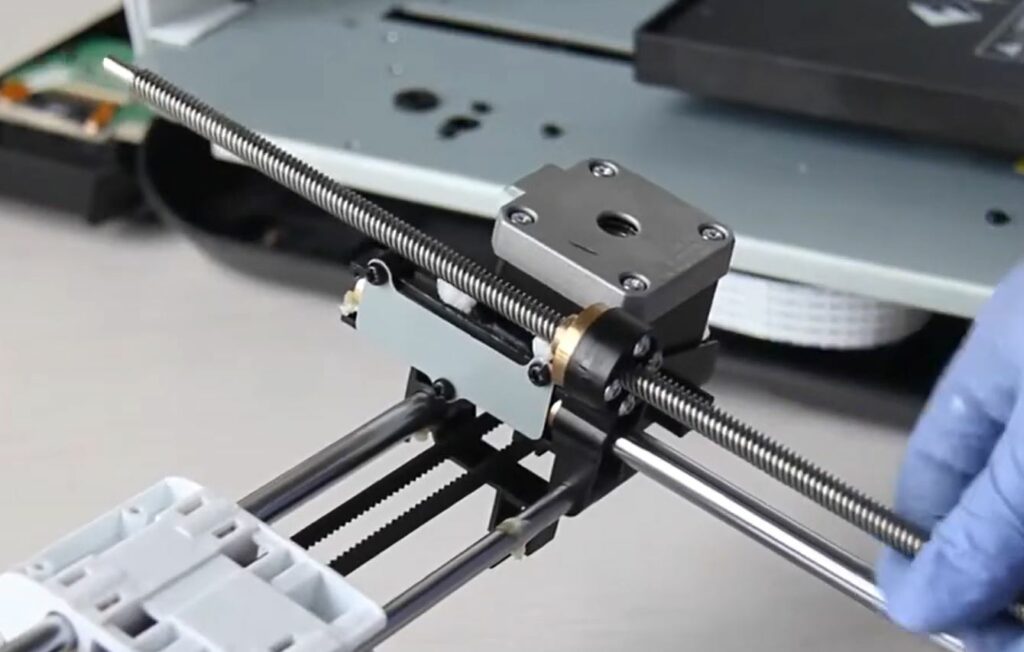
1. Loose Lead Screw Coupler
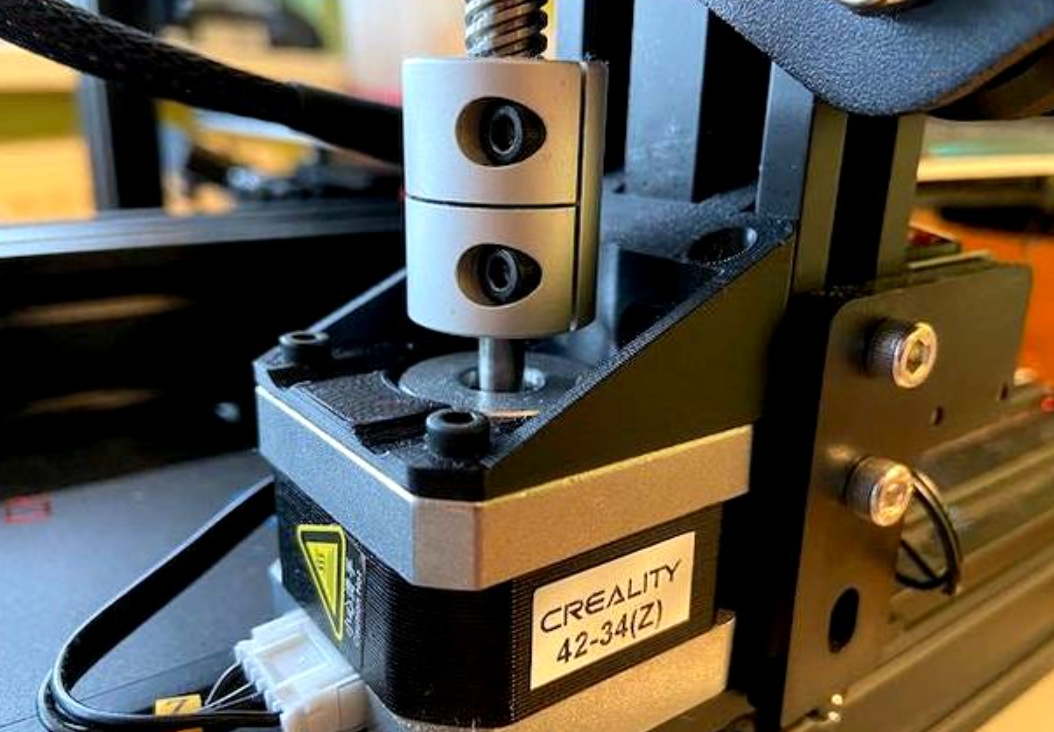
One of the most common causes of Z banding is when you have a loose lead screw coupler. For reference, the lead screw coupler is the cylindrical part (usually silver) that connects the Z-axis stepper motor axle to the threaded lead screw of your 3D printer. I’ve provided a picture of a lead screw coupler above in case you’re still confused.
If the screws on the coupler that secure the lead screw and the motor axle are loose, the connection between the two parts won’t be straight. And, if this happens, Z banding will occur.
It’s pretty easy to know if this is the cause of your issue because, first off, you’ll notice the loose screws. And secondly, the Z bands on your prints will be very incremental and have a pattern to them.
2. Bent Z-Axis Lead Screw
Another cause of Z banding that can lead to incremental bands on your prints is if you have a bent Z-axis lead screw. The lead screw is that big threaded rod that runs along the Z-axis of your printer and is connected to a motor at the bottom. Over time, the screw can bend, and if bent, Z banding can occur.
3. Uncalibrated Extruder
As Z banding could be an extrusion-related issue, it makes sense that an uncalibrated extruder could be another cause of this issue. Moreover, if your extruder stepper motor isn’t properly tuned (E-steps) or if you’re using an incorrect extrusion multiplier (AKA flow rate) in your slicer, then Z banding might appear on your prints.
4. Clogged Nozzle
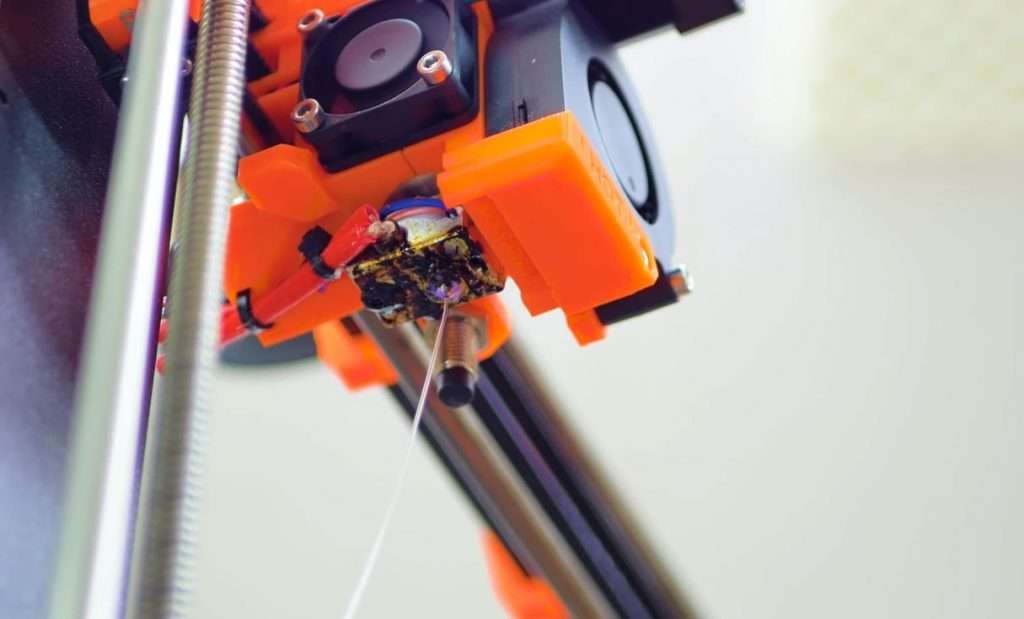
A clogged nozzle is one of the most common issues in 3D printing, and though it most commonly causes under extrusion in the Ender 3, it also has been known to cause Z banding.
Only a partially clogged nozzle can cause Z banding because a full nozzle clog would cause your entire print to stop. A partial clog is when debris – unwanted contaminants that get into the extrusion line – blocks only a portion of the exit hole of your nozzle. As such, filament can come out of the nozzle, but due to its restricted flow, prints will have a defect, which might be Z banding.
5. Volatile Temperatures
Lastly, if your printer’s nozzle or print bed are changing too much too often during the printing process, Z banding can occur. Of course, there will always be some deviation in your printer’s nozzle and bed temperature. But if these temperature deviations start to be greater than 2-5 °C in a short span of time, bands will start to appear on prints.
That’s because, for the nozzle, when the temperature changes, so does the rate at which filament is melted, causing a change in the overall extrusion rate. And, for the heated bed, if the temperature changes too much, the base of your print will slightly change in its area, potentially causing Z banding.
How to Fix Z Banding?
Now that you know what causes Z banding let’s get into the solutions. In the sections below, I’ve gone over the solutions that I’ve found to work most effectively and often.
1. Tighten Z-Axis Lead Screw Coupler
First, you should try tightening the Z-axis lead screw coupler on your printer. Almost all lead screw couplers have two screws that you can tighten to secure the lead screw to the motor axle.
To ensure that you get rid of Z banding, I actually recommend loosening the two screws on the coupler first. Then, make sure the motor is placed on a flat surface, and the axle is pointing straight up (try to eyeball it), and then tighten the first screw on the coupler. Then, jiggle the lead screw a little bit and make sure that it’s properly inserted into the coupler before tightening the other bolt (top) on the coupler.
2. Secure Z-Axis Stepper Motor

Another possible solution is securing the Z-axis stepper motor to the frame of your printer.
Moving the printhead up and down along the Z-axis during the printing process puts a lot of stress on the Z-axis motor. And, if it’s not properly secured to the frame of the machine, it might come loose during Z-axis movements, which could cause Z banding.
To prevent this, you can 3D print (or buy) a bracket piece that fastens the motor down to the frame. For my Ender 3 (Pro/V2) users out there, I suggest using this slide-in 3D printable motor bracket. The bracket slides into the frame of the printer and mounts to the stepper motor with four screws to ensure it doesn’t move anywhere.
3. Calibrate the Extruder
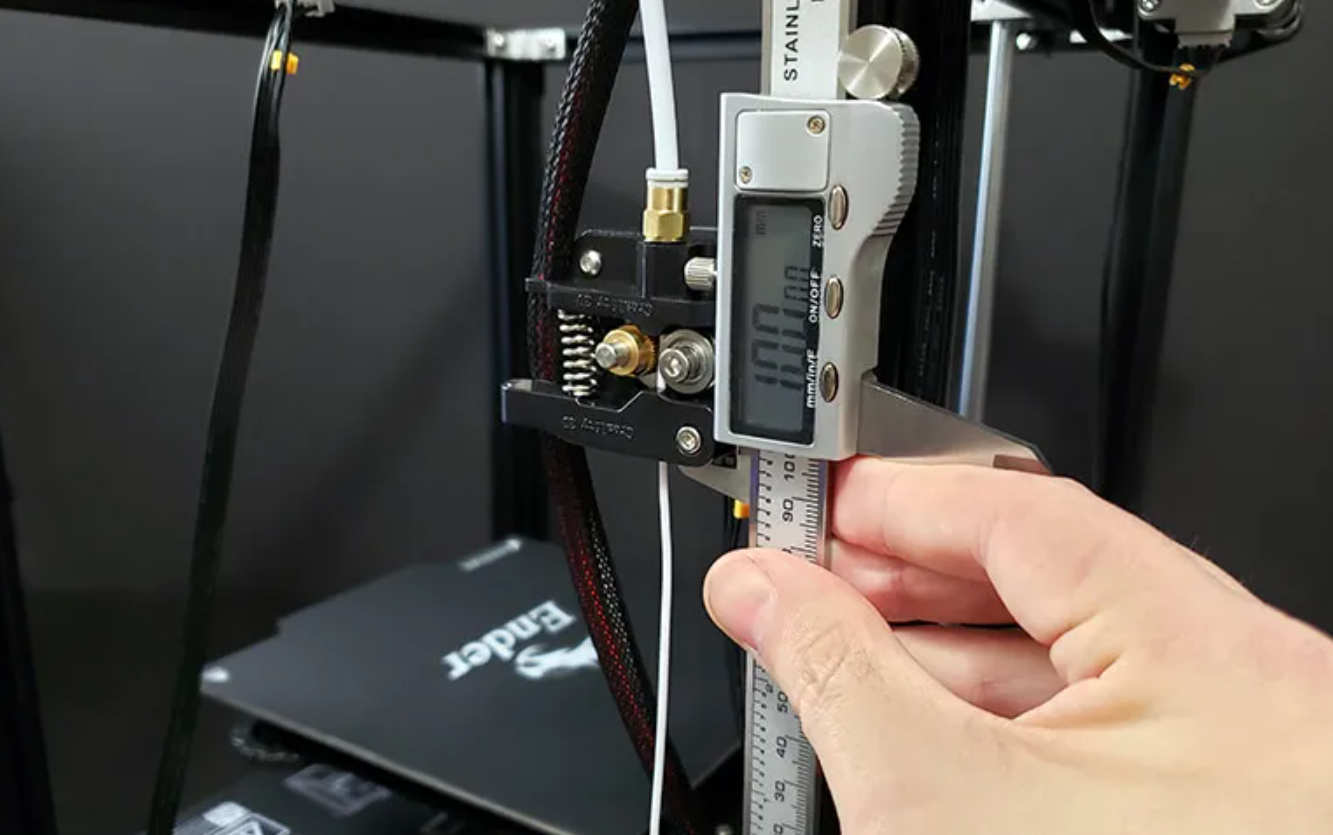
Calibrating the extruder on a 3D printer is most common for combating under or over-extrusion on prints, but you can also do it to try to stop Z banding.
Calibrating the extruder involves tuning the extruder’s stepper motor motion so that your prints aren’t ever inconsistently extruded, which is what causes the Z bands.
While there are a few ways you can calibrate your extruder, I recommend doing it by adjusting the E-steps. Depending on what firmware your 3D printer is running, you should be able to do this through your printer’s LCD, but you can also do it by changing the value directly in the firmware.
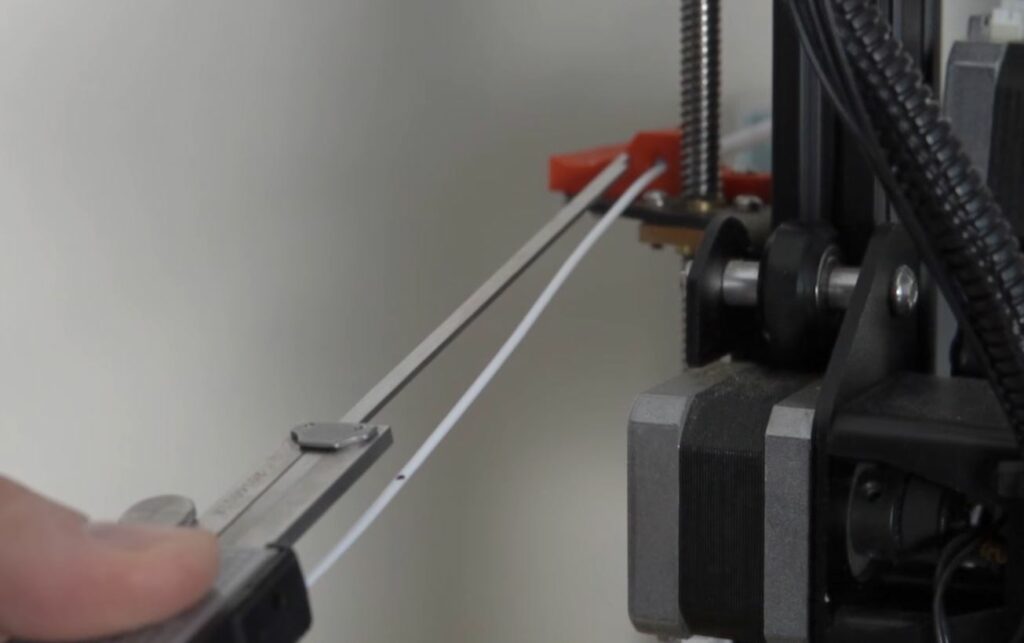
To calibrate your extruder, start by making a mark with a Sharpie on your filament 100 mm away from the extruder entry point. Then, tell your printer to extrude 100 mm and measure the difference (+ or -).
Now, in your printer’s LCD (Control → Motion), take note of the current E-Steps/mm value. Next, determine your new E-steps value by multiplying the current value by 100 and dividing it by 100 plus or minus the difference you measured earlier. Change the E-steps setting to this new value, and you’re good!
4. Clean or Replace Nozzle
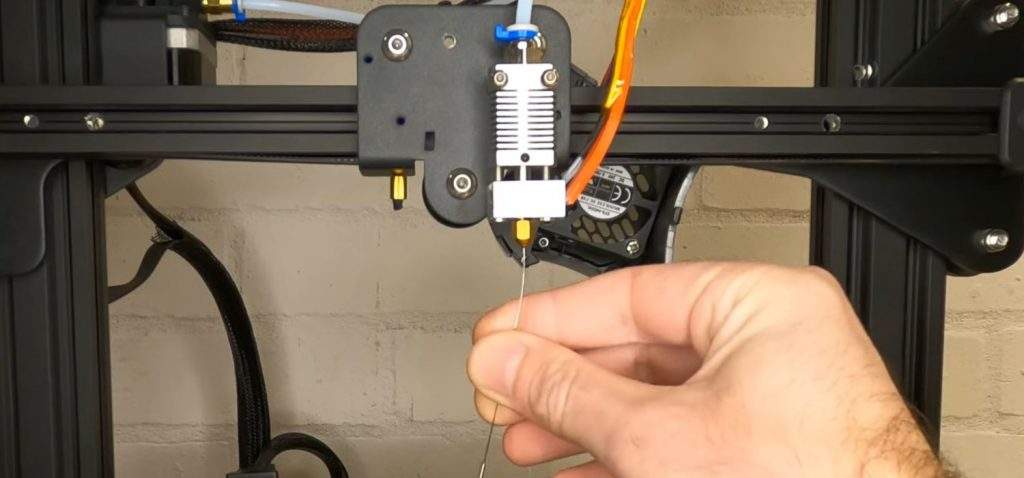
Next, cleaning or replacing the nozzle is another possible solution for Z banding. You can clean your nozzle by setting the hot end to your regular printing temperature (e.g. 220 °C), removing your filament, and sticking a cleaning needle up the exit hole of the nozzle. Then, push the needle up and down through the nozzle until you feel the exit hole is clear and unblocked.
But, if the nozzle needle doesn’t work, there may be too much debris blocking the nozzle hole to clean it properly. In this scenario, it might be better to just replace the nozzle entirely, especially if you have a brass nozzle, as these are very inexpensive.
Check out our article on cleaning 3D printer nozzles for more info.
5. Use Z-Axis Stabilizer
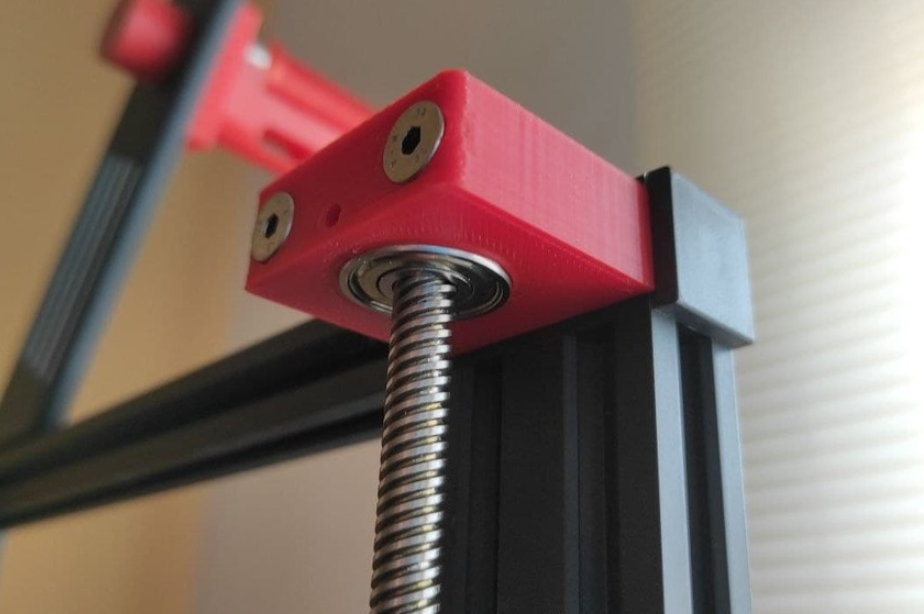
A Z-axis stabilizer is a 3D printer upgrade that attaches to the top of a 3D printer’s frame and holds the top of the Z-axis lead screw in place. By doing this, the stabilizer ensures that the lead screw doesn’t bend and is completely straight, which can stop Z banding.
I suggest 3D printing a Z-axis stabilizer, such as this one for the Ender 3 or this one for the Biqu B1. Both options screw into the frame with two bolts and use standard 22-mm bearings to allow the lead screw to rotate with very little friction. You can also buy Z-axis stabilizers, and this set of two works perfectly on most printers.
6. Replace Z-Axis Lead Screw
Another way you can fix Z banding is by replacing your printer’s Z-axis lead screw. I only recommend doing this if you know that the cause of your problem is a bent lead screw.
And I also suggest you try using a Z-axis stabilizer first before turning to buy a new lead screw. That’s because a Z-axis stabilizer can actually fix a slightly bent lead screw.
But, if you’ve tried using a Z-axis stabilizer and your lead screw is just too bent or worn, then getting a new Z-axis lead screw might be your only option. You should check with the manufacturer of your printer (or Reddit) for the exact specs of the lead screw and try to get a replacement one. Look for one that’s durable and strong, but an OEM option should work just fine.
7. Add a Second Z-Axis Motor

One of the biggest reasons Z banding occurs is that most printers only have one Z-axis motor and lead screw. As such, only one side of the printer is holding up the entire X-axis gantry, which can cause problems like Z banding.
Adding a second Z-axis motor, as well as a second lead screw to go with it, is a great way to stop this issue, as long as you’re okay with making the rather-intensive upgrade.
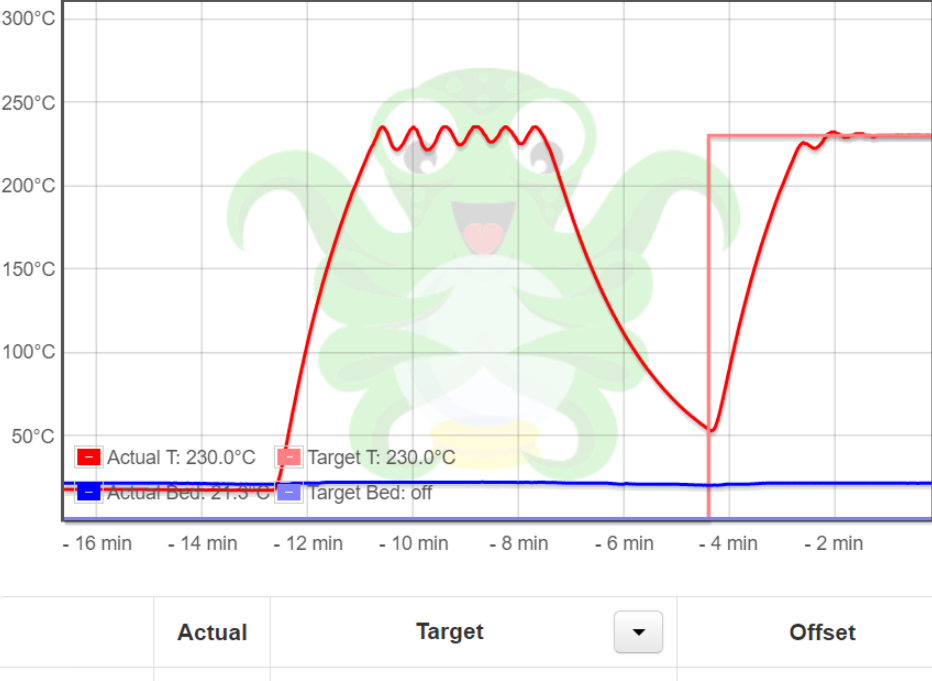
8. PID Tune the Hot End and Bed
PID tuning is the process of calibrating the heating algorithms for a heating element, and I recommend PID tuning both the hot end and the print bed on your 3D printer if you’re experiencing Z banding. You can do this by sending the proper PID tuning G-code commands (check your firmware as it varies) to your printer’s motherboard through a G-code console.
I like to do this through the built-in G-code console on OctoPrint’s online interface. But, if you don’t have an OctoPrint server connected to your printer to do this with, you can also send G-code commands to your machine by connecting your computer to the motherboard via USB and using a program like Pronterface.
Check out our article on how to setup OctoPrint on your Ender 3 here.
9. Turn Off Variable Layer Height
Lastly, variable layer height, known as Adaptive Layers in Cura, is a 3D slicer setting that tells the printer to use different layer heights throughout a print based on the model’s shape.
While variable layer height is pretty useful for making prints a good mix between strong and well-detailed, the setting can cause Z banding. As such, I suggest turning the setting off in your 3D slicer.
Conclusion
Overall, Z banding is a super frustrating 3D printing problem for any user. It makes prints look terrible and, even worse, makes it basically impossible to print parts that fit together because Z banding ruins the dimensional accuracy of parts.