 FAnycubic is easily one of the biggest (and best) manufacturers of low-budget 3D printers, with many different FDM and resin printers under their belt. Their Kobra series of FDM printers is especially popular, and it’s home to a handful of similar machines, like the (original) Kobra, Kobra Plus, and the Kobra Neo.
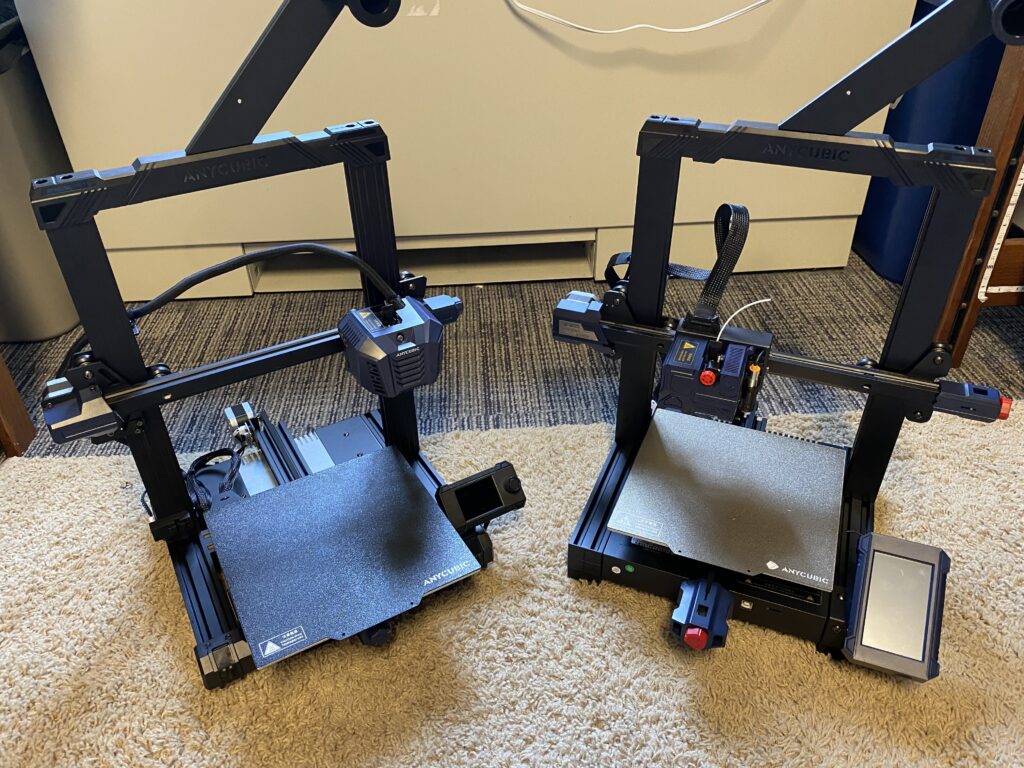
The Kobra Neo is one of the most popular Anycubic machines for those looking for the best bang for their buck. At an affordable, sub-$200 price, the Neo has a bunch to offer.
Its direct drive extruder system is reliable and very accurate, making it easy to achieve high-quality prints. The Kobra Neo, unlike many “budget” 3D printers, also comes stock with a terrific auto bed leveling system that saves you a ton of time (no manual leveling) and improves your prints’ bed adhesion.
Today, I’ll be reviewing the Anycubic Kobra Neo, going over its features, specs, and performance.
Note: While I’ll throw in some of my own opinions from my experience testing the Kobra Neo, the article is completely free from bias from any manufacturers.

Verdict
After an intense testing process, I have come to really like the Anycubic Kobra Neo. The printer is basically like a souped-up version of the Ender 3 V2 but at about the same price.
First off, the automatic bed leveling on the Kobra Neo is phenomenal, and the printer’s bed leveling cycle is both speedy and silent. And, of course, the ABL sensor is super accurate; once you run the bed leveling cycle, you won’t likely have to re-run it for many, many print jobs.
Additionally, the Neo’s printhead is terrific. With a powerful, geared-up direct drive extruder, the Neo can handle flexible filaments, like TPU and TPE, very well (minimal clogs). And the hot end on the Neo is capable of printing at 260 °C, meaning you can print all the standard consumer filament materials, like PLA, ABS, PETG, and composites (e.g. carbon fiber blend PLA).
While the full-color LCD on the Neo isn’t touchscreen like the one on the original Anycubic Kobra, this difference makes the Neo’s super-affordable, sub-$200 price possible. The same goes with the printer’s use of a single Z-axis lead screw, but, unlike the lower-end LCD, this feature can actually cause some print quality issues (X-axis gantry sagging).
But, at the end of the day, the Kobra Neo’s many features, like ABL, direct drive, and integrated belt tensioners, far outweigh the machine’s downsides. And, at a fraction of the price of other 3D printers that carry the same features, the Kobra Neo is the perfect printer for anyone looking for a good bang for the buck, who wants consistent, high-quality 3D prints.
Specs

Below is a list of the main specs of the Anycubic Kobra Neo:
- Approximate price: ~$250
- Maximum printing space: 220 x 220 x 250 mm
- Maximum nozzle temperature: 260 °C
- Maximum heated bed temperature: 110 °C
- Compatible filaments: PLA, PETG, TPU, ABS (with enclosure), etc.
- Print speed range: 60-100 mm/s
- Bed leveling: 25-point automatic leveling
- Extruder configuration: Direct drive
- Build plate: Double-sided spring steel smooth PEI
- Interface: 2.3-inch full-color LCD (not touchscreen)
- Connectivity: MicroSD card, USB Type-B
- Dual Z-axis? No
- Filament sensor? Yes
- LED lights? No
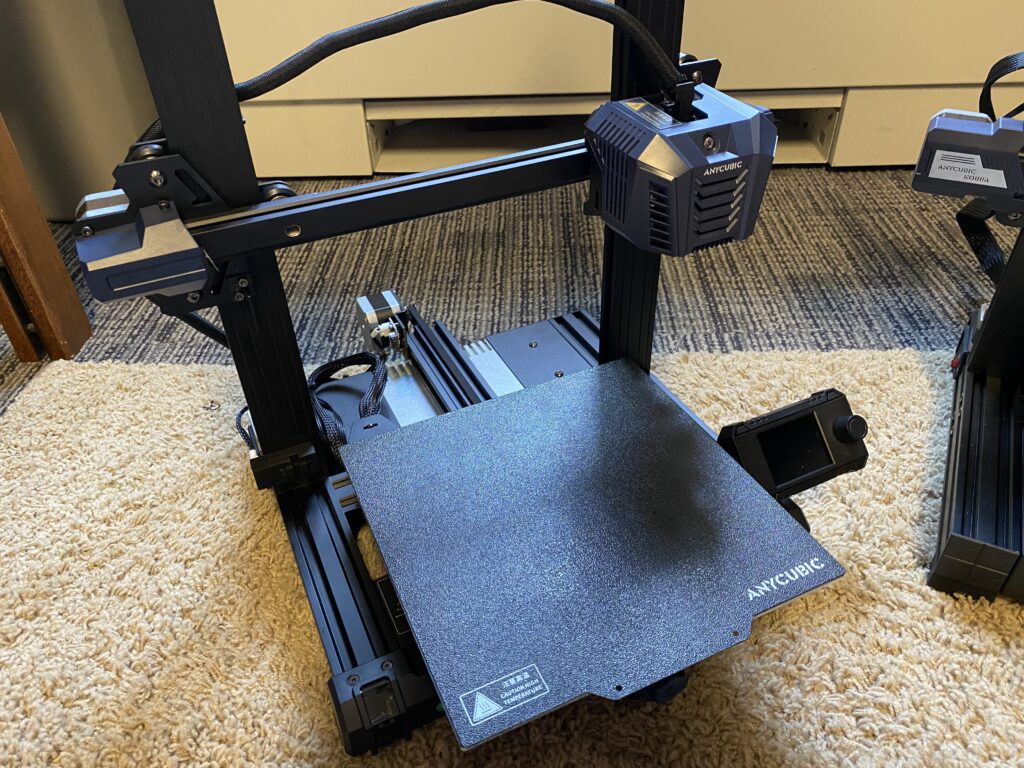
Direct Drive Extruder
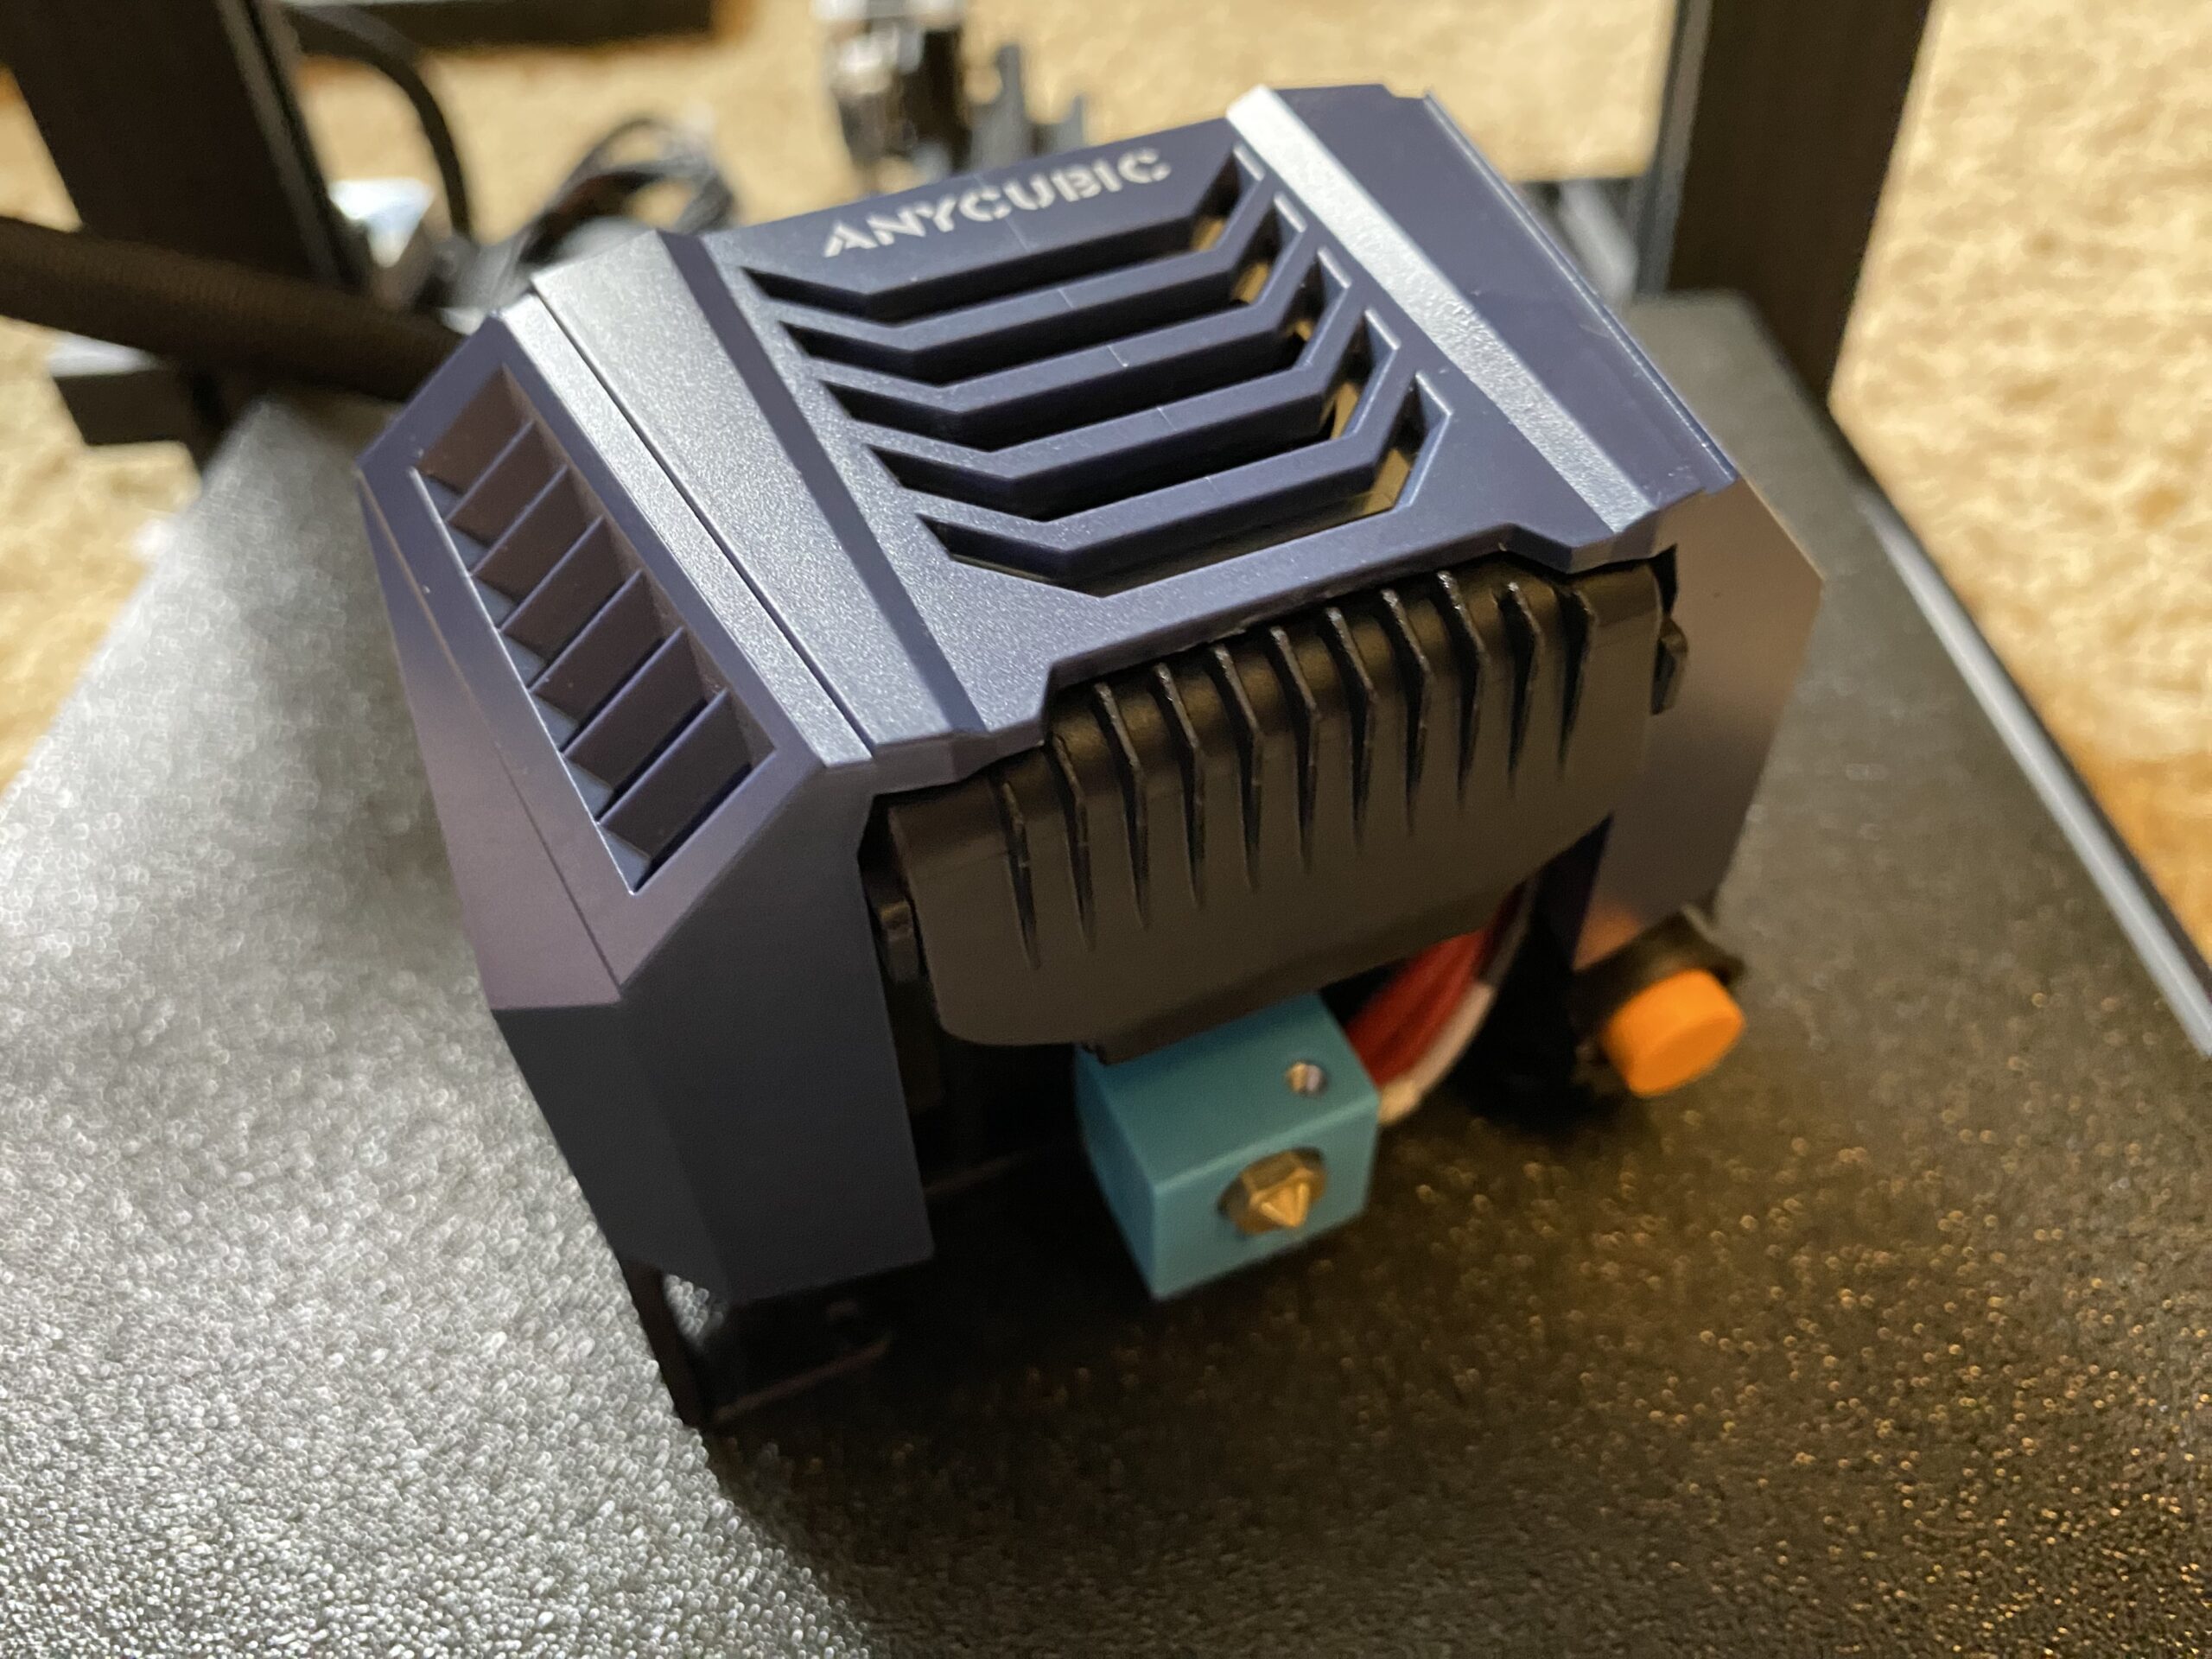
A direct drive extruder is a type of extruder configuration where the extruder is placed directly on top of the hot end (different from Bowden drive). Direct drive extruders have typically been used on higher-end, more expensive 3D printers, but Anycubic is changing that!
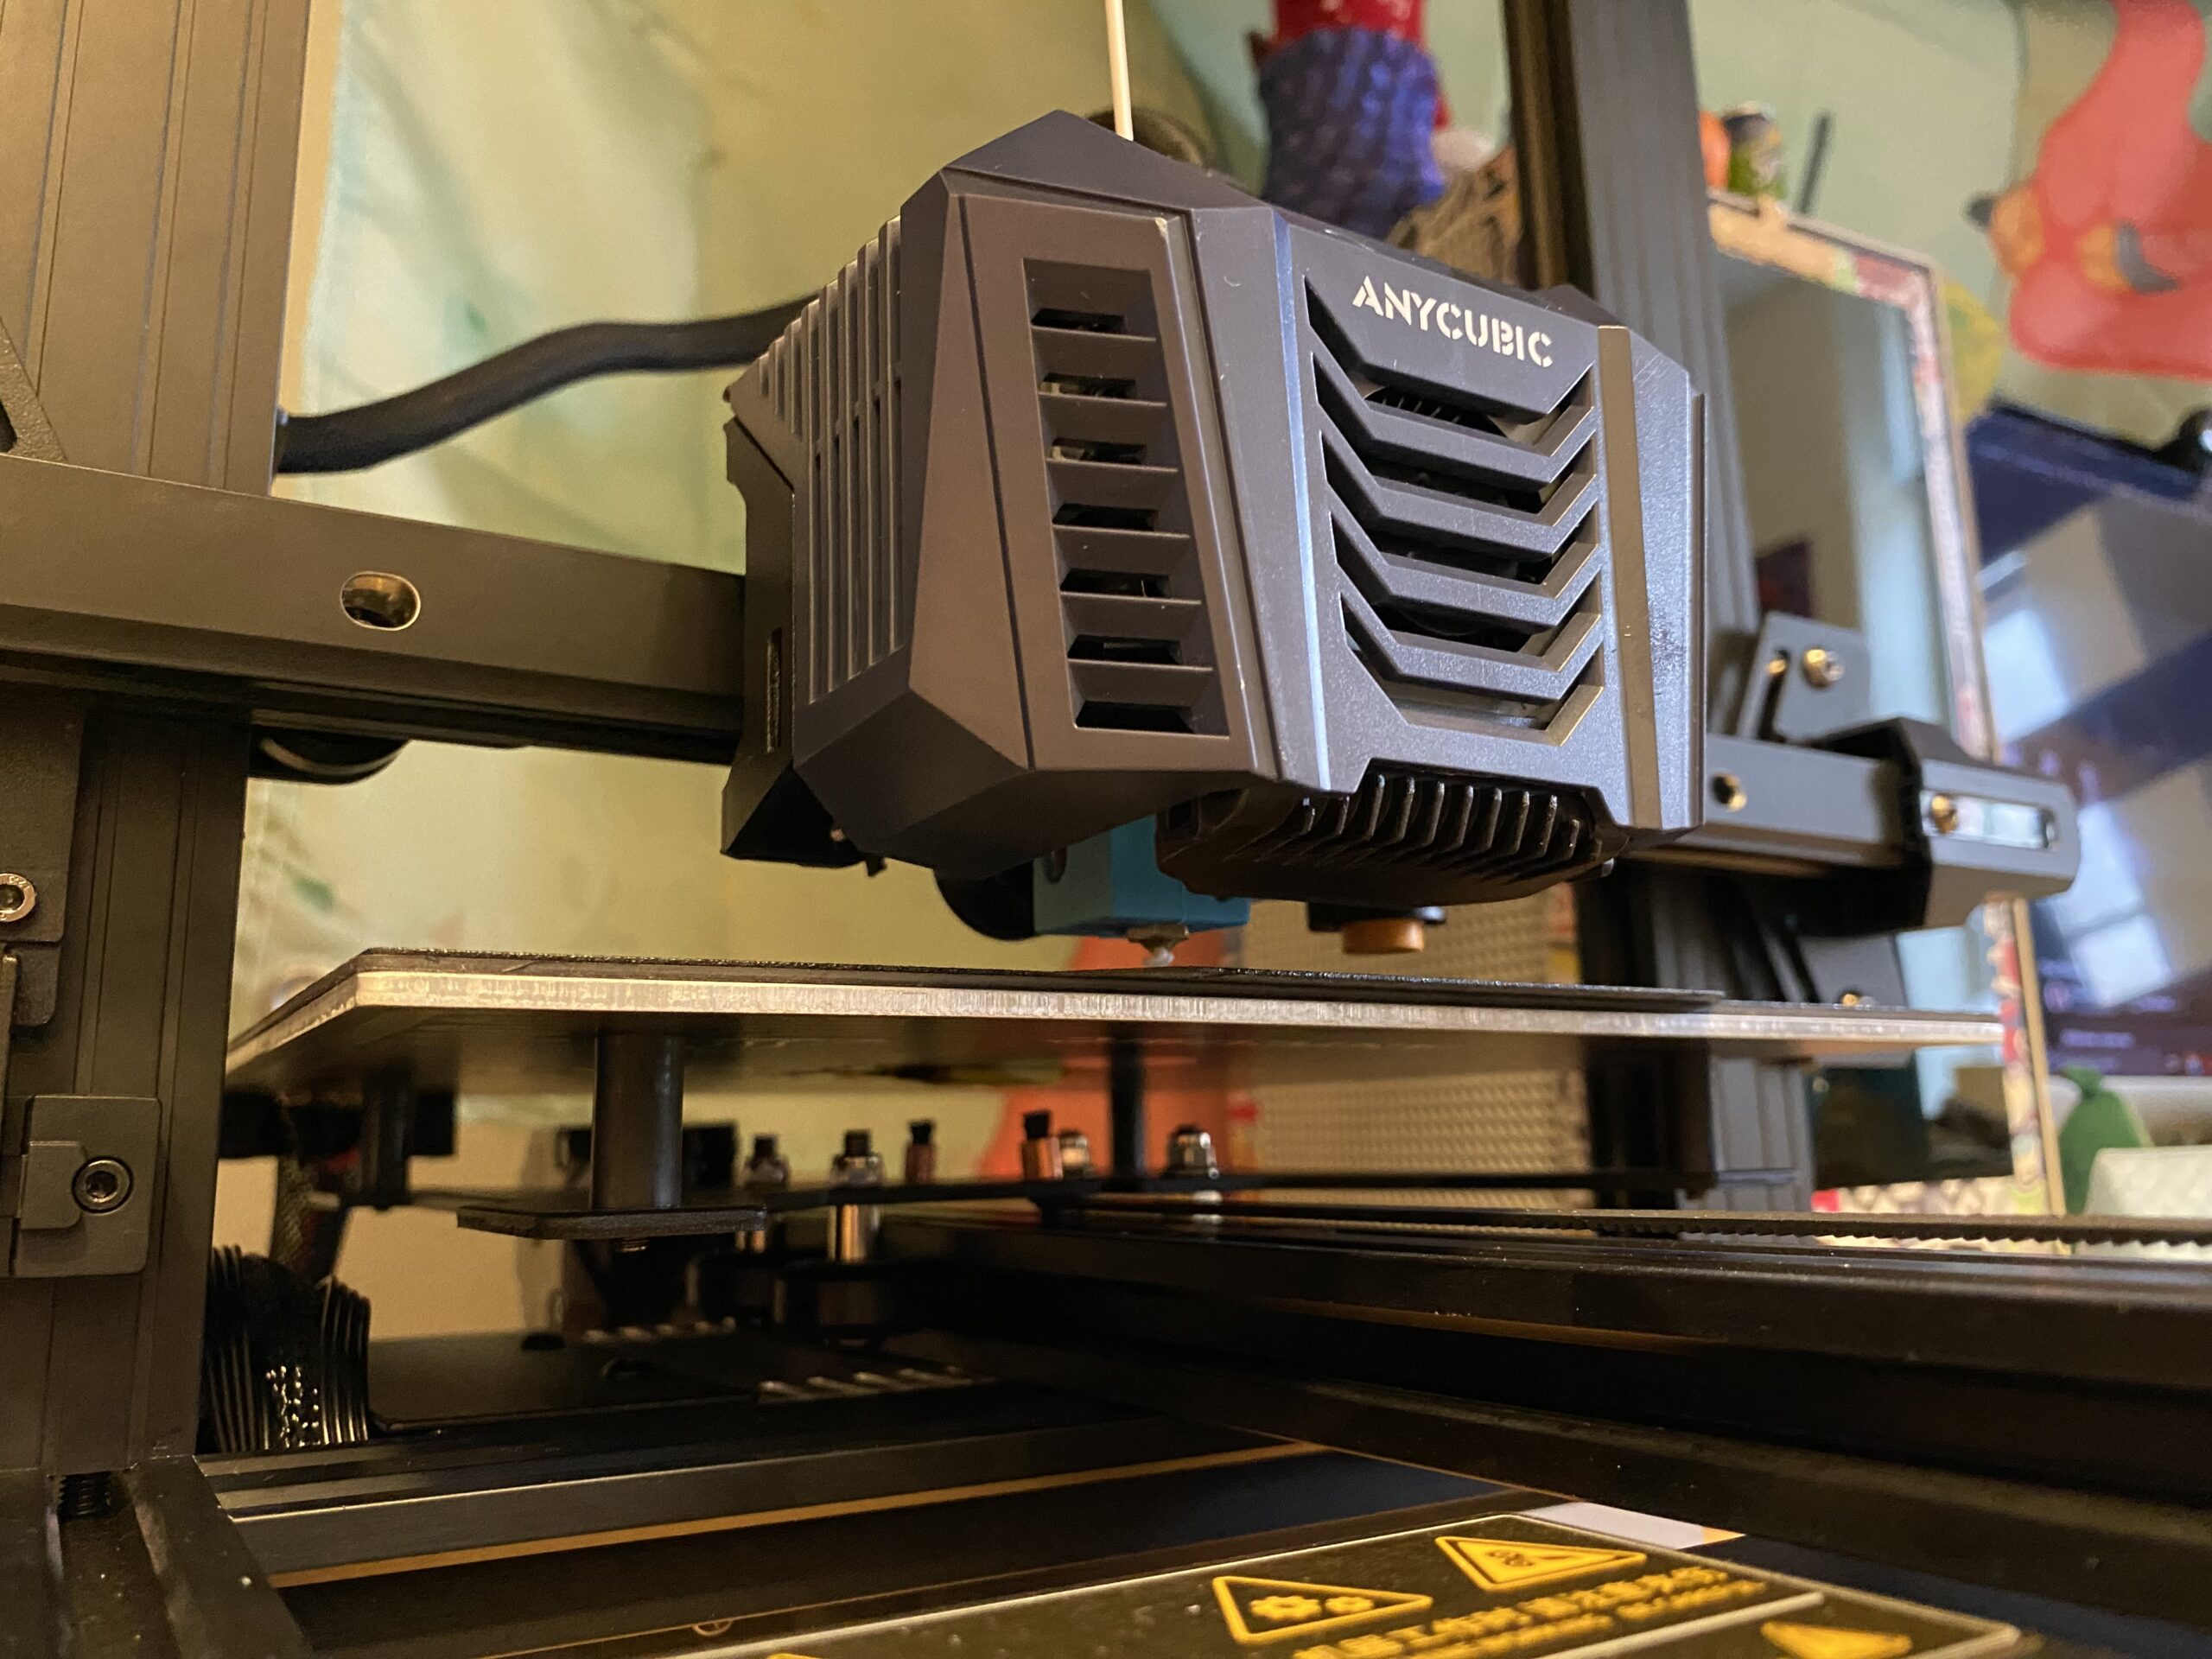
The Kobra Neo has an all-in-one direct drive printhead that contains a powerful extruder and one helluva hot end. Because direct drive extruders don’t need a long PTFE tube to transport filament, you’ll be able to print flexible filaments, like TPU, much better on the Kobra Neo than Bowden-drive 3D printers, like the Ender 3 V2.
Additionally, it’s worth pointing out that the printhead on the Kobra Neo is a proprietary design that’s super compact. And, the extruder assembly onboard the printhead is geared up (likely in a 3:1 ratio) to increase torque and power, so under-extrusion shouldn’t be a problem.
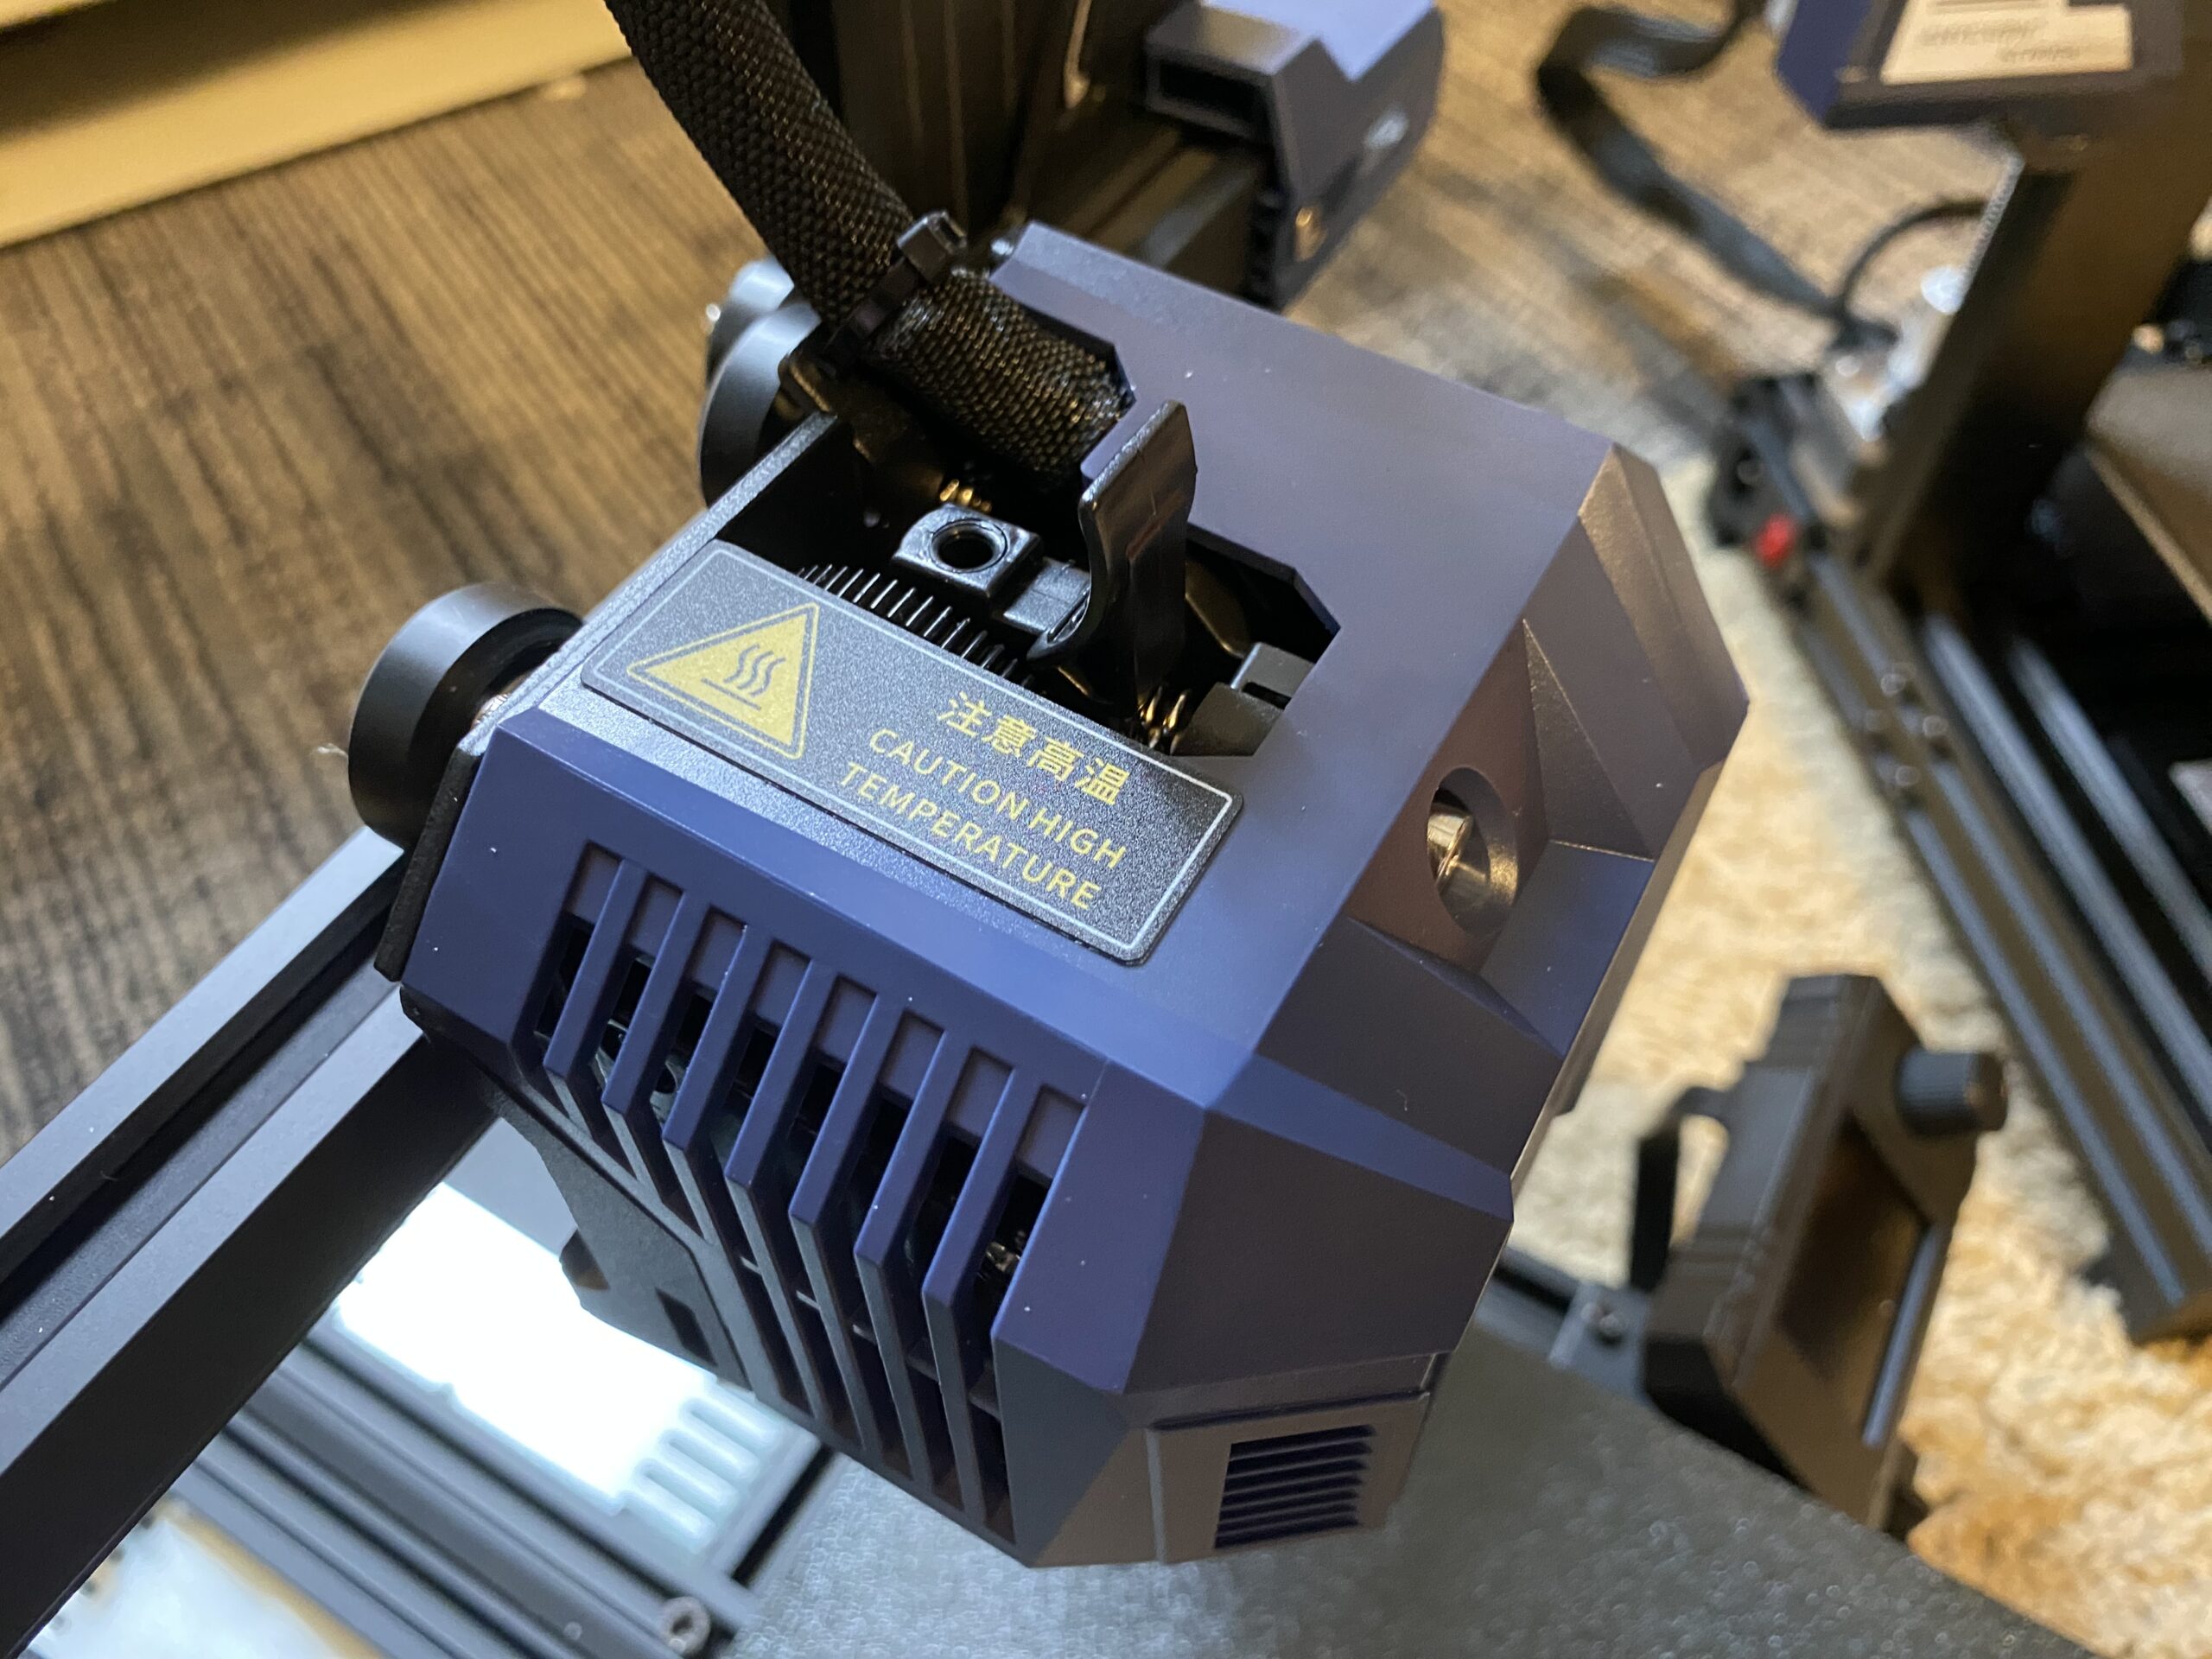
As for the hot end, it can reach 260 °C, which is well above what you need for printing PLA, and definitely enough for other filament materials, like ABS, PETG, and TPU.
Auto Bed Leveling

One of my favorite parts about the Kobra Neo is that it comes, in stock form, with auto bed leveling. In fact, this printer doesn’t even have the standard four bed leveling screws, so ABL is really your only option.
But, don’t worry, because the ABL sensor on the Kobra Neo is one of the best I’ve ever seen. Furthermore, Anycubic went with an inductive ABL sensor which measures the distance from the nozzle to the bed by detecting the magnetic field of the spring steel build plate. This type of sensor is super accurate and reliable, and, complemented by Anycubic’s 25-point leveling grid, you should be able to achieve a perfect first layer for all your prints.
Of course, a 25-point leveling system takes a bit longer than the typical 9-point leveling grid. But the extra leveling positions improve the overall bed levelness.
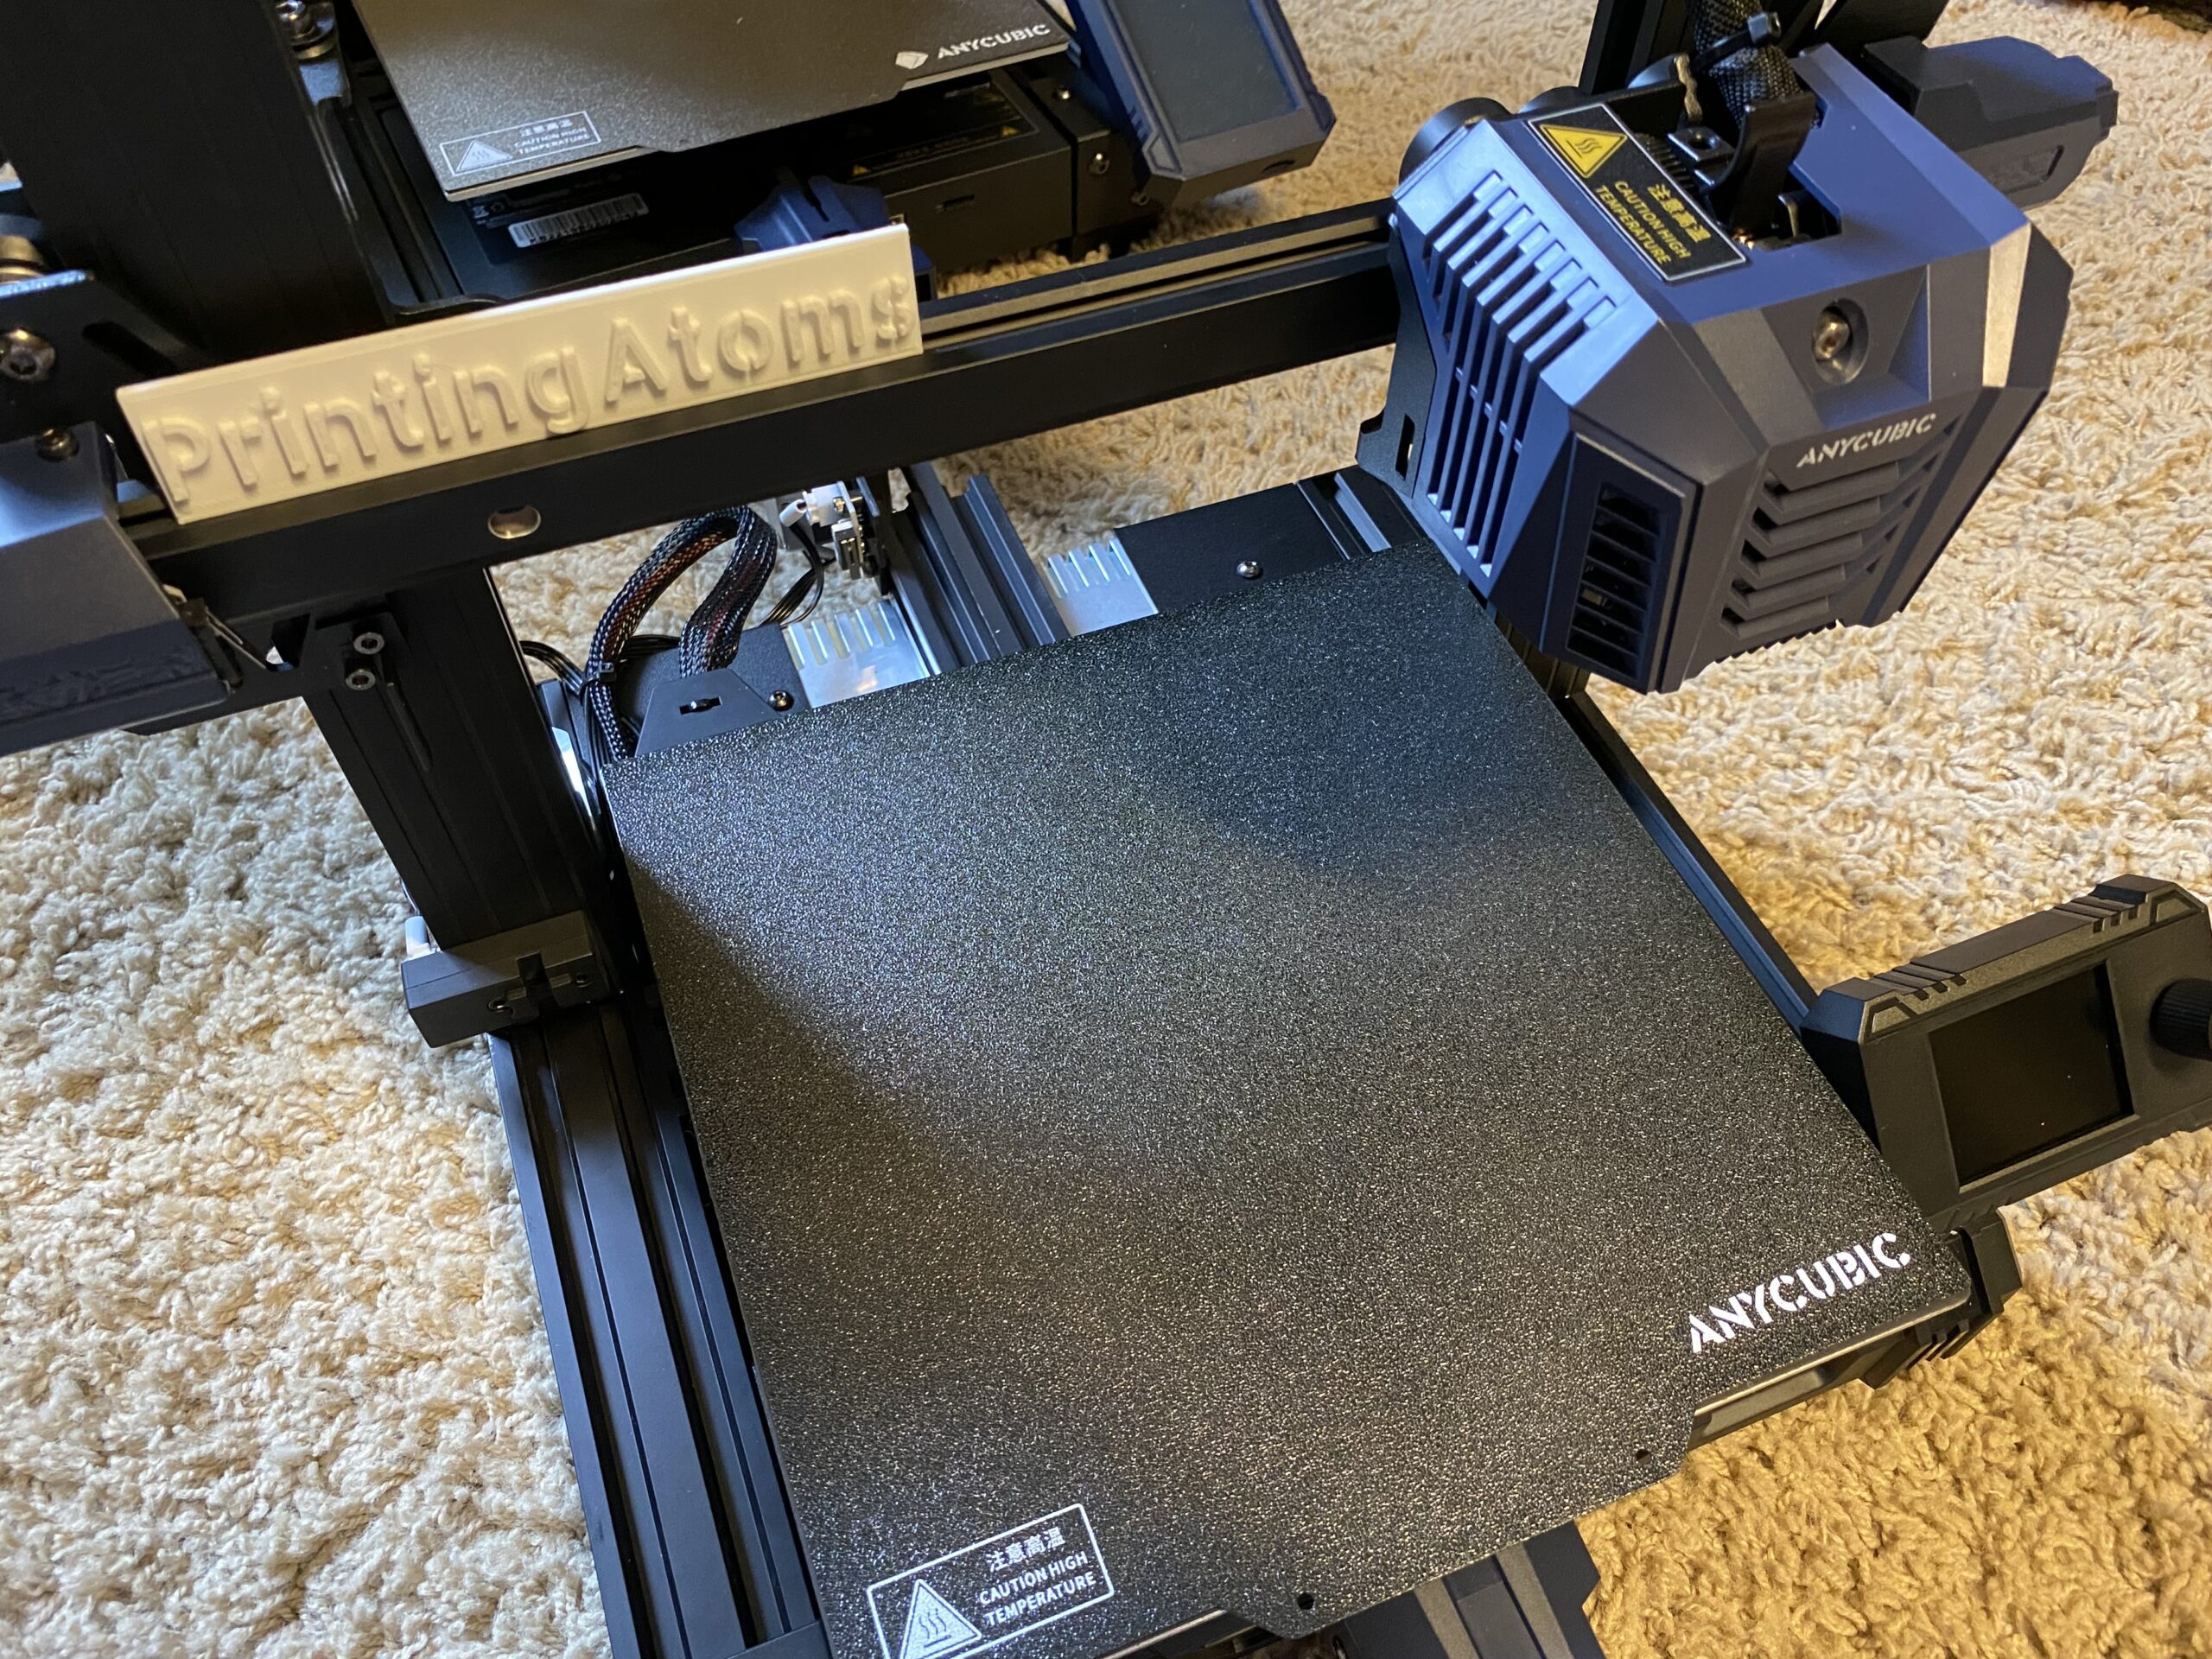
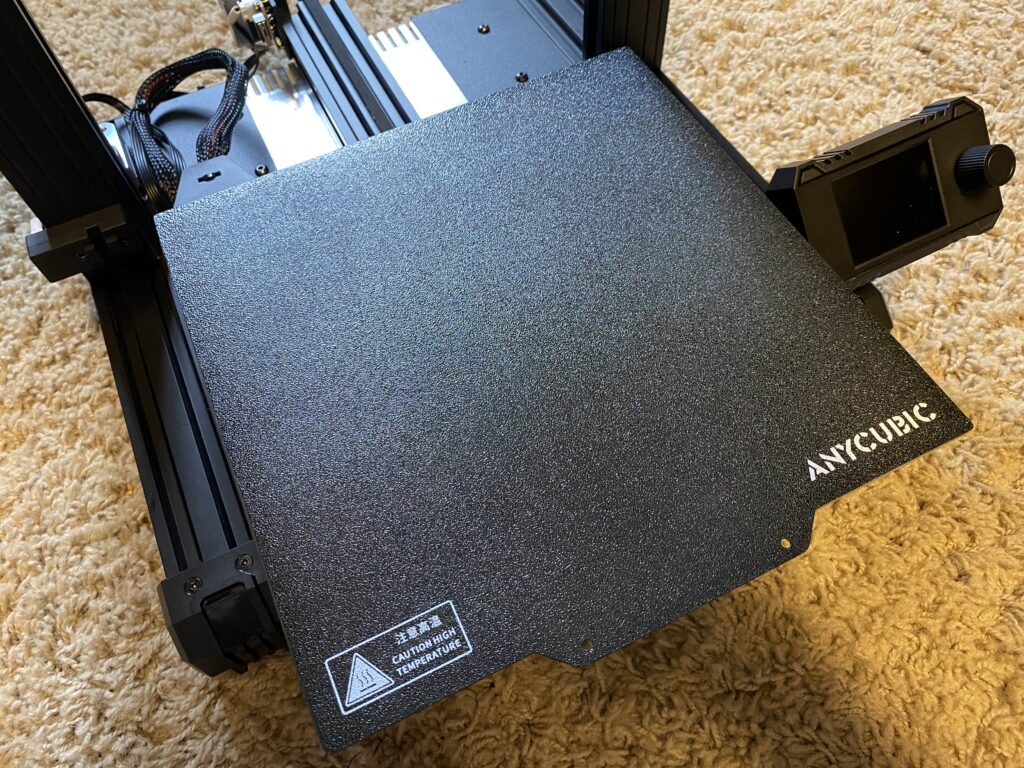
Spring Steel Build Plate
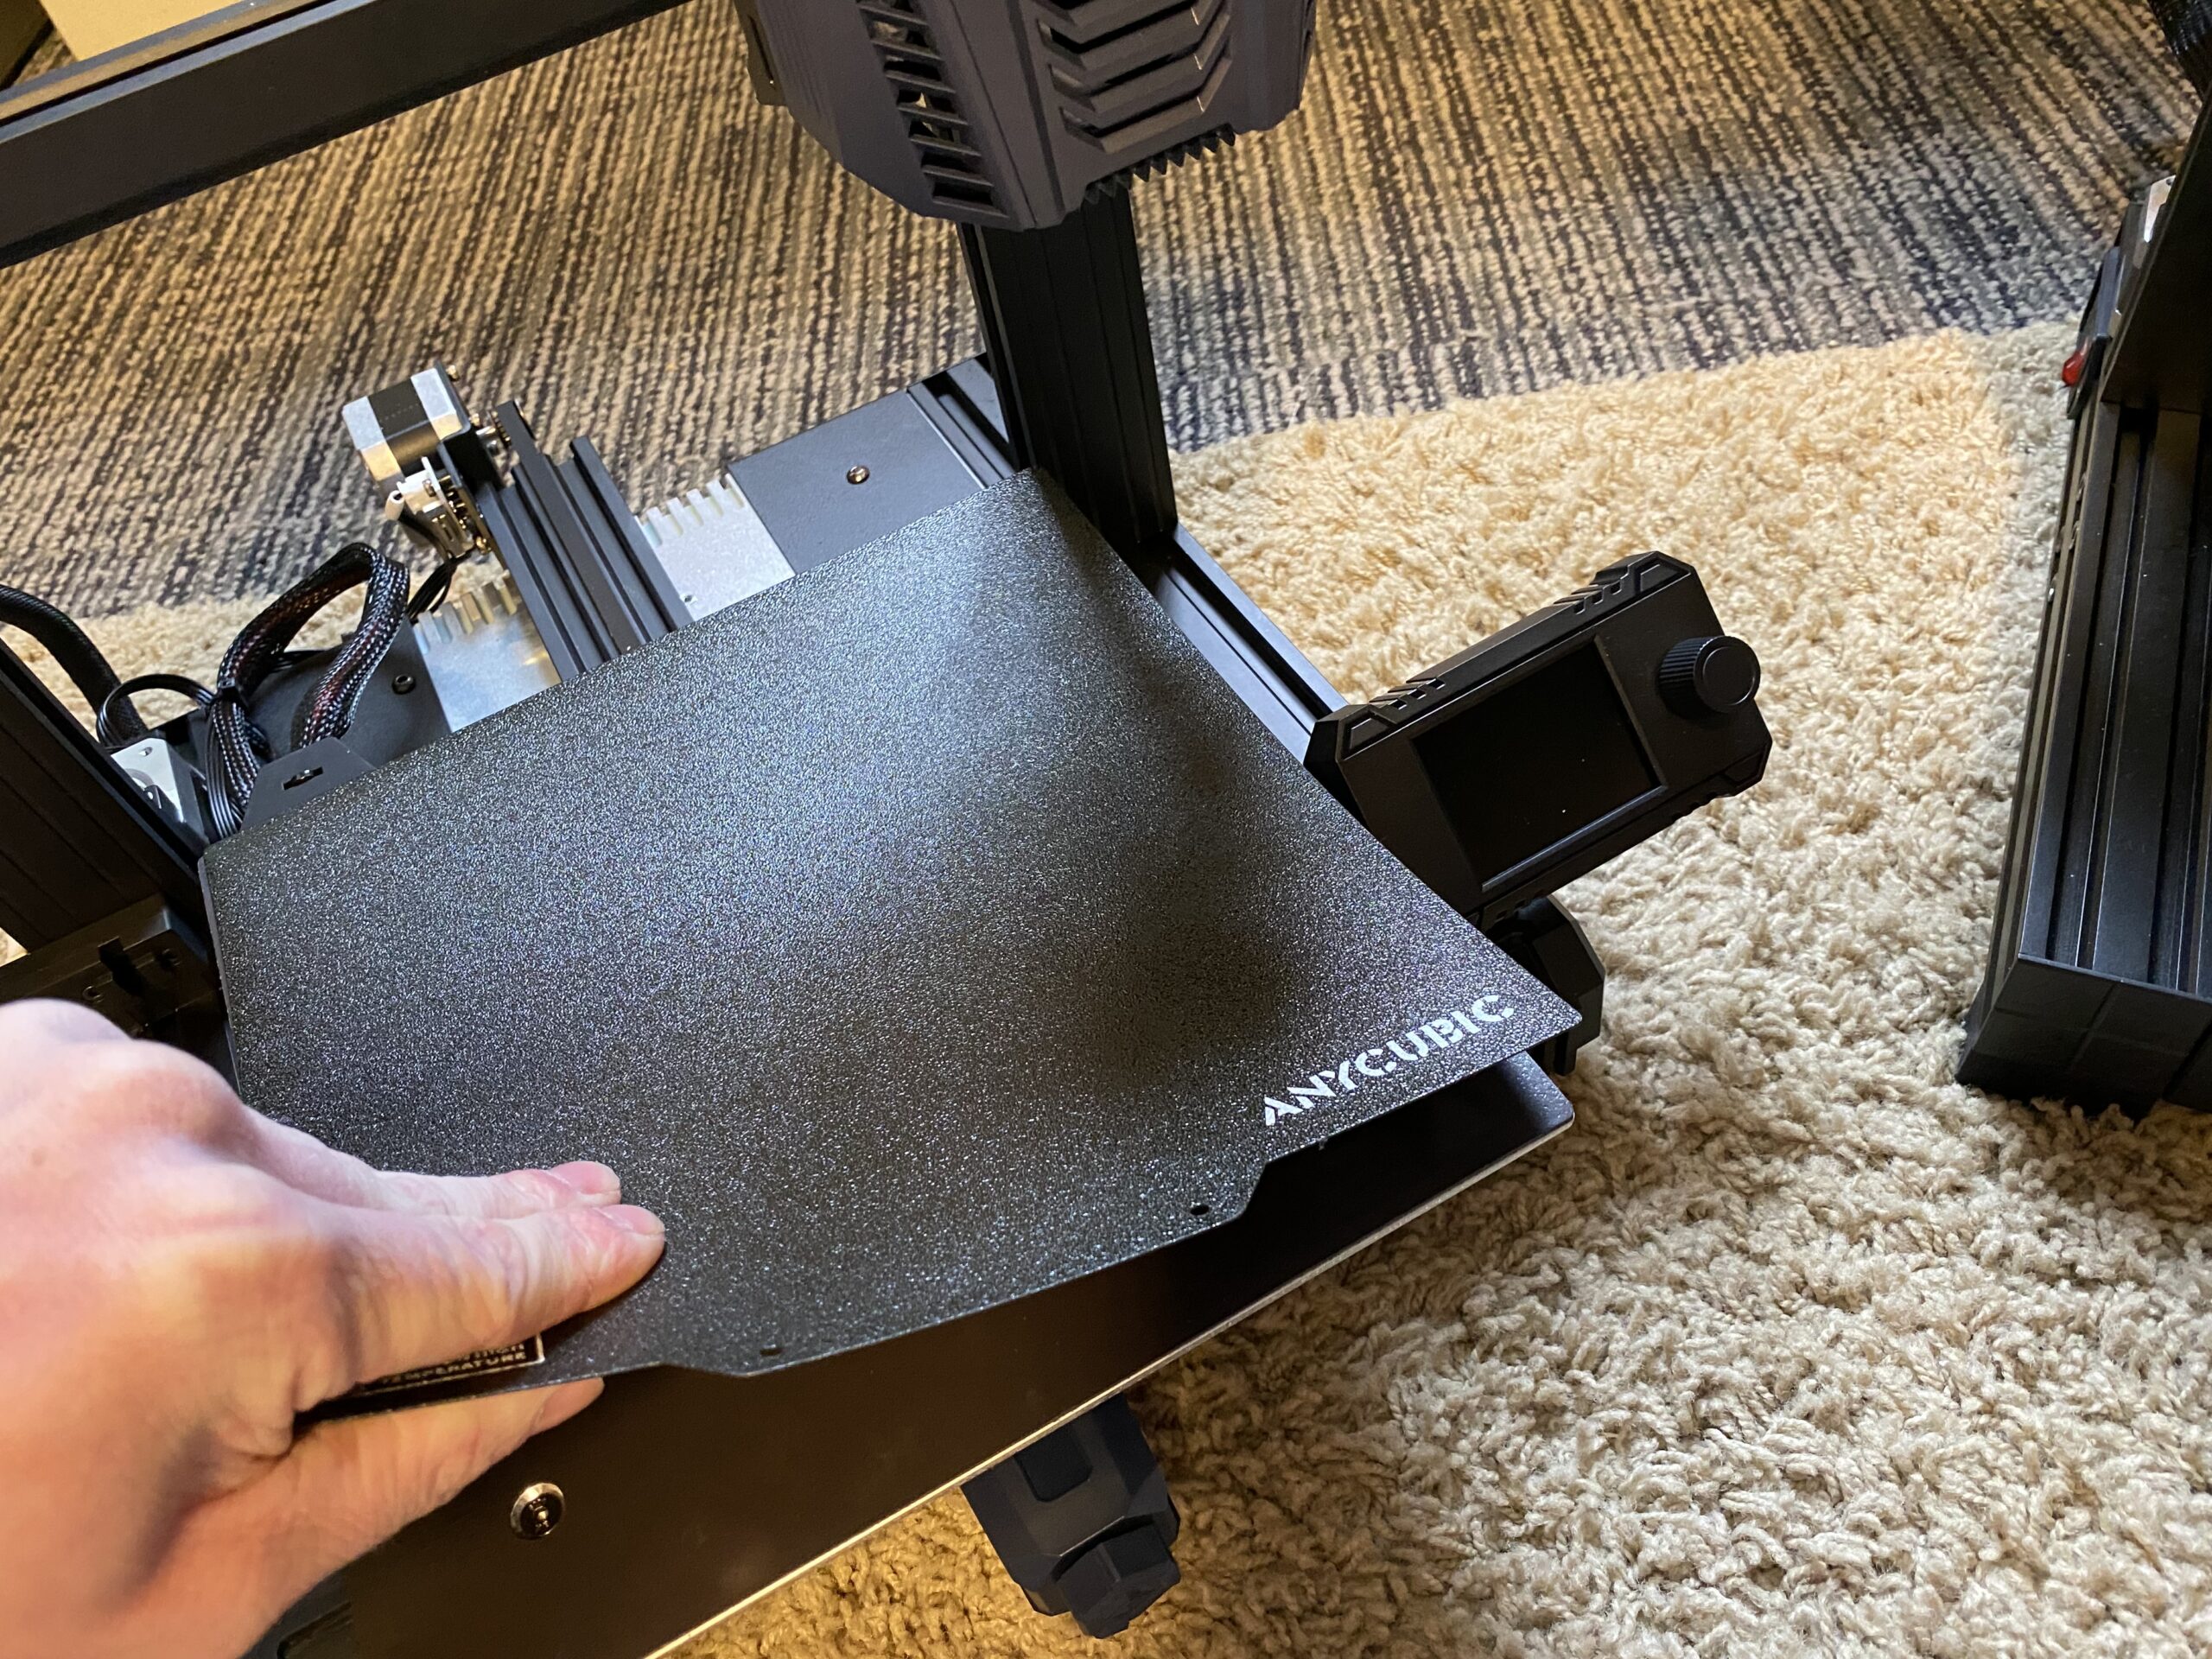
Spring steel PEI build plates are an increasingly popular feature on consumer-grade 3D printers, and you can find them in any version of the Anycubic Kobra, including the Kobra Neo.
So what’s so great about spring steel PEI? Well, first off, the PEI top-layer print surface is absolutely amazing for ensuring proper bed adhesion.
But, spring steel is also a flexible and magnetic metal. So, once a print job is complete, you can easily remove the build plate from your Kobra Neo and bend it to pop off the print safely. No more messing with sharp tools and risking your fingers!
And, unlike the spring steel build plate on the original Anycubic Kobra, the one on the Kobra Neo is double-sided. Both sides have a rough, textured surface which helps a lot with bed adhesion when printing ABS, PETG, and certain other filament materials. While I would’ve liked to see one side be rough and the other be smooth, this is something I can live with.
Electronics
Next, it’s time to go over the electronics of the Anycubic Kobra Neo. Unfortunately, the Kobra Neo isn’t an open-source 3D printer, so many of the electronic specifications haven’t been provided. But, there’s still a lot to talk about!
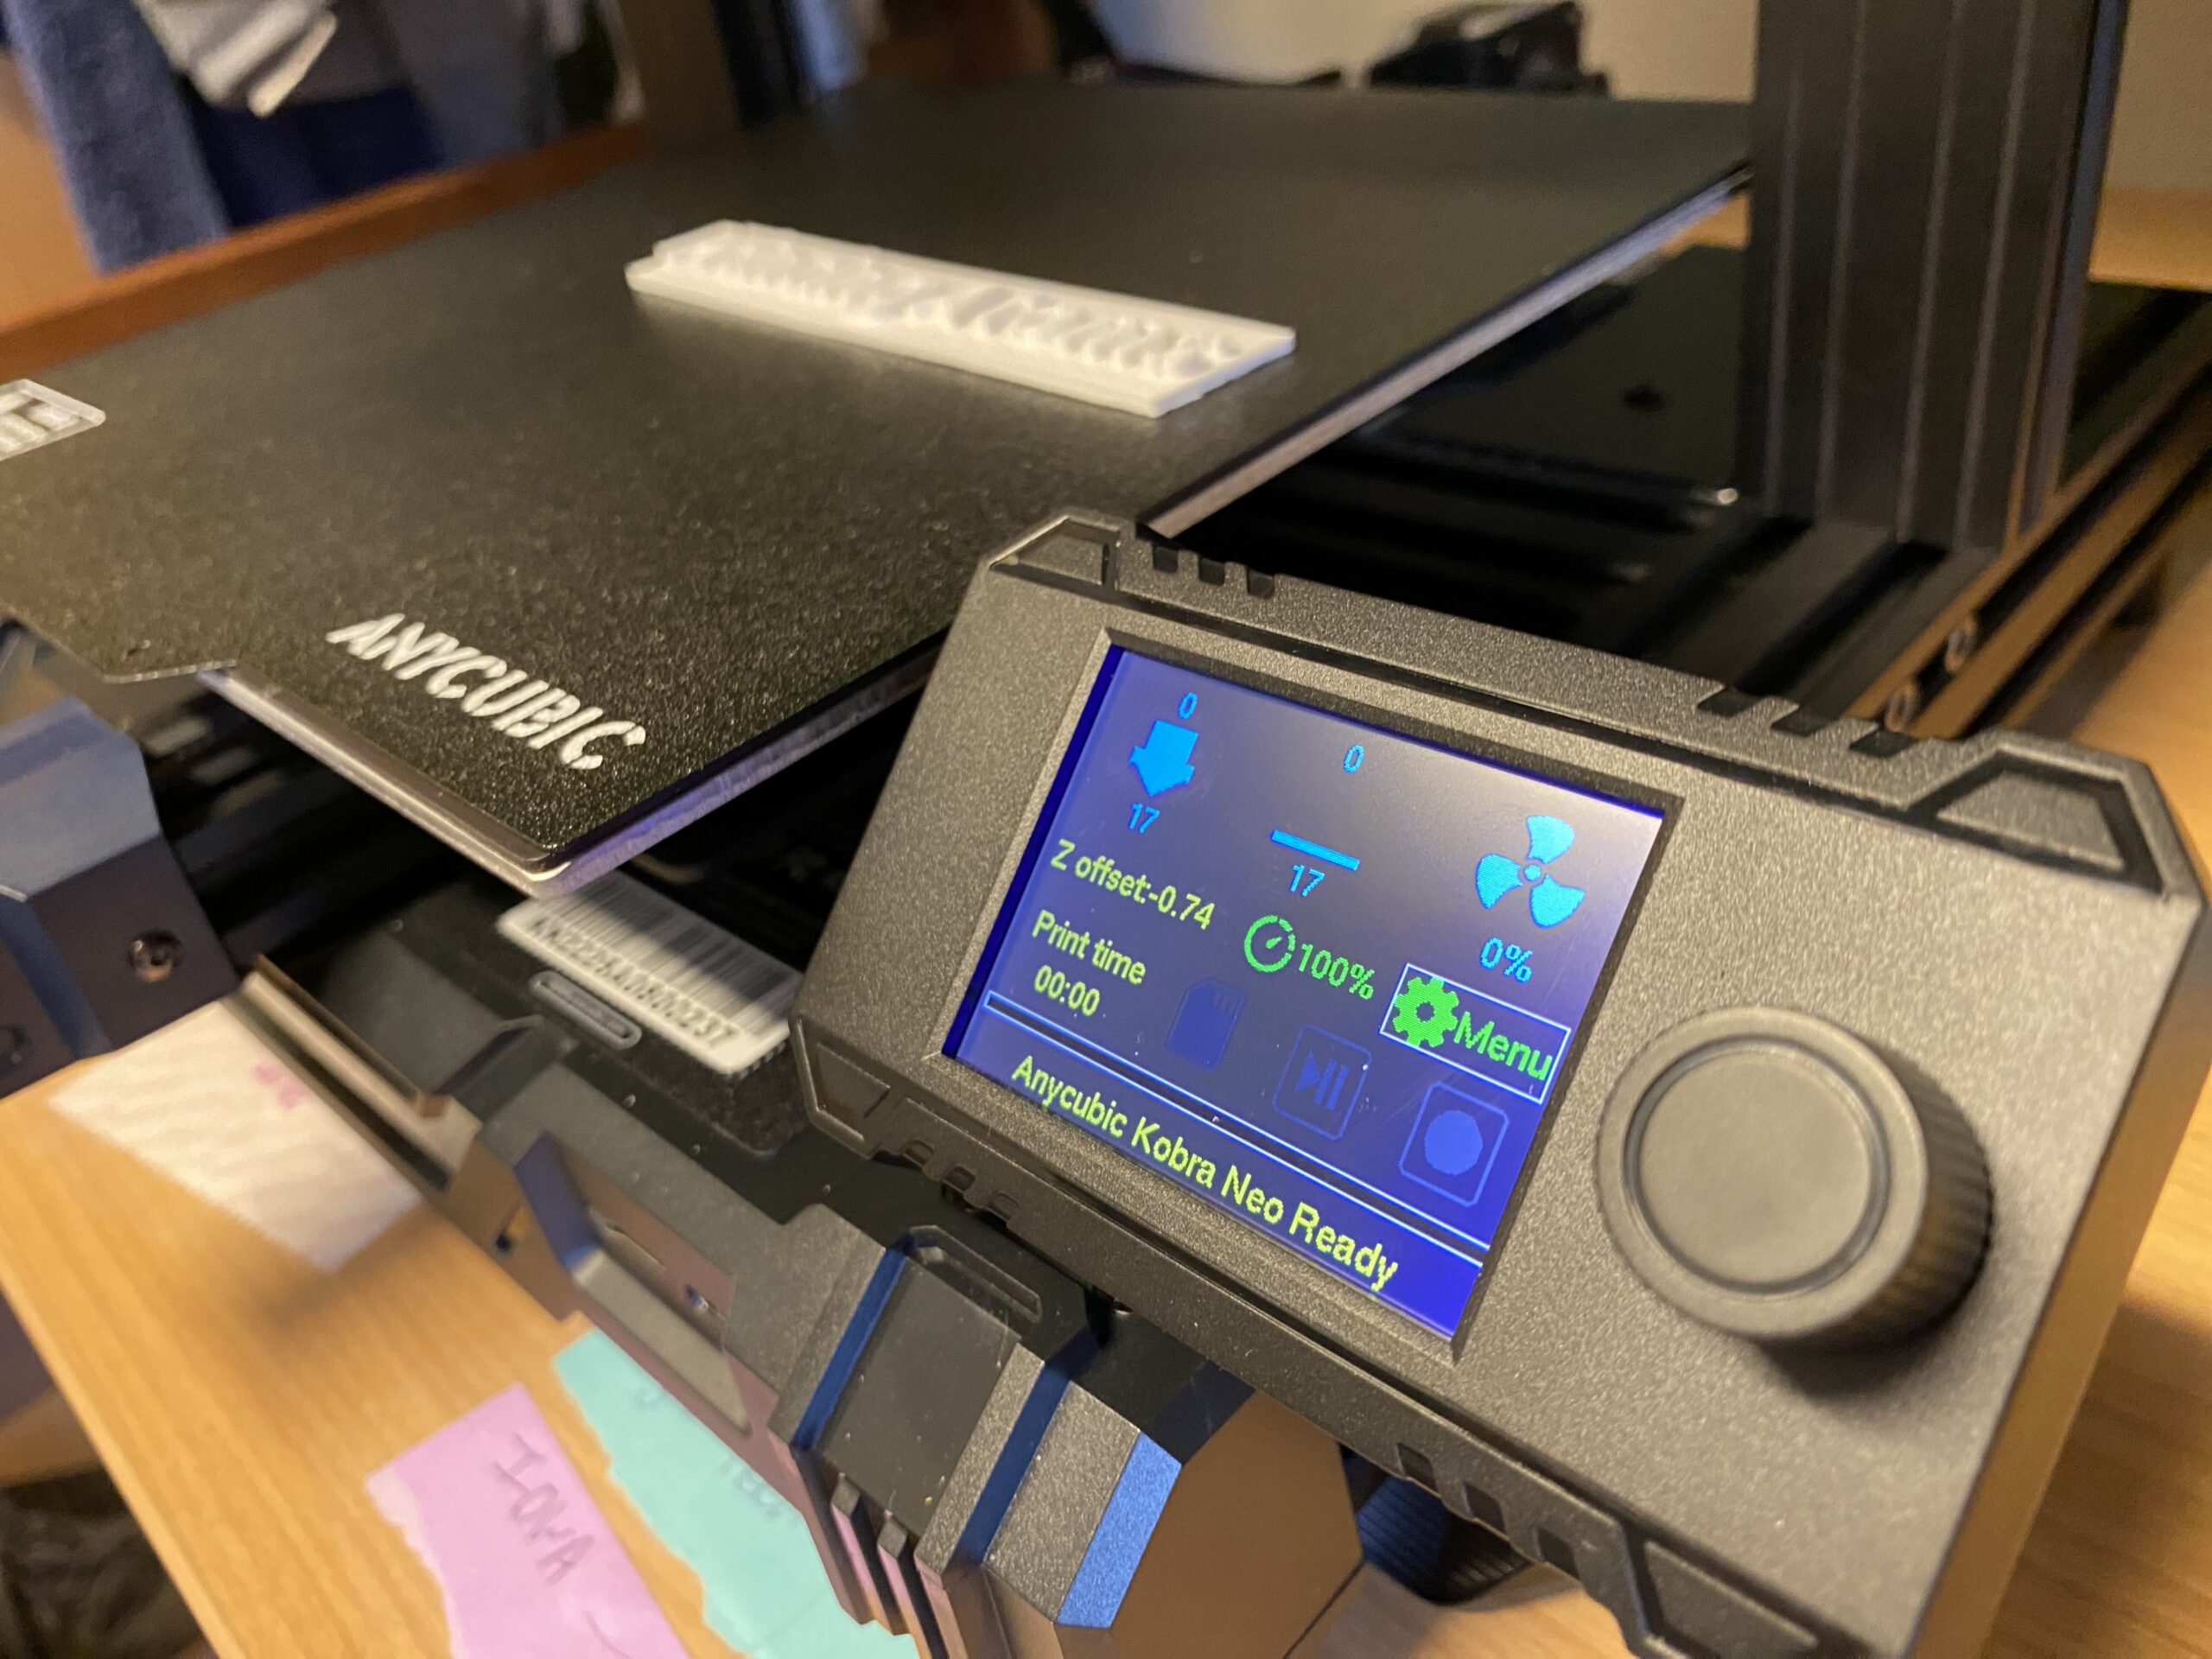
First off, the Kobra Neo is equipped with a small, full-color LCD. Sadly, though, it’s not a touchscreen, like the one on the original Anycubic Kobra. And, personally, I found the small size of the screen as well as the somewhat-confusing user interface a bit annoying to use.
But what I did like about the Kobra Neo was how quiet it was. Though Anycubic didn’t state what stepper motor drivers are used, it’s likely that the Neo has some decent TMC drivers as the noise output of the machine was extremely low.
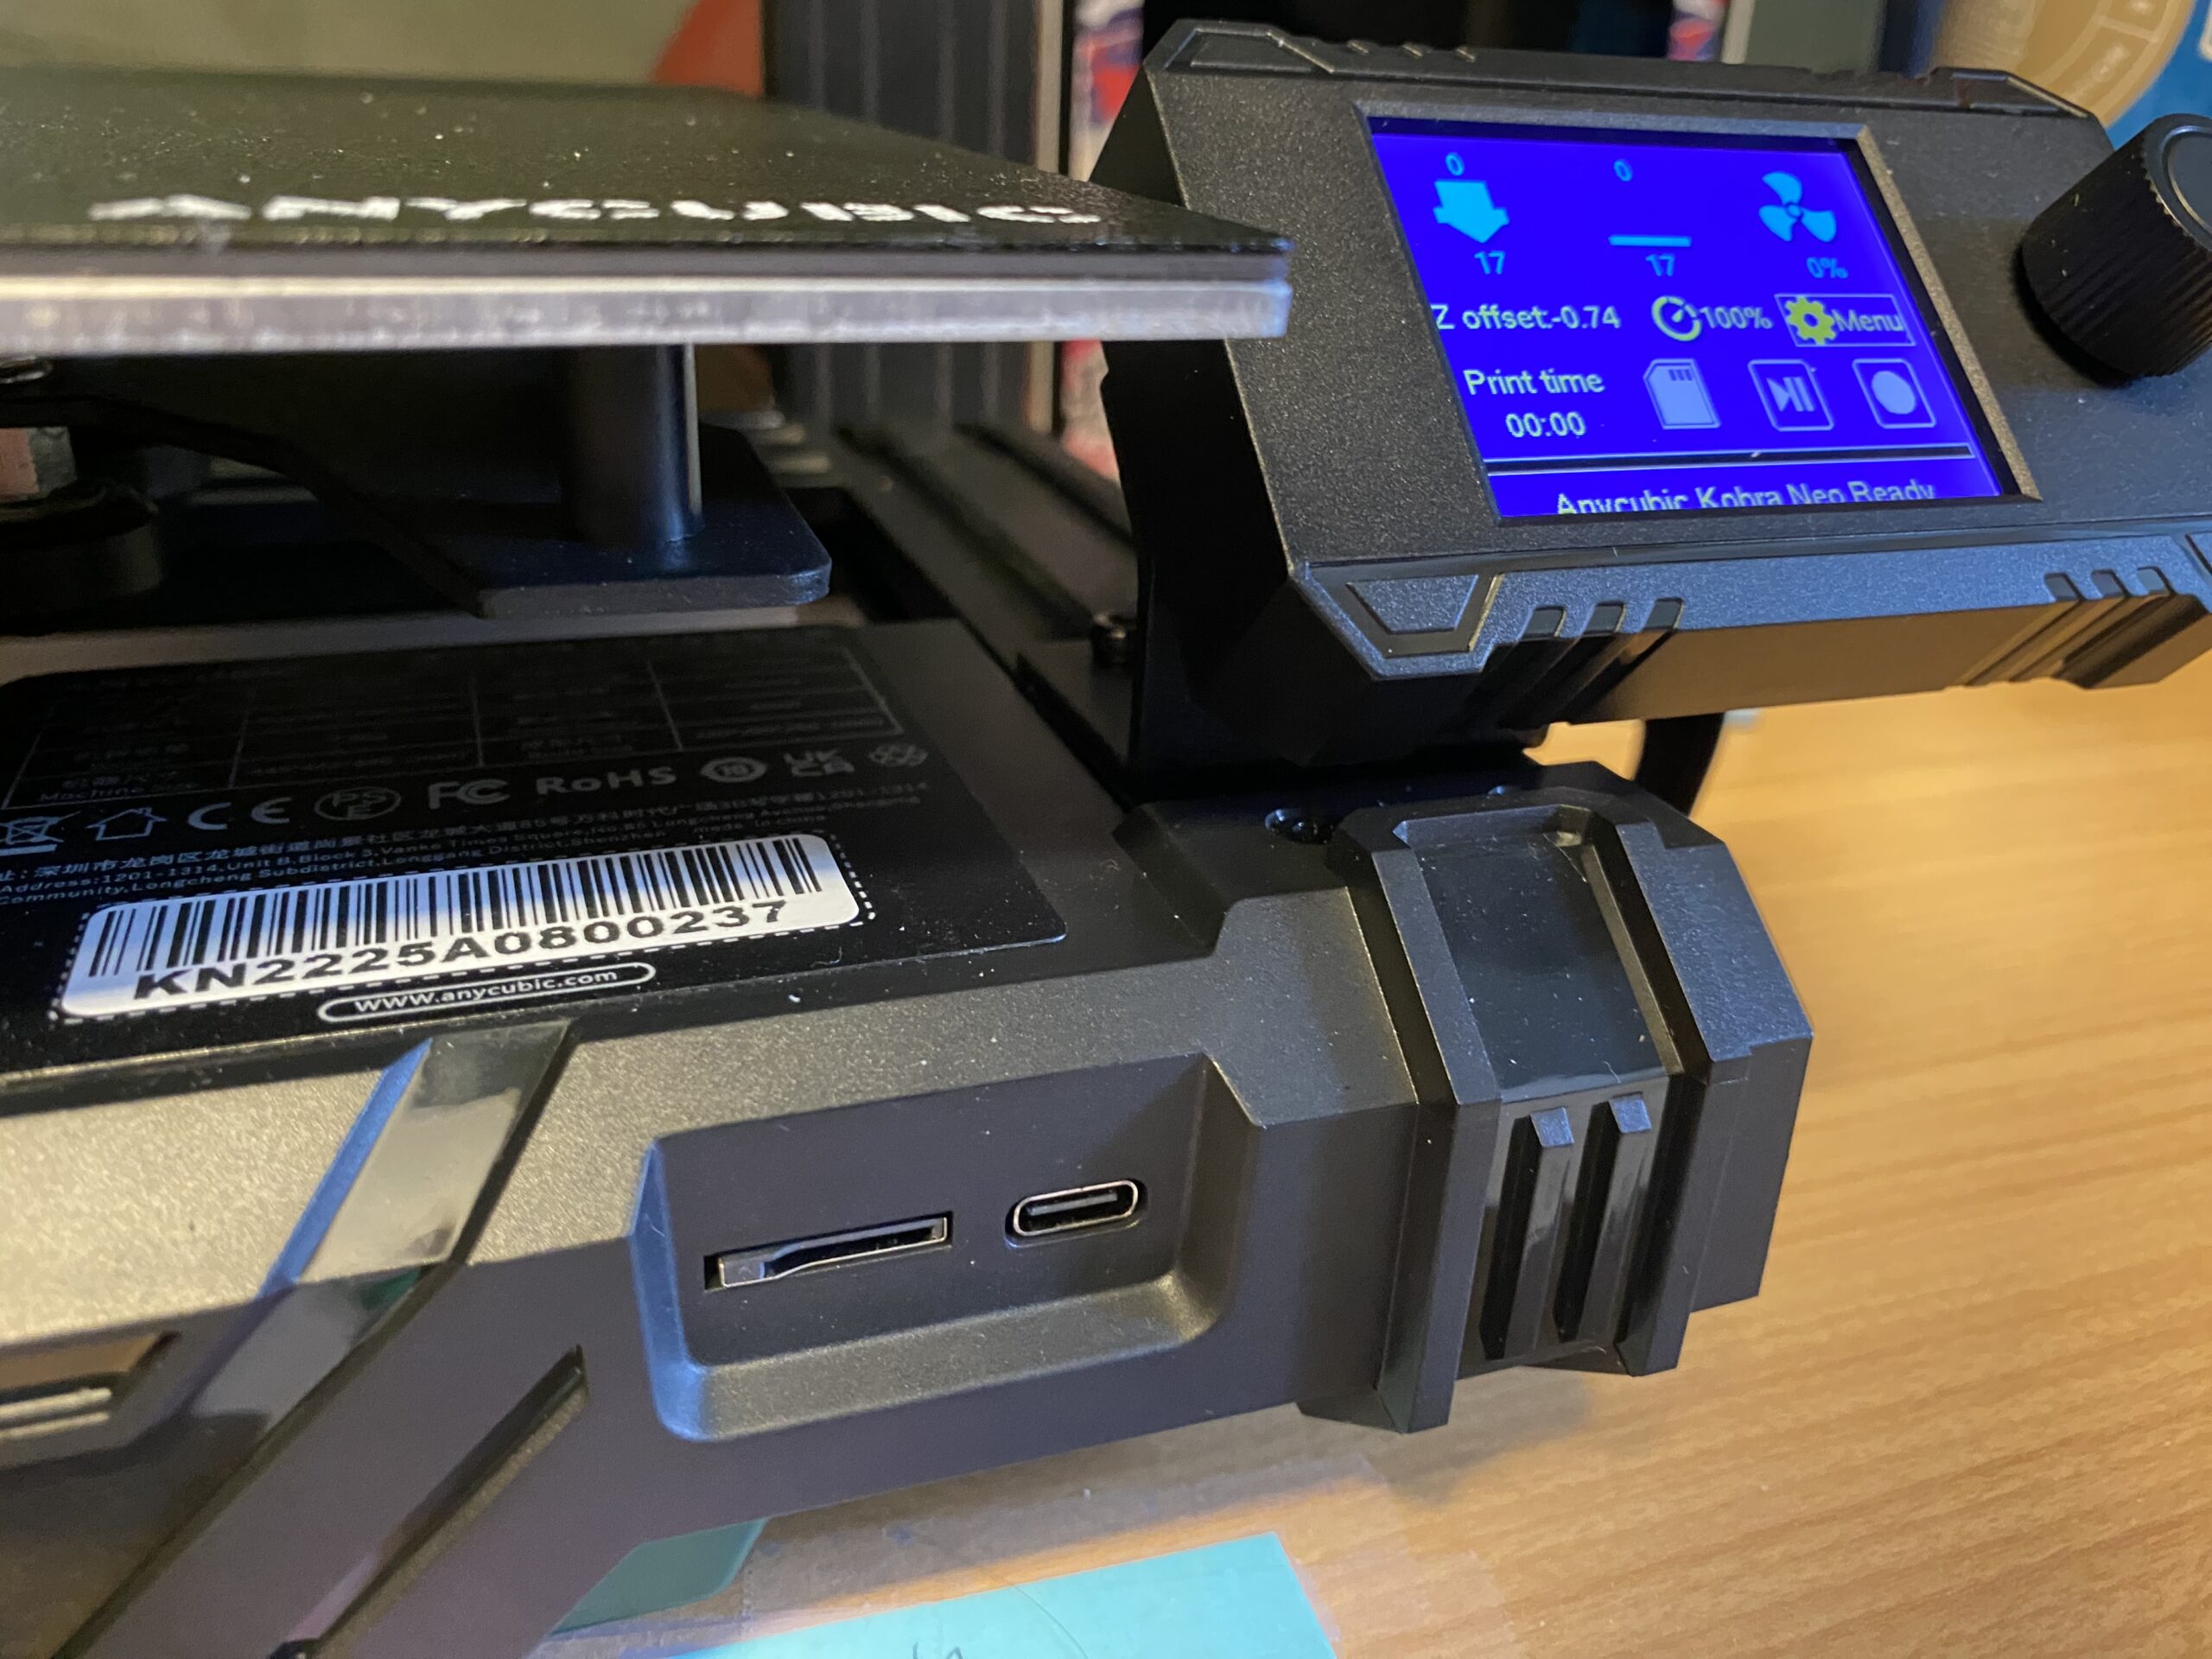
As for the motherboard, I really have no clue! It’s probably a 32-bit board considering most budget FDM 3D printers have left 8-bit boards behind, but it’s difficult to tell. But, the motherboard does have both a MicroSD card slot and USB Type-C port, which is helpful for starting prints and making upgrades (e.g. OctoPrint server).
Other Features
Of course, the Anycubic Kobra Neo also has some features that I wasn’t able to fit in the sections above, like belt tensioners and a special spool holder. I’ve listed these small-but-useful features of the Neo below:
- Integrated Belt Tensioners: Keeping the belts on your 3D printer tight is super important and prevents issues like layer shifting and ghosting. The Kobra Neo’s integrated belt tensioners make it easy to control the belt tension and you can tighten them with a simple turn of a thumbscrew.

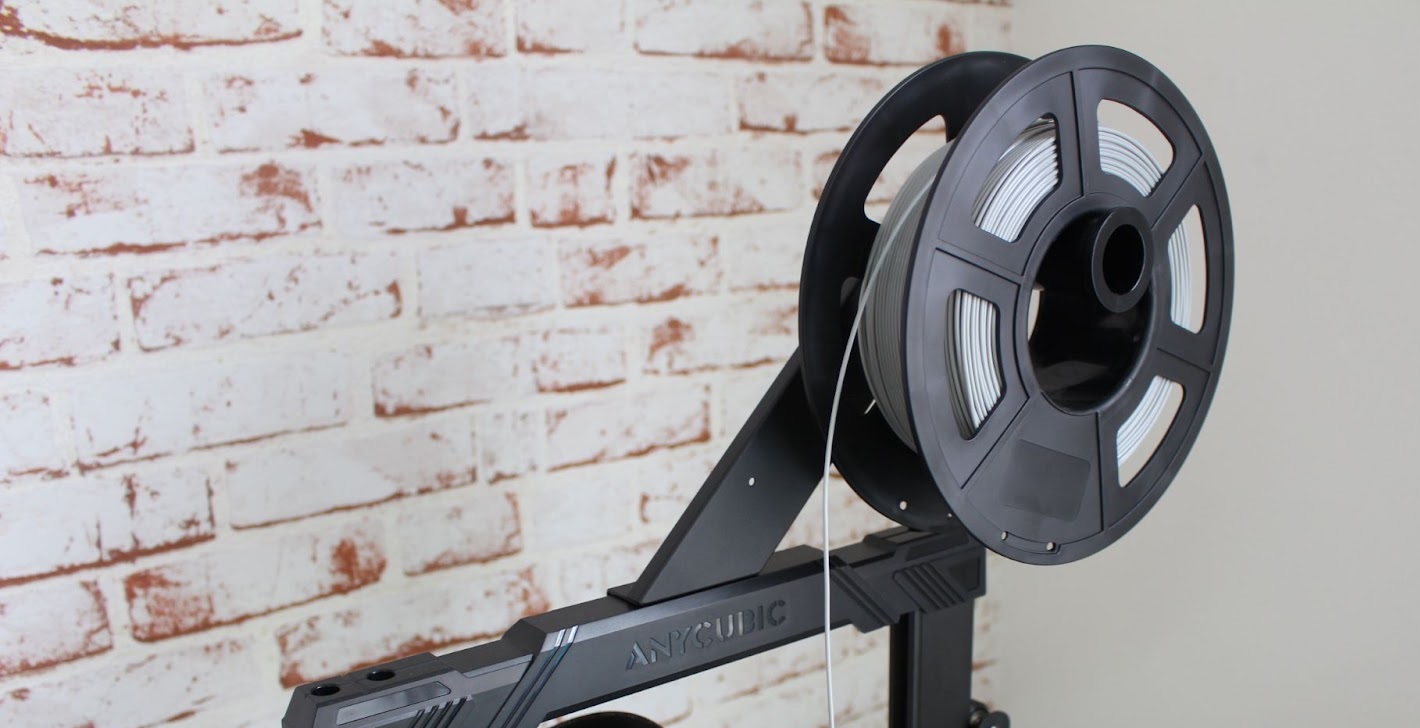
- Top Spool Holder: Another “feature” of the Kobra Neo is its top-mounted spool holder. To be completely honest, I’m not a fan of putting the filament spool at the top of a 3D printer, especially a relatively mid-size one. That’s because when you have 1 kilogram of filament on the top of the machine’s frame, it gets a bit unstable. Personally, I’d rather mount the spool to the side of the printer as this lowers the vibrations on the printer, potentially preventing problems like ghosting and ringing.
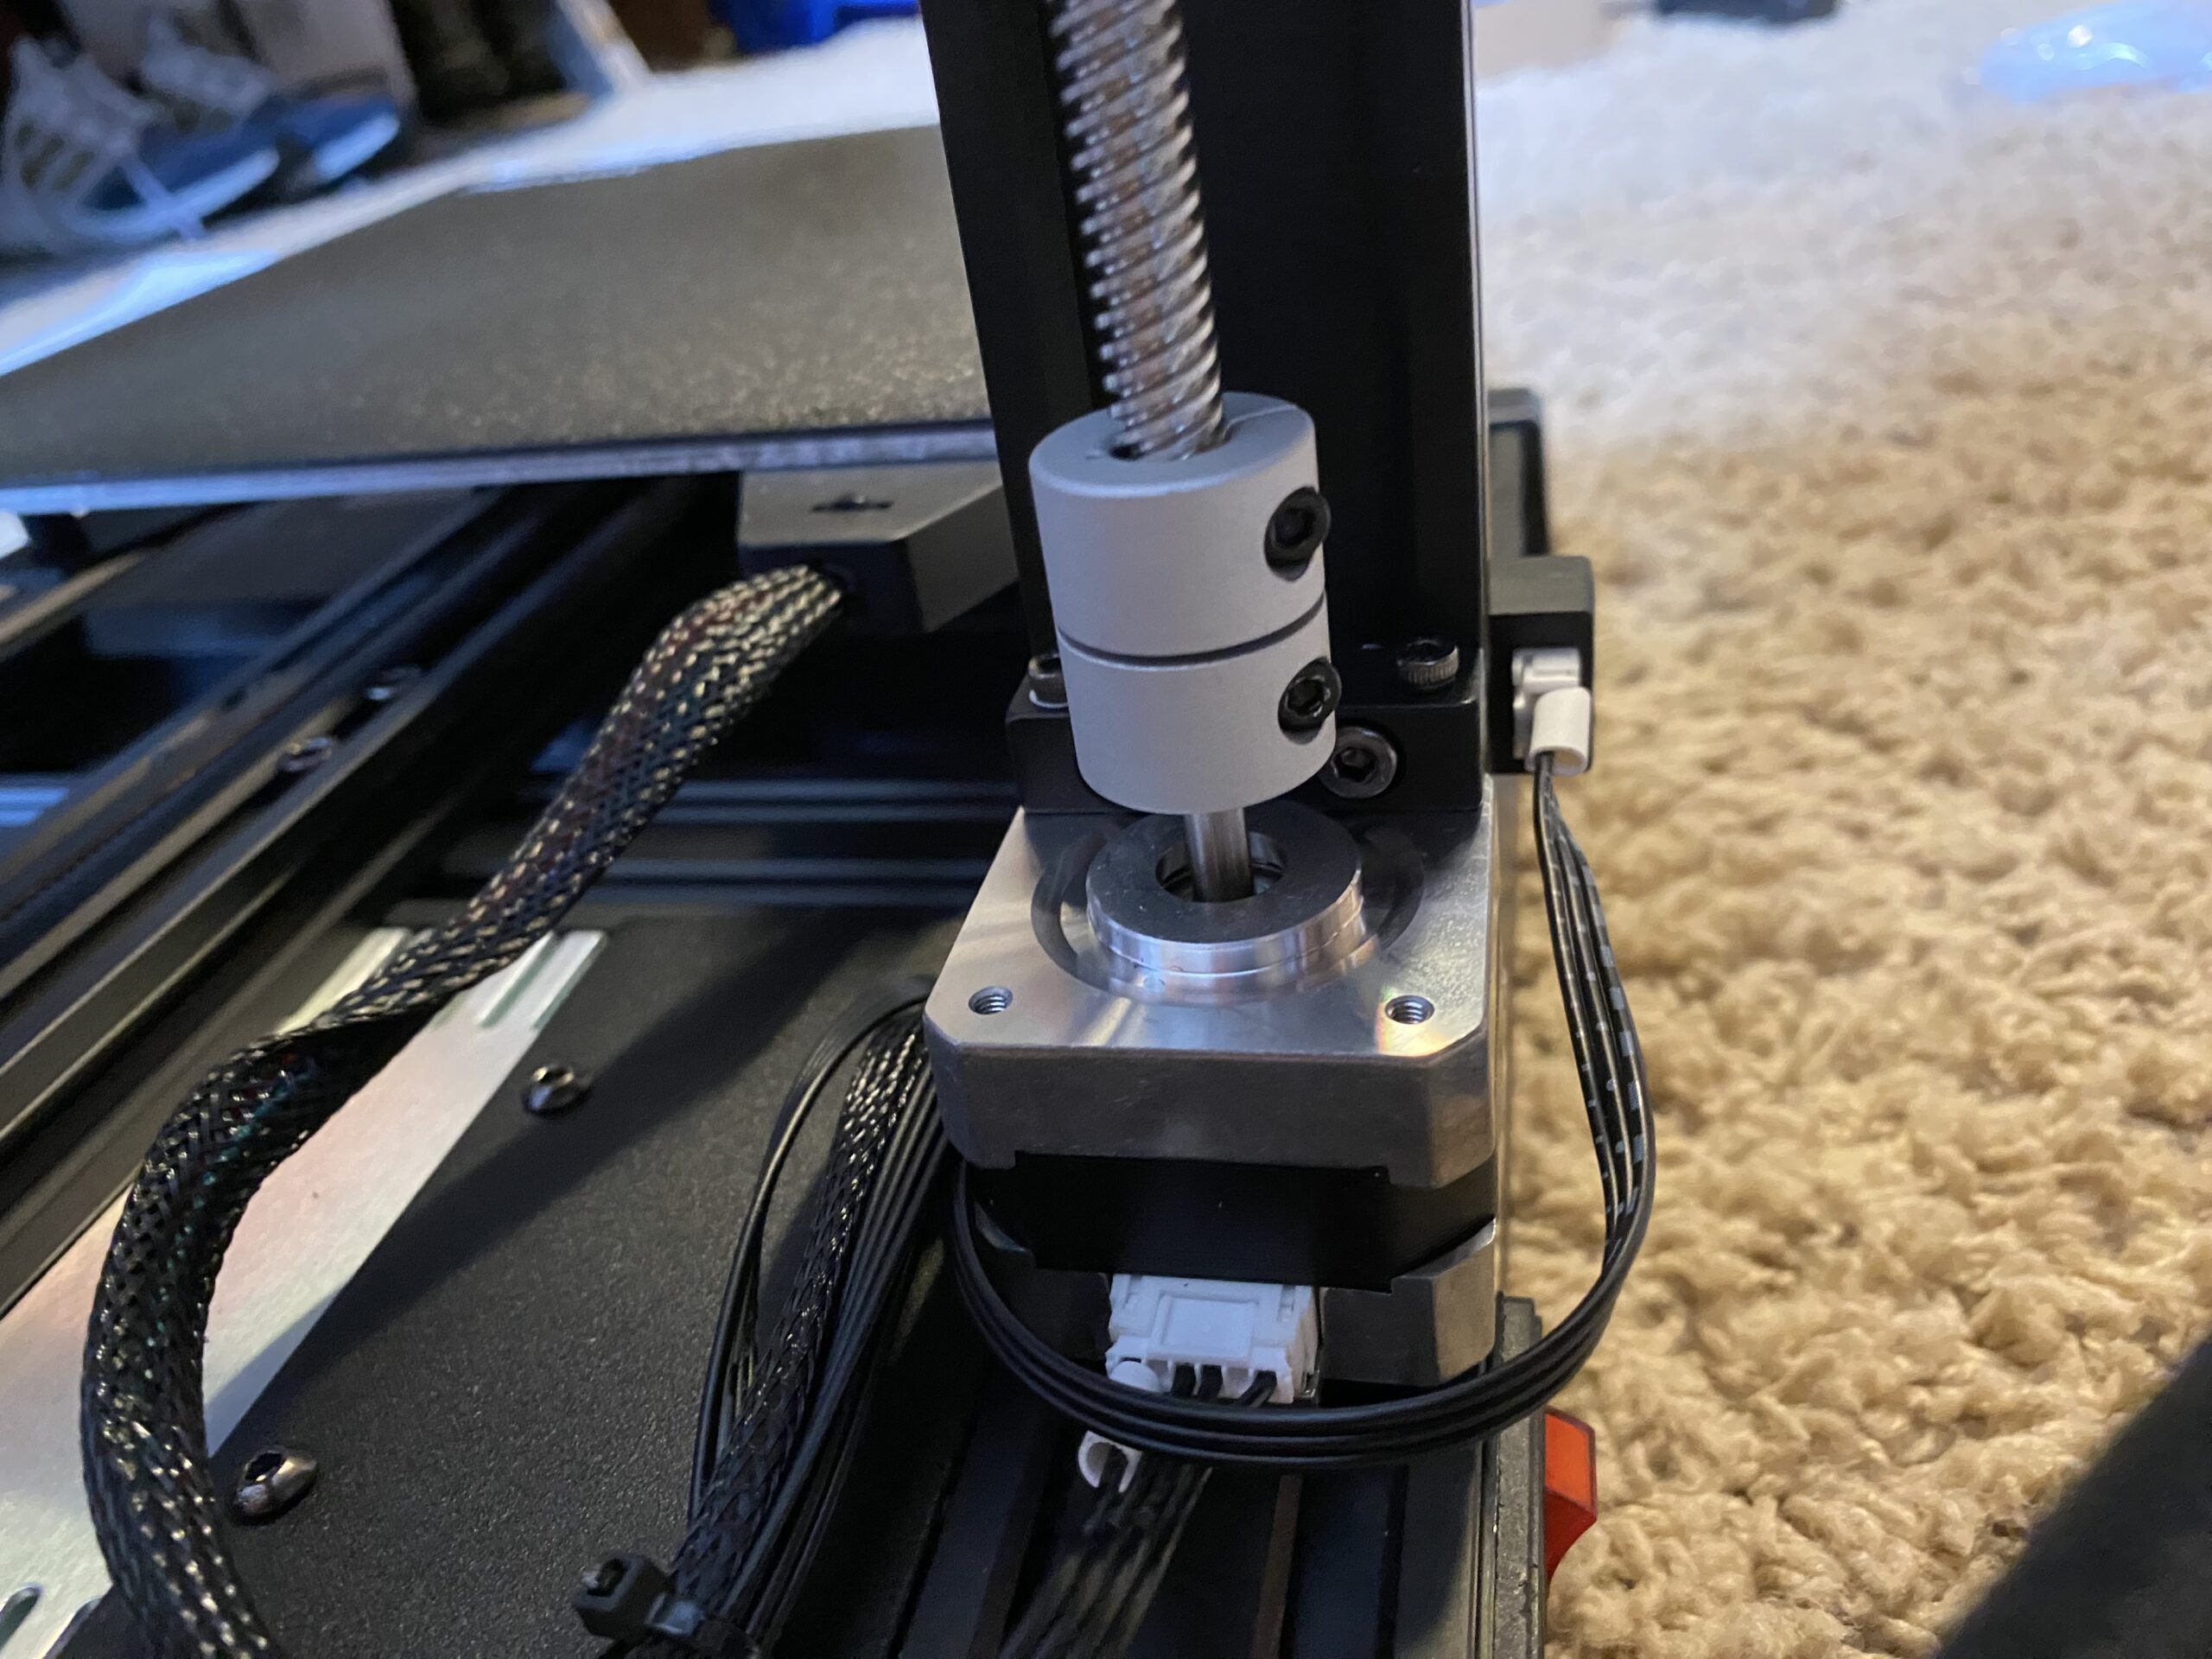
- Single Z-Axis Lead Screw: Lastly, while I don’t want to, it’s important to note that the Anycubic Kobra Neo has only one Z-axis lead screw (and only one Z-axis stepper motor). This was likely done to cut costs for the budget printer, but it increases the chances of the X-axis gantry sagging as only one side of the gantry moves up and down (the other is idle). And, if the X-axis gantry sags, achieving a level bed and a good first layer will be difficult.
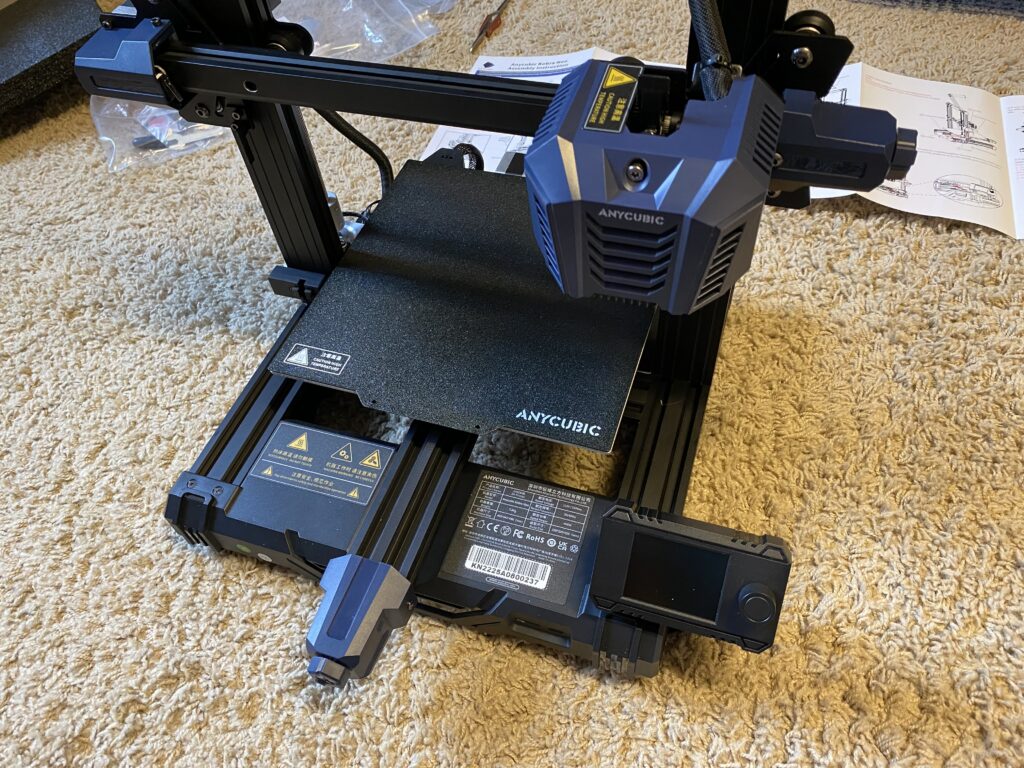
Assembling the Anycubic Kobra Neo was a total breeze, and, with a stopwatch, I found the entire build process took under 20 minutes! Of course, it might be a little bit longer if this is your first 3D printer, but not by much!
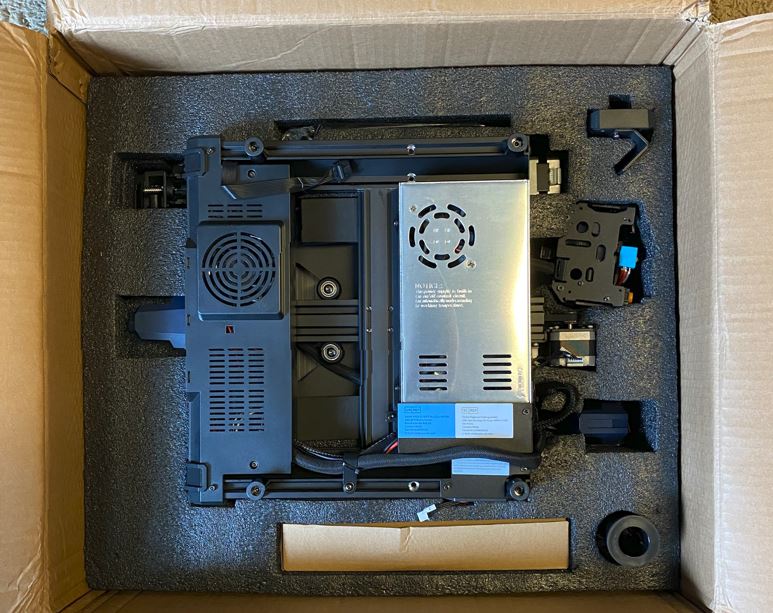
The main reason for the Kobra Neo’s speedy assembly process is that, unlike some other budget 3D printers (cough, cough the Ender 3), the Kobra Neo comes almost entirely pre-assembled, split into a few main assemblies in the shipping box. See the image below for reference:
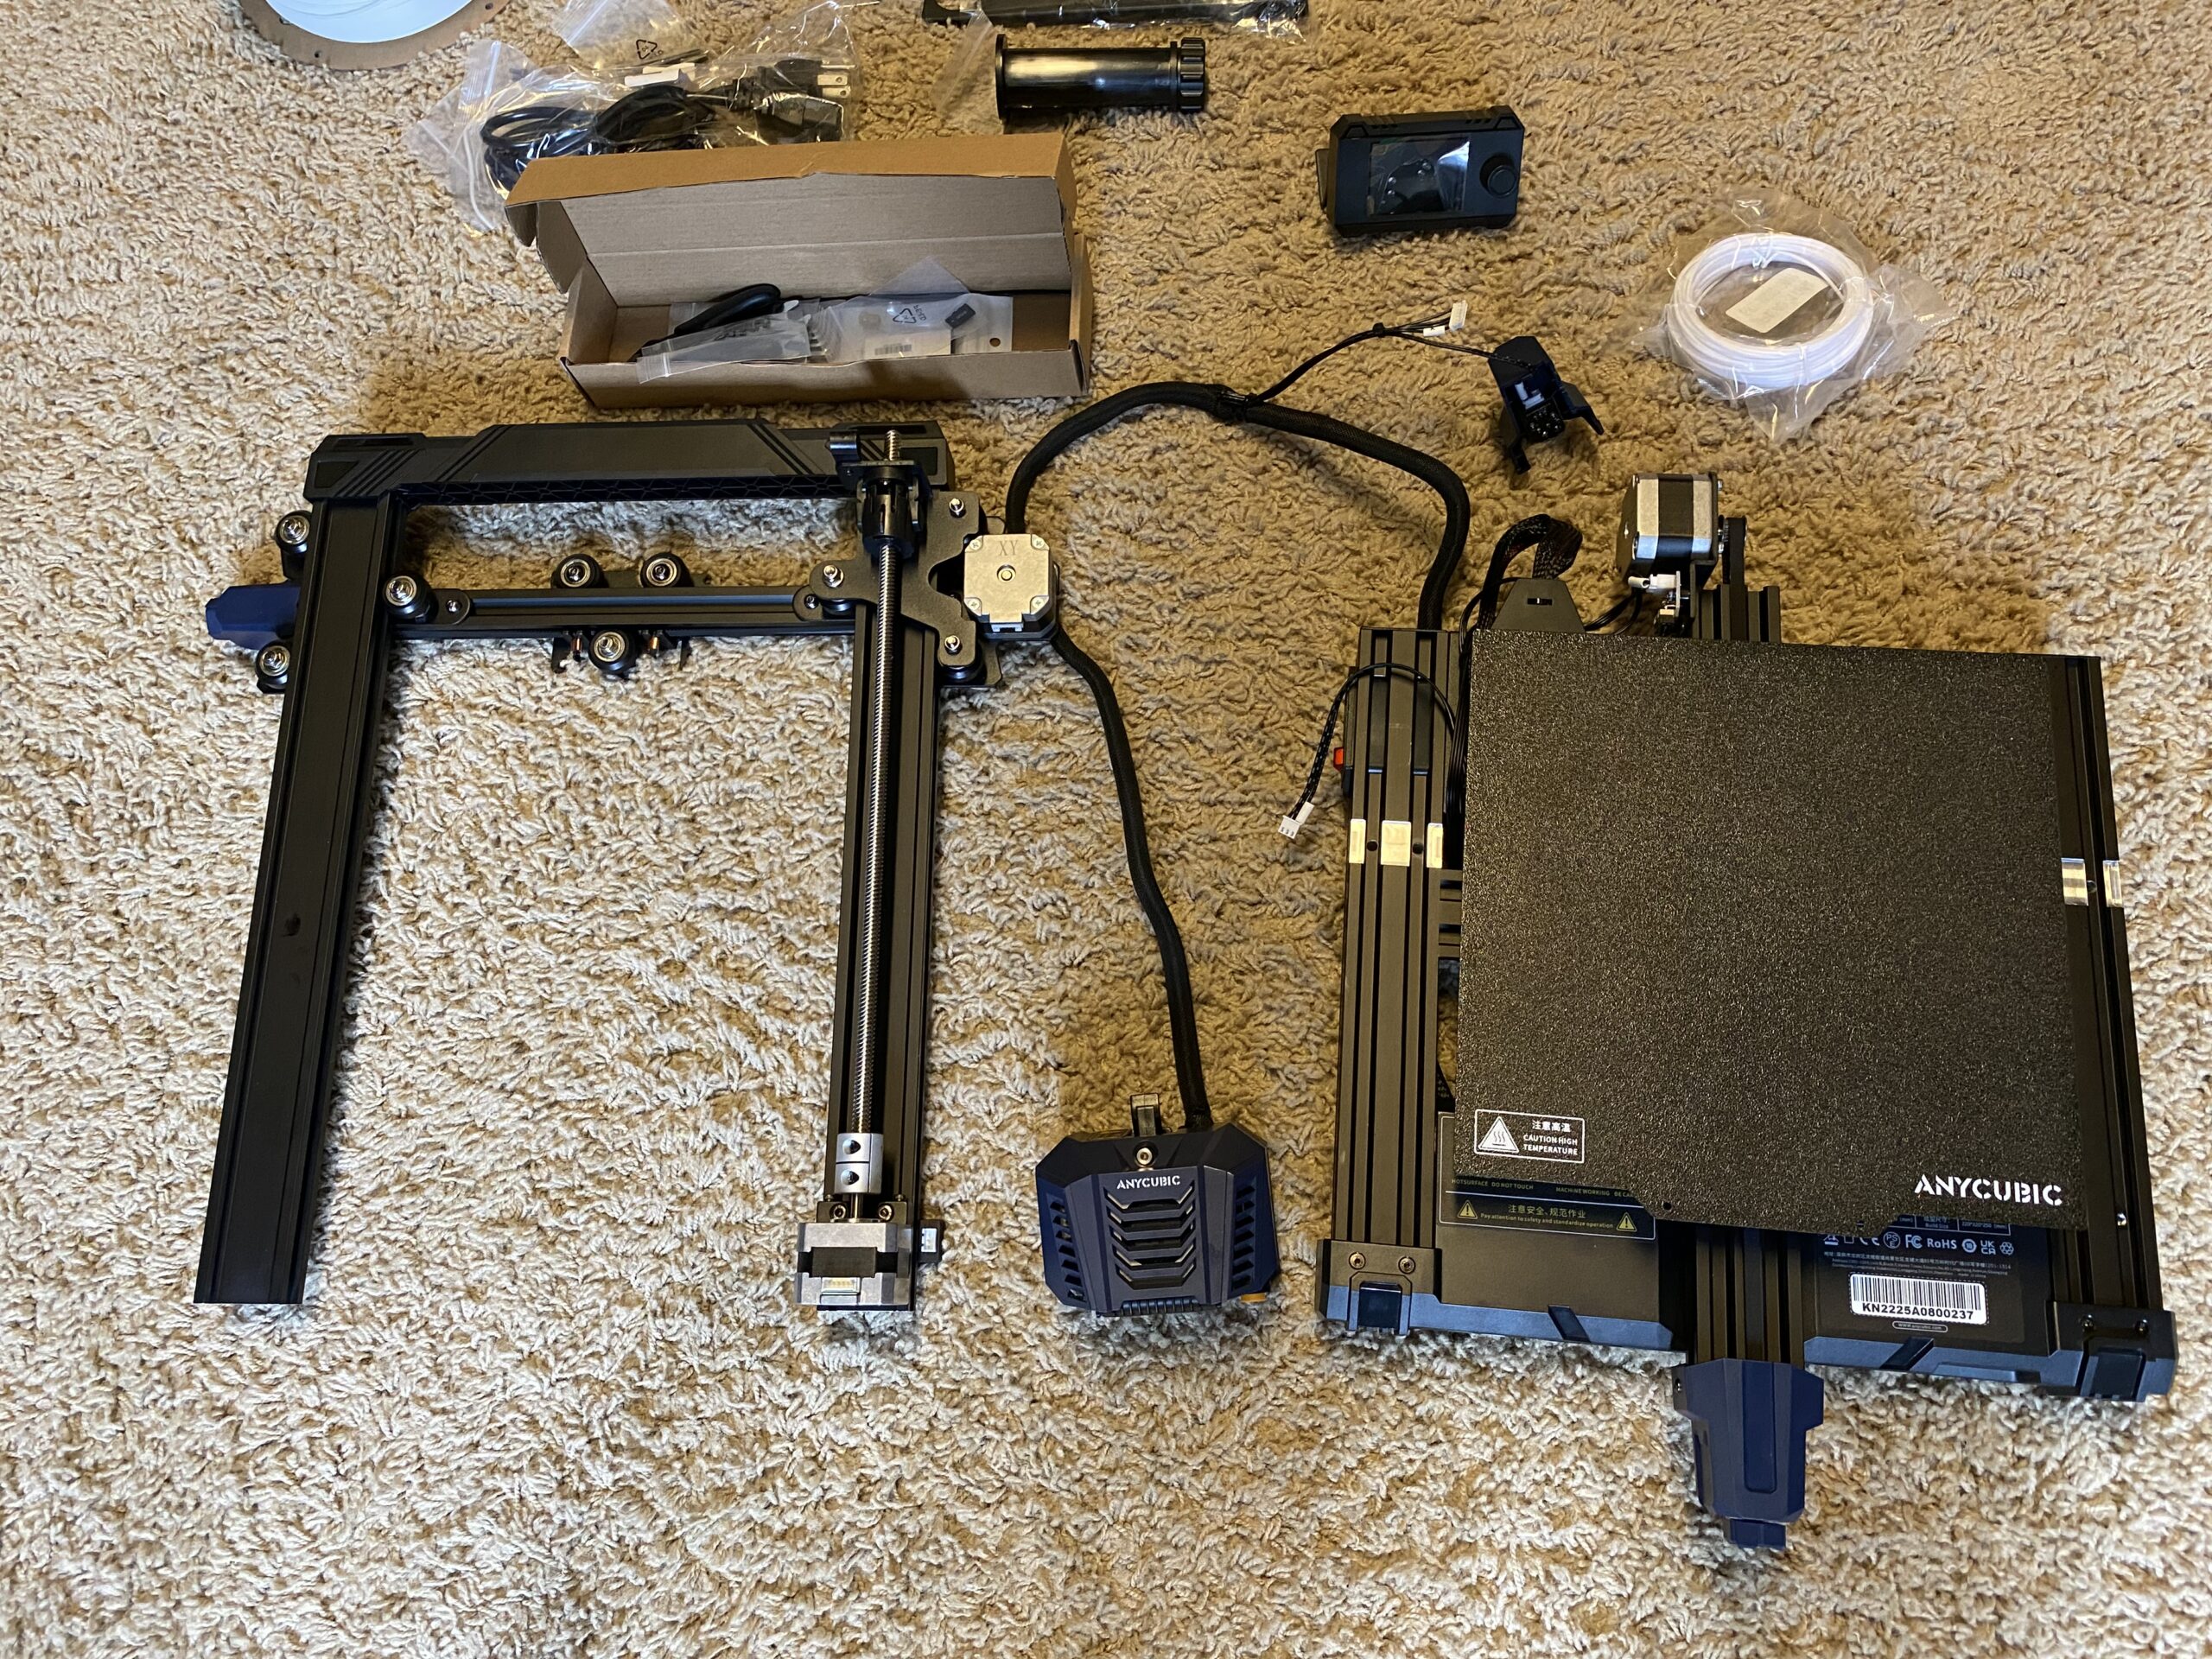
Moreover, there are only around 10 bolts that you need to screw in to mount the assemblies together, as well as to attach the printhead to the X-axis carriage. After that, just connect a few wires to the motors and endstops, switch the voltage on the PSU to 115V (if you’re in the U.S. like me), and power that baby on!
After a short boot-up, your Anycubic Kobra Neo is ready to start printing! Just make sure you insert your filament properly, level the bed, and set the Z-offset.
Test prints are the best way to evaluate any 3D printer’s performance. I’ve printed a few test models on my Anycubic Kobra Neo and have shown them off below:
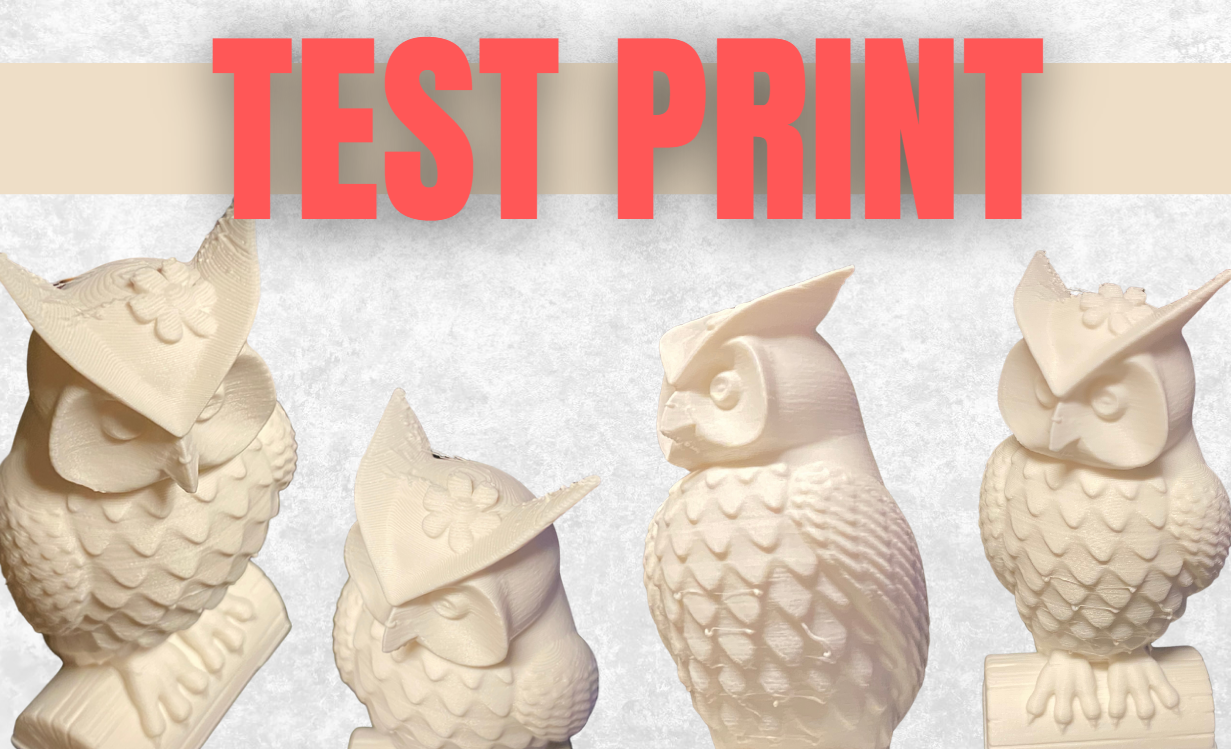
Obviously, the default slicer settings for the Anycubic Kobra Neo could use some work. But, overall, for a first print, this owl isn’t bad. And, it didn’t take too long either!