- Last Updated: March 24, 2023
-
 Jackson O'Connell
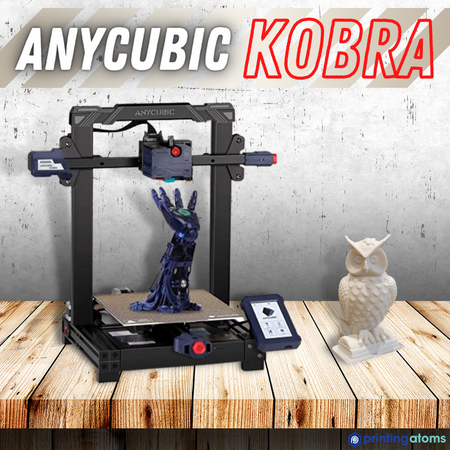
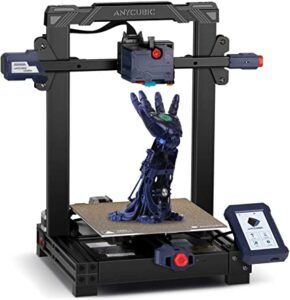
Anycubic is one of the most popular 3D printer manufacturers, especially on the consumer side. They have tens of different FDM and resin machines under their belt, but easily one of their best 3D printers is the Anycubic Kobra.
Released in 2021, the Kobra was the starting point for Anycubic’s Kobra series of budget-friendly printers, similar to the Ender series by Creality. Today, there are five different Kobra printers from Anycubic, but the original one is, by far, the most popular.
The Anycubic Kobra comes at a very affordable price (sub-$250) and offers tons of the latest and greatest 3D printing features. The compact direct drive extruder on the machine provides super reliable filament extrusion, yielding very high-quality prints with minimal print quality issues. And, the auto bed leveling system and spring steel build plate make it easy to achieve proper bed adhesion.
Today, I’ll be reviewing the Anycubic Kobra 3D printer, and seeing if it can live up to its internet glory. I’ve spent hours and hours intensely testing this machine, and all of the content below is original and free from any bias.
Best Direct Drive 3D Printer Under $250
No 3D printer seems to fuse quality and affordability quite like the Anycubic Kobra.
With the direct drive extruder, this is a great alternative to the more expensive Ender 3 S1.
If you want the ability to print flexible filaments and want an easy to setup 3D printer- this is for you!
and Amazon
Verdict
After reviewing the Anycubic Kobra, I can honestly say that it’s one of the best bang-for-your-buck printers out there.
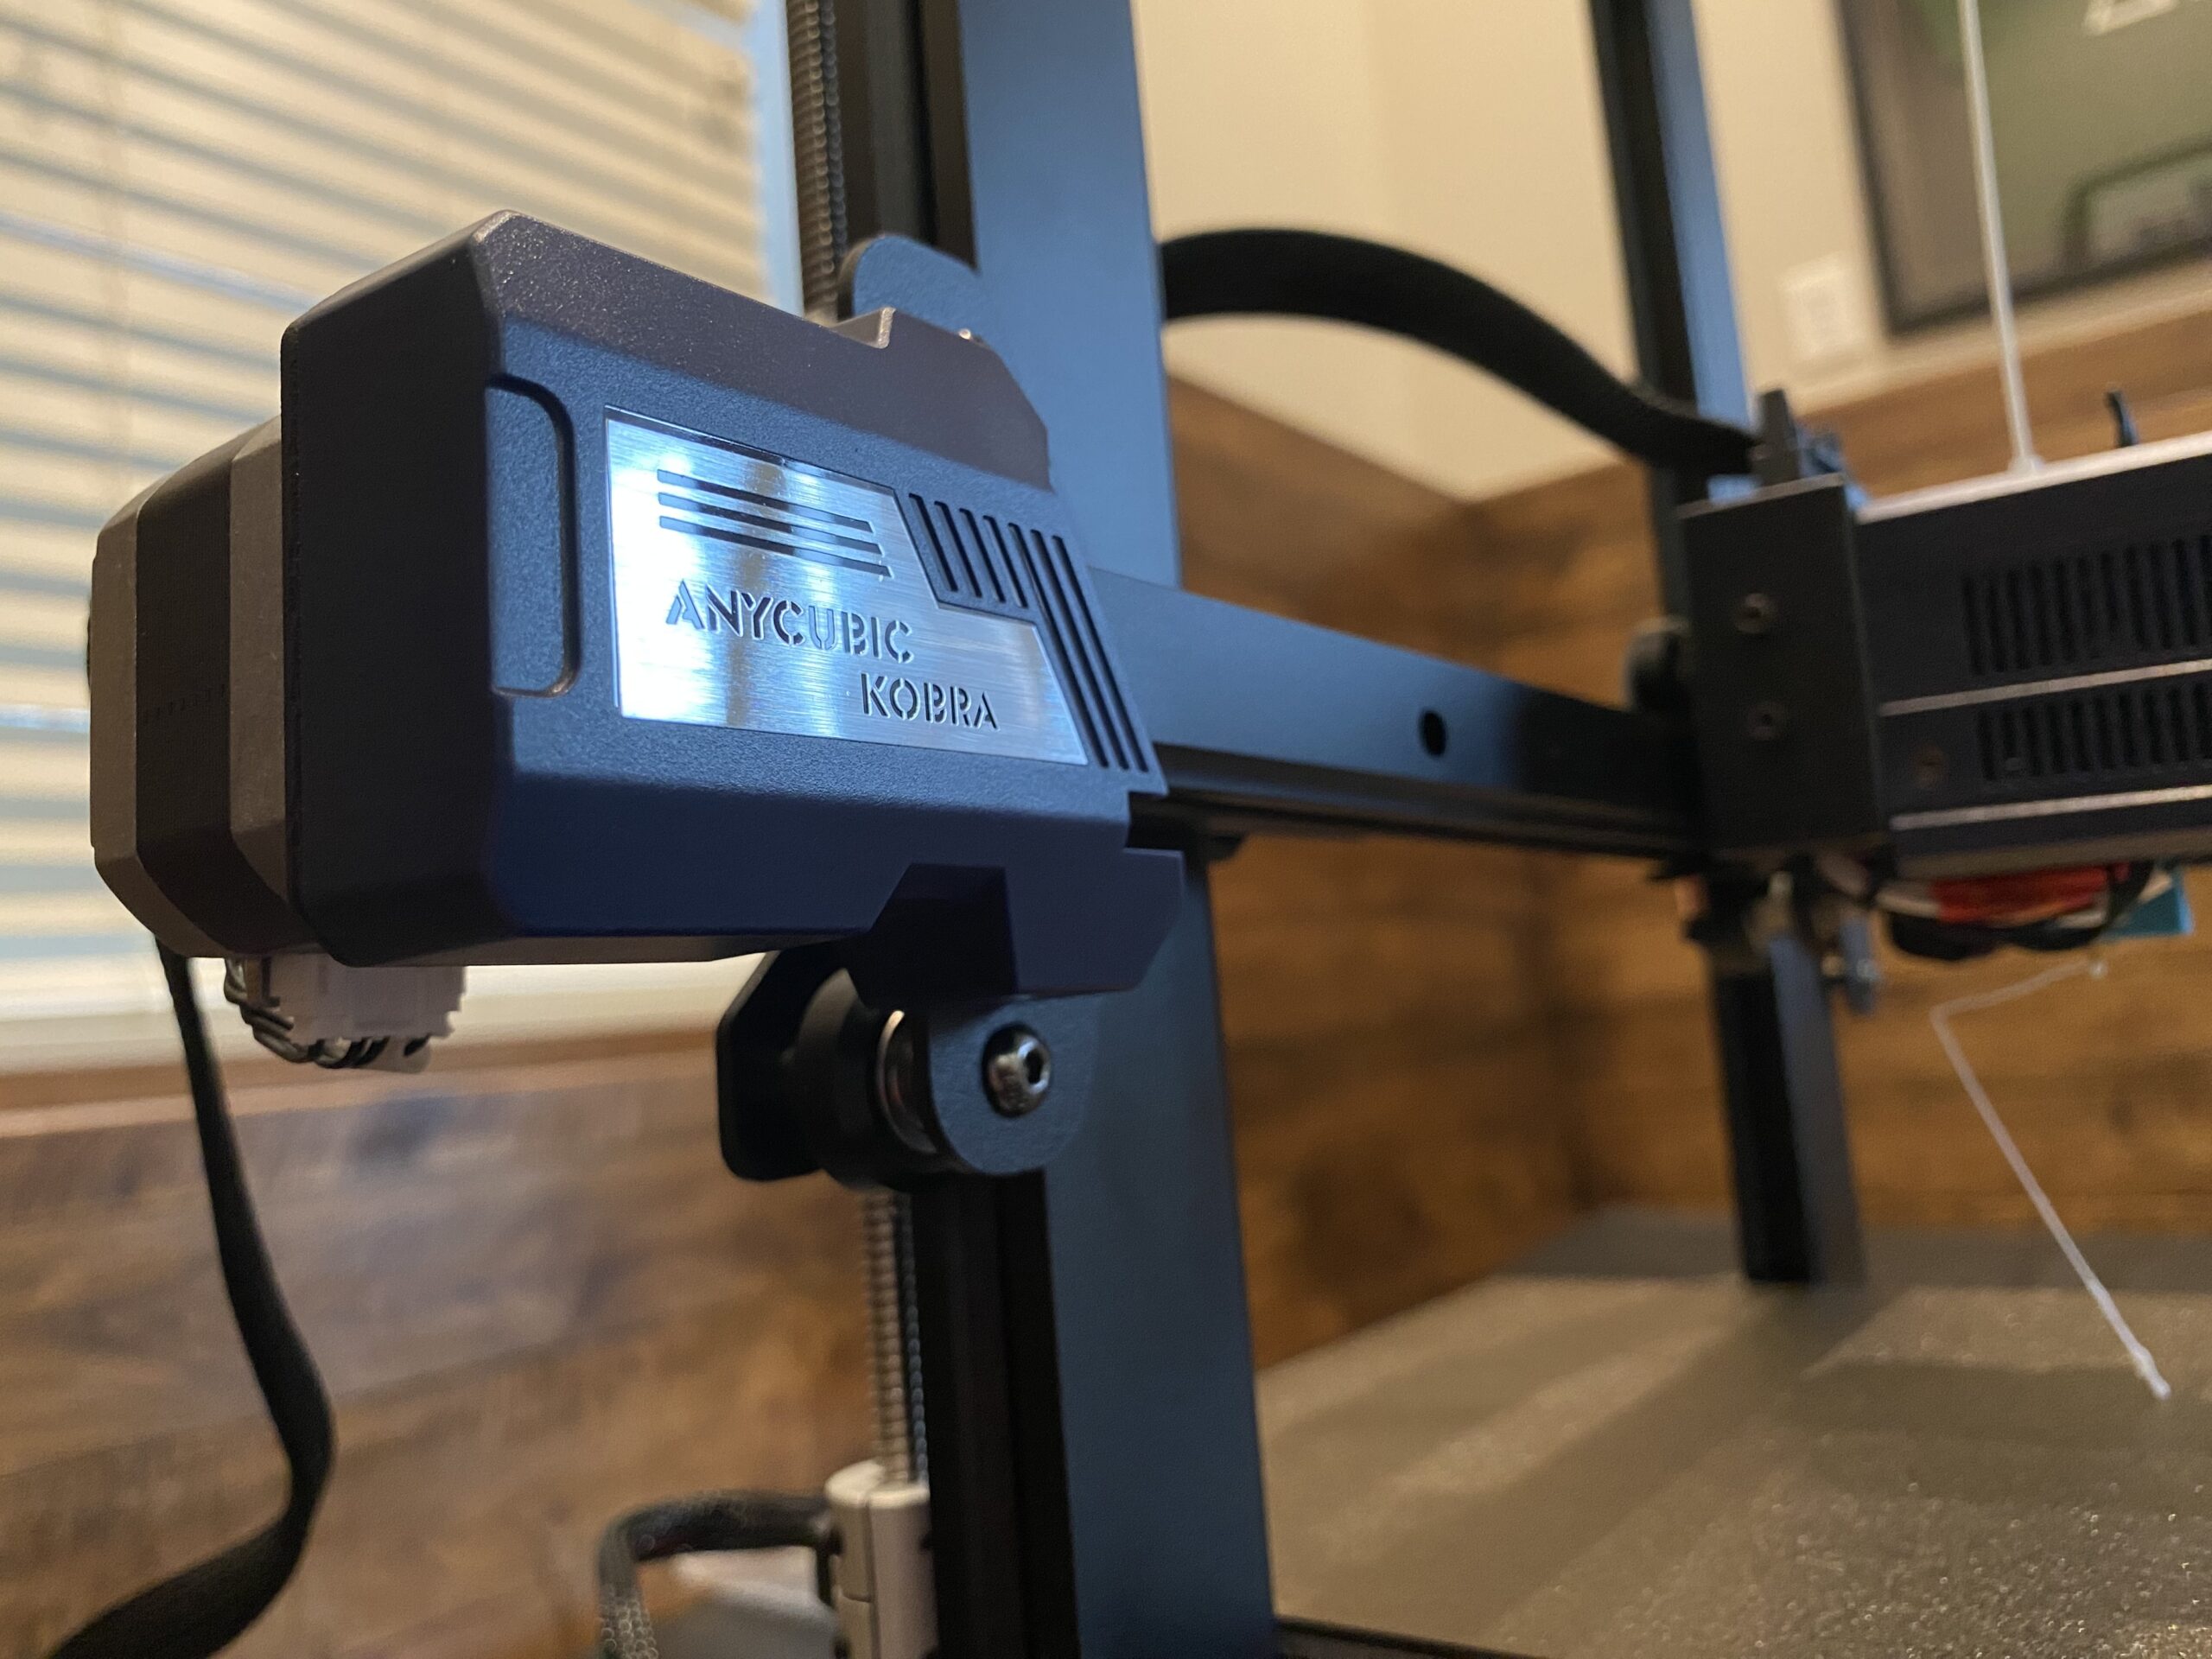
Perhaps the best part about the Kobra is its direct drive printhead. On top of making the Kobra capable of printing high-quality flexible models, the printhead also has an inductive sensor for automatic bed leveling (which makes life so much easier), and a high-temperature hot end that can reach up to 260 °C, which is more than enough heat for printing PLA, ABS, PETG, TPU, and more!
And, while the use of just a single Z-axis lead screw makes the X-axis gantry sagging a more probable issue, I didn’t find it to be a problem at all. But, what I did notice, was the integrated belt tensioners, full-color LCD, and magnetic spring steel build plate!
I’ll get more into the specifics of the Anycubic Kobra’s features later, but here’s a rundown of what I liked and what I didn’t like about the printer:
Pros
- Reliable and powerful extrusion (3:1 gear ratio)
- Capable of high print speeds
- Full-color LCD with an easy-to-use interface
- Spring steel PEI build plate for good bed adhesion (it’s also magnetic)
- Built-in inductive auto bed leveling sensor (very accurate)
- Well-tuned slicer profile (in Cura)
- Super quick and simple assembly
Cons
- Single Z-axis lead screw (higher chance of Z banding on prints)
- Older USB Type-B port (no Micro-USB, USB Type-B, or USB Type-C)
- Top-mounted spool holder makes the printer more unstable
- No guides for placing the build plate
- Textured surface on the build plate (rather than smooth)
Specs
Below is a list of the main specs of the Anycubic Kobra:
- Approximate price: ~$250
- Maximum printing space: 220 x 220 x 250 mm
- Maximum nozzle temperature: 260 °C
- Maximum bed temperature: 110 °C
- Compatible filaments: PLA, PETG, TPU, ABS (with enclosure), etc.
- Print speed range: 50-80 mm/s
- Bed leveling: 25-point automatic leveling
- Extruder configuration: Direct drive
- Build plate: Spring steel smooth PEI
- Interface: 4.3-inch touchscreen, full-color LCD
- Connectivity: MicroSD card, USB Type-C
- Dual Z-axis? No
- Filament sensor? Yes
- LED lights? No
- Pre-made Cura profile? Yes
Features
On any 3D printer, it’s all about the features. The Anycubic Kobra has many different note-worthy features, like its direct drive extruder, auto bed leveling system, and more. I’ve gone over the most important ones in the sections below.
Direct Drive Extruder
One of the sexiest parts of the Anycubic Kobra, as well as many other Kobra variants that Anycubic makes, is the direct drive extruder.
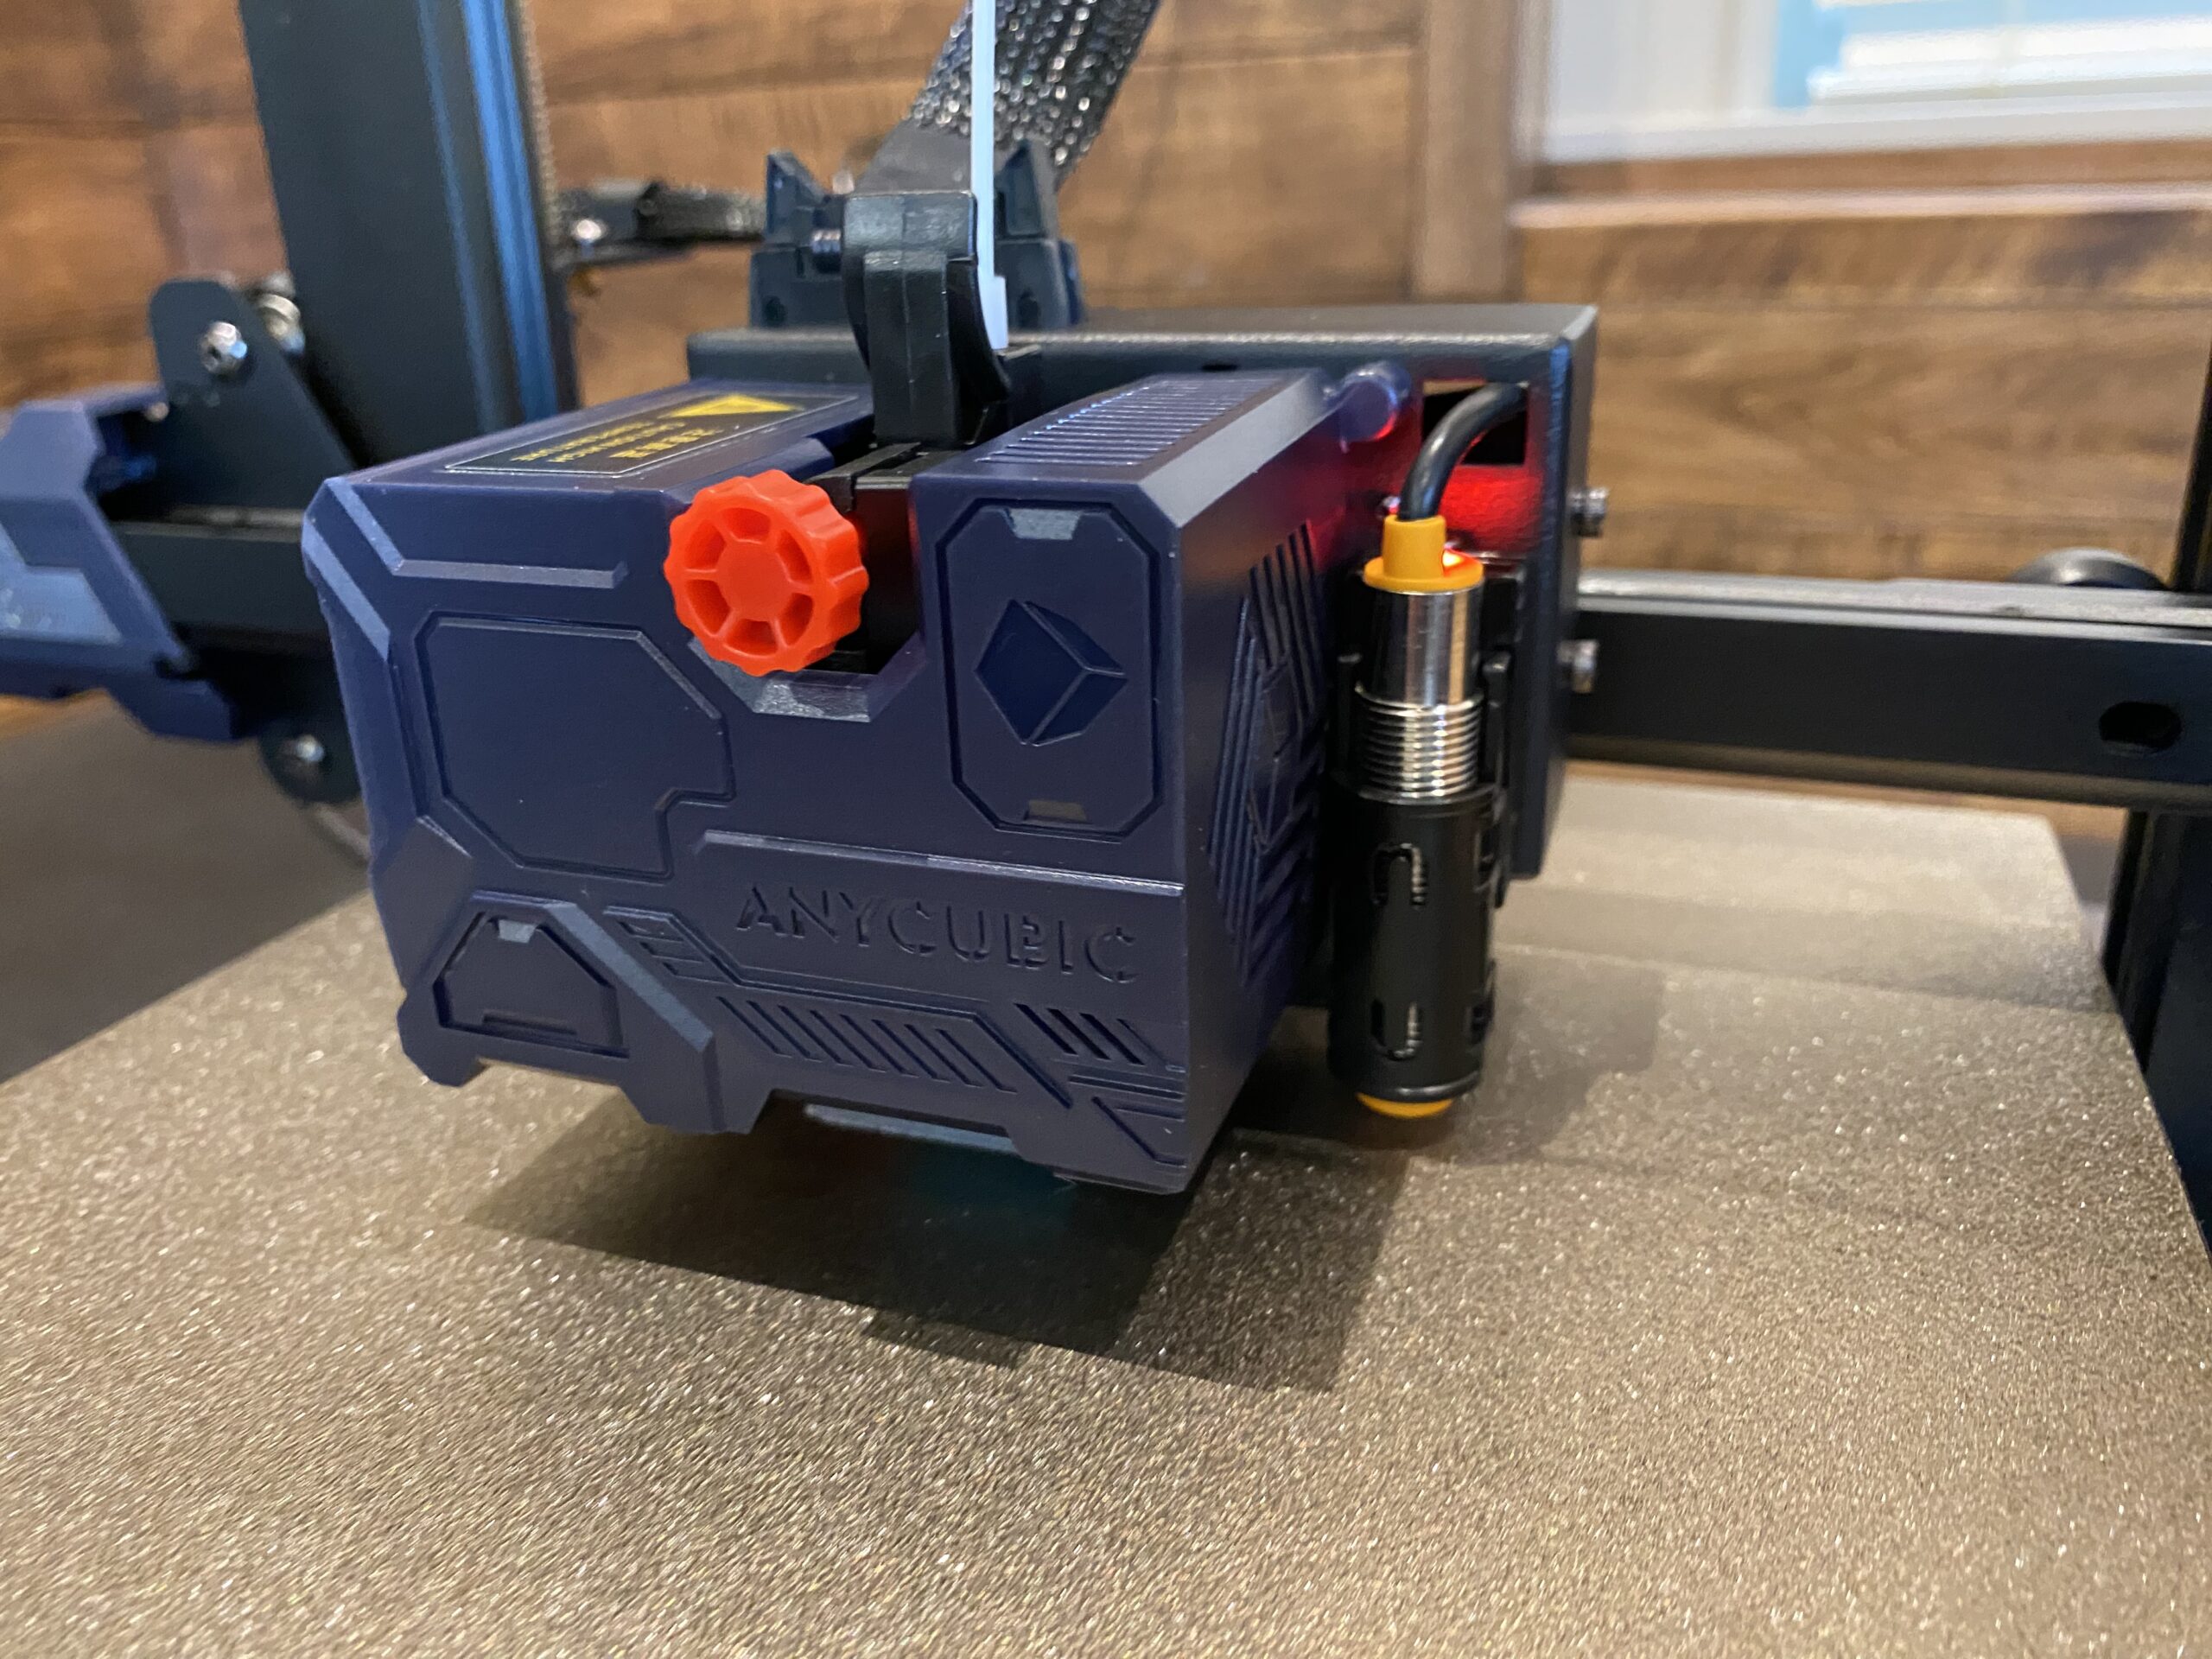
If you’re unfamiliar with the term, “direct drive” basically indicates that the extruder motor and assembly are attached to the printhead. This improves extrusion accuracy and makes printing flexible filament materials, like TPU and TPE possible. Printing flexible parts is technically possible on Bowden-drive 3D printers (e.g. Creality Ender 3), but the chances of a print failure are much higher, and prints will look a lot worse.
But the Kobra using a direct drive extruder configuration isn’t the only thing the company did right.
From the looks of the extruder assembly, it’s also geared at 3:1, which makes the extrusion on the printer more powerful. Doing this utilizes more of the extruder stepper motor’s torque abilities, and reduces the chances of under-extrusion from happening on prints.
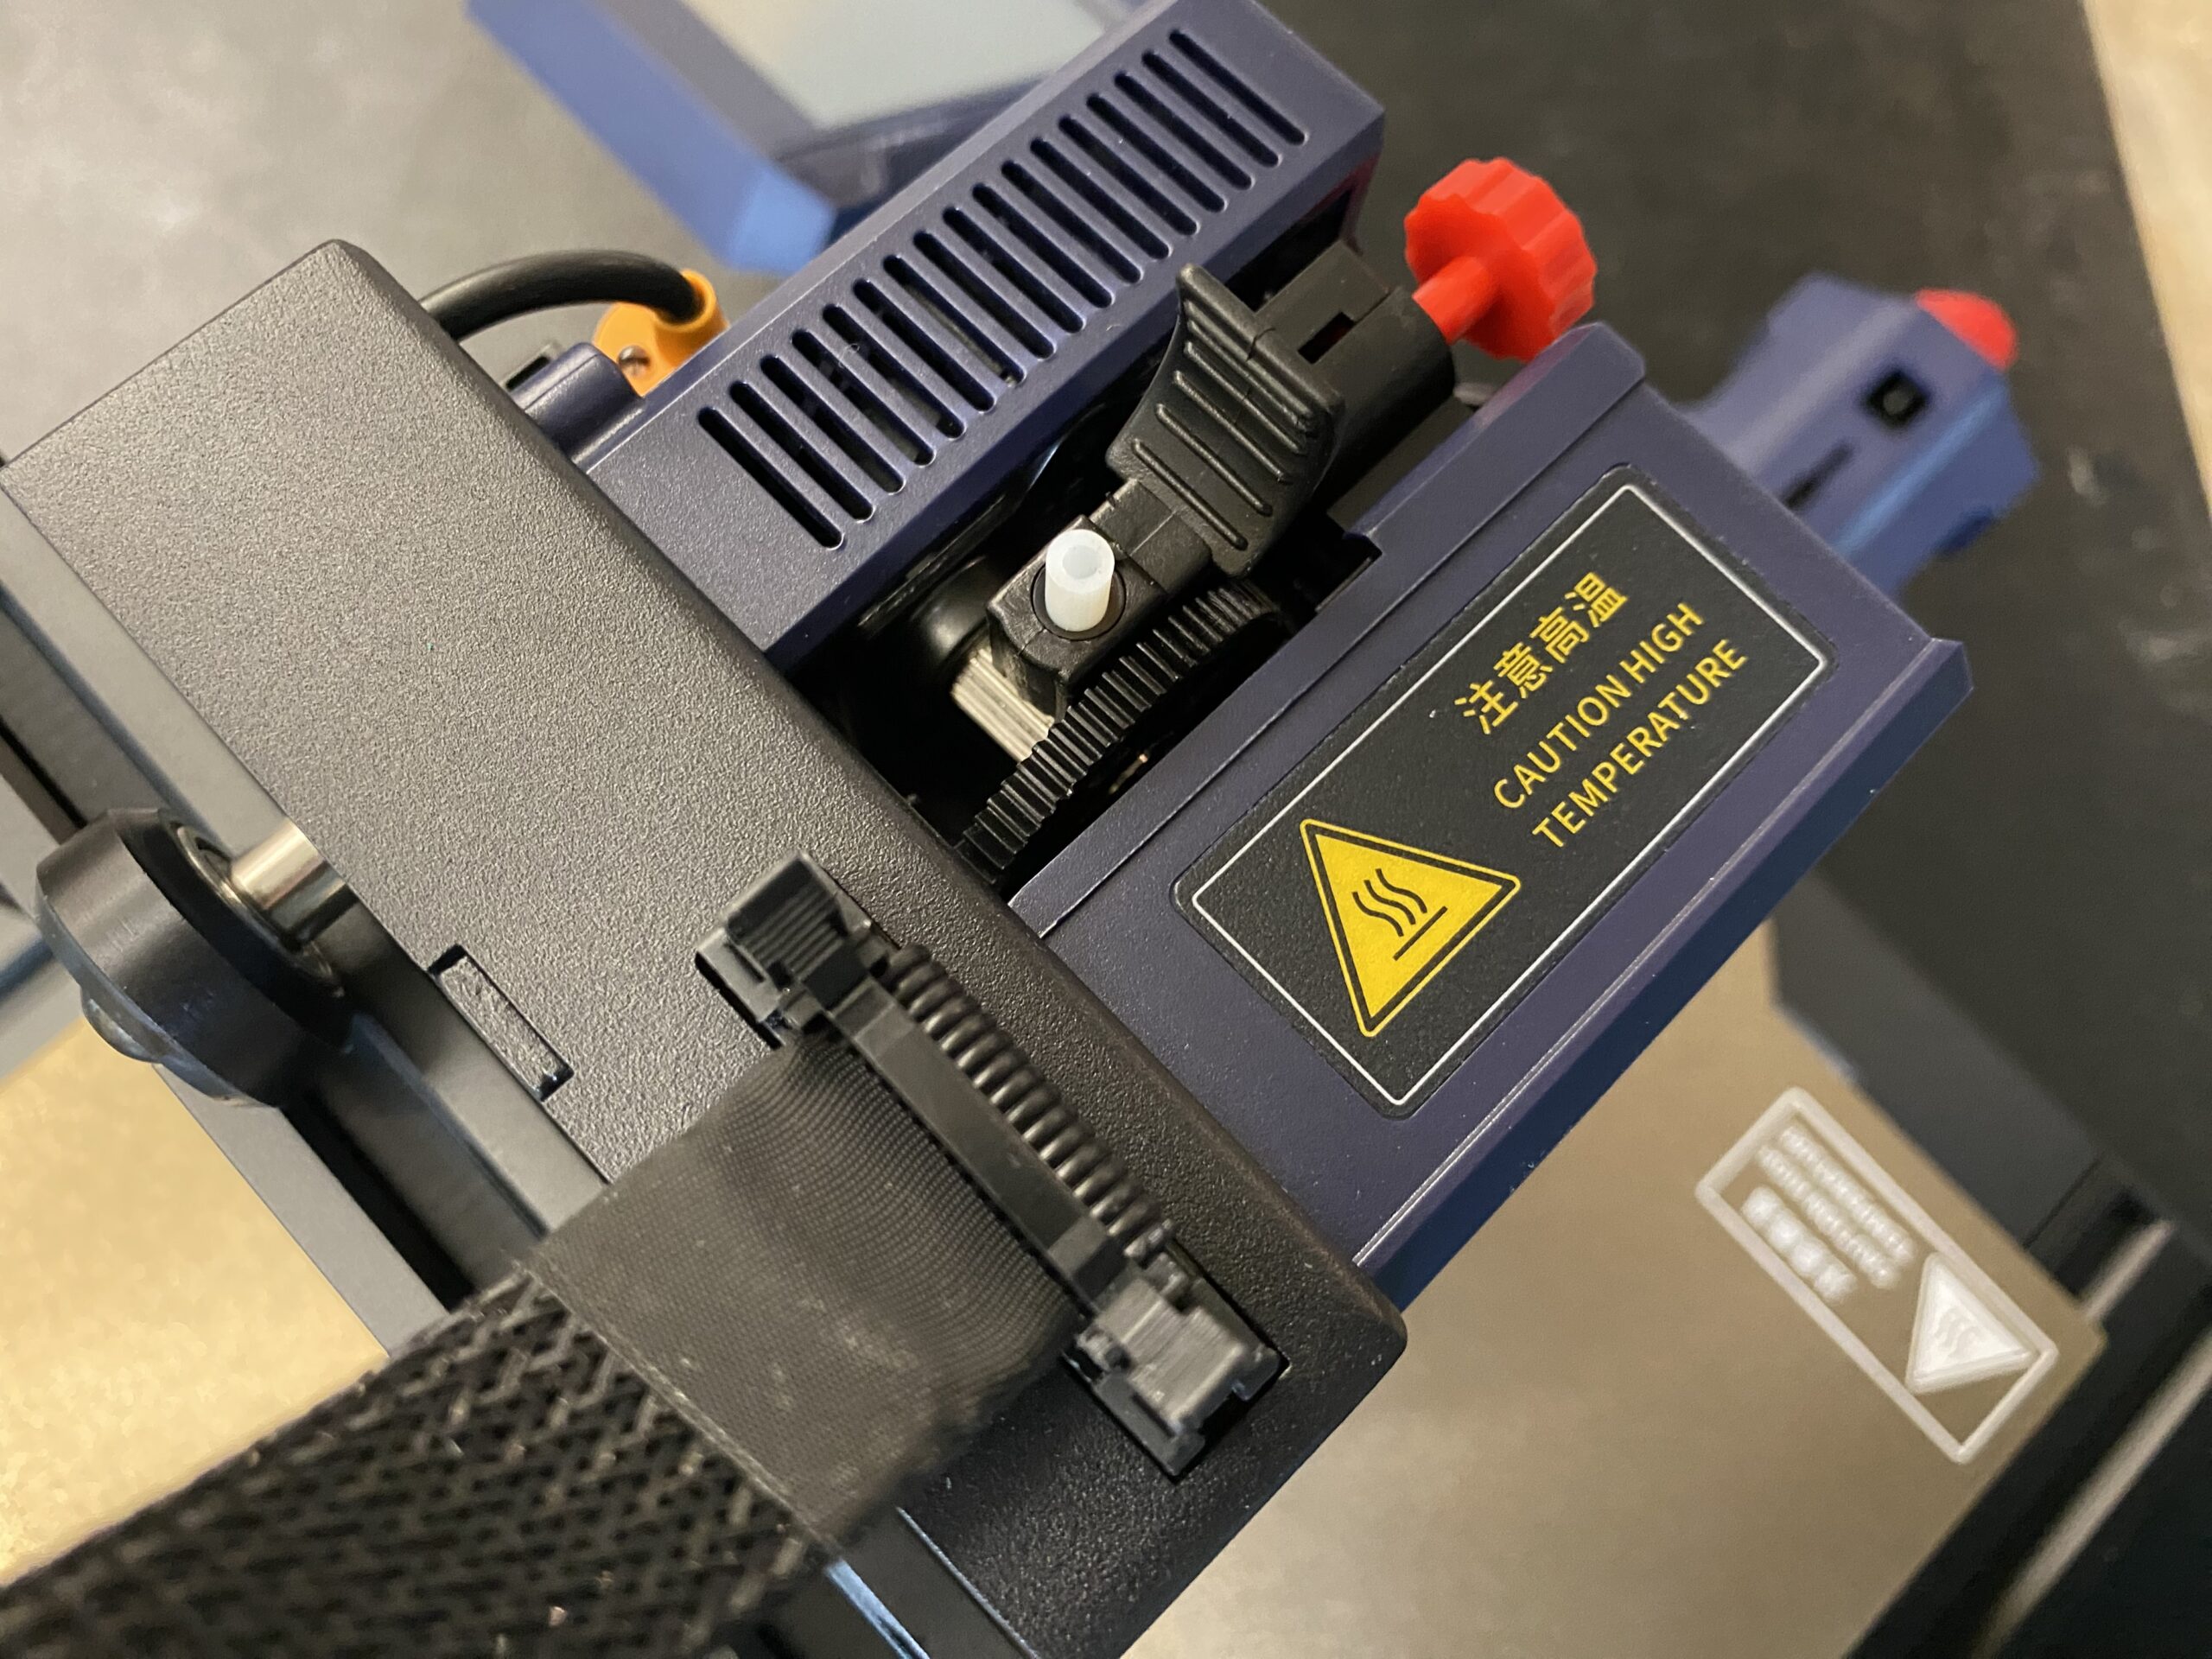
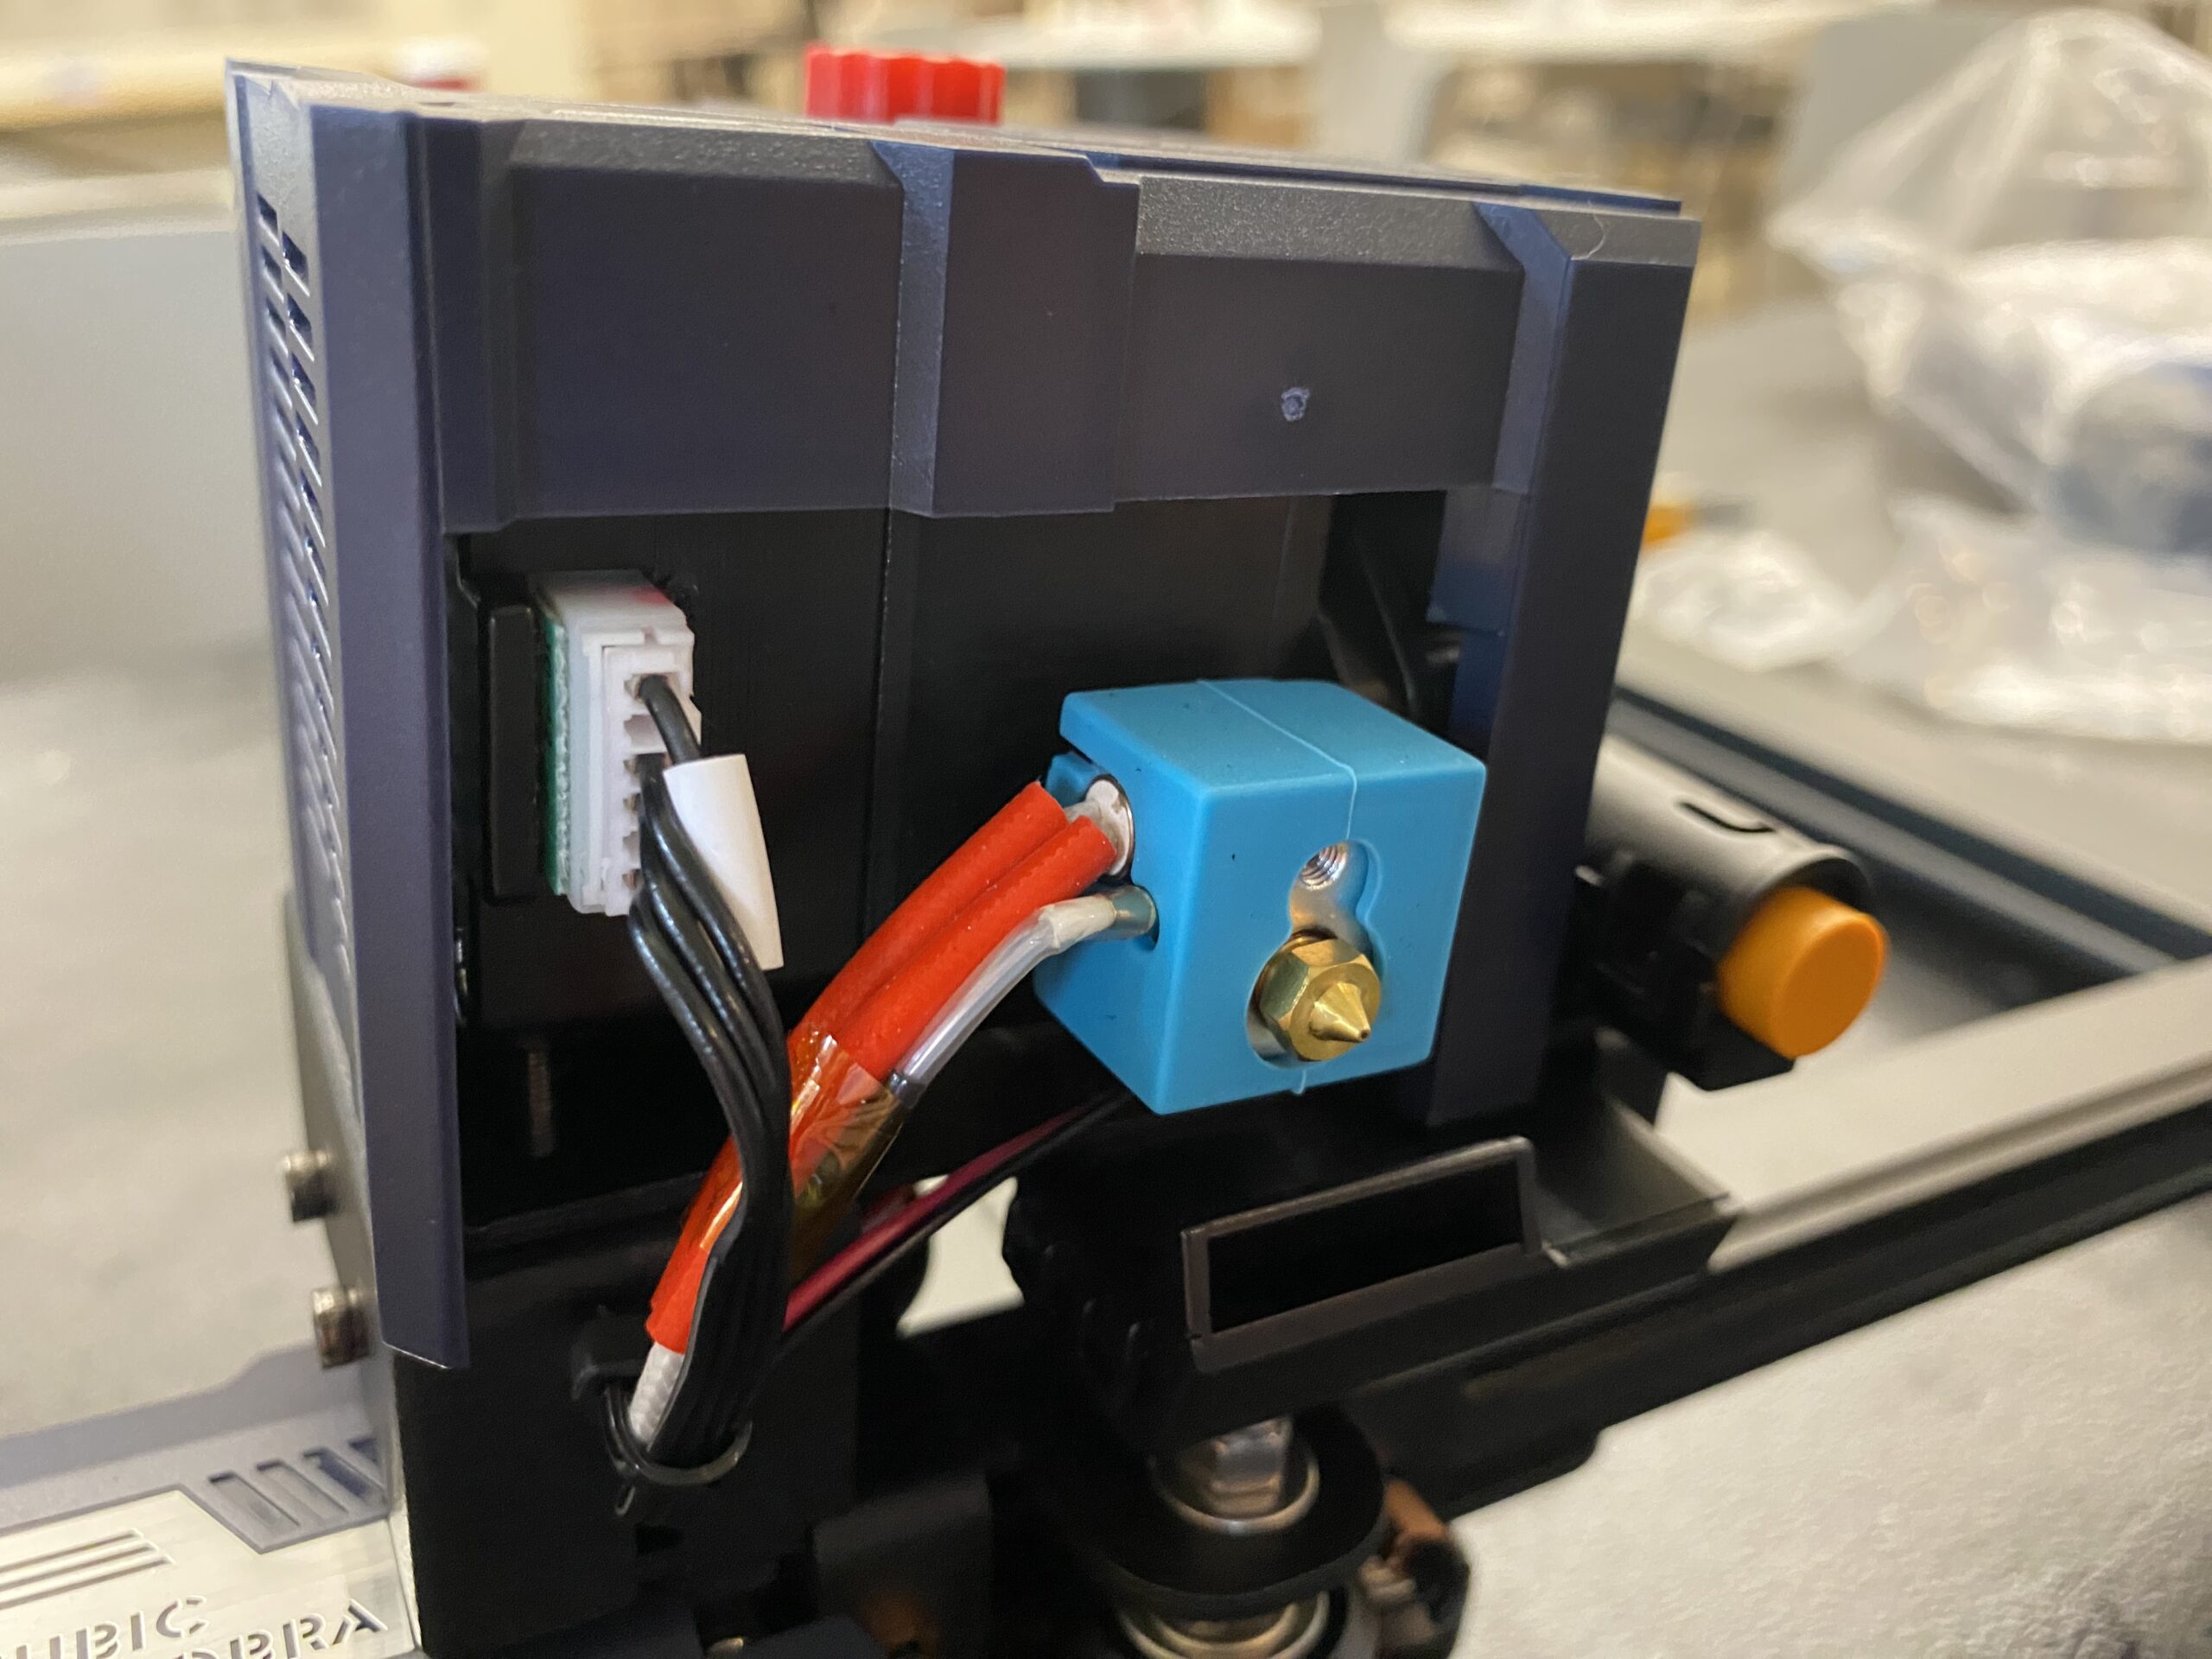
I also want to point out that the hot end right beneath the direct drive extruder is very nice. With a similar look to E3D’s famous V6 hot end, the hot end on the Anycubic Kobra has a bright blue silicon sock and a look-alike rectangular heater block. The Kobra can reach up to 260 °C, which means you can print all sorts of filaments, including PLA, ABS, PETG, TPU, and composites (e.g. glow-in-the-dark PLA).
Auto Bed Leveling
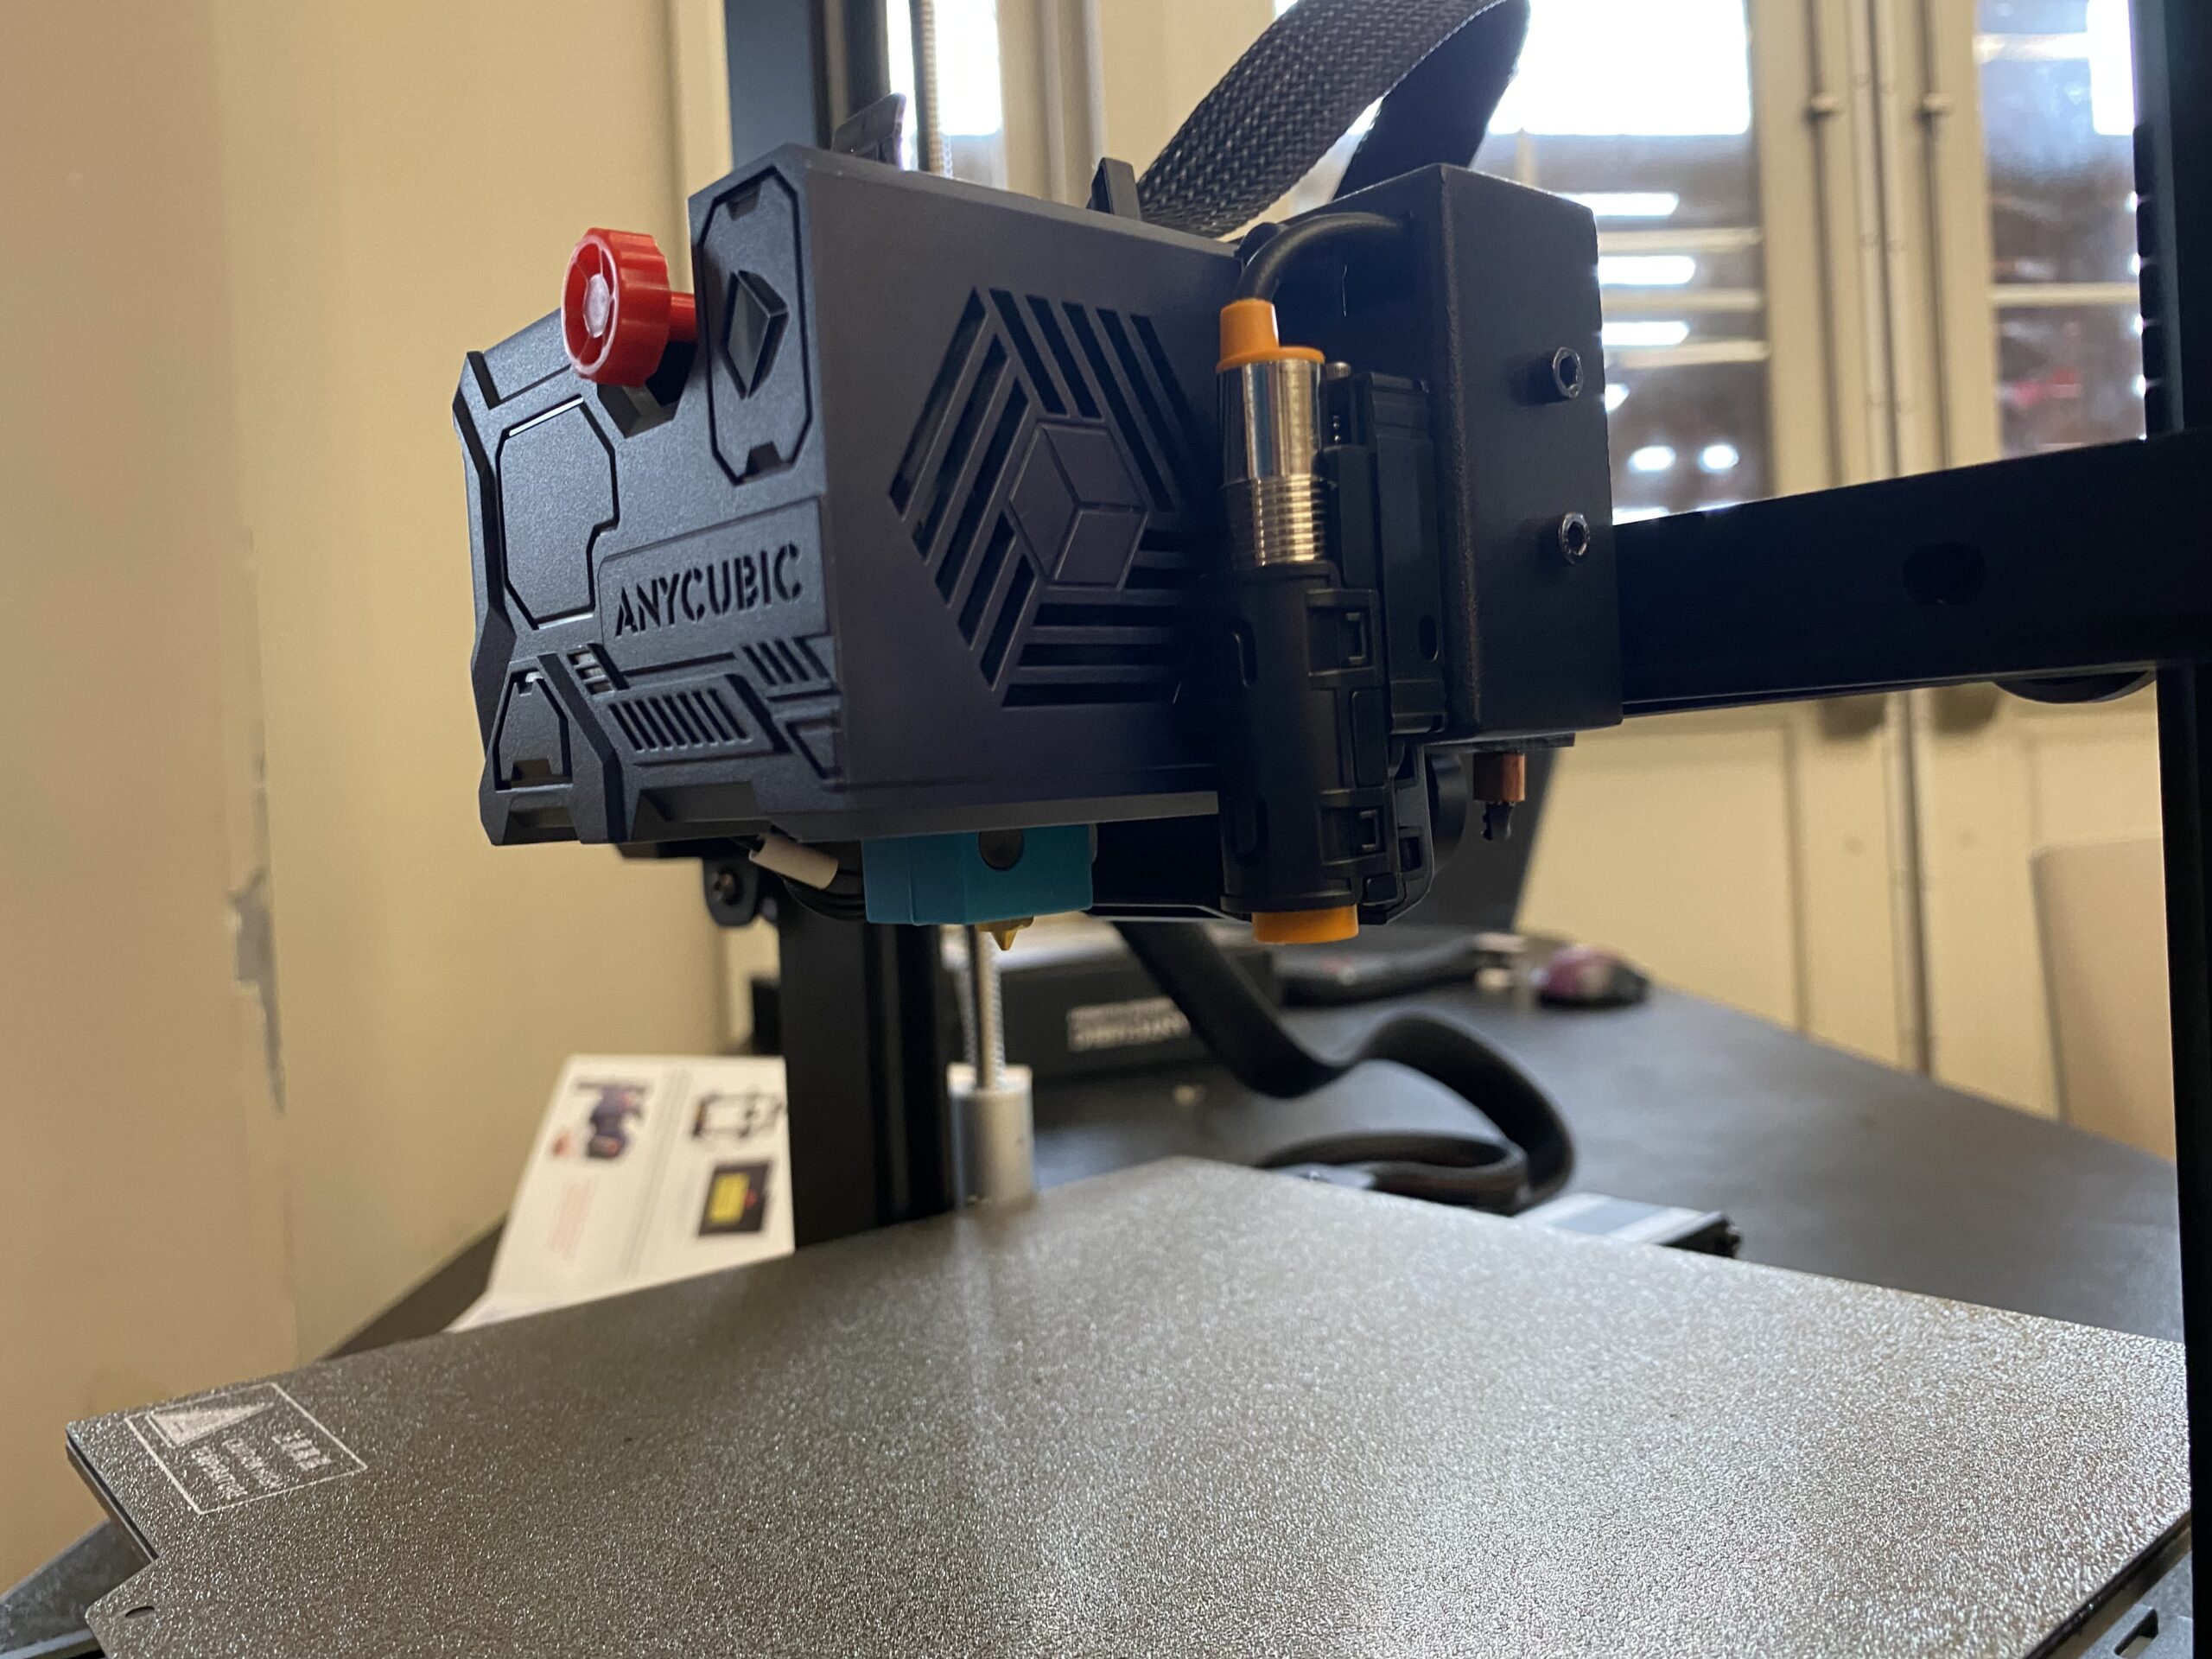
The auto bed leveling system is another eye-catching feature of the Anycubic Kobra.
If you’ve never used a 3D printer before, auto bed leveling, or ABL, is a big deal because it means you don’t have to spend 20 minutes manually leveling the printer’s bed before starting a print. Additionally, ABL sensors also do a much better job at leveling the bed than someone with their naked eye, so achieving proper bed adhesion and a good first layer for a print is much easier.
The ABL sensor on the Anycubic Kobra is an inductive sensor, similar to the one on the Prusa i3 MK3S+. Moreover, the inductive sensor detects the magnetic field of the print bed and uses this measurement to ensure the nozzle stays an equal distance above the build plate at all times during a layer.
In my testing, I found it was super easy to level the bed on the Anycubic Kobra. And, once leveled, every print’s first layer came out perfectly! Overall, a 10 out of 10 feature!
Spring Steel Build Plate
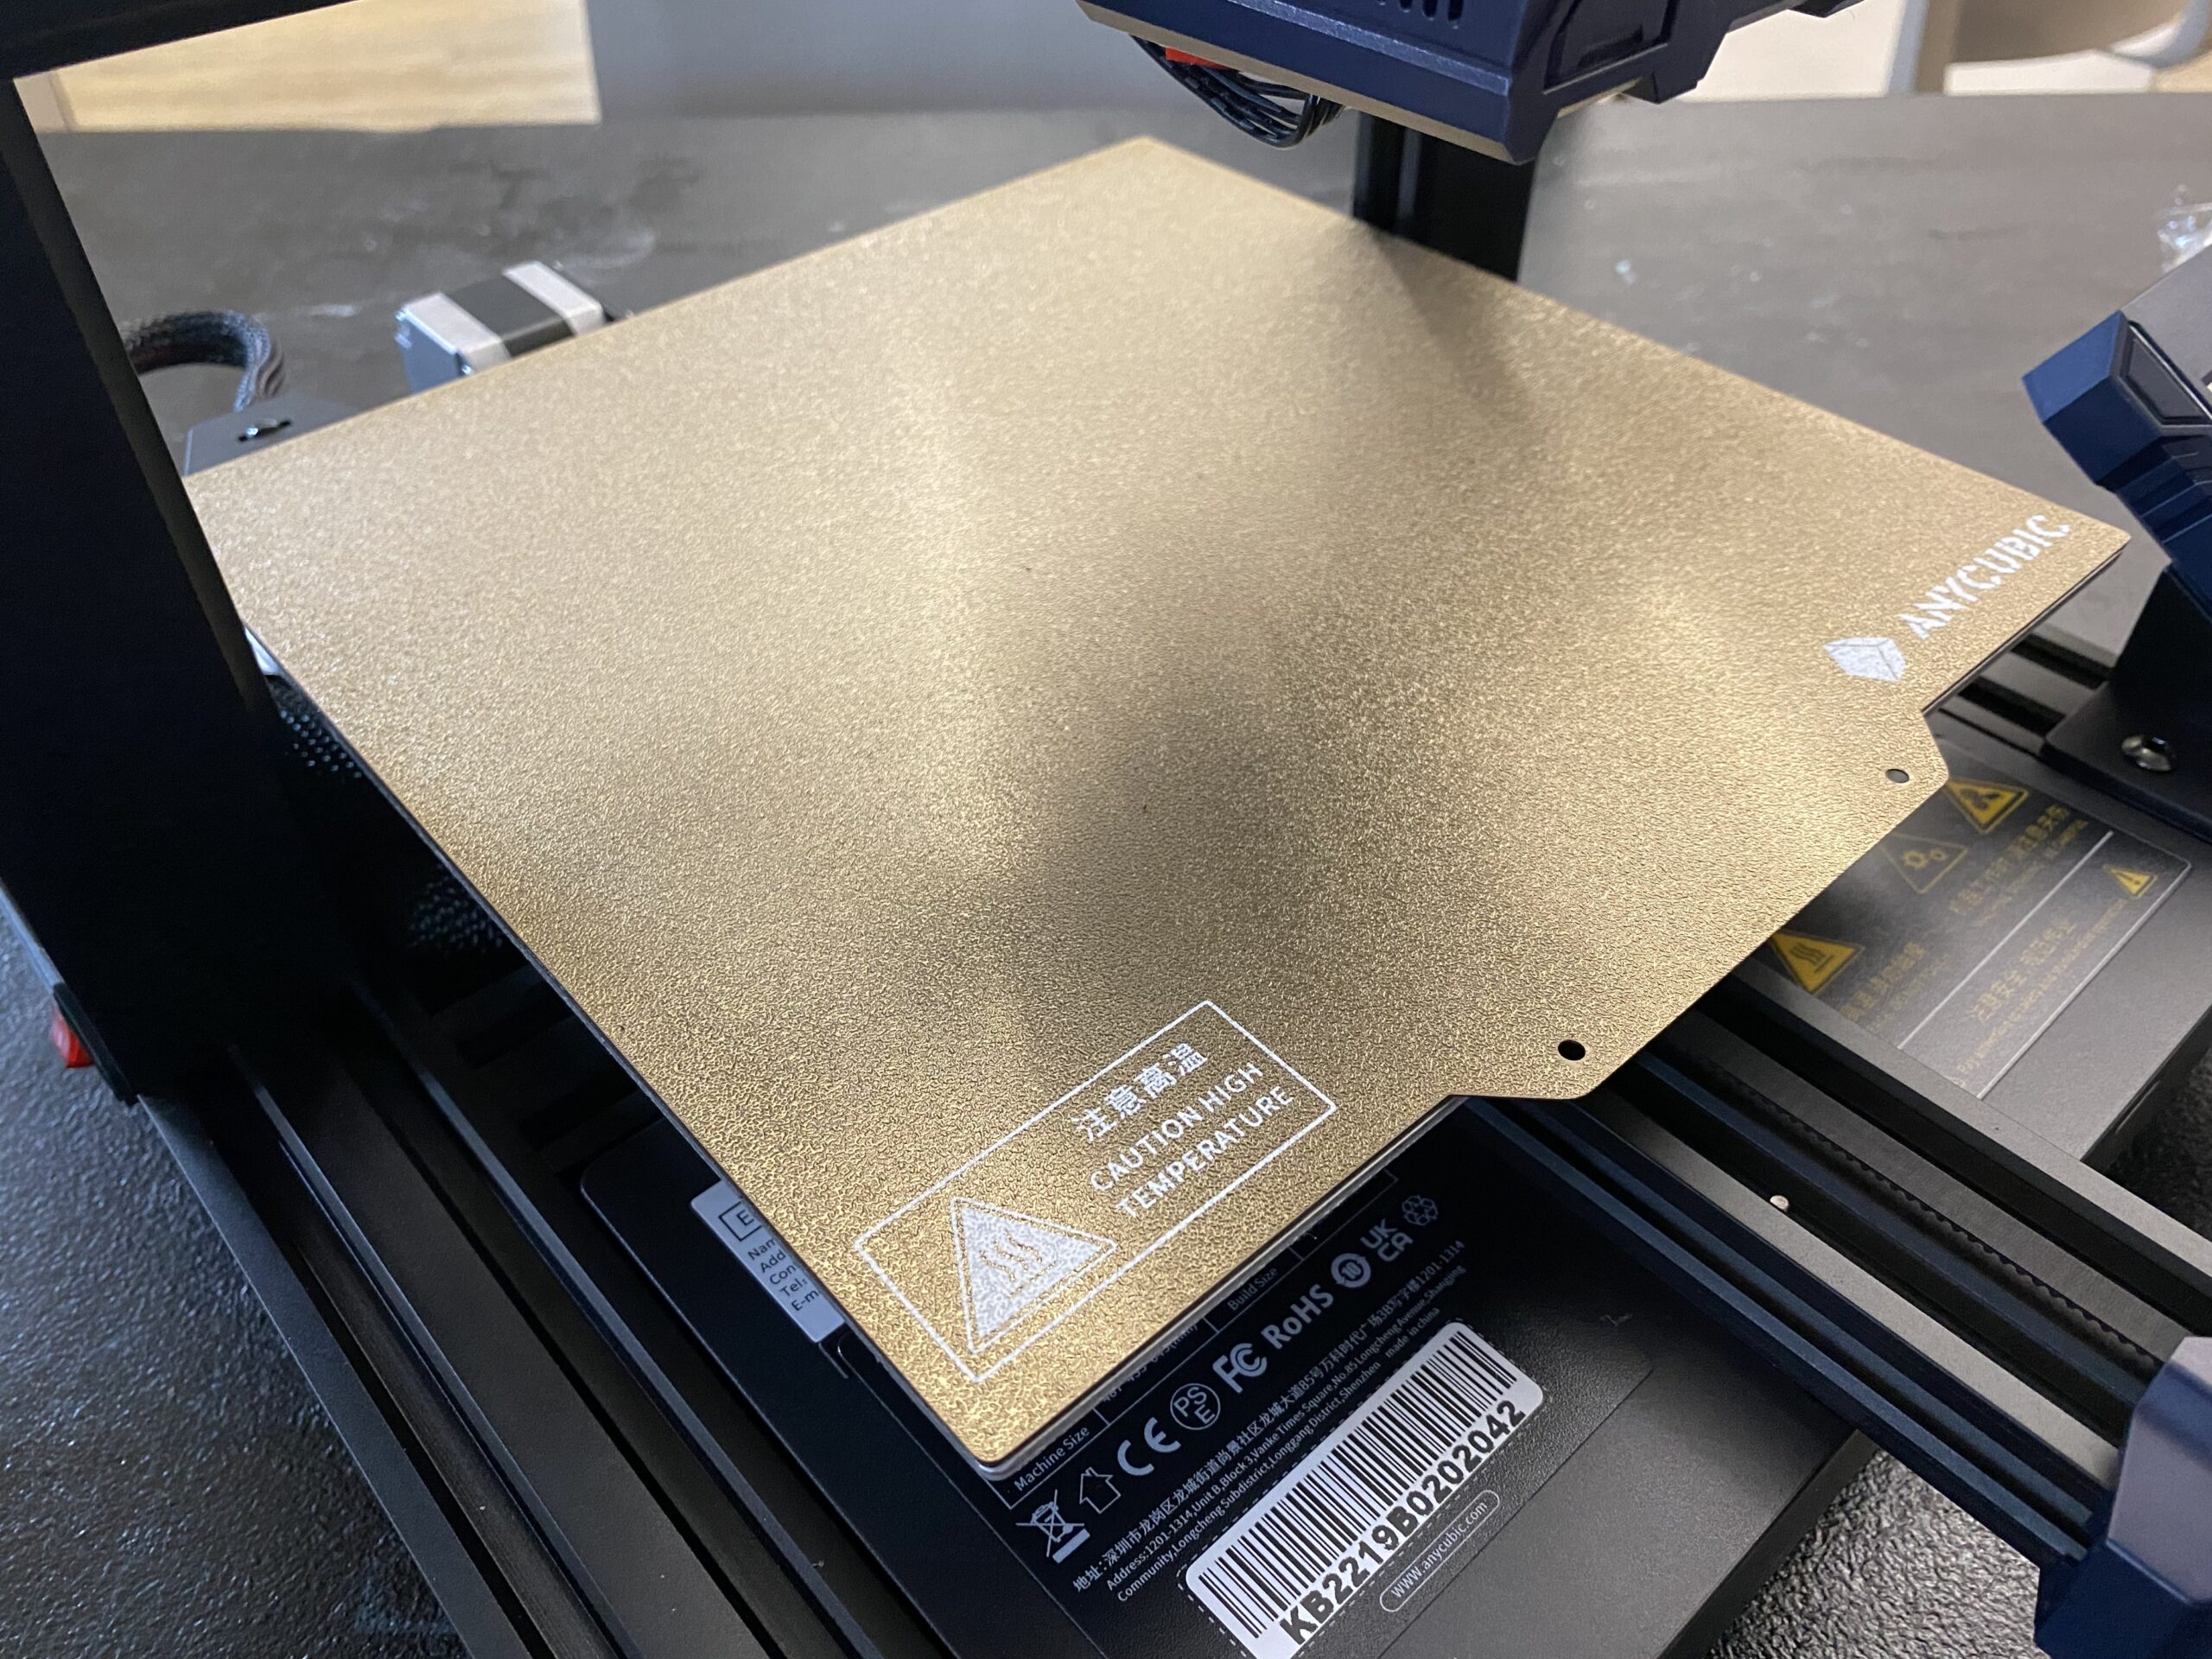
Next, it’s worth going over the spring steel PEI build plate on the Anycubic Kobra. On any FDM 3D printer, the build plate is super important because it has a big effect on the quality of the first layer of prints.
The Kobra is equipped with a spring steel PEI build plate, which is basically the top-of-the-line option for consumer 3D printers today. Furthermore, the build plate is magnetic and flexible. So, once a print is complete, all you have to do is pop off the build plate, bend it to remove your print, and slap it back on the printer’s frame.
The only thing I wish was different is the texture of the build plate. Moreover, Anycubic went with a textured (rough) surface finish on the Kobra’s build plate, which is helpful for printing certain materials like ABS and PETG. However, a smooth surface would make the bottom of 3D prints look better and would be better for achieving proper bed adhesion when printing in PLA (which is for most people).
Electronics
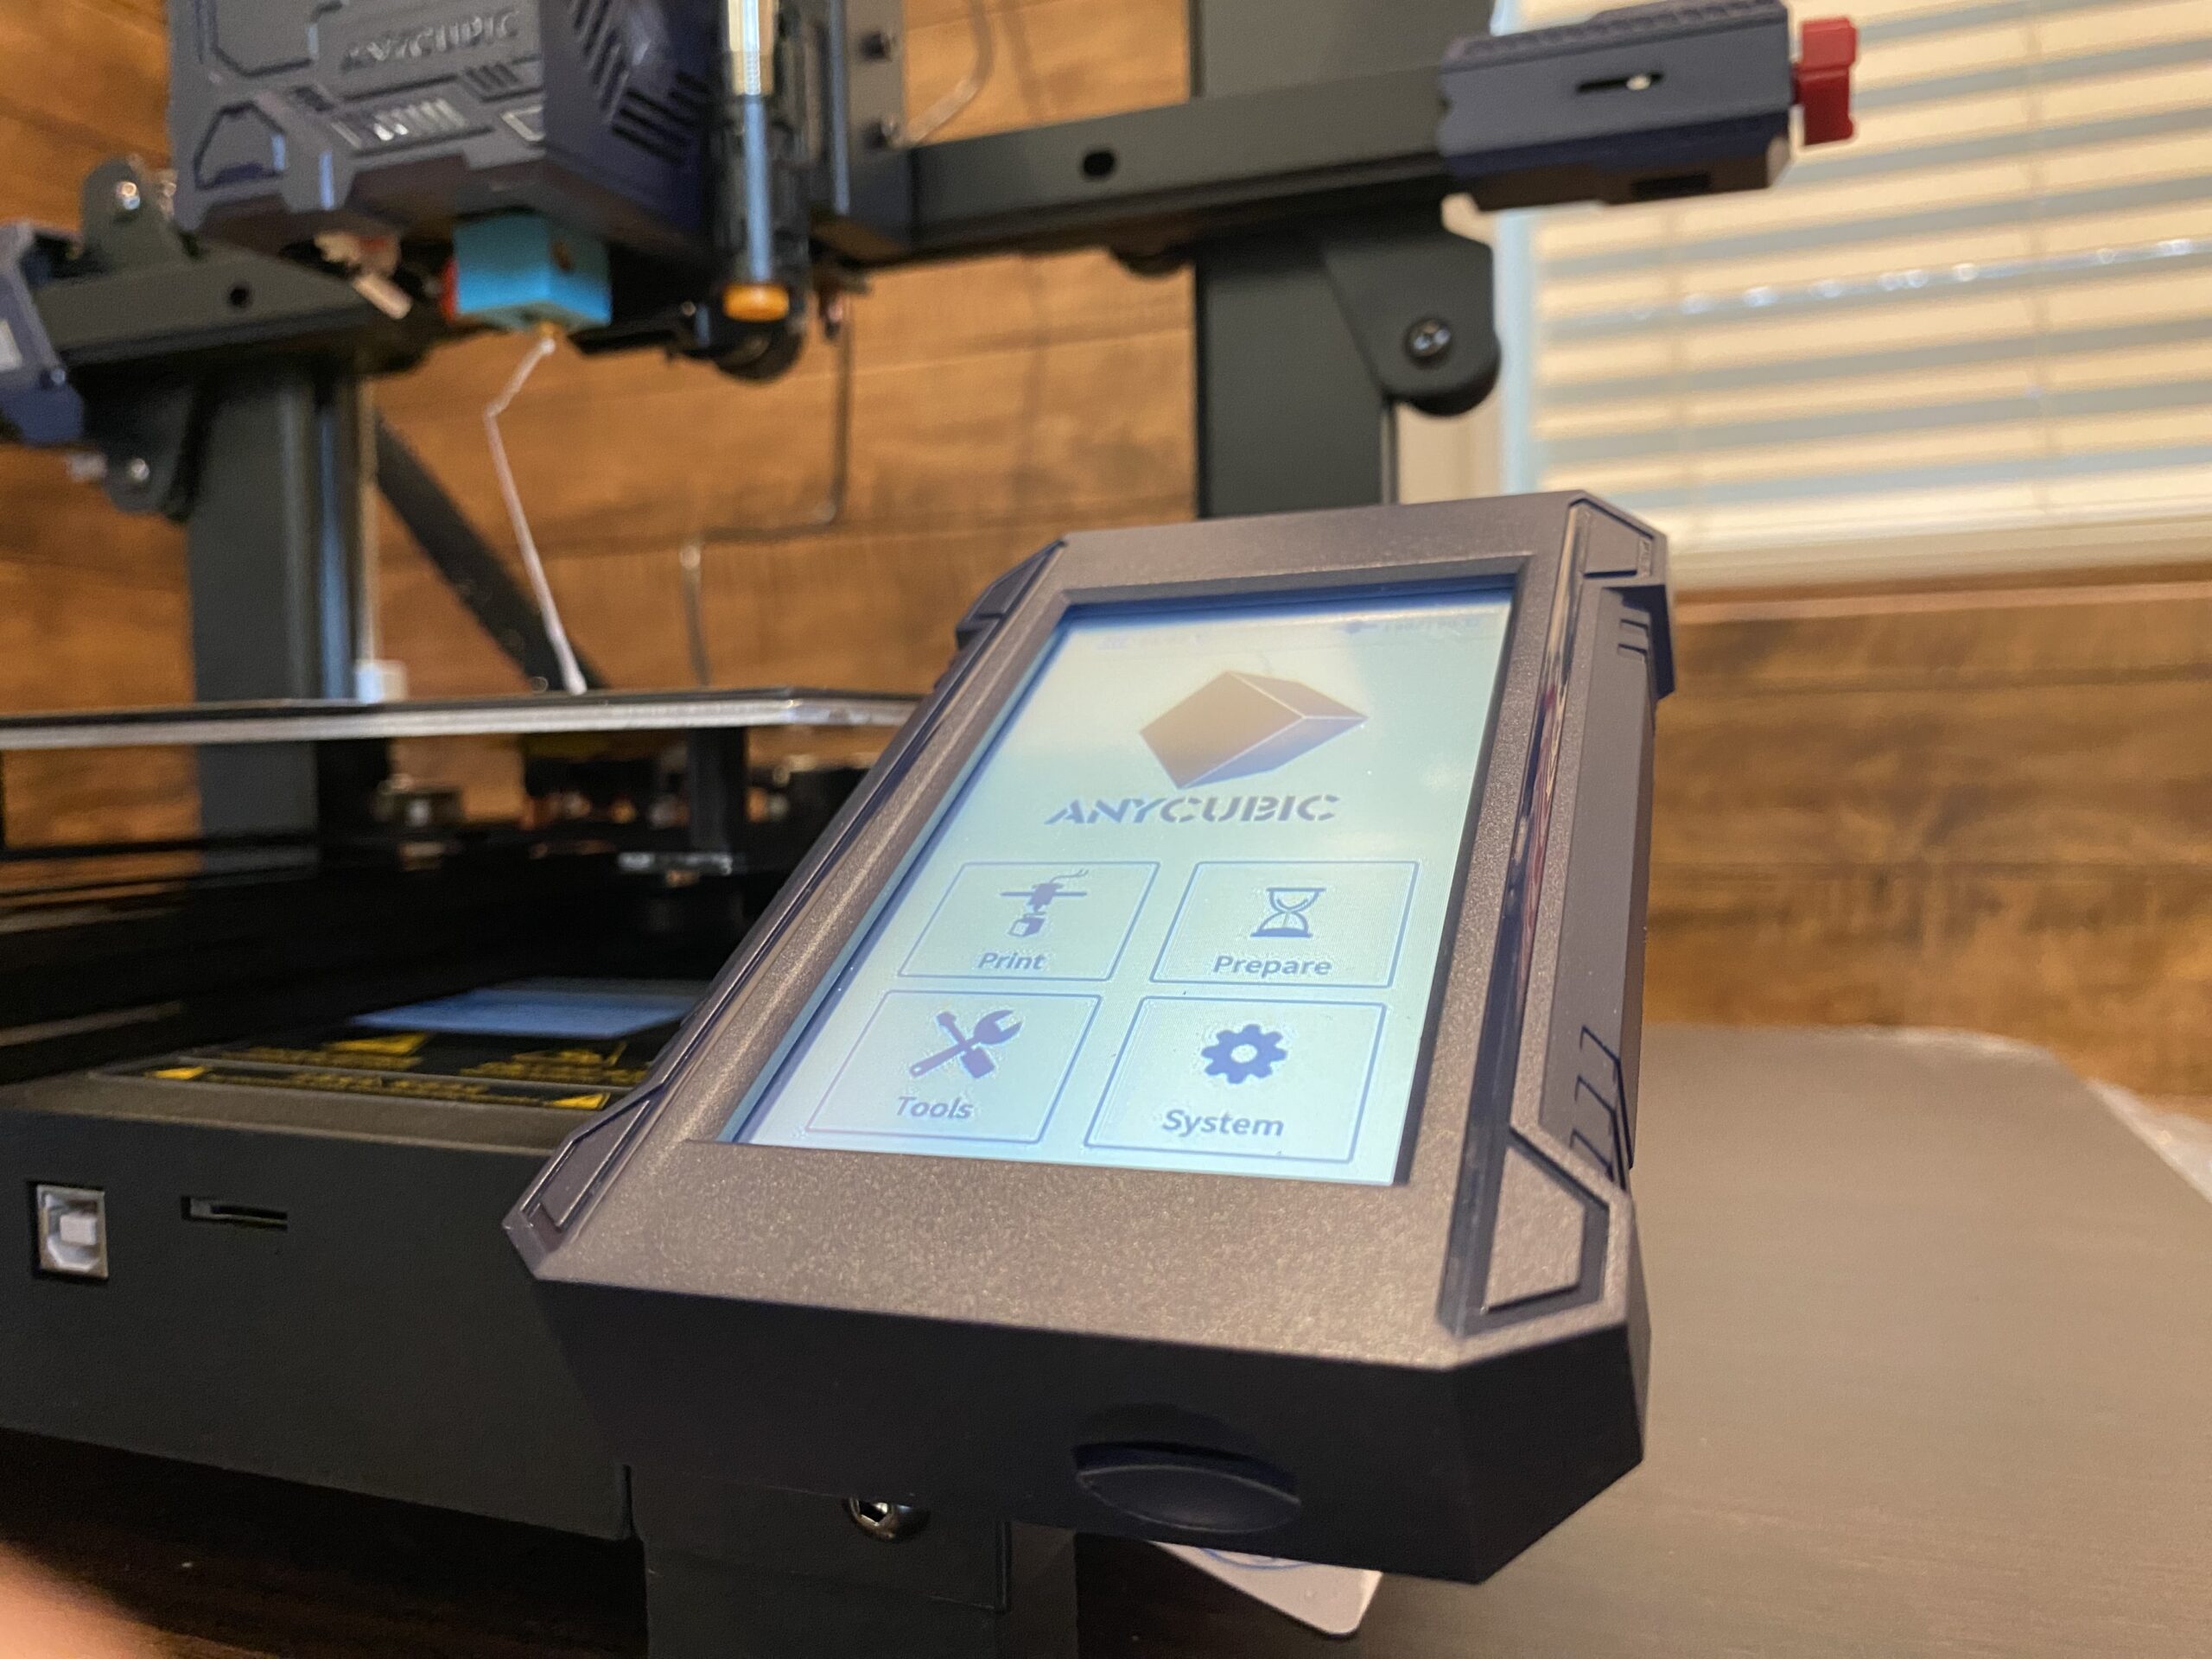
As you might expect, a 3D printer is full of different electronic components, including the motherboard, LCD, sensors, and more!
While Anycubic didn’t provide the specifics of the motherboard used on the Kobra, it’s definitely a 32-bit board, probably with TMC2209 stepper motor drivers. The reason I say this is because the LCD interface on the Kobra runs super smoothly, and an 8-bit motherboard would be too slow to handle it.
As for the stepper motors, they are likely TMC2209s because the Kobra uses sensorless axis homing, a feature available only on a few consumer-grade TMC stepper motor drivers (including the 2209s). Sensorless homing means the printer doesn’t need physical endstop sensors for the X and Y axes, and, instead, uses special software tools to detect when the end of an axis has been reached.
Also, the stepper motor drivers on the printer make the machine super quiet, even when it’s printing. Even the fans on the Kobra are basically silent. So, feel free to place this printer in your bedroom because, unless you’re a super-sensitive sleeper, it probably won’t keep you awake!
Another important thing to note is that the Kobra has a full-color, touchscreen LCD. This makes using the Kobra super fun; plus, the stock interface on the LCD is super easy to navigate, so you can start prints, set temperatures, and level the bed without getting lost.
Other Features
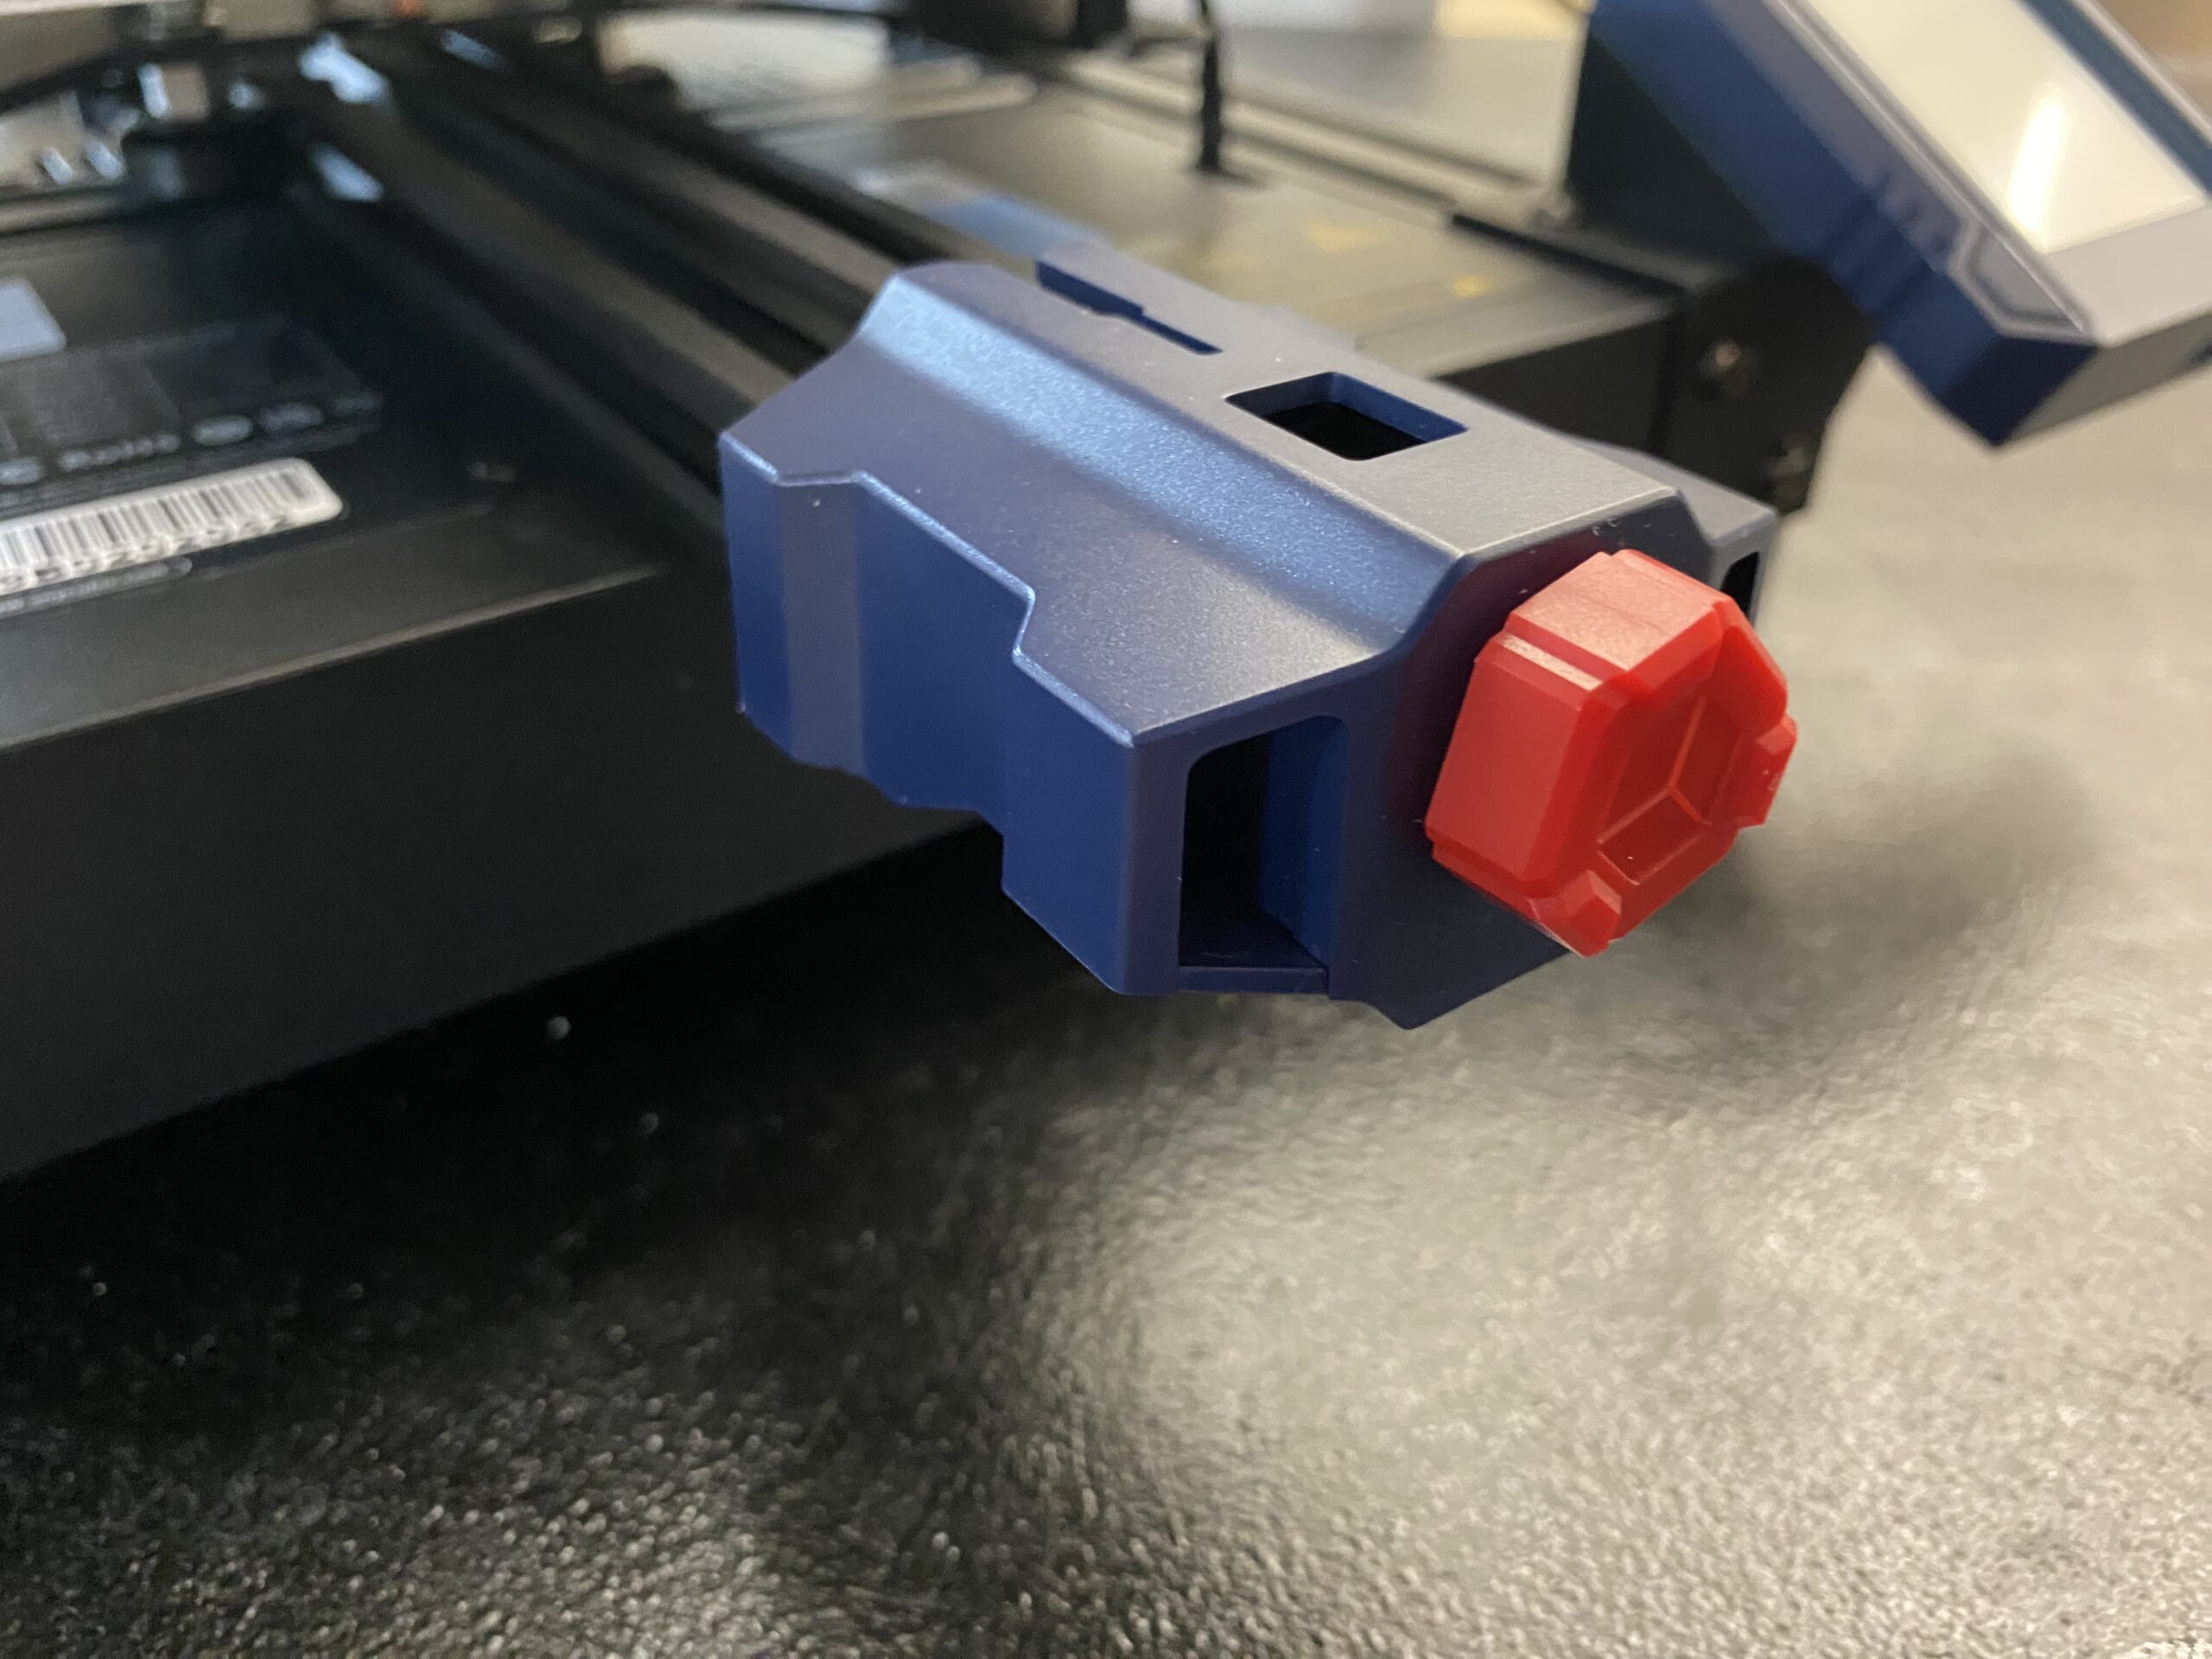
Finally, the Anycubic Kobra has a handful of other features that didn’t really fit in the sections above. But these features are still worth noting as they make the Kobra a better-performing and easier-to-use machine:
- Integrated Belt Tensioners: Integrated belt tensioners, while they don’t seem important, are a great feature on any FDM 3D printer as they make it easy to remove slack from the belt lines on the machine. And, this is useful for preventing certain problems like layer shifting and ghosting.
- Single Z-Axis Lead Screw: Although it’s not a positive feature, it’s important to mention that the Kobra uses a single Z-axis lead screw. This makes it easier for the X-axis gantry (which holds the printhead) to sag, which would significantly hurt the quality of prints. While I didn’t experience this issue, it’s definitely a possibility!
- Extruder Tension Screw: On the extruder, there’s a thumbscrew that you can use to tighten or loosen the extruder tension. This is a useful tool for ensuring that the extruder has a good grasp on the inserted filament.
- Top-Mounted Spool Holder: The spool holder on the Anycubic Kobra is meant to be mounted to the top of the machine, and has an available screw hole for attaching a filament runout sensor.
Assembly
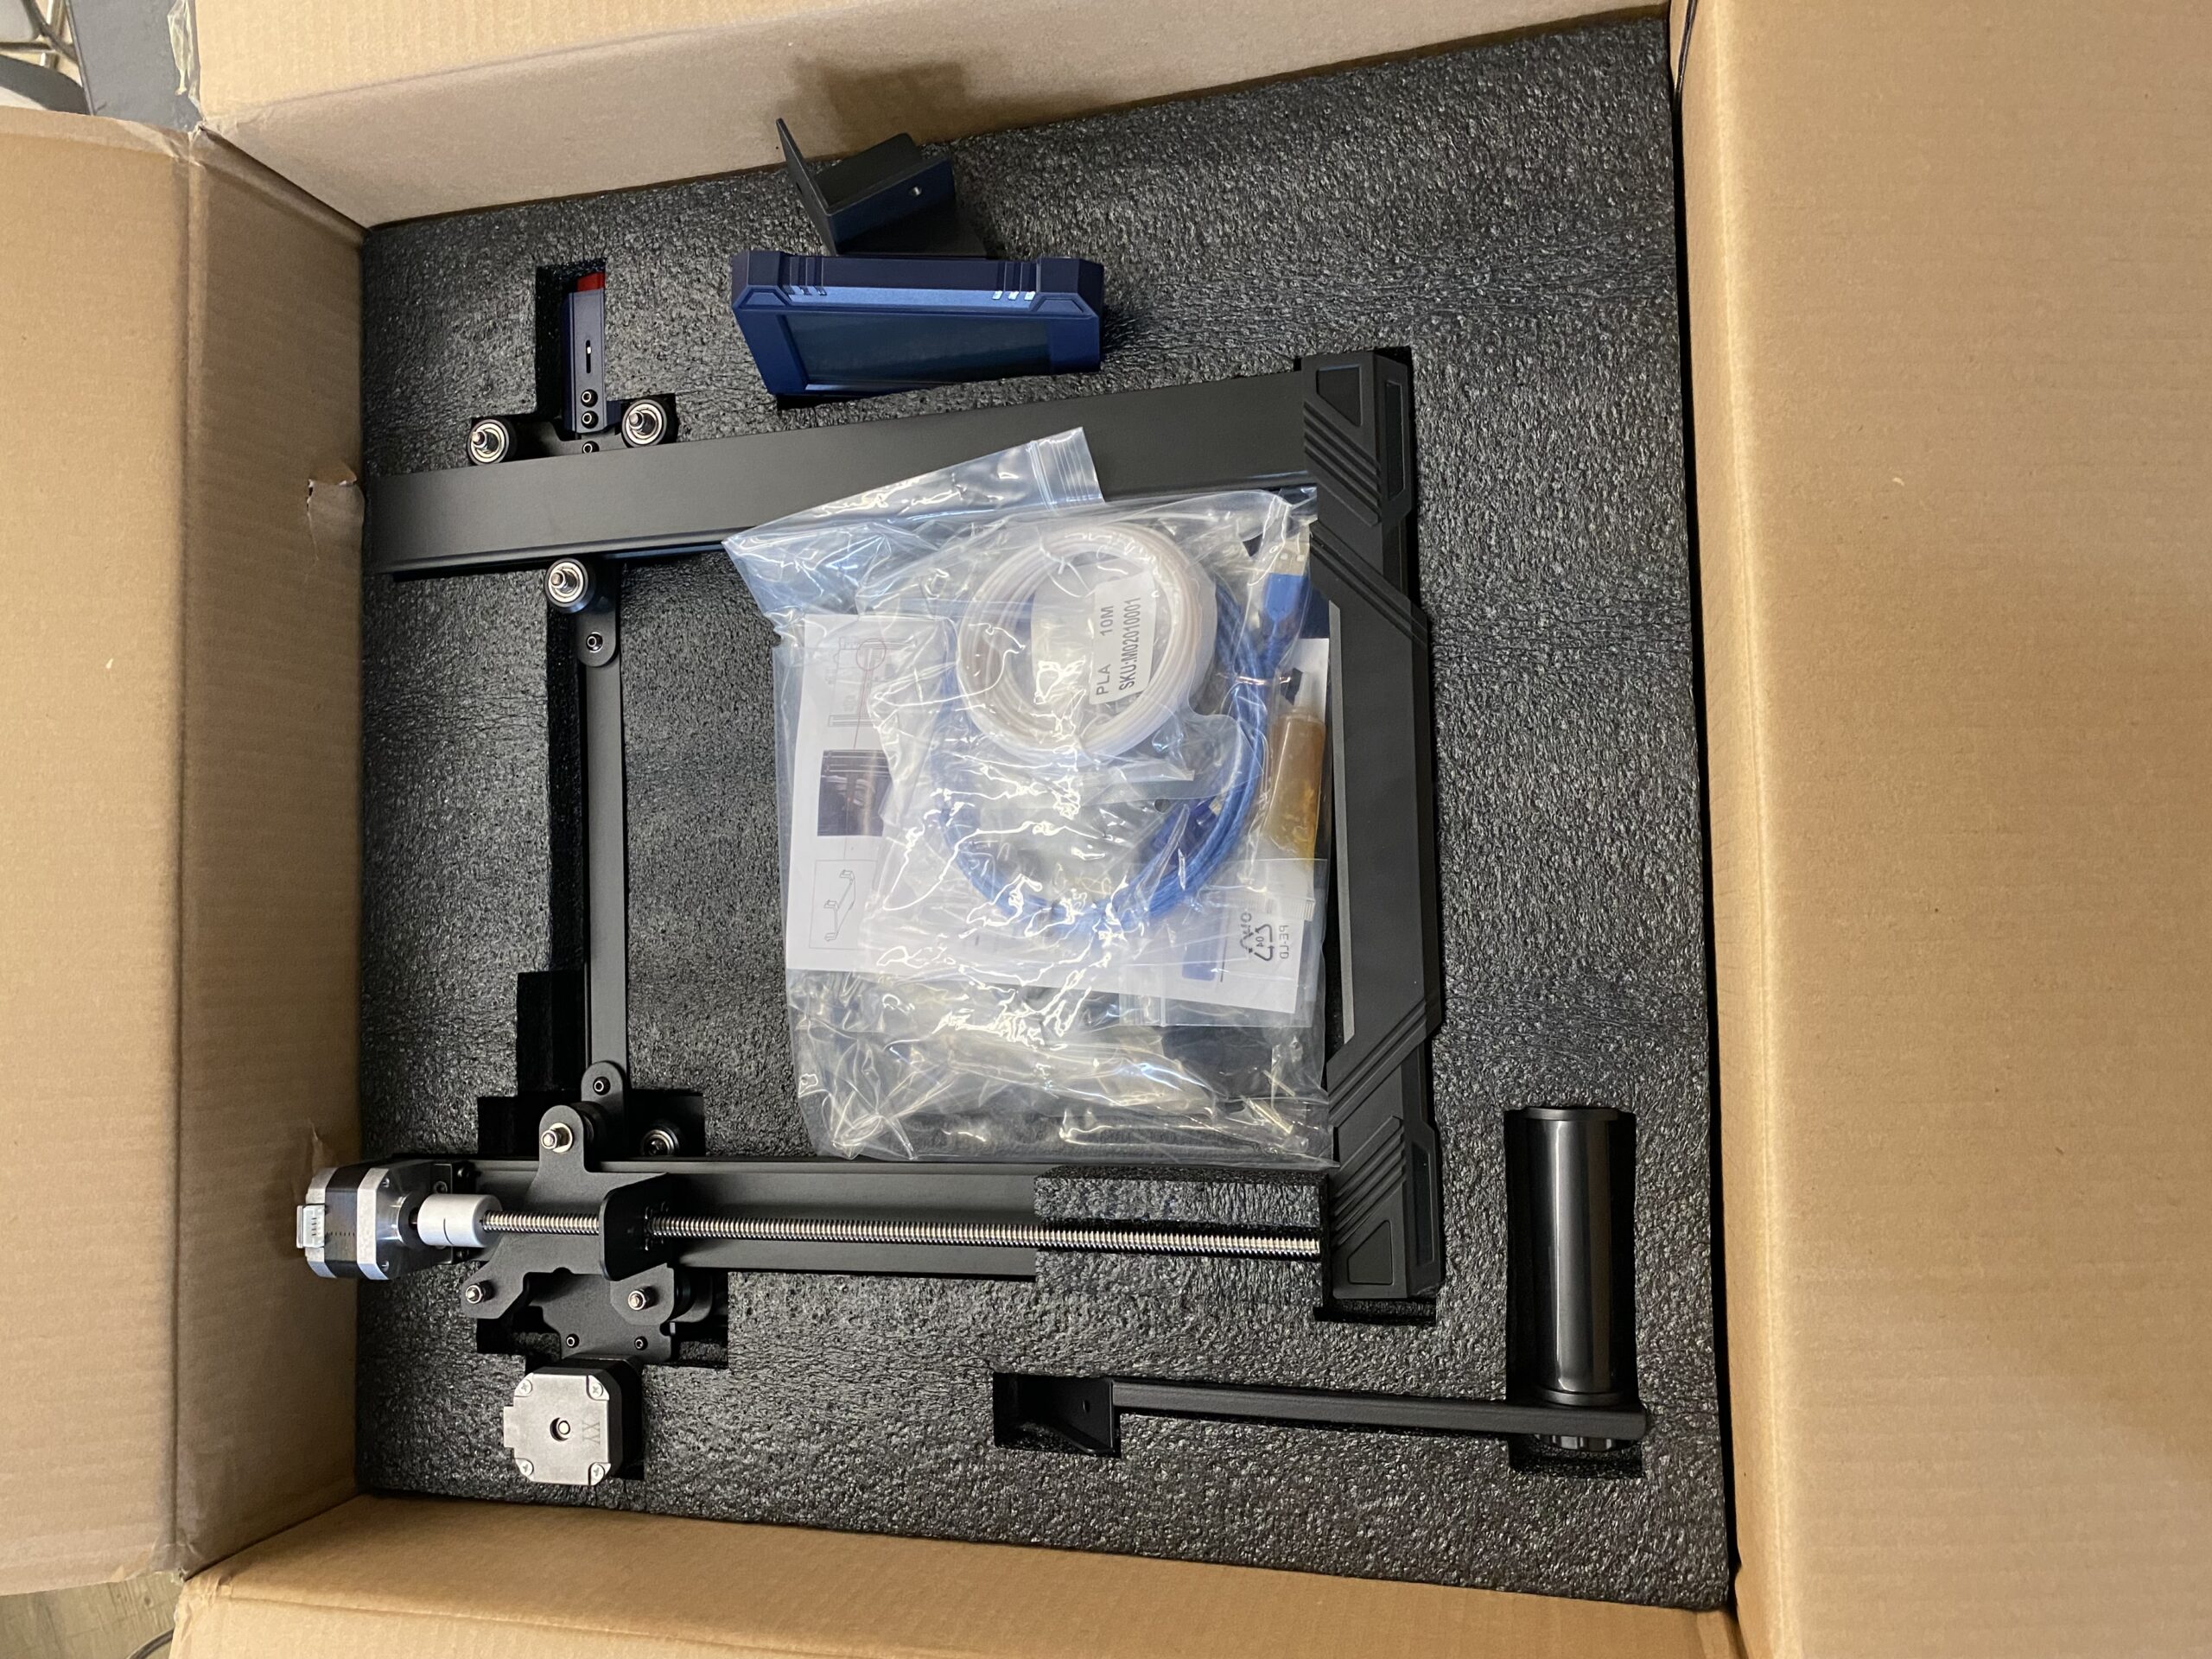
Assembling the Anycubic Kobra was a lot easier than some other budget 3D printers (even the Ender 3 V2), and I want to take a second to go over the setup process for this machine.
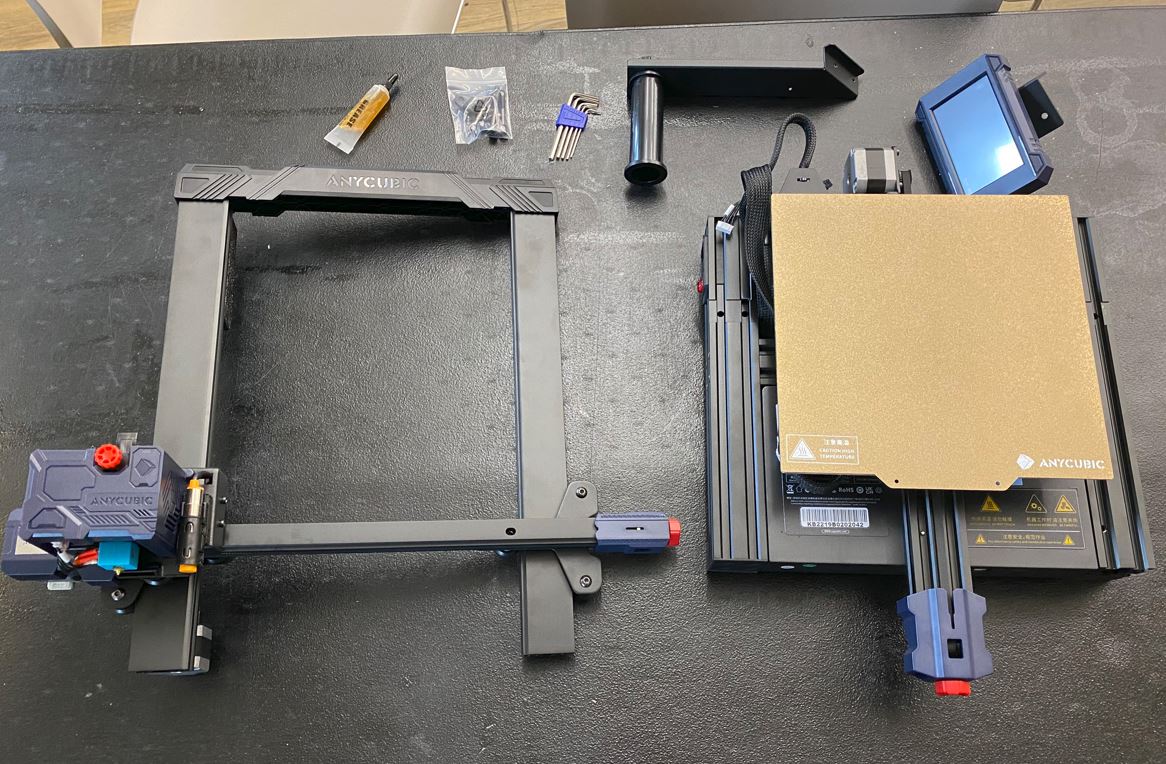
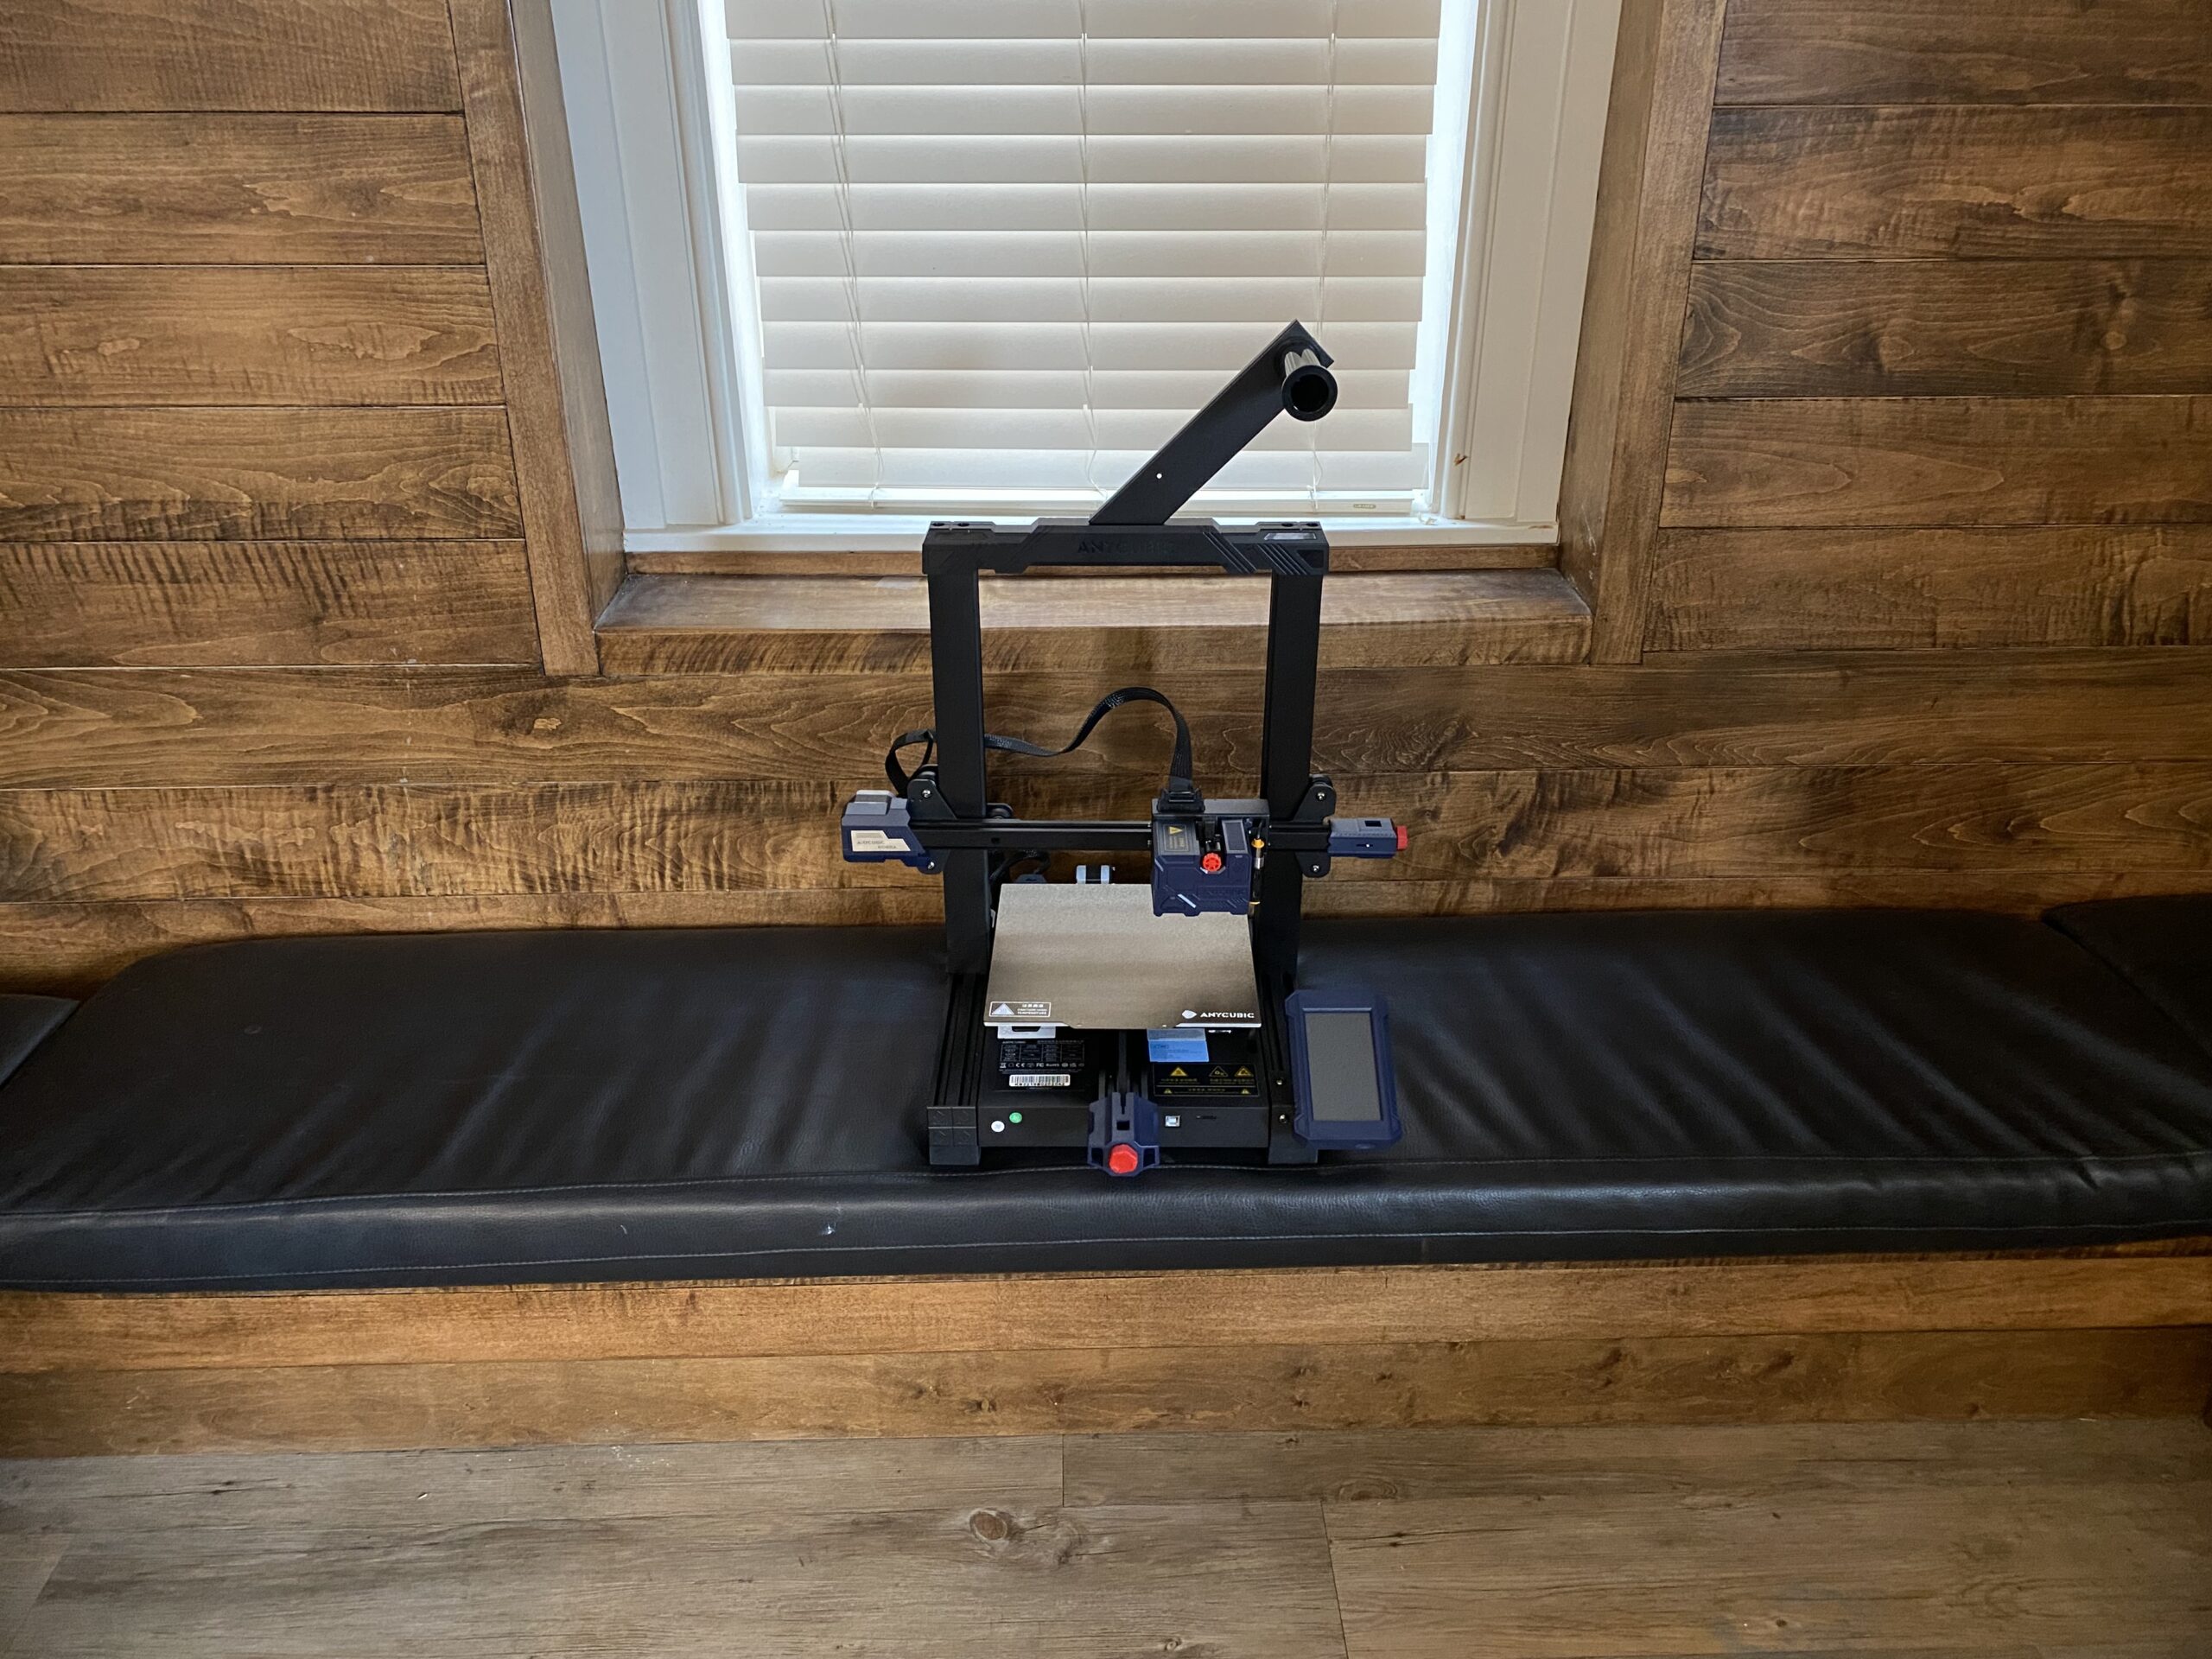
The printer comes in a large cardboard box, split up into just two big sub-assemblies, including the base section and the X/Z axes section. All you have to do is attach the two assemblies together using the four included bolts (and the included Allen Key). After that, simply screw in the LCD and the spool holder, plug in a few cables, set the voltage to 115V (SUPER IMPORTANT), and you’re good to go!
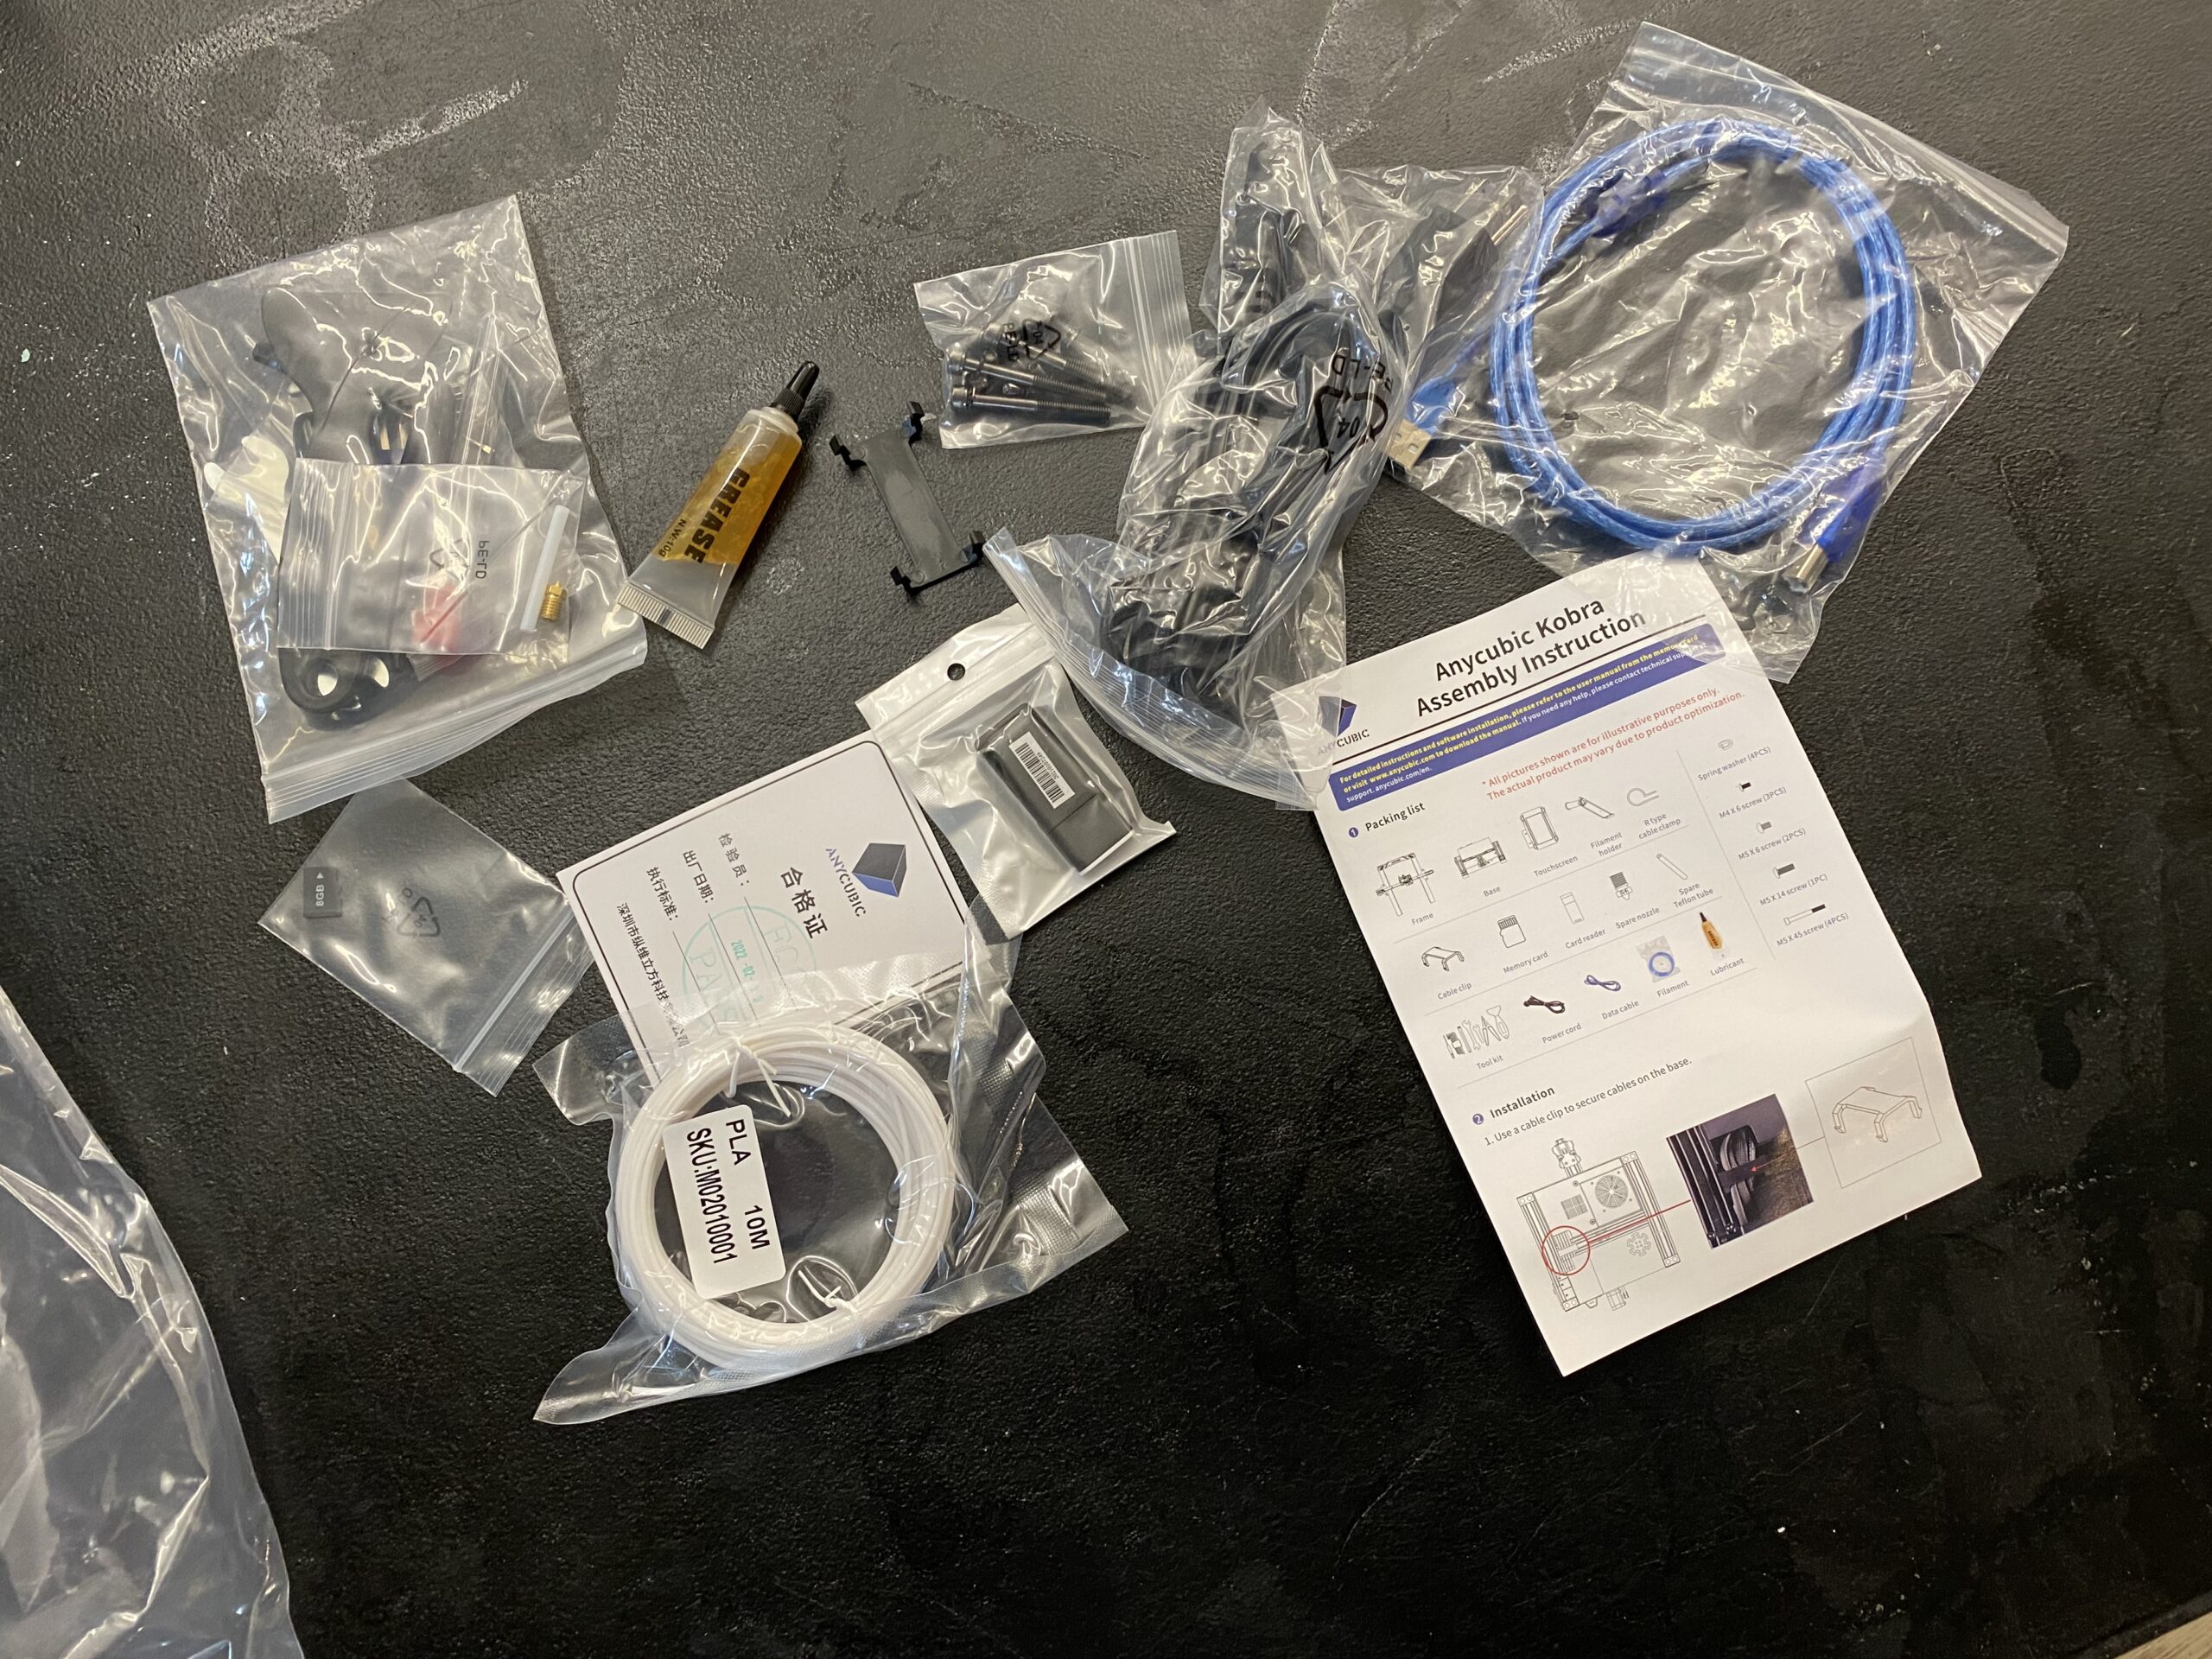
All-in-all, the setup process for the Anycubic Kobra took me about 22 minutes using the provided instruction manual. But I should mention I was eating lunch simultaneously, so it should take you even less time. For those of you completely new to 3D printing, though, I highly advise reading the Anycubic instructional manual and taking it in slowly so you don’t accidentally mess anything up.
Test Prints
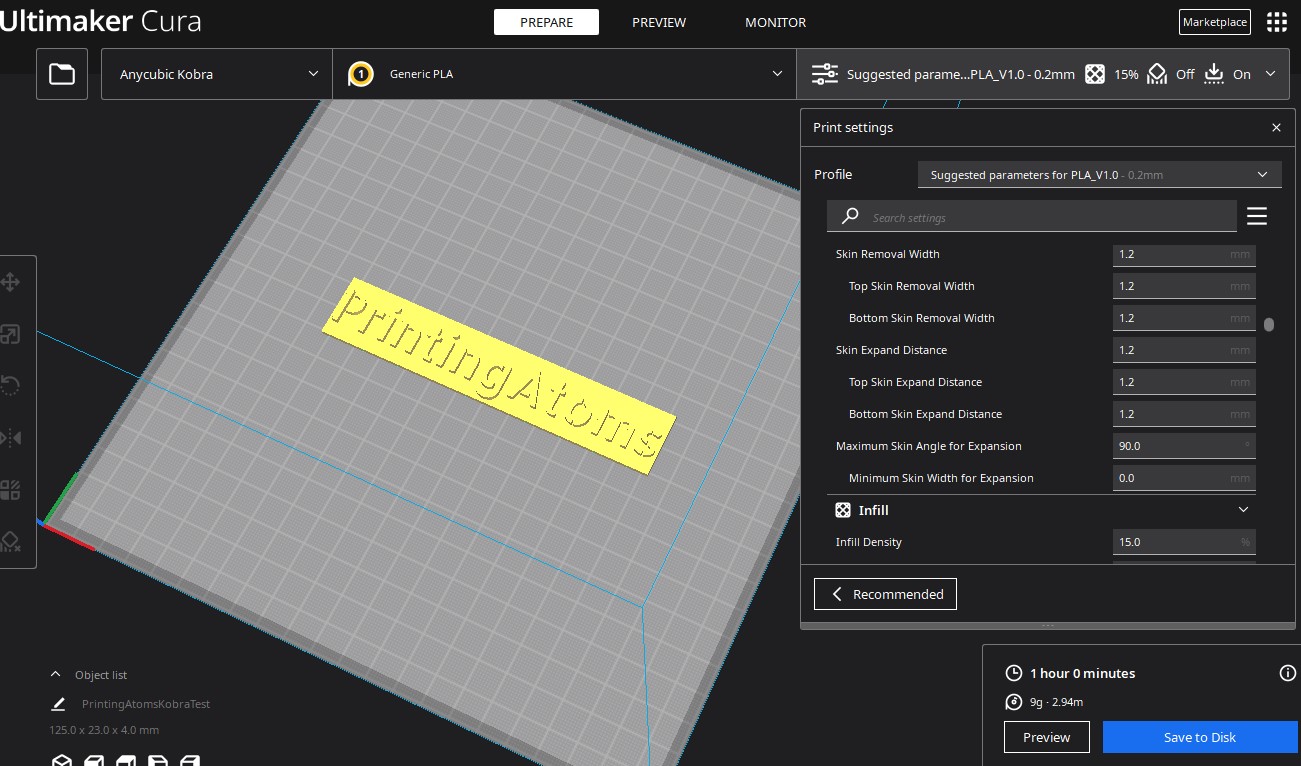
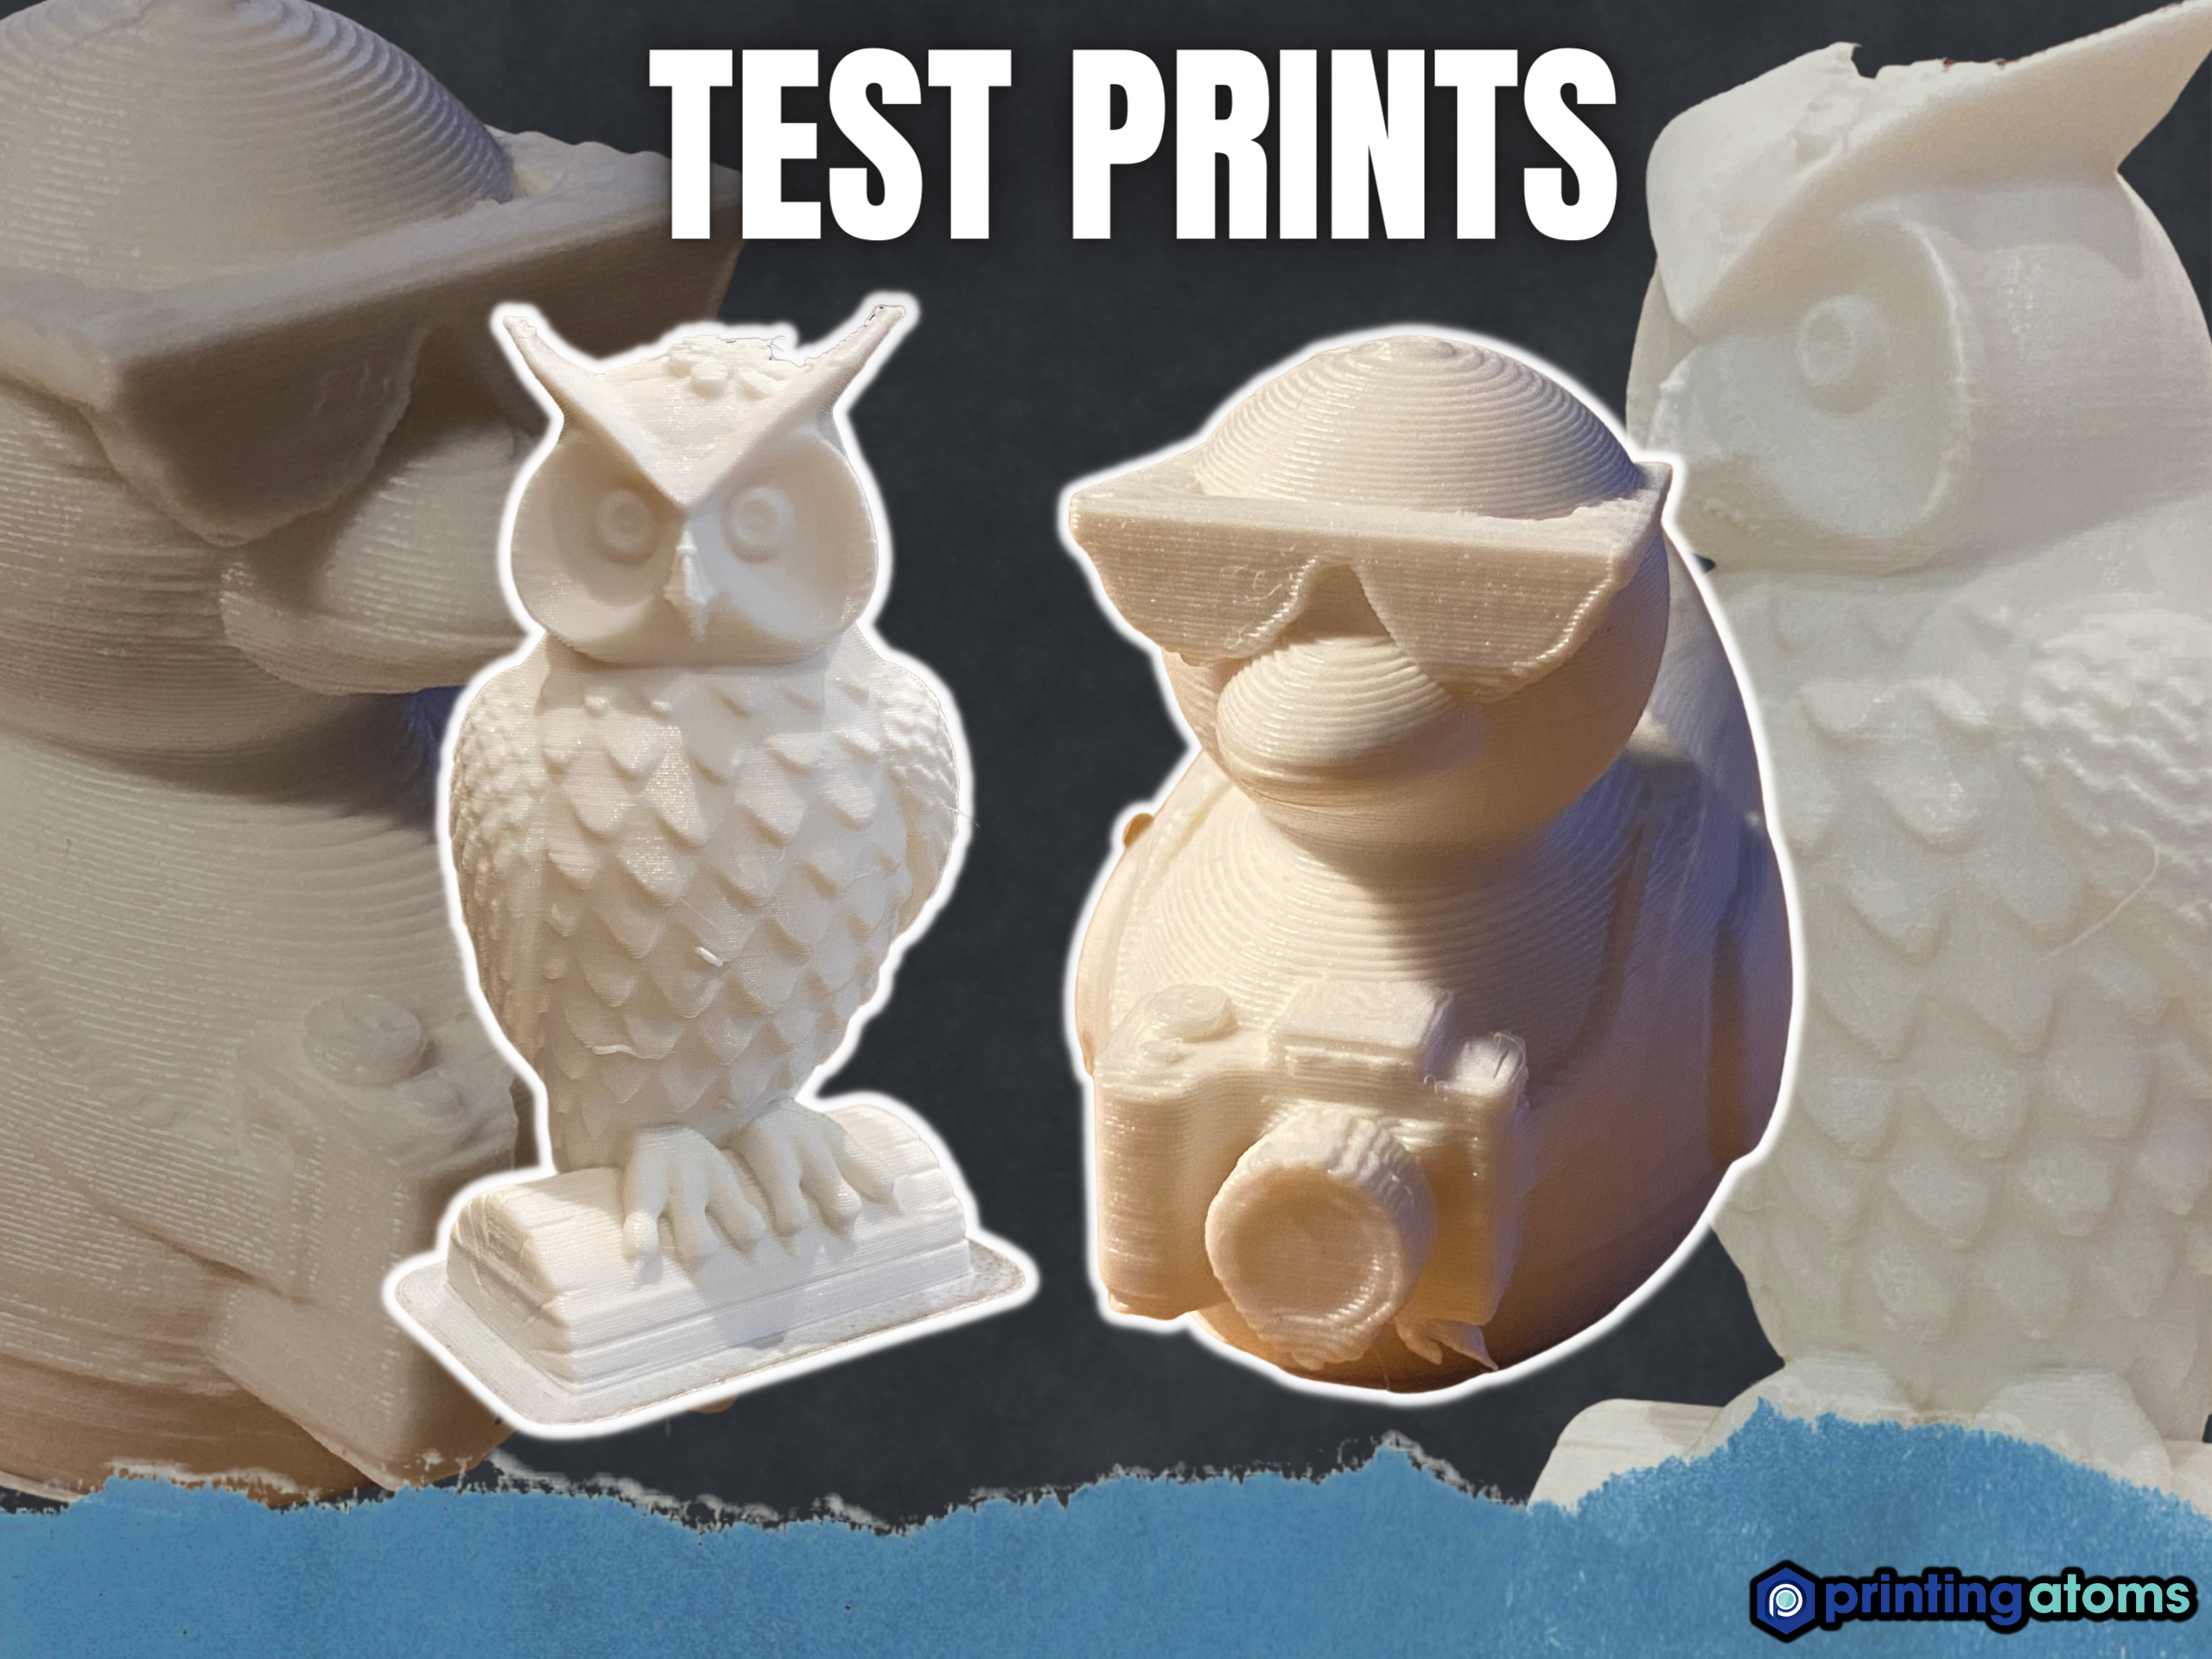
Test prints are the best way to evaluate any 3D printer’s performance. I’ve printed a few test models on my Anycubic Kobra and have shown them off below:
Kobra VS Kobra Neo VS Kobra Plus
As I mentioned, since the release of the original Anycubic Kobra, the company has gone on to make a few different versions of the printer. The Kobra Neo and Kobra Plus are two very popular iterations of the original Kobra, each with some slightly-different features.
The Kobra Neo is almost the exact same printer as the original Anycubic Kobra, with the same frame and very similar motherboards and printhead assemblies. But the Neo has a 2.4-inch full-color non-touchscreen LCD, which is a little bit less fun to use than the original Kobra’s 4.3-inch full-color touchscreen LCD. But this lower-end LCD does make the Neo about $40 less expensive than the original Anycubic Kobra.
And the Neo comes with a double-sided PEI build plate rather than a single-sided one, like its predecessor. This won’t affect the machine’s print quality too much, but it should make achieving decent bed adhesion a bit easier.
As for the Kobra Plus, it’s also very similar to the original Anycubic Kobra and Kobra Neo. But, as indicated in the name, the Kobra Plus has a larger print space, measuring 300 x 300 x 350 mm. This makes it the better option for those interested in printing larger 3D models.
Upgrade Opportunities
While I’m a big fan of the Anycubic Kobra, it’s by no means a perfect 3D printer. And, like with any 3D printer, there’s always room for improvement. I’ve gone over some potential upgrade opportunities for the Anycubic Kobra below:
- Cable chains: Anycubic used a simple ribbon cable to connect all of the electronics on the printhead to the machine’s motherboard. However, I think adding cable chains to the printer would be a good idea as the ribbon cable tends to sag, and could get caught on the printer’s frame during a print job.
- Dual Z-axis: While the Kobra isn’t a super large 3D printer, it’s always better to have two Z-axis lead screws rather than one. Adding a second one would be a bit of a complicated upgrade, but would ensure that the X-axis gantry doesn’t sag, which is often a problem with direct drive 3D printers because the printhead is heavier than normal.
- Filament sensor: Although Anycubic lists “filament runout detection” as optional on the product page, the Kobra does not come with a filament runout sensor. However, if you’re interested in printing large models, then I strongly suggest getting one of these sensors as they eliminate any worry about running out of filament mid-print and having to re-print the model.
Bottom Line
Overall, I’m a big fan of the Anycubic Kobra, and, after intensively testing the printer, I’m excited to try other Anycubic Kobra machines.
The printer’s printhead was easily the best part about the Kobra. With a 3:1 gear ratio, direct drive configuration, and a hot end capable of reaching 110 °C, the printer can handle basically any beginner or intermediate filament material, whether it’s PLA, ABS, PETG, or even TPU.
On this note, the Kobra makes it super easy to print flexible materials (e.g. NinjaFlex TPU) because of its direct drive configuration. It’s much better than my Ender 3 V2; that’s for sure!
The auto bed leveling and spring steel PEI build plate are also amazing. Moreover, the inductive ABL sensor on the Kobra is very accurate, and, with the PEI build plate, achieving proper bed adhesion for the first layer of prints has never been easier! The only downside about it is that the build plate has a textured, rather than a smooth, surface, so the bottom of your prints will be pretty rough.
Additionally, the printer’s electronics, such as its 32-bit motherboard, full-color touchscreen LCD, and stepper motor drivers improve the overall performance of the machine!
So, if you want to print high-quality models, especially flexible ones, and are looking for a good bang for your buck, I think the Anycubic Kobra is the perfect printer for you!


