 Want to paint your 3D prints? Don’t use a paintbrush; instead, use an airbrush!
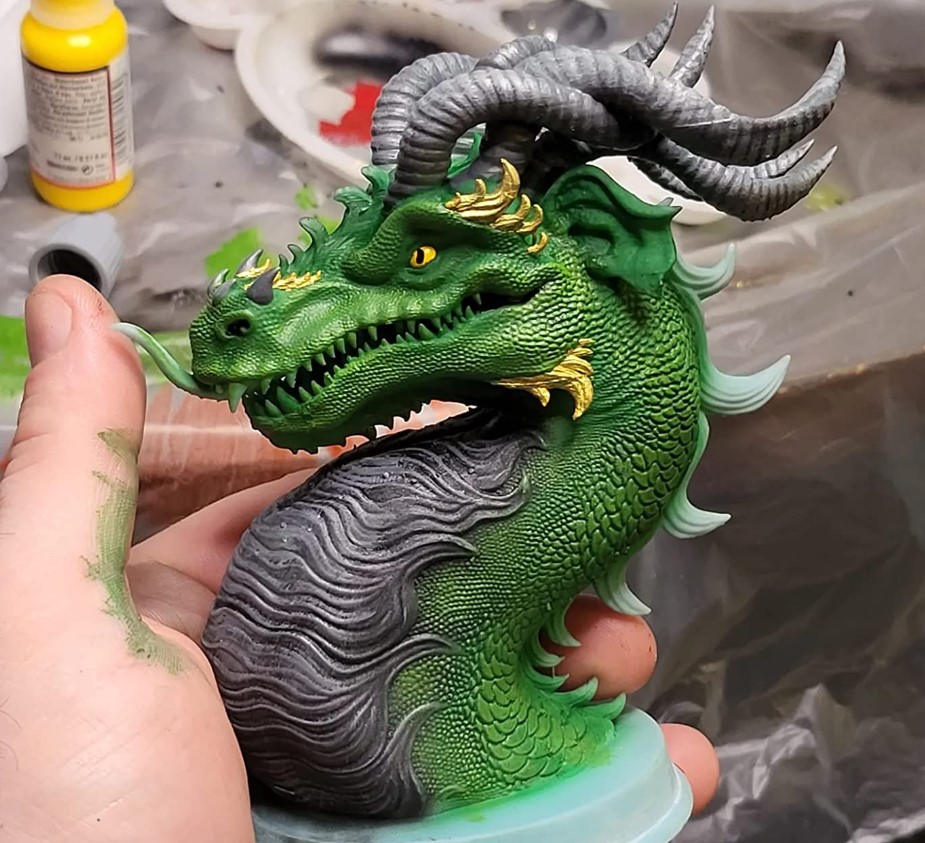
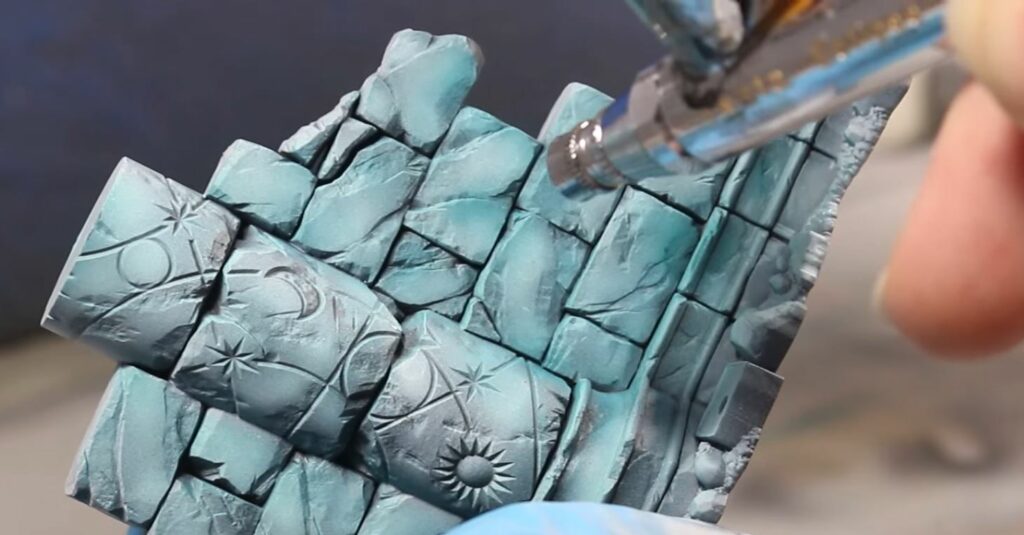
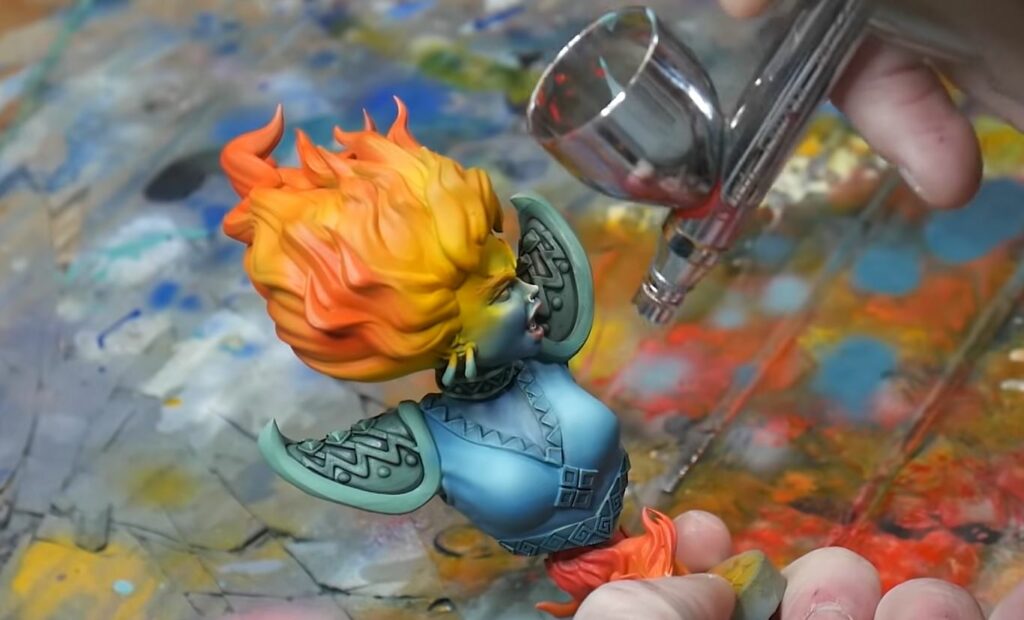
If you’ve never heard of an airbrush, it’s a handheld tool that combines compressed air with liquid paint to achieve super-even paint jobs. Airbrushes are usually much better than brushes for painting 3D prints because the final paint job is a lot more even won’t have brush marks. Additionally, airbrushes can be very precise, so you can use one to paint the super fine details on 3D printed miniature models, like War Hammer figurines.
Unfortunately, though, a lot of different parts and accessories are required if you want to use an airbrush. Moreover, on top of the actual airbrush tool, you’ll also need an air compressor, hose, paint cup, spare needles and nozzles, and cleaning tools.
Luckily, there are many airbrush kits for purchase online, which contain everything you need to get started airbrushing your miniature 3D prints.
My favorite kit is the Master Airbrush Cool Runner II. Despite its rather silly name, the airbrush tool included in the kit is very reliable and you also get a few extra needles and nozzles which come in handy when you’re switching from painting miniature 3D prints to larger surfaces.
Now, if you’re more of a pro when it comes to painting, then you’ll probably take more of a liking to the Iwata Airbrush Neo Cn. This kit costs a good bit more than some other options, but the airbrush tool includes is super high-quality and the air compressor is very powerful, making the kit a total bang for your buck!
Want to learn more about the best airbrush kits for painting miniatures? Just keep reading!
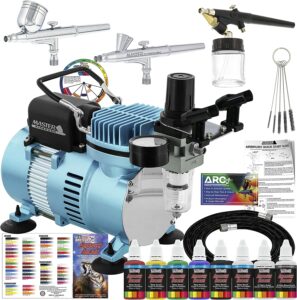

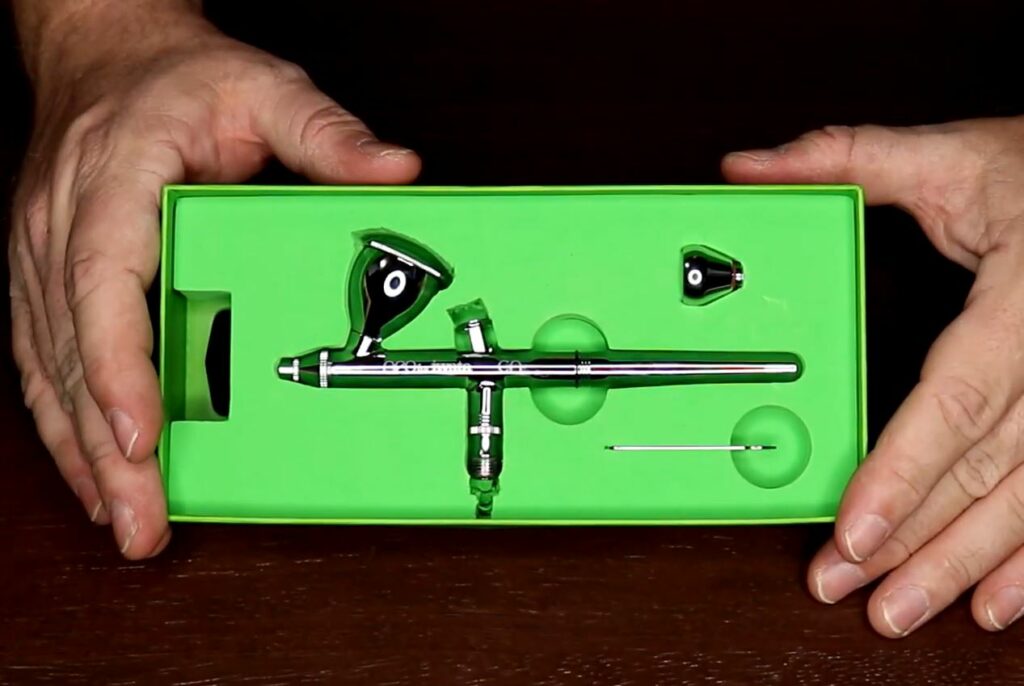
First up, the Master Airbrush Cool Runner II kit is an all-inclusive airbrush kit that’s perfect for users both new and seasoned. The kit, which costs right under $150, comes with everything you need to get started painting miniature 3D prints.
Unlike other airbrush kits on the market, the Cool Runner II comes with not one, not two, but three airbrush tool heads, including a MAS G22, MAS G25, and E91. With three airbrush tools, you’ll be able to easily paint with multiple colors at once without having to spend time swapping the paint cups and cleaning the tool.
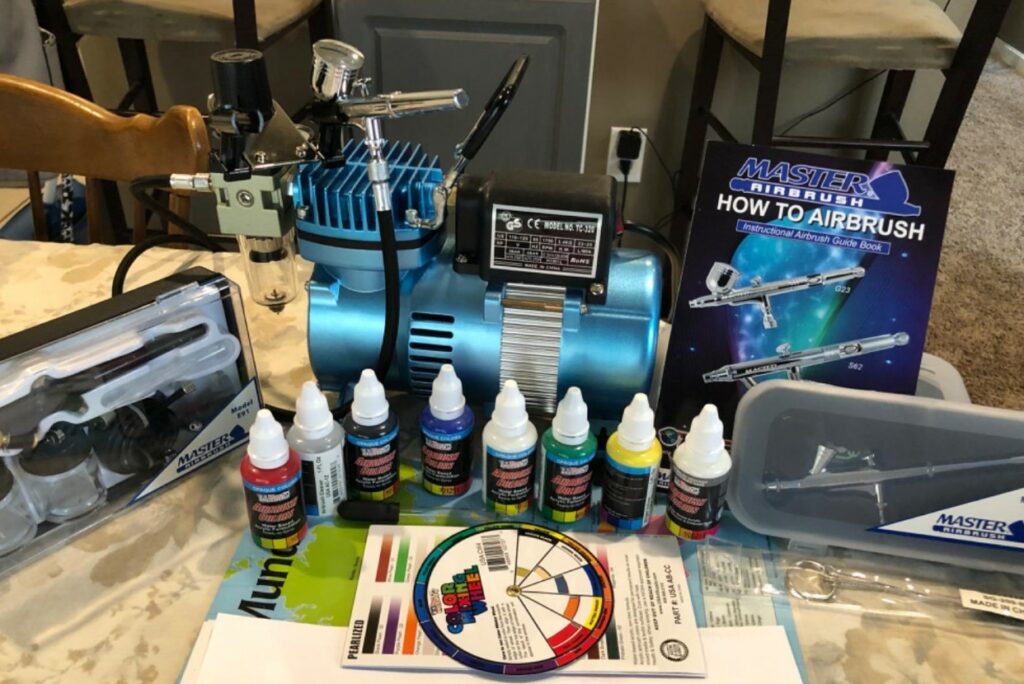
As for the actual airbrush tools, the MAS G22 and G25 tools are dual-action airbrushes, meaning you can control both the paint flow and airflow with a single finger. Both of these tools are also gravity-fed with the paint cup placed above the needle. The E91, on the other hand, is a single-action, siphon-fed (not gravity-fed) airbrush that’s better for painting larger surfaces.
On this note, all three of the included airbrushes have swappable needles and nozzles, and the kit even comes with a few spares in different sizes so you can choose the right level of precision based on what you’re painting. If you’re painting smaller parts, like 3D printed miniatures, a smaller needle and nozzle size will be best.
As for the air compressor, according to users, it’s capable of 60 PSI, which is more than enough pressure for painting 3D printed parts, like miniatures. So no problems here! Another thing I love about this airbrush kit is that it comes with a handful of acrylic paints as well as a few other attachments, like a humidity trap, hoses, cleaning set, and a toolhead holder.
Overall, the Master Airbrush Cooler Runner II is one of the best, most versatile airbrush kits out there. With three different airbrush tools, this kit makes it easy to perform multi-color paint jobs, and it even comes with some paint!

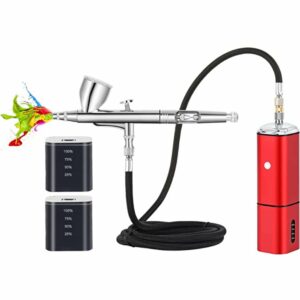
Next, the Casubaris airbrush kit is one of my personal favorites because it uses a battery-powered compressor. Of course, I wouldn’t have included this airbrush kit if the only thing it brought to the table was being cordless. No; the Casubaris airbrush is also just a great airbrush all-around.
The airbrush tool included in the kit features a dual-action trigger that works really smoothly. The airbrush tool also has an adjustable fluid knob that controls how far back the trigger can go, and, thus, the paint flow.
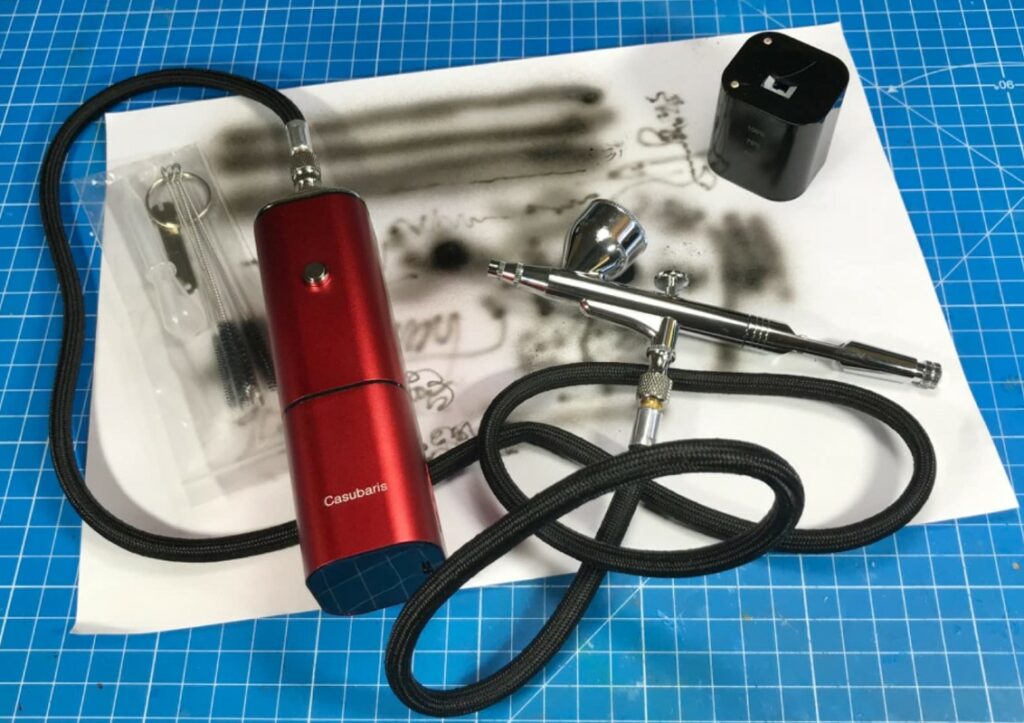
Something to note about this airbrush tool is that the paint cup isn’t detachable and is built into the metal body of the airbrush. While a built-in paint cup makes swapping paints a bit more challenging, it also reduces the chances of clogging.
The air compressor in this kit, as I mentioned, it’s battery-powered so you can use it without plugging it into a power outlet. While the kit comes with a hose for attaching the compressor to the airbrush tool, you can also directly attach the two parts to keep the system entirely cordless.
Unfortunately, as a result of the compressor being battery-powered, it can only achieve up to 32 PSI. While this max limit is relatively low, it should still be enough for small paint jobs, such as if you’re painting miniatures or small surfaces.

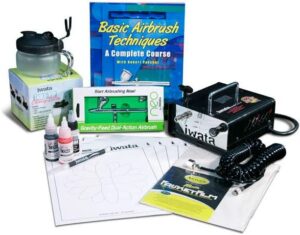
If you’re looking to get the most bang for your buck, then I strongly recommend the Iwata Beginner Airbrush Neo Cn kit. While it’s pretty expensive, it comes with an Iwata airbrush and an Iwata air compressor. For reference, Iwata is perhaps the most reputable airbrush brand, and their airbrush tools are known for being super high-quality and reliable.
The specific airbrush tool included in the Neo kit is an Iwata CN Gravity Feed Dual Action Airbrush. As indicated in the name, this airbrush is both gravity-fed and dual-action, which is my favorite style of airbrush because both of these features yield super good paint jobs.
The airbrush in the kit is a Ninja Jet airbrush compressor, capable of a consistent 40 PSI. While this isn’t super high, it works super well with the Iwata CN airbrush and is perfect for painting small and mid-size parts, like 3D printed models.
The kit also comes with some other parts, such as an Iwata spray-out can, which you can use to prime your airbrush, a guide for airbrushing, some paint, a bottle of airbrush cleaner, and an art utility knife.
So, if you want to get the most for your money, the Iwata Beginner Airbrush Neo CN kit is the one for you. Part-for-part, the kit is worth over $400, but costs just under $300, which is a total steal!

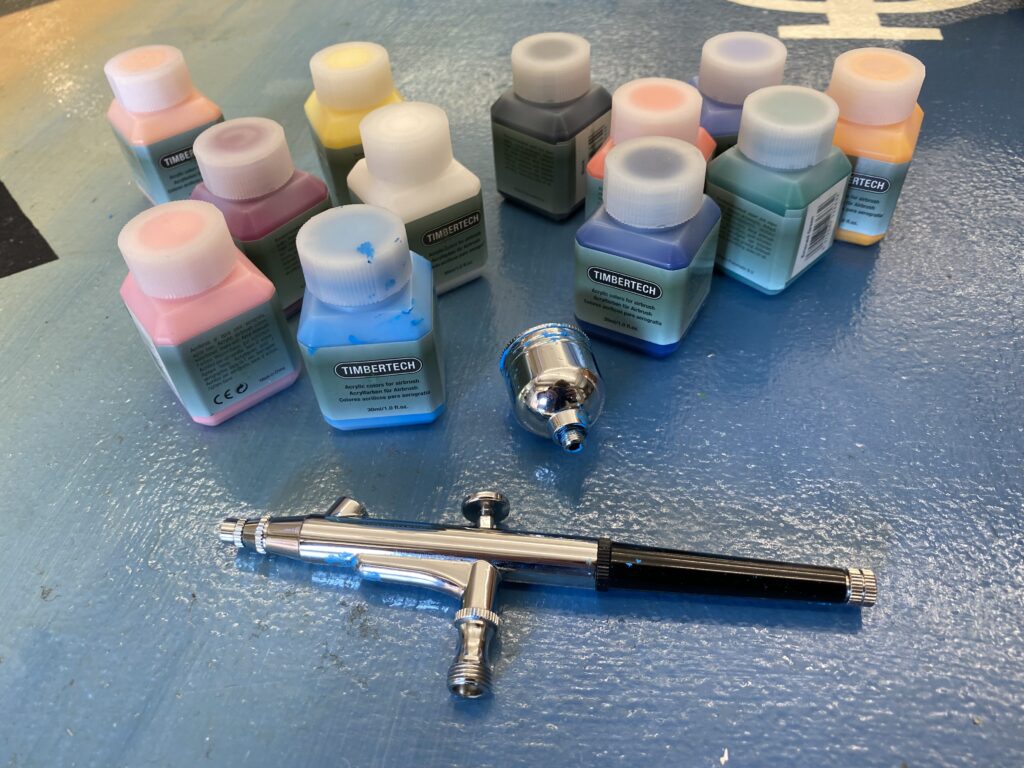
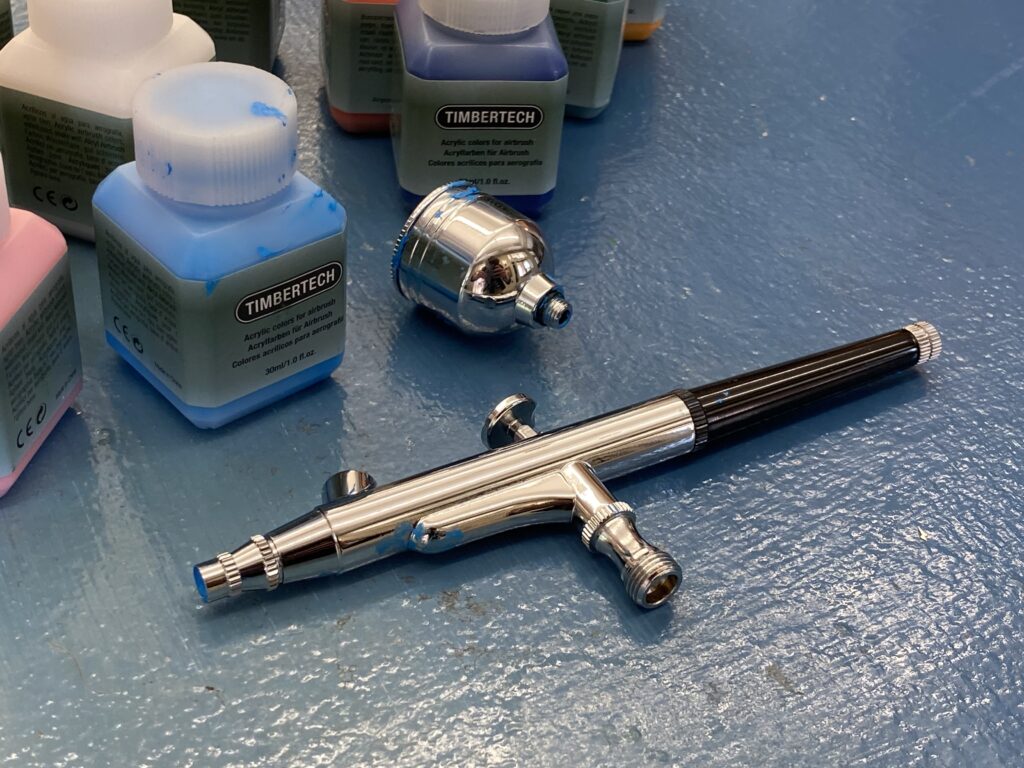
Next, Timerbetech is a company that specializes in making airbrushes, airbrush accessories, and paints! The Timbertech airbrush kit is an affordable kit that’s perfect for beginners because it comes with all the necessary components for airbrushing – an airbrush, air compressor, paint bottles, and cleaning tools – but none of the extras that you don’t need.
The Timbertech airbrush tool included in the kit has a built-in paint cup, and an adjustable fluid knob, and comes with a 0.3-mm needle and nozzle. This needle size should be small enough to achieve precise paint jobs, like painting the limbs of a 3D printed miniatures, but large enough to paint mid-size surfaces if you need to.
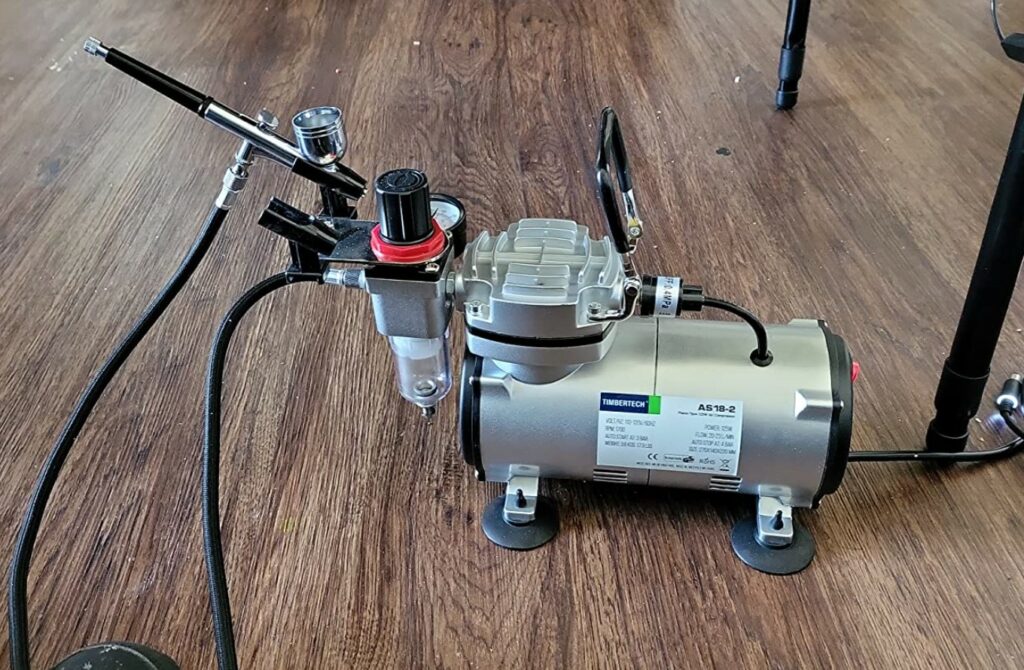
The trigger on the airbrush is also dual-action and it functions very smoothly, so you won’t have to worry about frequent jamming and other mechanical issues with the airbrush.
As for the air compressor, it’s a total beast, capable of pumping out air at up to 58 PSI. This PSI level is way more than you’ll ever need for miniature painting and will make painting more expansive surfaces way easier. According to user reviews, the compressor is also decently quiet, which is a nice added bonus.

Lastly, the Gocheer airbrush kit is another all-inclusive kit that’s perfect for anyone just starting their airbrush journey. Although Gocheer is no Iwata and is a pretty unheard-of Chinese brand, I found this kit to work surprisingly well, especially for its very affordable price.
The Gocheer airbrush kit includes an airbrush tool, an air compressor, three paint cups, a hose, a humidity trap, two extra needles and nozzles, cleaning tools, and other accessories, which means you can start painting your miniatures right away!
The airbrush tool in the kit features a dual-action trigger for controlling both the airflow and paint flow. And, the airbrush tool has a fluid adjustment knob that’s super easy to use. Changing the needle and nozzles was also a breeze.
It’s worth noting that, during my testing of the product, the trigger mechanism jammed sometimes, which halted my painting process. But it’s not too big of an issue because you can easily un-jam the trigger by pulling it back a few times.
The air compressor that came with the kit was also decent, with a 40 PSI air pressure capacity. As I’ve mentioned before, 40 PSI is more than enough for painting small and mid-size parts!
So, if you are looking for a good airbrush kit for painting miniatures and want a good mix between affordability and quality, the Gocheer airbrush kit is definitely worth considering.
Why Use an Airbrush?
Using an airbrush presents several advantages compared to other painting methods like using a brush or a standard spray paint can. Firstly, the airbrush facilitates the application of even and smooth coats of paint on a surface because the paint is sprayed in an aerosol form. Consequently, it avoids noticeable brush marks that a brush could leave on the surface.
Secondly, the airbrush stands out from the spray paint can by offering an incredibly precise application of paint. It allows painting super small features with the right nozzle size, air compressor PSI, and fluid adjustment knob. This feature is particularly useful for miniature or mural painting.
In addition to its precision, the airbrush can be a cost-efficient alternative to spray paint cans. Indeed, bottles of liquid airbrush paint are usually less expensive than spray paint bottles. Even though buying an airbrush requires an upfront cost, it eventually saves money in the long run.
Lastly, the airbrush can serve for drying paint as well. By emptying the paint cup and pulling the airbrush trigger, the compressed air expedites the paint-drying process. It saves at least 10-20 minutes of painting time.
How to Choose Your First Airbrush?
Choosing your first airbrush can be an overwhelming experience, especially if you are new to the world of airbrushing. However, understanding your needs and skill level will make the process much easier. Here are some factors to consider when selecting your first airbrush.
First, you should consider what 3D prints and other parts you plan on painting with the airbrush. If you’re planning to paint fine details, like painting a 3D printed miniature, then an airbrush will a small nozzle and needle size will be best. On the other hand, if you need an airbrush for painting larger surfaces, like a PC case or piece of furniture, an airbrush with a larger nozzle and needle size will be preferred.
Second, your skill level also plays into how you choose your first airbrush. If you are a beginner, it’s best to start with a simpler airbrush that is easy to control and has minimal adjustment features. As you gain experience, you can upgrade to more advanced airbrushes with additional features that will enable even more precise paint jobs.
Third, consider your budget. Airbrushes can vary widely in price, with some costing hundreds or even thousands of dollars. However, there are many affordable options that are perfect for beginners.
Fourth, consider the maintenance and cleaning required for the airbrush. Some airbrushes require more frequent cleaning and maintenance than others. If you don’t want to spend a lot of time cleaning your airbrush, choose one that is easy to disassemble and clean.
Lastly, consider the brand and reputation of the airbrush. An airbrush from a reputable brand, like Iwata or Paasche, will definitely have a higher price tag than an airbrush from a random company on Amazon. But the customer support, community resources, and overall product quality will likely be better, which is sometimes very worth the extra tens of dollars!
Is it Hard to Learn to Use an Airbrush?
Much like any other hobby, learning to use an airbrush can be challenging at first, but with practice and patience, it becomes much easier. You just have to overcome that initial learning curve!
Furthermore, the difficulty of learning to use an airbrush depends on your level of experience with painting, your understanding of airbrushing techniques, and the complexity of the project you are working on.
Another factor that affects the learning curve is the type of paint you are using. Different paints have different viscosities and require different airbrush settings. Water-based paints, for example, are more forgiving and easier to work with than solvent-based paints.
If you’re new to airbrushing, I recommend practicing using your airbrush on some cardboard or newspaper using water-based acrylic paint (very affordable and easy-to-use). Here, you can figure out how to use the trigger mechanism on your airbrush to control the flow of air and paint. I suggest writing something or making a little drawing to hone in your skills!
How to Clean the Airbrush?
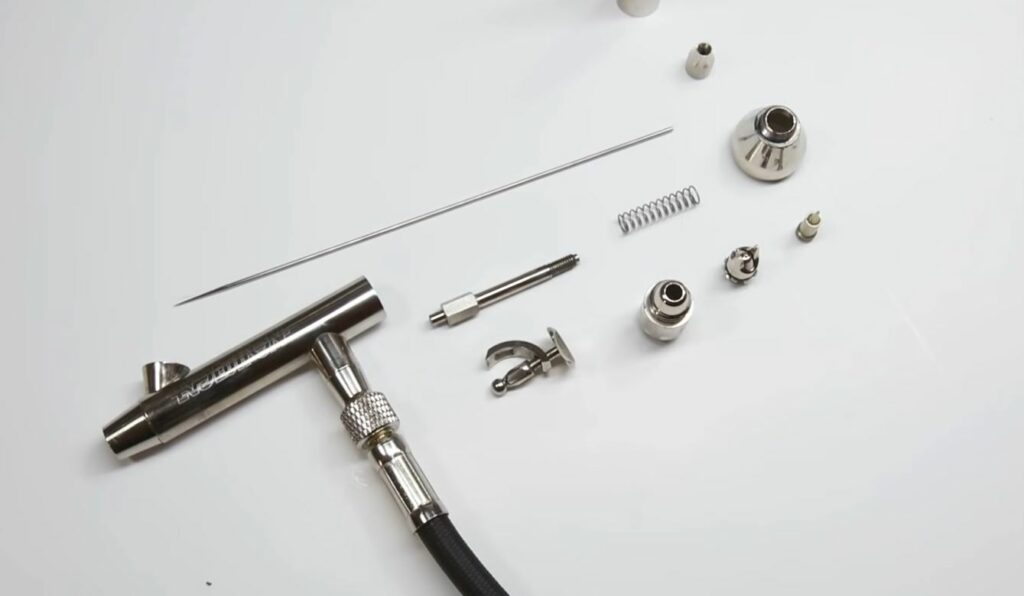
Cleaning an airbrush is essential for the tool’s longevity, and is something you should know how to do perhaps before even using the airbrush in the first place. I’ve gone over the step-by-step instructions for how you can clean your airbrush below:
- Start by disconnecting the airbrush from the air tube. Also make sure that the other detachable parts are removed, including the nozzle and needle.
- Rinse the parts under running water to remove any excess paint or residue.
- Fill a small container with airbrush cleaning solution and soak the disassembled parts for 10-15 minutes.
- After soaking, use a soft-bristled brush to scrub the parts gently. Be careful not to damage the delicate parts of the airbrush.
- Rinse the parts again with clean water to remove any remaining cleaning solution. Then, dry the parts thoroughly with a soft cloth or paper towel.
- Once the parts are dry, reassemble the airbrush tool carefully, making sure that all parts fit together snugly.
- Before using the airbrush, test it by spraying some clean water through it to make sure that everything is working correctly.
Hope this helps!
Is it Worth Getting an Airbrush for Miniature Painting?
Yes!
A good paint job on a 3D printed miniature can make all the difference in the model’s visual appearance. So, if you want to make your miniatures look spectacular, then getting an airbrush is definitely worth it! You simply won’t be able to achieve even close to the quality of an airbrush paint job with a traditional paintbrush.
Additionally, airbrushes are useful for other types of paint jobs too, not just for painting 3D printed miniatures. Their ability to lay down even coats makes them useful for painting just about any model that you want to look good, whether it’s a car part or a desk toy.