
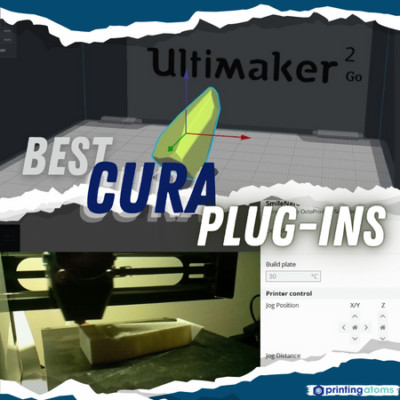

If you have a 3D printer, chances are you’ve used Ultimaker Cura before; after all, it’s the most popular slicing software for 3D printers. But you might not be getting the most out of Cura!
While the 3D slicer offers tons of adjustable slicer settings and other neat features, you can do even more with Cura through plug-ins. Plug-ins are add-on programs that attach to the main software (Cura) and provide additional features and functionality.
All plug-ins are different, each with their own specific purpose and task. Some plug-ins might improve the user interface of Cura, while others are focused on improving how 3D models are printed. You can download all plug-ins for free from Cura’s plug-in library; more on that later, though.
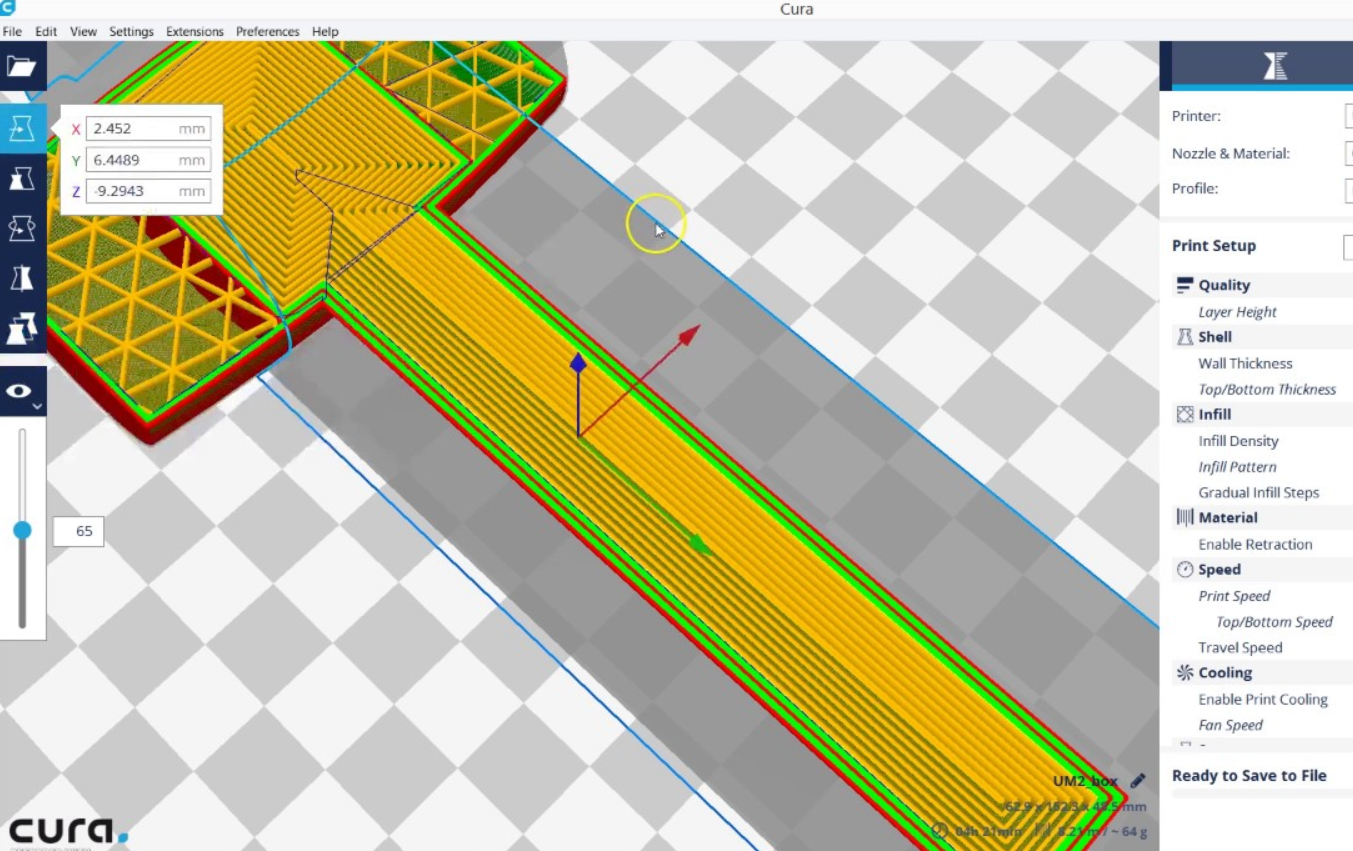
The best Cura plug-in I’ve found is the Z Offset Setting plug-in. This plug-in allows you to control the Z-offset on your 3D printer directly through your slicer, so you don’t have to use your printer’s LCD interface.
The Auto-Orientation and OctoPrint Connection plug-ins are also super useful. The Auto-Orientation one minimizes the use of supports on models by optimizing how the 3D model is oriented on the build plate. And the OctoPrint Connection plug-in allows you to connect an OctoPrint server to Cura and provides an interface to monitor and control your printer through the server.
Want to hear about other Cura plug-ins and what they can do? Just keep reading!
Table of Contents
What are Cura Plug-Ins?
Cura plug-ins are downloadable programs that have been made specifically for Cura and are meant to bring more features and functions to the platform. These plug-ins, as I mentioned, are all free and can be found (and downloaded) on Cura’s plug-in repository.
Plug-ins can do basically anything, whether it’s changing the graphical user interface of Cura or adding another slicer setting. There’s really no limit to what a plug-in can do! That’s why they’re so useful.
And because Cura is such a popular program and has a massive community following, there are many different plug-ins out there.
Best Cura Plug-Ins
Below, I’ve gone over the best Cura plug-ins! Each of these plug-ins has been tested by me (and thousands of others) and offers a specific feature or tool that will make your life easier or improve the quality of your prints. Enjoy!
1. Z Offset Setting
Easily one of the best Cura plug-ins out there, the Z Offset Setting plug-in adds a slicer setting to Cura for adjusting the Z offset value of your 3D printer.
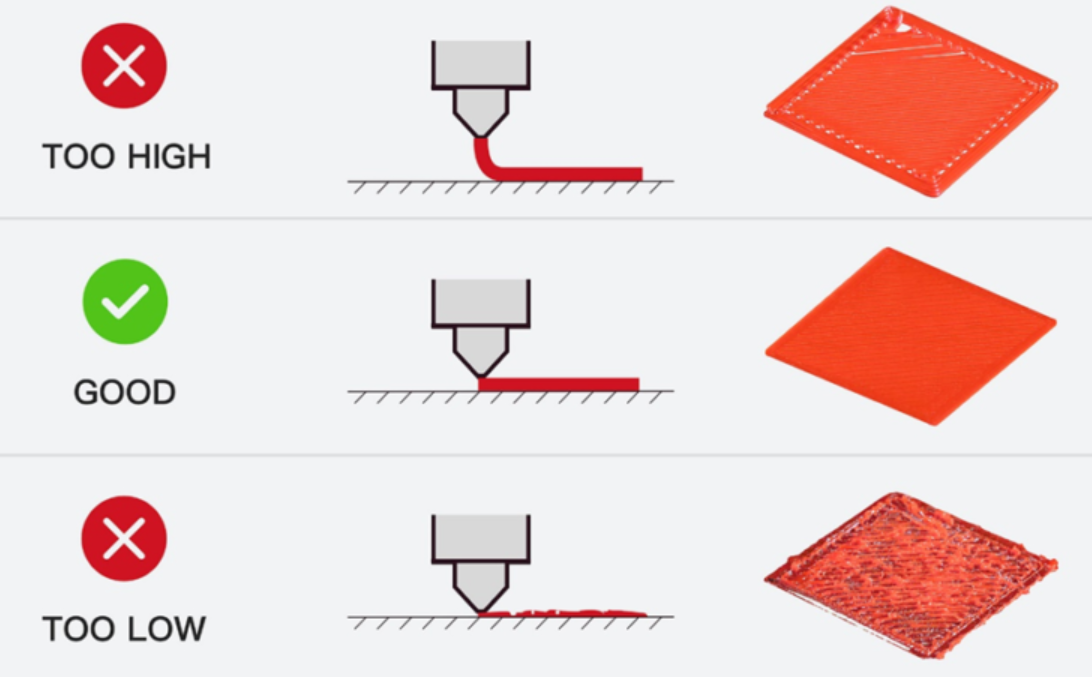
If you don’t know what the Z offset value is, think about it as the difference in the distance between your nozzle and the build plate. Usually, after you level the print bed, you have to calibrate the Z offset value through the printer’s LCD to ensure you get a good first layer on prints.
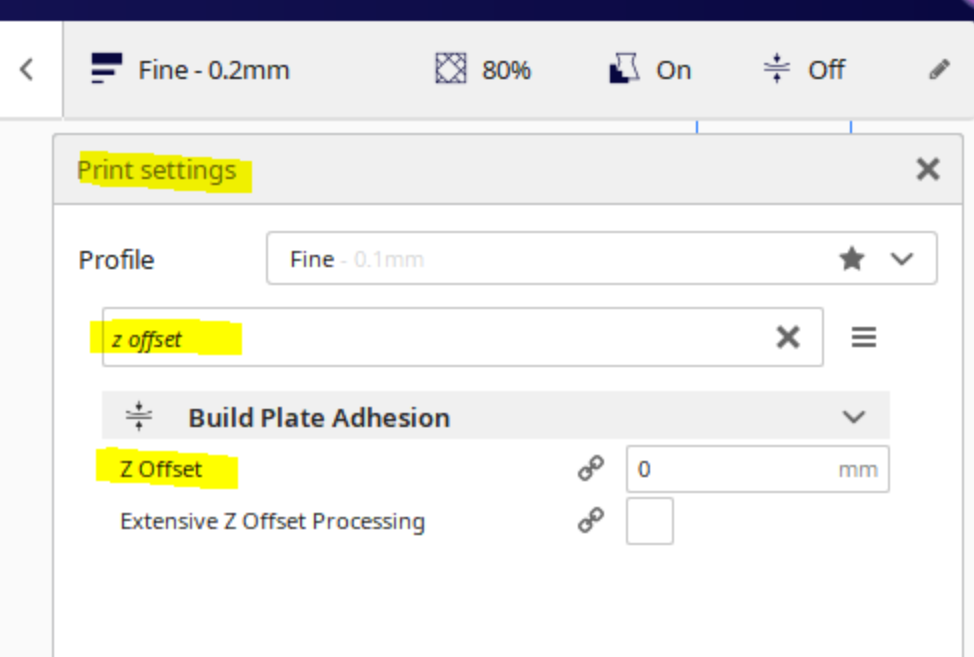
With this Cura plug-in, you no longer have to adjust the Z offset through your printer’s LCD interface (or through G-code commands). Instead, you can simply do it in your 3D slicer, which is super convenient, and a feature you would have thought Cura would have already had.
2. Settings Guide
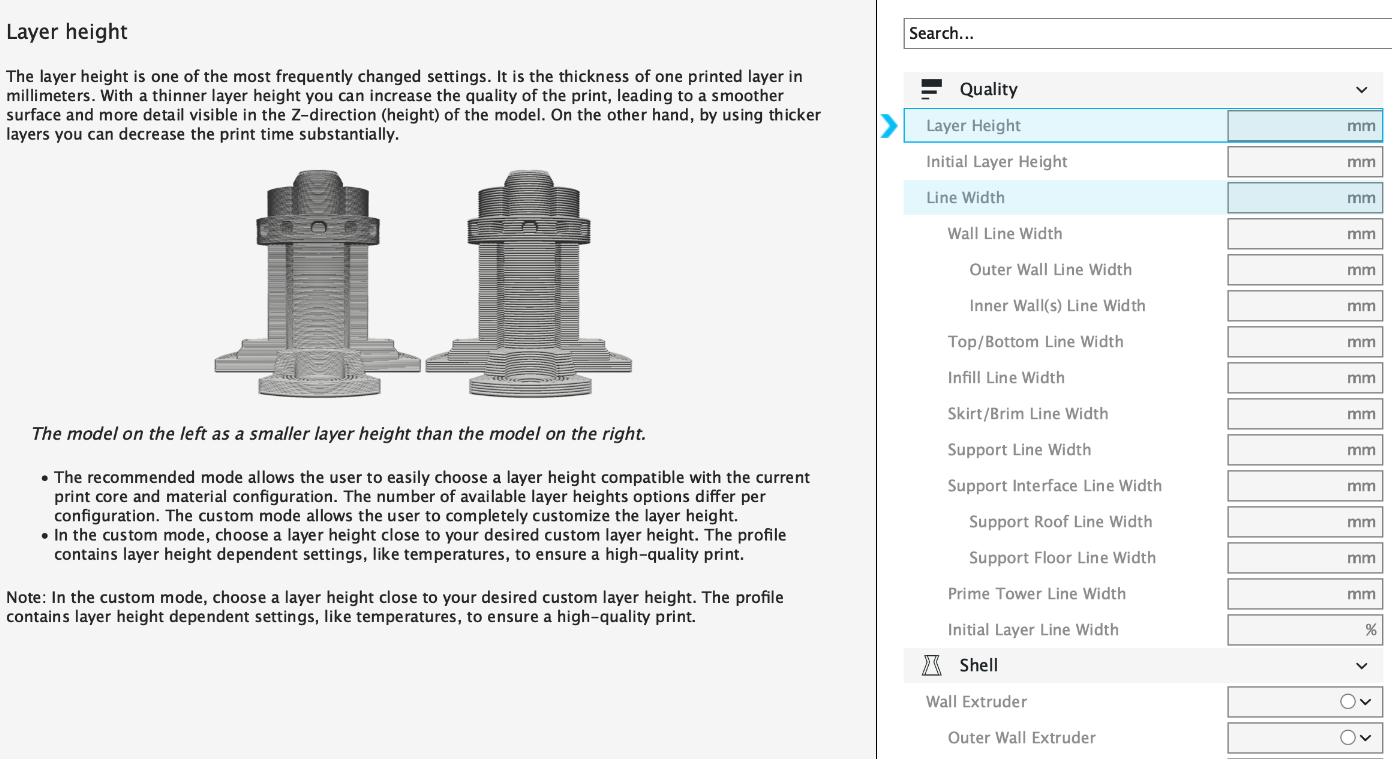
If you’re new to 3D printing or just started using Cura, then you might be a bit overwhelmed by the sheer amount of settings on the platform. The Settings Guide plug-in makes it easy to learn about all of the different settings in Cura, so you can quickly start building a slicer profile that maximizes the quality of your 3D prints.
The more settings you know, the more ways you can improve the quality of your prints. And, with the Settings Guide plug-in installed, all you have to do to learn about a setting is right-click on the setting line and click “Settings Guide”. It couldn’t be easier to master Cura!
3. Tab+ AntiWarping
Achieving proper bed adhesion for 3D prints is one of the biggest challenges for users, and it’s super important because poor bed adhesion usually causes warping on the bottom of prints. The Tab+ AntiWarping Cura plug-in is a great way to ensure good bed adhesion for prints without wasting too much filament.
The plug-in provides you with a special adhesion assistant in Cura that’s different from a brim or a raft, which are commonly used to help with bed adhesion. But what makes the adhesion assistant from this plug-in special is that it focuses on grounding the corners of your print to the bed, which are the most susceptible to warping. As such, using the Tab+ AntiWarping plug-in will save you filament compared to if you used a brim or a raft, and your prints are less likely to warp.
4. Auto-Orientation

Support structures are needed to print 3D models with large overhangs, but oftentimes, 3D slicers use more support structures than necessary. And, because support structures on a 3D print are almost always thrown out, the more supports a print has, the less filament you can use for real prints. That’s where the Auto-Orientation Cura plug-in comes in!
The Auto-Orientation plug-in automatically rotates and positions your 3D model around the print bed in Cura to minimize the use of supports. In other words, it finds the orientation that will require the least amount of support structures to print. It’s a great way to save filament!
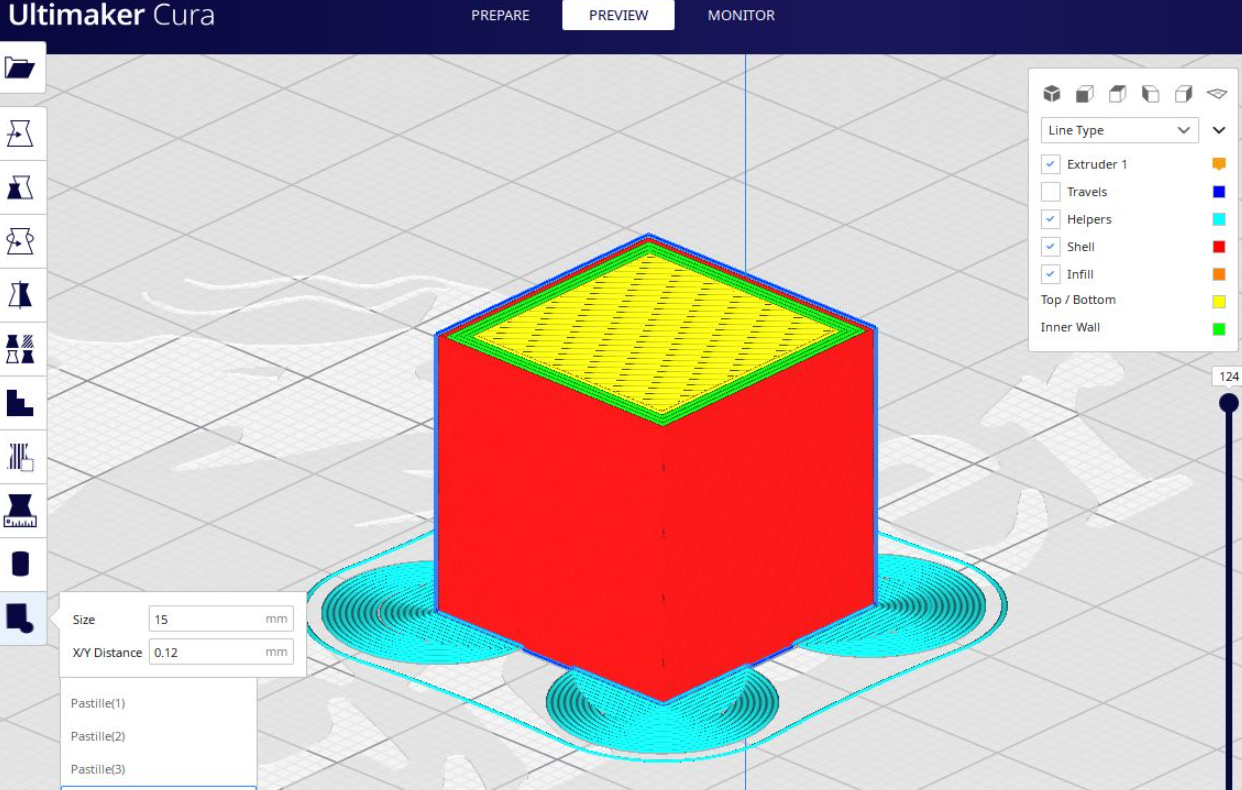
5. Calibration Shapes
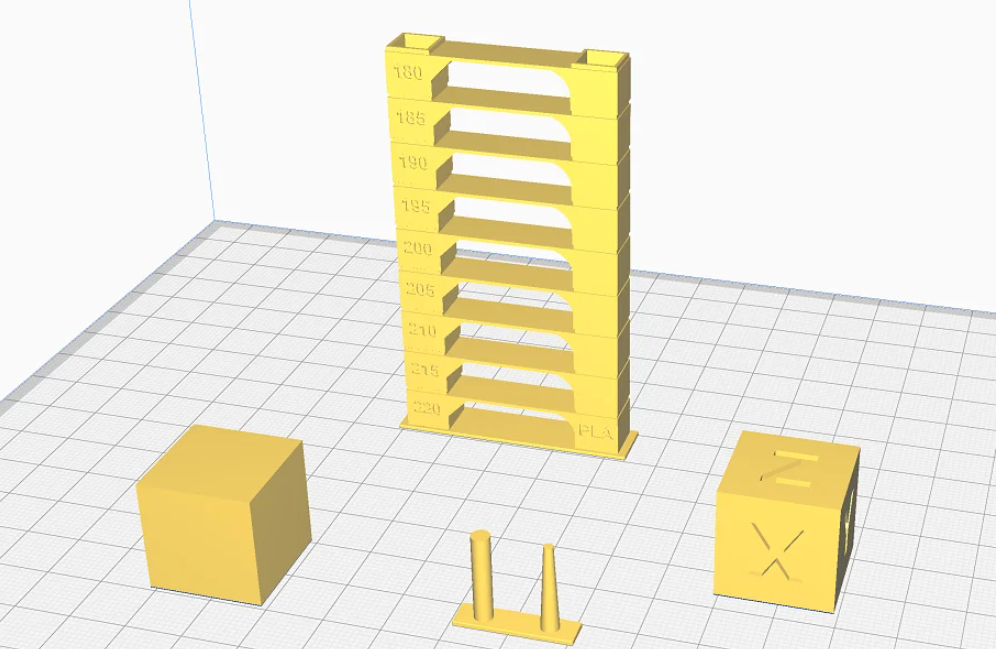
Calibration prints are one of the most popular types of 3D models that people print, and they’re useful for testing new slicer settings and hardware. The Calibration Shapes plug-in adds a library of 3D printable calibration models right in Cura’s interface, so you can quickly import test models without having to go on Thingiverse or another 3D model repository. It’s a real time-saver!

And the calibration prints provided by this plug-in are super useful. Examples include temperature towers for PLA, ABS, and other materials, as well as special models for testing overhangs, retraction, tolerance, and other printing features.
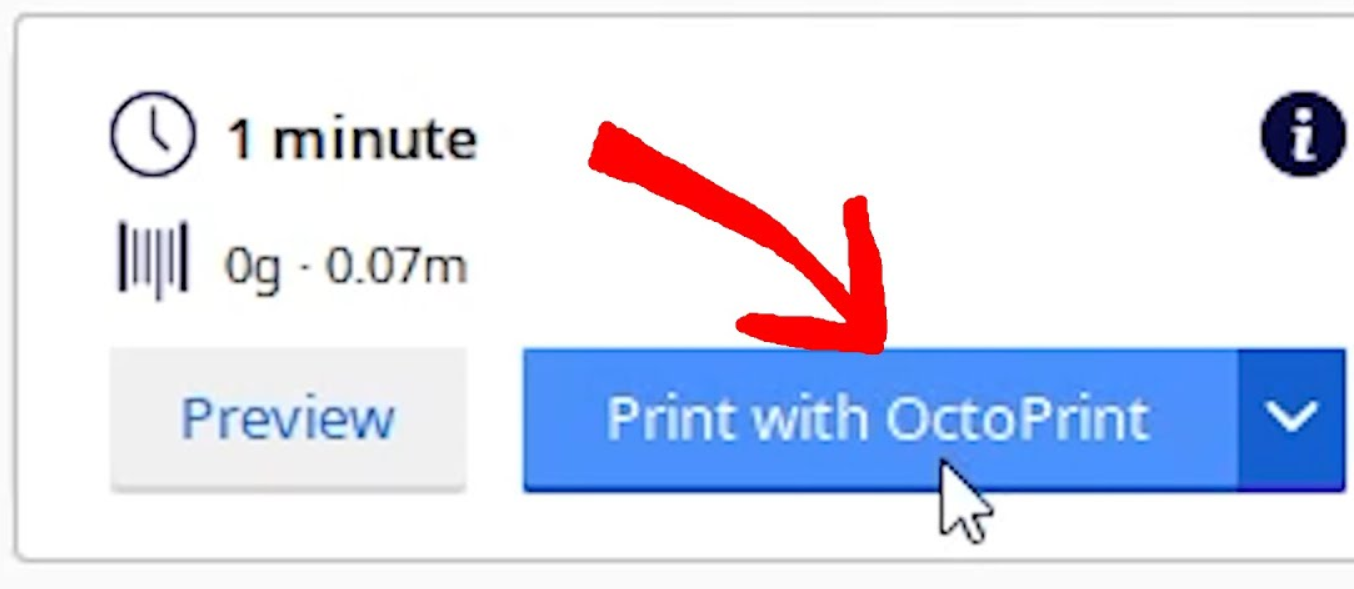
6. OctoPrint Connection
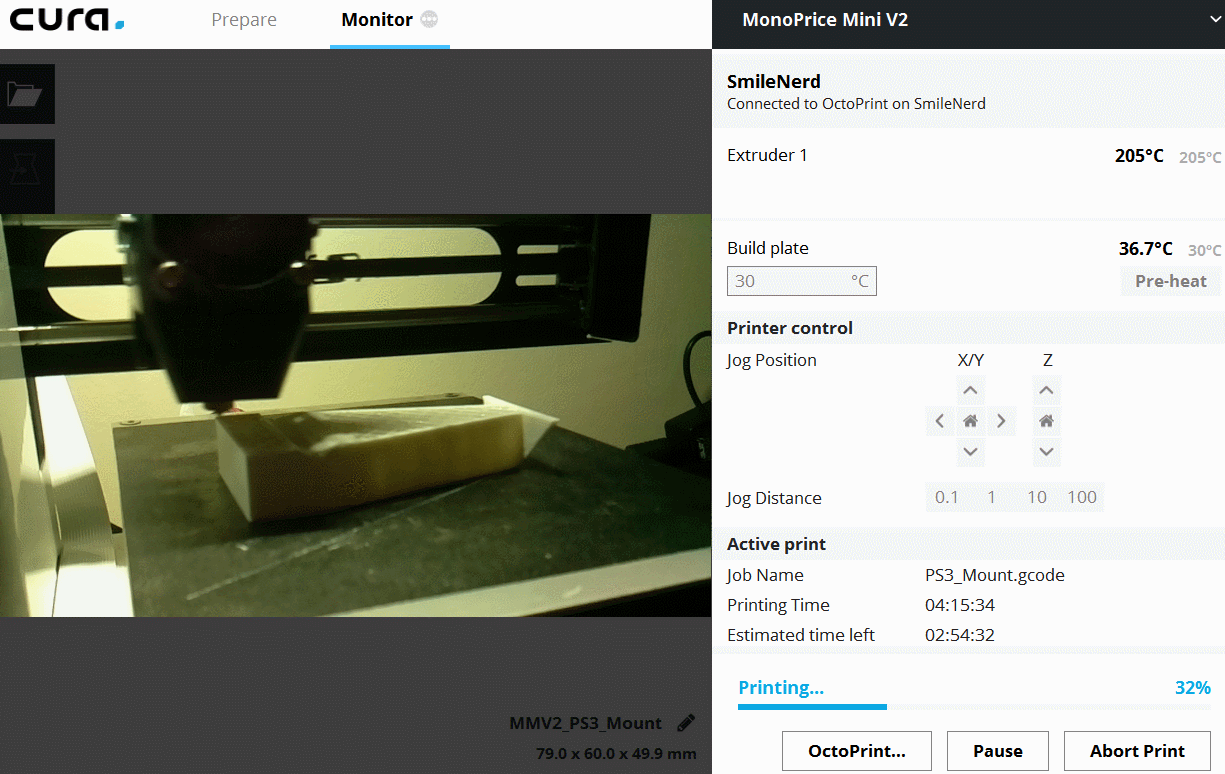
Next, the OctoPrint Connection Cura plug-in is another one of my favorites and easily one of the best Cura plug-ins out there. This plug-in allows you to connect an OctoPrint server to Cura and provides you with an interface for monitoring and controlling your printer through the server.
Moreover, once the OctoPrint Connection plug-in is installed, you just have to add the API key and IP of your server, and the program will connect to it. Then, with the new “OctoPrint” tab in Cura’s interface, you can watch the webcam stream (if your OctoPrint server has a camera), move the printhead, set temperatures, and even start prints.
Overall, the plug-in is a great way to integrate the OctoPrint online interface into Cura, saving you time and making your life way less complicated.
If you haven’t already, check out our related article on how to add OctoPrint to a 3D printer with a RaspBerry Pi board here.
7. Mesh Tools
The Mesh Tools plug-in for Cura brings you a suite of useful mesh editing tools directly inside Cura’s interface. While you probably don’t need mesh editing tools every time you upload a model into Cura, they can be helpful for repairing STL files that import with issues.
For example, if you import a 3D model and, for some reason, whether designed like it or corrupted, the model has random holes on the inside of the model, you can use features from the Mesh Tools plug-in, such as “Remove Holes”, to make the model solid. Other ways you can use the tools provided by this plug-in include centering a 3D model to the center of the mesh (so it’s not offset on the print bed) as well as splitting an STL file into multiple individual parts.
8. Arc Welder
The Arc Welder plug-in is one of the few Cura plug-ins that I recommend ALL users install, no matter what type of model you’re printing.
This plug-in fixes a common issue where Cura misinterprets a curvature in a model, where the printhead has to move in an arc-like motion as a straight movement. When this happens (and it does happen a good bit), Cura will use the wrong type of G-code command to tell the printhead to move. The Arc Welder plug-in double-checks Cura to make sure that the G2/G3 G-code command, which is specific for curved movements, is used when there are curvatures on a model.
And because practically all 3D models have some curvature, this plug-in will improve the print quality for basically all of your prints!
9. Barbarian Units
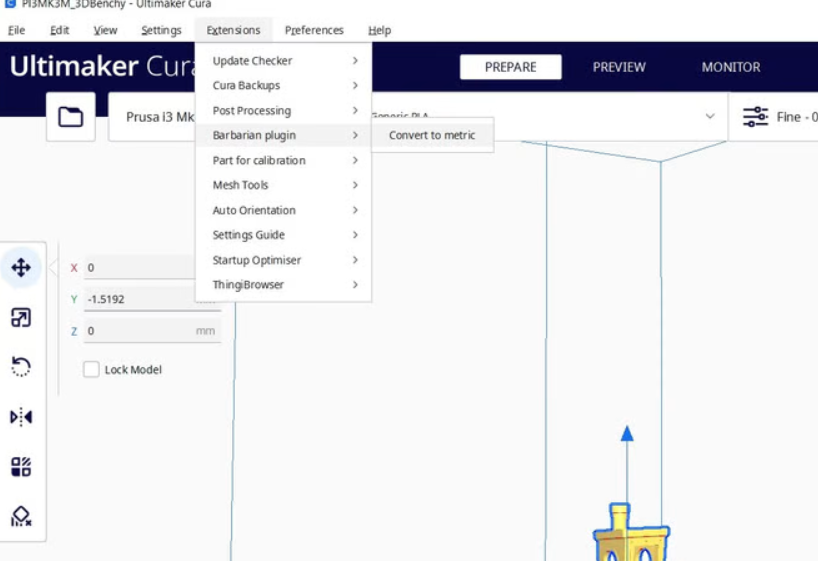
If you’re like me and design your 3D models in inches (imperial units), then you probably hate how Cura natively imports your model, assuming the units are metric. But don’t fret because the Barbarian Units Cura plug-in makes converting models designed in Imperial units to metric units a breeze. All you have to do is click “Extensions”, “Barbarian plugin”, and choose “Convert to metric”.
10. ThingiBrowser
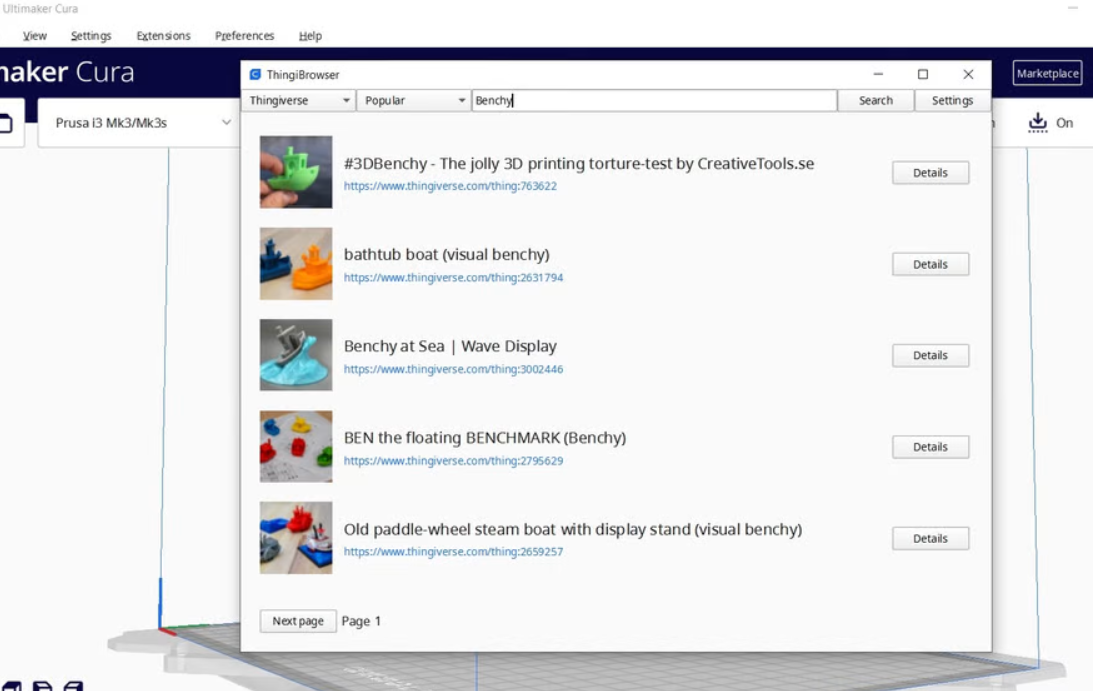
Finding a 3D model to print is honestly one of the hardest things to do. You have filament to spend, and you want to 3D print something cool, but you just don’t know what. Well, ThingiBrowser might be the Cura plug-in for you!
ThingiBrowser is a Cura plug-in that integrates Thingiverse, the largest online 3D model repository for 3D printing, into your Cura interface. That way, you don’t have to hop back and forth between Thingiverse and Cura when finding a model and slicing it so you can 3D print it.
Of course, ThingiBrowser doesn’t really solve the problem of not knowing what to 3D print, but it does make the search process a bit easier and more integrated.
How to Install Cura Plug-Ins
Installing Cura plug-ins is super easy, and it can be done in two clicks. Here’s how:
- Open Ultimaker Cura on your computer.
- Click “Marketplace” in the top right corner of the Cura interface.
- Search for the plug-in you want to download.
- Click “Install”!
See! Just two clicks! It literally couldn’t be easier.

Once you click “Install”, you just have to accept the terms and conditions of the plug-in (they should be fine), and then restart Cura. If you don’t quit Cura and re-open the program, the plug-in you downloaded won’t be loaded.
It’s also worth noting that you might need an Ultimaker account to download a plug-in on Cura. But don’t worry because, just like Cura, making an Ultimaker account is free.
Conclusion
Overall, Cura plug-ins are a great way to get more out of the Cura slicing platform and expand what it can do. There are many plug-ins out there for Cura, and each does something different, whether it’s changing the user interface or improving technical 3D slicing functions.
Of course, the best Cura plug-ins for you depend on what features you want to get out of Cura. Personally, I find the Z Offset Setting Cura plug-in the most useful, and I think you will too. This plug-in allows you to adjust the Z offset value right in Cura, which is very useful at times.
The Auto-Orientation plug-in is another amazing Cura add-on program, and it optimizes how your imported 3D model is positioned on the print bed, so the least amount of supports are used. This is especially useful if you hate wasting filament on support structures.
Lastly, I highly recommend installing the Arc Welder plug-in. This plug-in improves the quality of prints that have curvatures (by using special G-code commands), which is pretty much all 3D models.
Enjoy!