 From auto bed leveling to a high-temperature hot end, there are tons of different upgrades for modern-day 3D printers.
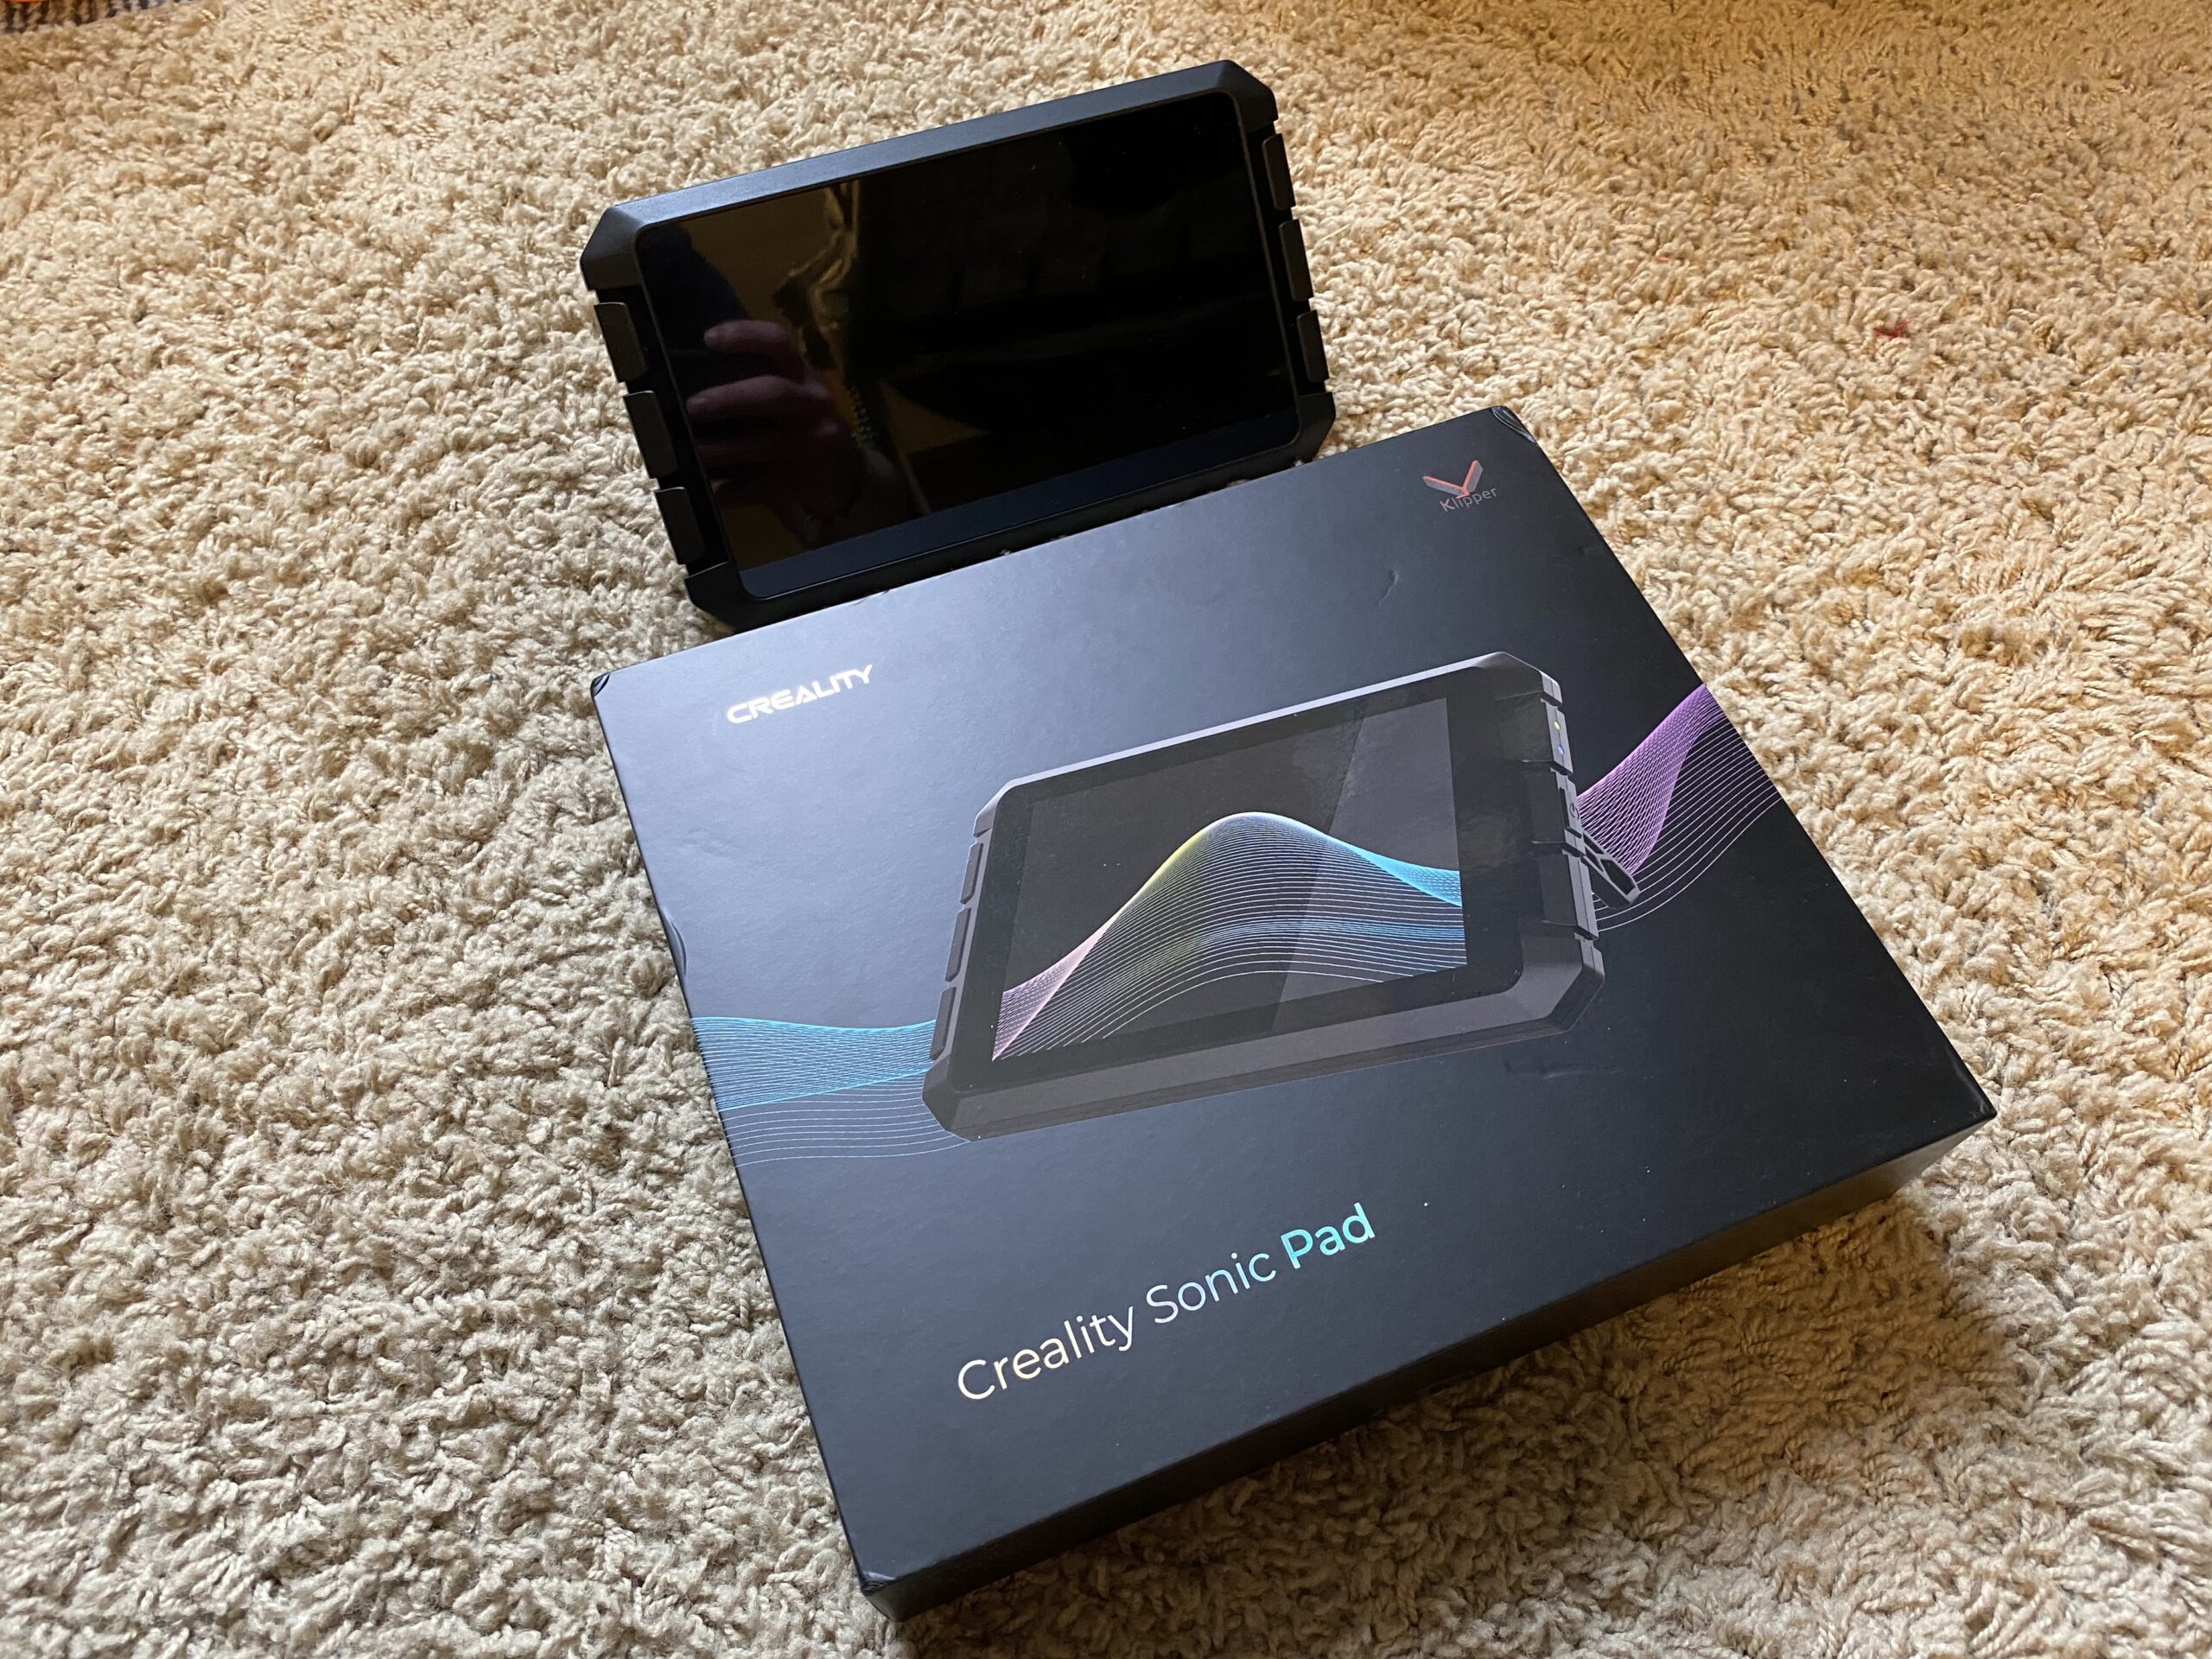
But the Creality Sonic Pad is one like no other!
The Sonic Pad is a touchscreen, tablet-like device that makes it easy to run Klipper, a special 3D printer firmware known for enabling super fast and high-quality printing. The Sonic Pad is basically the first of its kind as a 3D printer tablet, and Creality did a phenomenal job at making the device easy to use, feature-heavy, and widely compatible.
With the Sonic Pad, you can achieve noticeably faster and higher-quality 3D prints without any other hardware modifications to your machine. On top of the printing performance improvements, the Sonic Pad also has a 7-inch touchscreen display with a very well-designed user interface that makes using the device easy and fun.
Best of all, the Sonic Pad, while it’s made by Creality, works on almost every consumer-grade FDM 3D printer, not just those made by Creality.
Want to hear more about the Creality Sonic Pad and what this device can do? Just keep reading!
What is Creality Sonic Pad?
The Creality Sonic Pad is a 3D printer tablet, a touchscreen device that connects to a 3D printer and offers a specialized graphical user interface (GUI) for controlling the printer, as well as some printing features. The Sonic Pad isn’t just any 3D printer tablet, though; it was designed specifically for running Klipper on 3D printers.
If you don’t know about Klipper, we’ll talk more about the program later, but it’s basically a system that uses both your 3D printer’s motherboard and a parallel computer board.
Many hobbyists are interested in using Klipper for its speedy printing abilities and other high-performance features but don’t know how. The Sonic Pad has all of the hardware required for running Klipper, including a computer board and interface ports, and simplifies the Klipper installation process through its GUI.
For a deeper dive into the Creality Sonic Pad and all it can do, just keep reading!
Specs
Below is a list of the main specs of the Creality Sonic Pad:
- Approximate price: ~$159
- Products Dimension: 222 x 128 x 40 mm
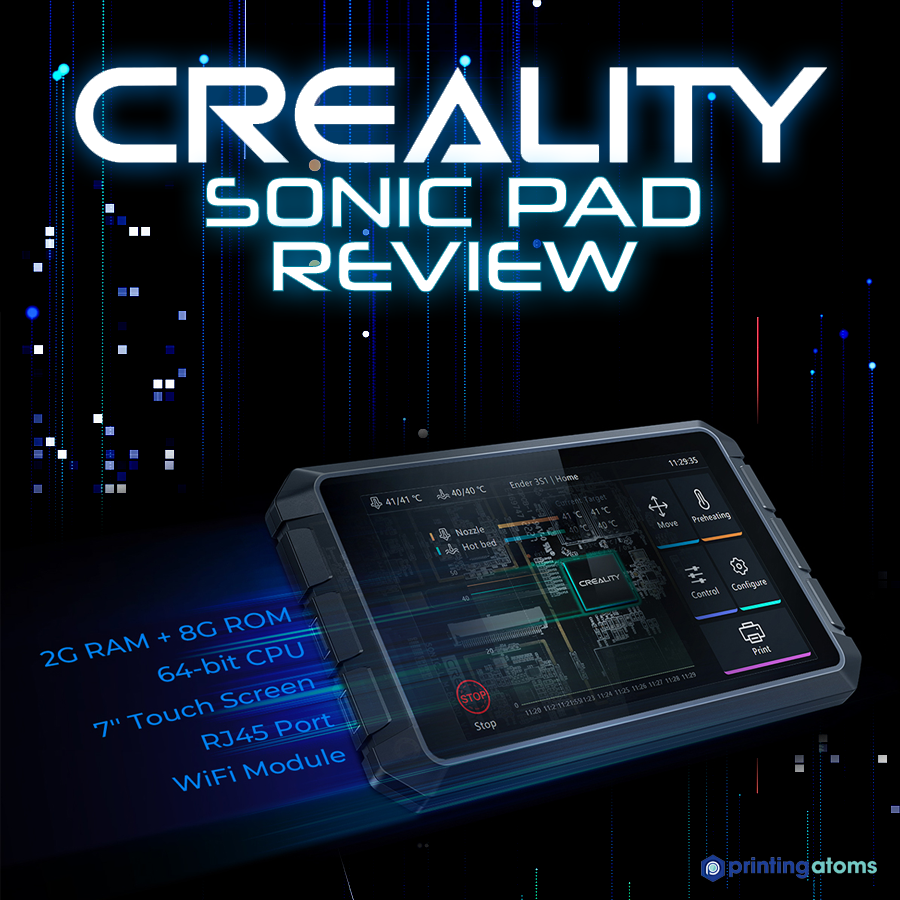
- Display Size: 7 inches
- Display Type: IPS
- Display Resolution: 1024 x 600
- RAM: 2G
- ROM: 8G
- WiFi Standard: 802.11b/g/n
- USB Port: USB 2.0 x 4
- LAN Port: RJ45 x 1 (100Mbps)
- Multi-touch: Yes
- Speaker: Yes
- Vibration Sensor: Yes
- Net Weight: 0.64Kg
- Gross Weight: 1.15Kg
The Creality Sonic Pad, as I mentioned, contains a touchscreen LCD as well as a computer module, which is an integral part of how the system works. The computer onboard the Sonic Pad is running a Klipper-based operating system, which communicates with the motherboard of your 3D printer via USB when the compatible Klipper firmware is installed.
When you trigger an action on the user interface, such as starting a print or setting a temperature, a G-code command is sent to the computer module. This command is then processed by the computer, which tells the connected 3D printer motherboard what hardware to power to follow the command.
Furthermore, to start printing, you have to upload the 3D model to the Sonic Pad device rather than your printer’s motherboard.
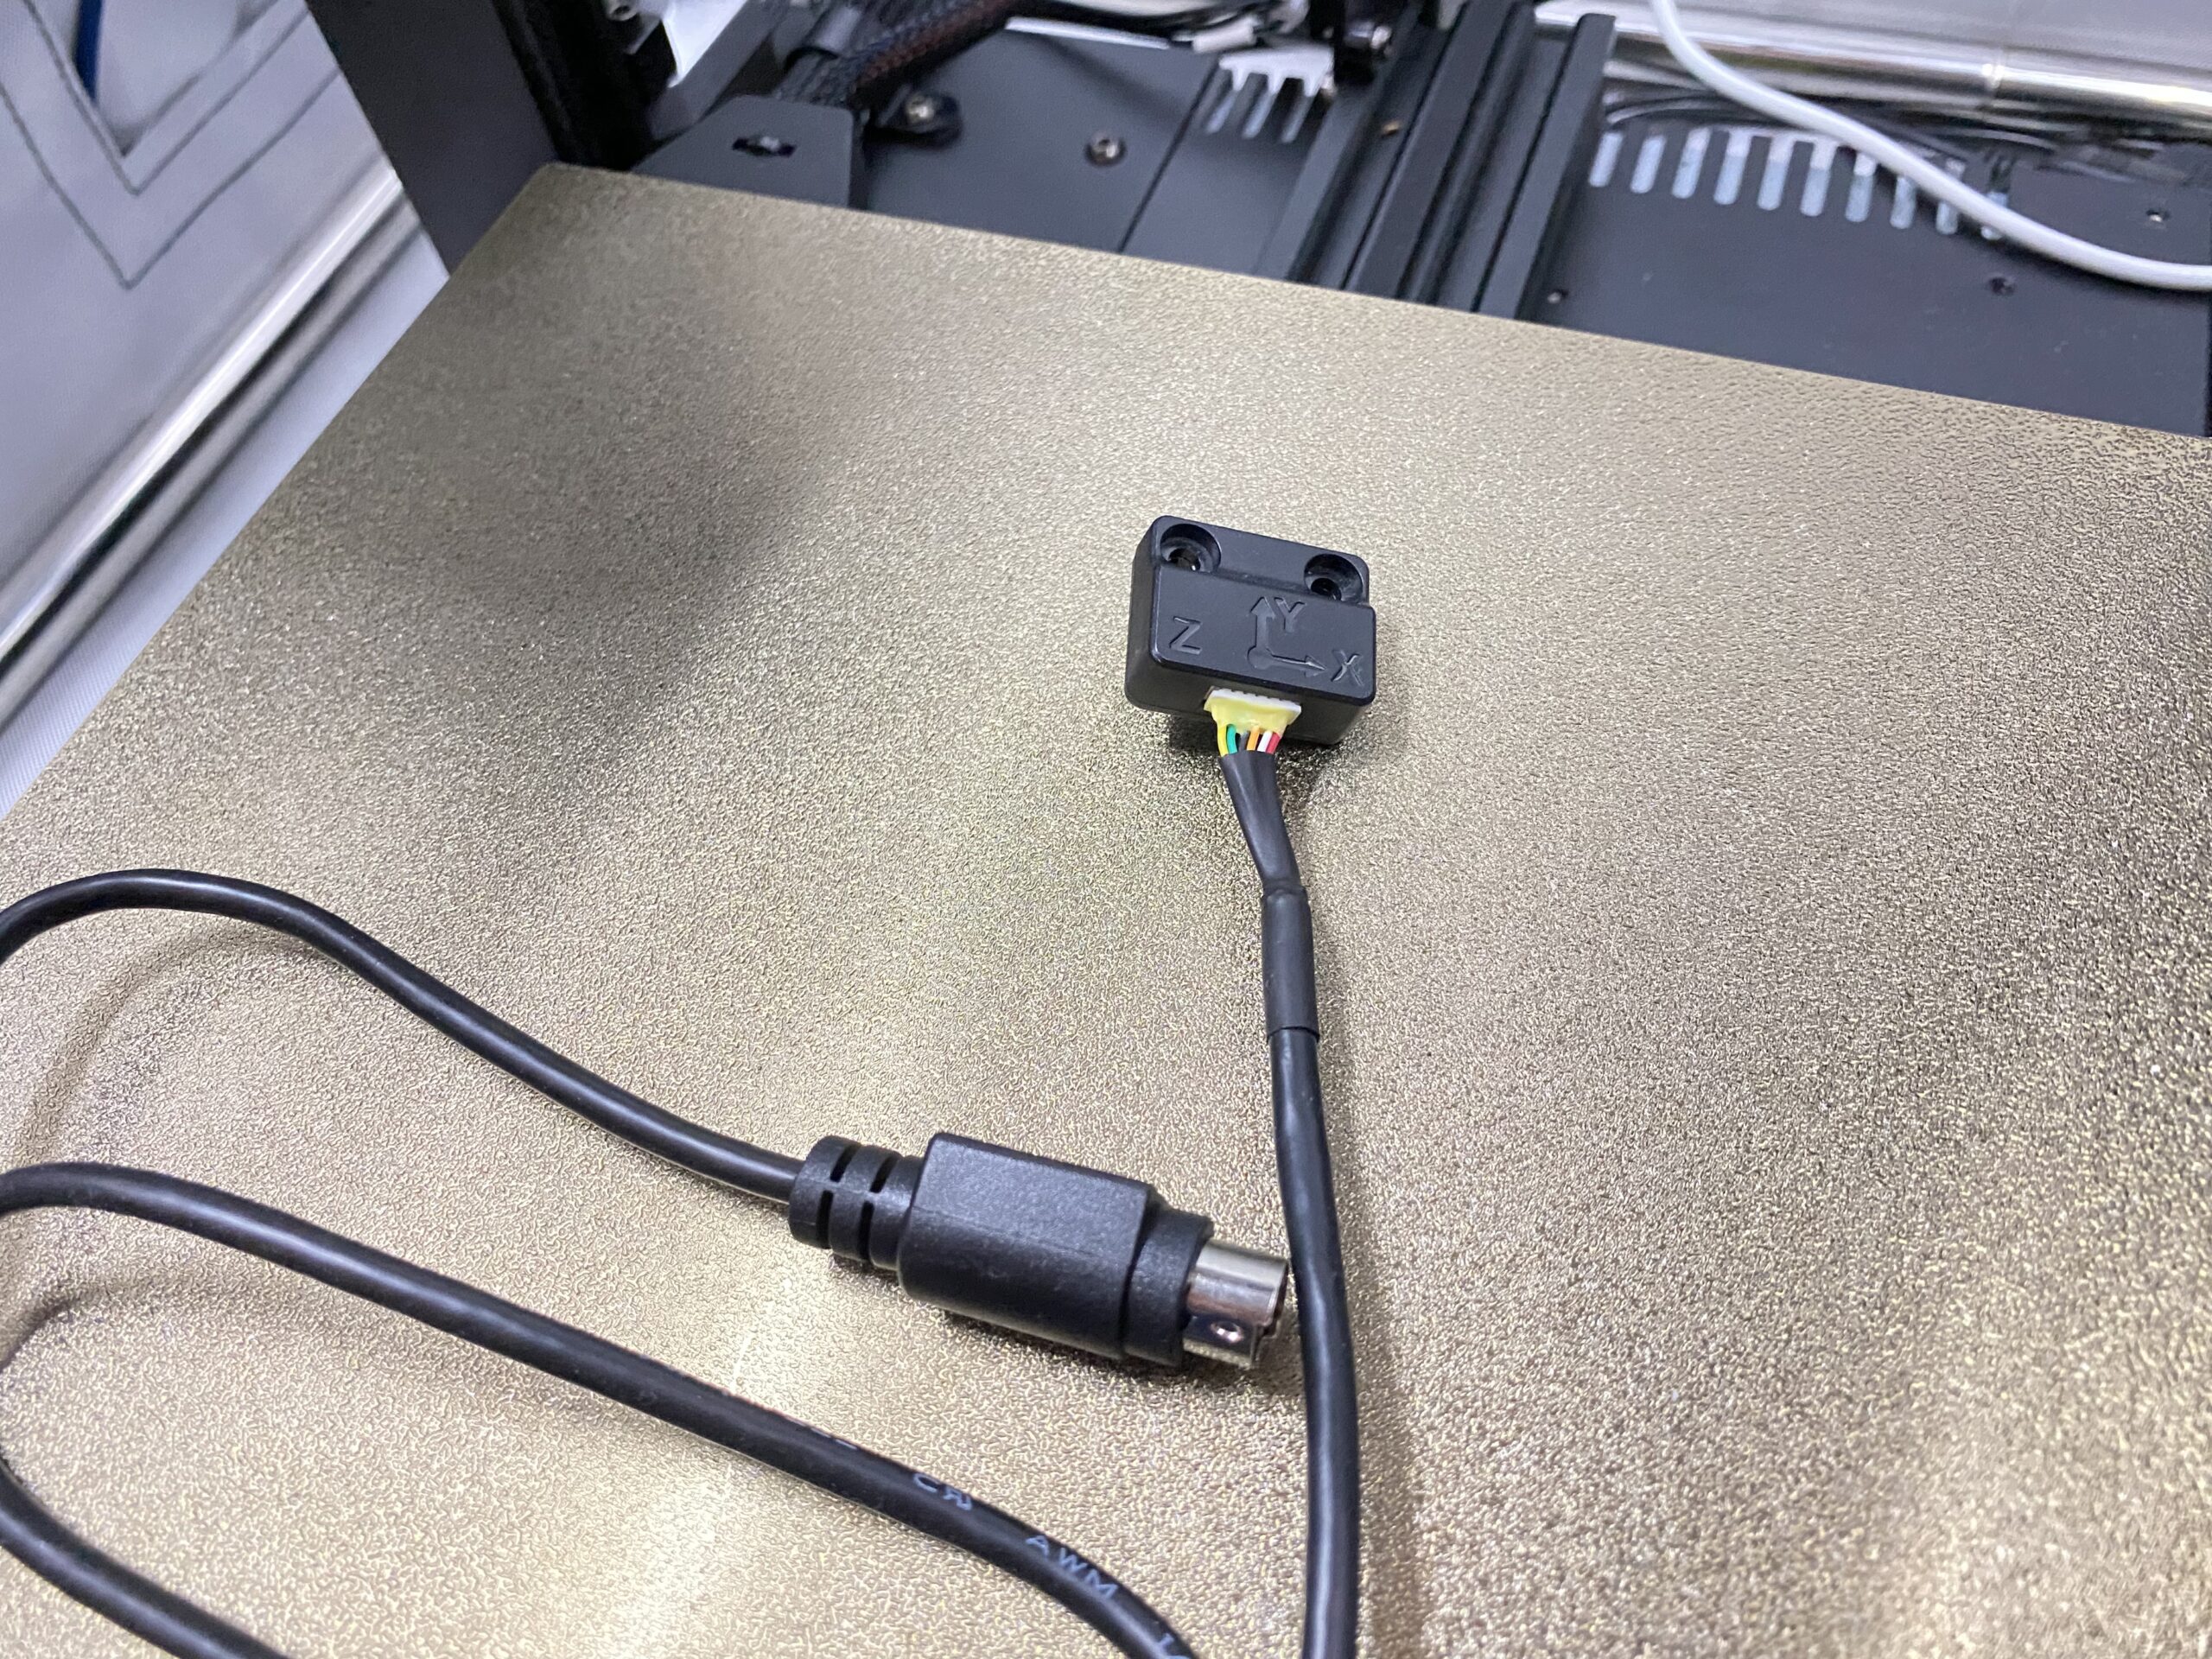
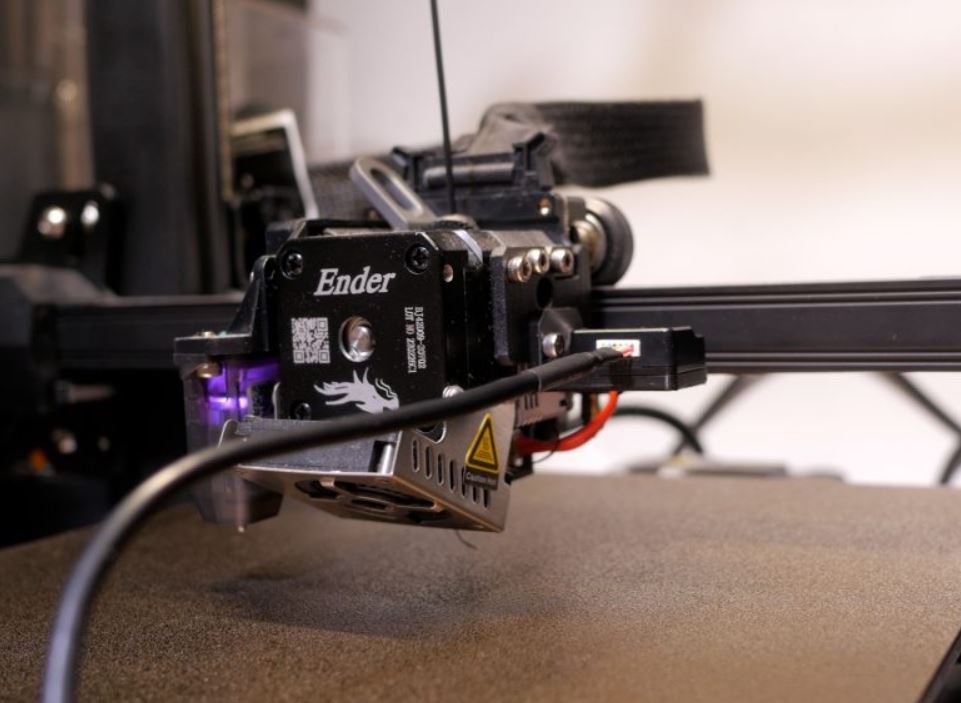
It’s also worth pointing out how the accelerometer, also known as the “G sensor” (which is included with the Sonic Pad) works. The accelerometer is meant to be attached to either the print bed or the printhead of your printer, and it measures the acceleration of the part. This value is then used by a special program within Klipper, known as input shaping, to improve the quality and sharpness of your 3D prints.
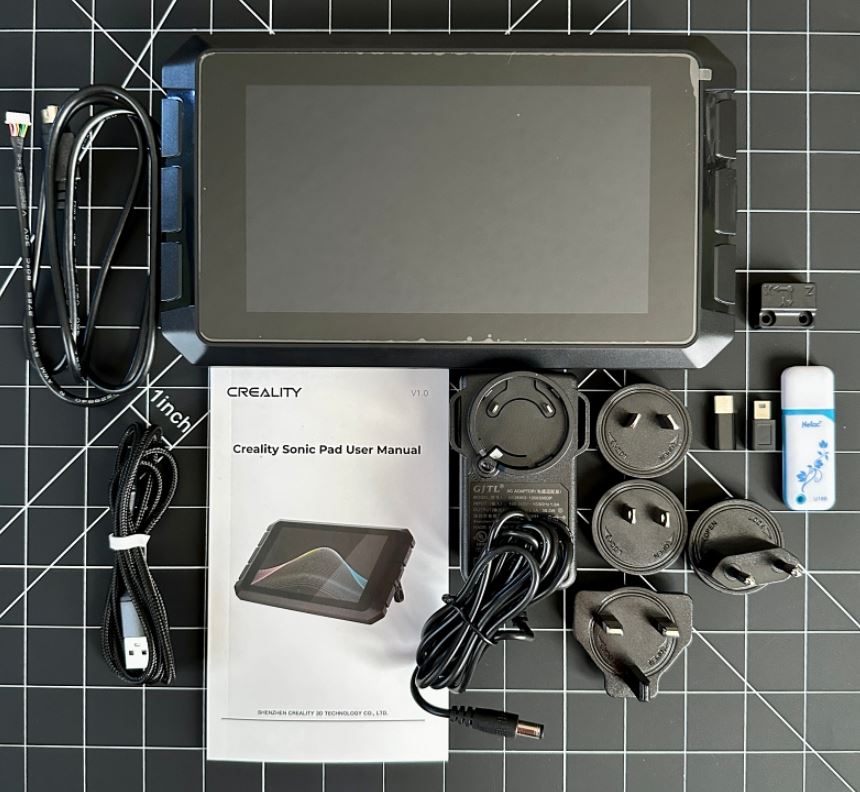
The Creality Sonic Pad comes with a lot more than just the tablet device. A full list of the parts and supplies inside the Sonic Pad box is below:
- Creality Sonic Pad
- Micro-USB, Mini-USB, USB Type-C cables
- Power adaptor and cable (works in multiple countries)
- G sensor
- USB Drive
- Stickers
- Setup Tutorial Guide
The Creality Sonic Pad is loaded with features, both physical and digital, that make it a great product. To keep everything organized, I’ve split my discussion of the Sonic Pad’s features into sub-sections below:
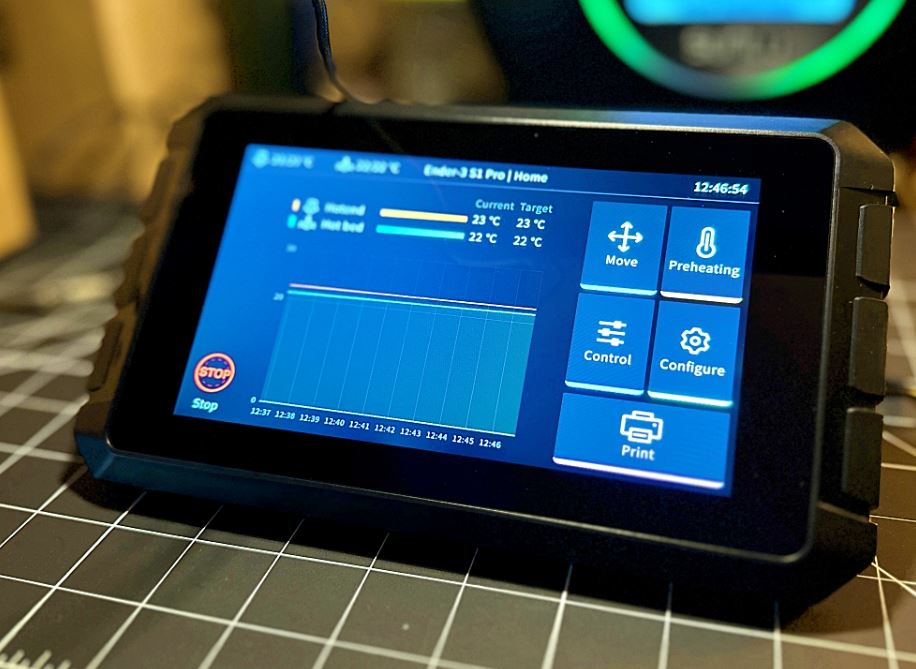
Touchscreen Interface
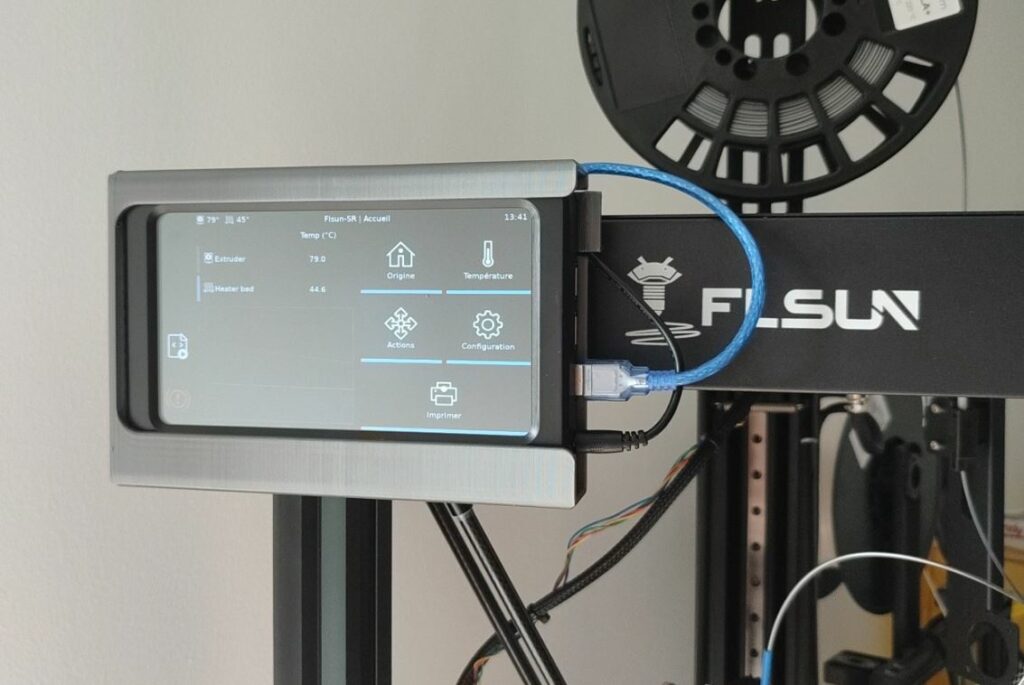
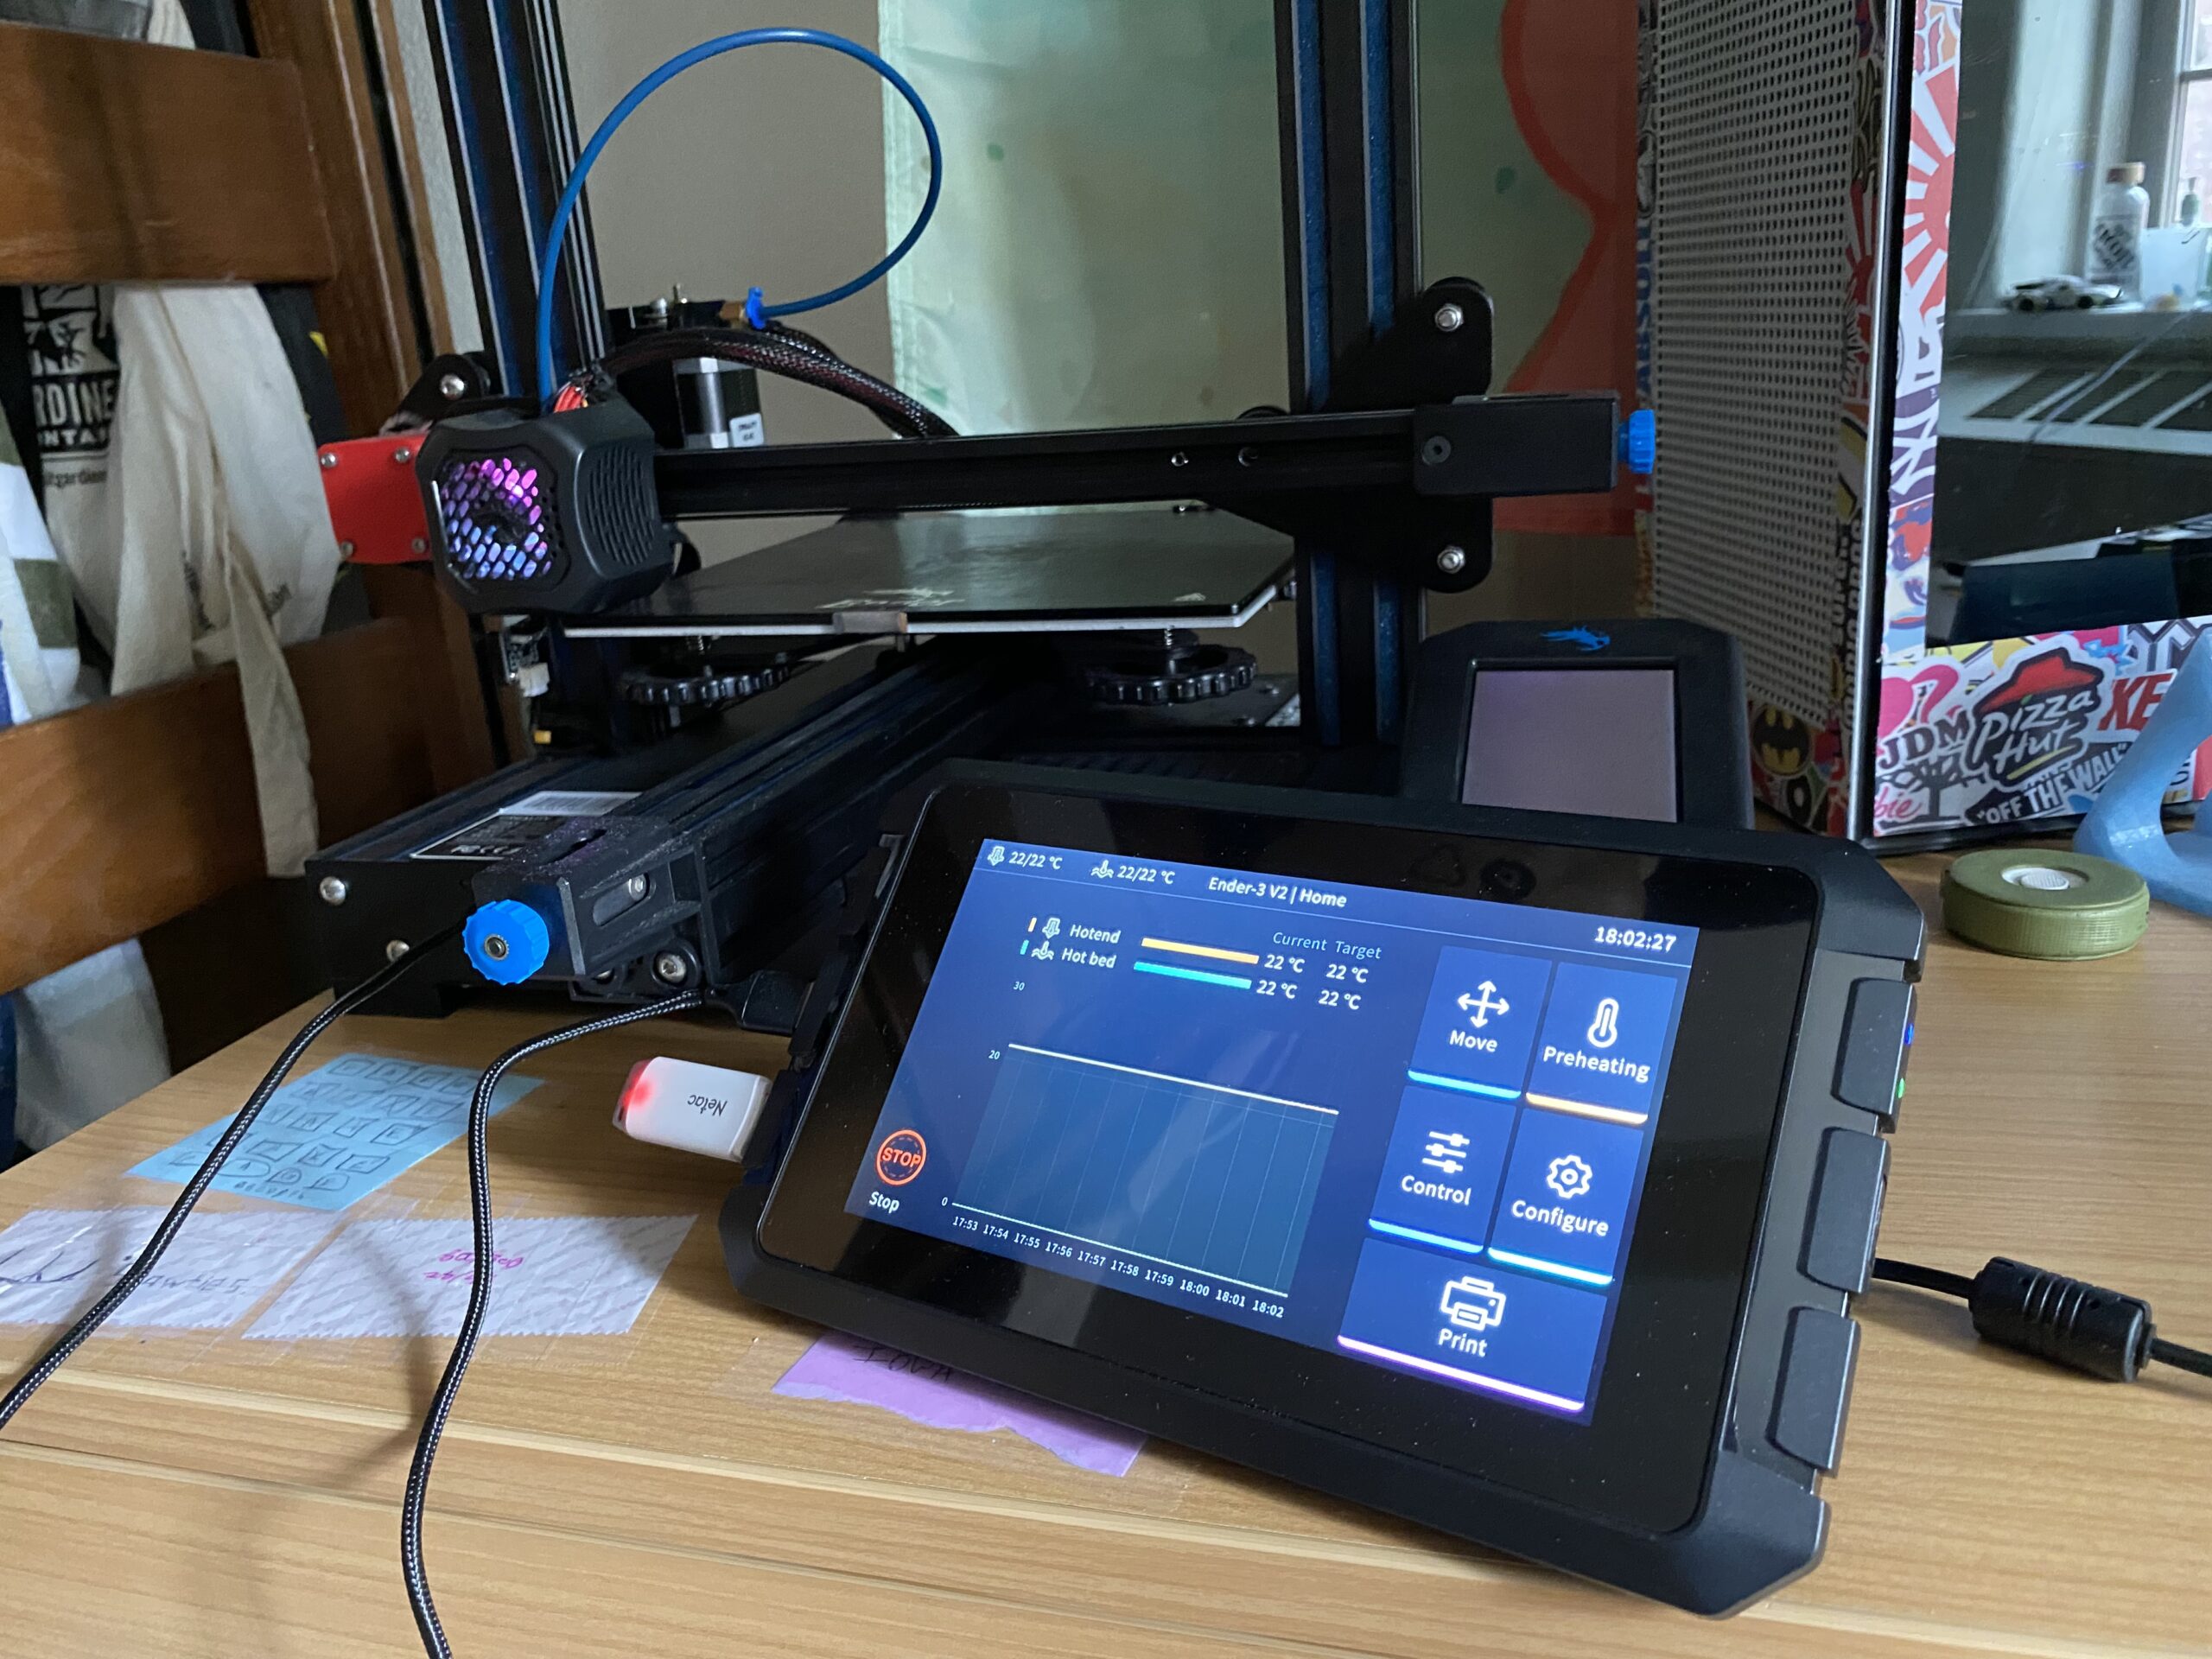
Perhaps the most notable feature of the Creality Sonic Pad is its tablet-like touchscreen display. The touchscreen display is a 7-inch TFT LCD with a 1024 x 600-pixel resolution, which isn’t that shabby and is way better than any stock LCD you’d find on a consumer-grade FDM 3D printer.
To be honest, the touchscreen LCD isn’t as nice as one you’d find on an iPhone or iPad, mainly because the screen is plastic, which is a lot less fun to touch than a smooth glass surface. Additionally, there’s a noticeable bevel on the Sonic Pad, which further makes the device look somewhat cheap.
But the GUI on the Sonic Pad easily makes up for the lack of high-quality hardware. Moreover, Creality did a terrific job at designing an easy-to-use, feature-heavy, and Klipper-based GUI for the Sonic Pad. And, while the Sonic Pad’s interface does look a lot like the OctoScreen GUI, Creality was never known for being unique, so I’m not gonna hold it against them (haha).
So what can you do through the Sonic Pad GUI? Well, the better question is what can’t you do on this powerful little, $150-ish device?
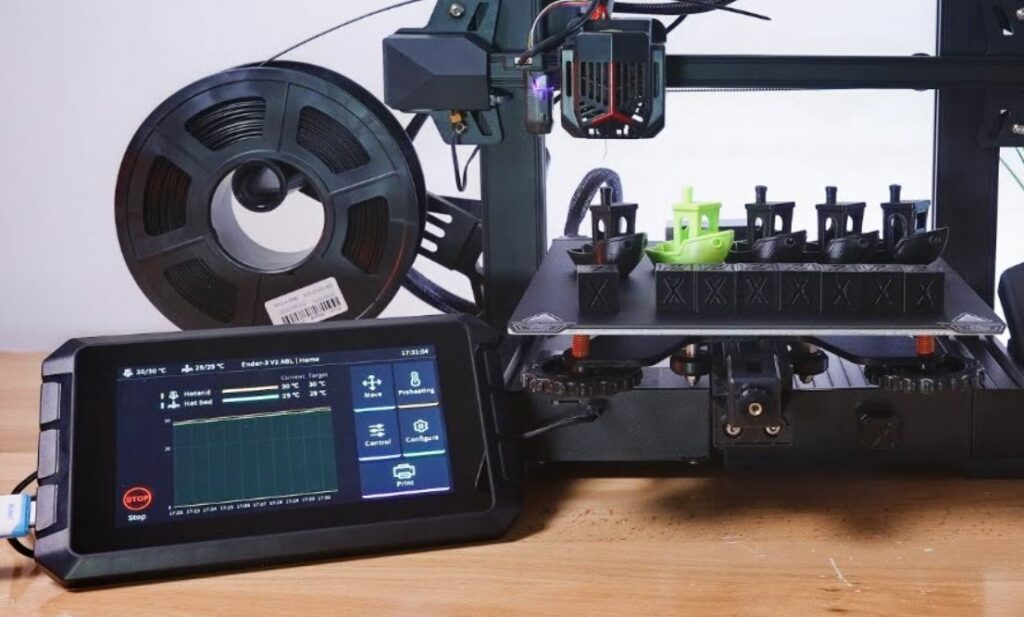
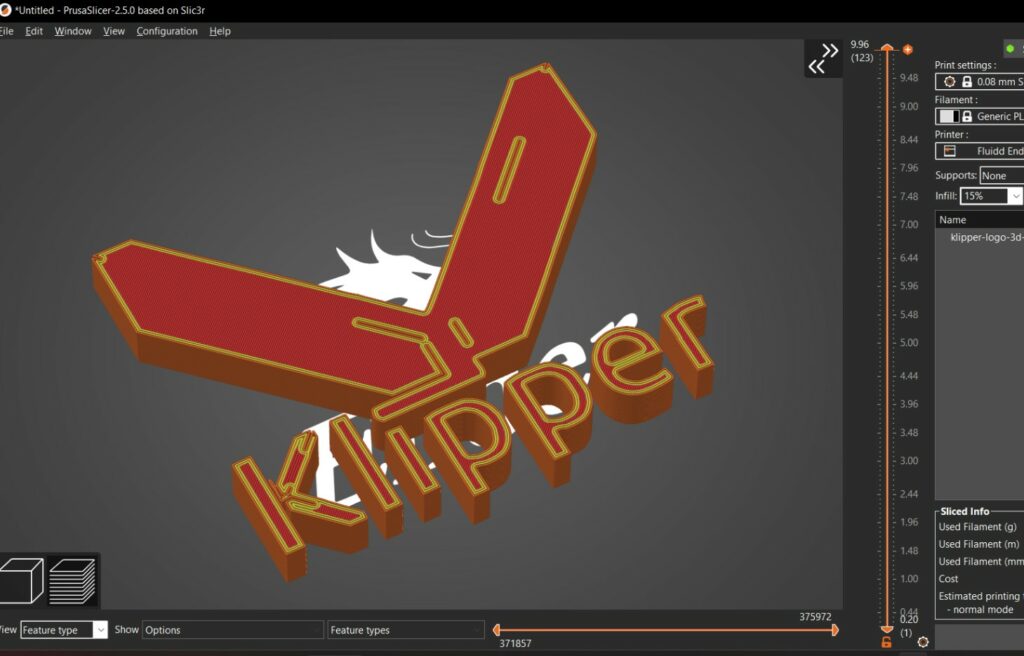
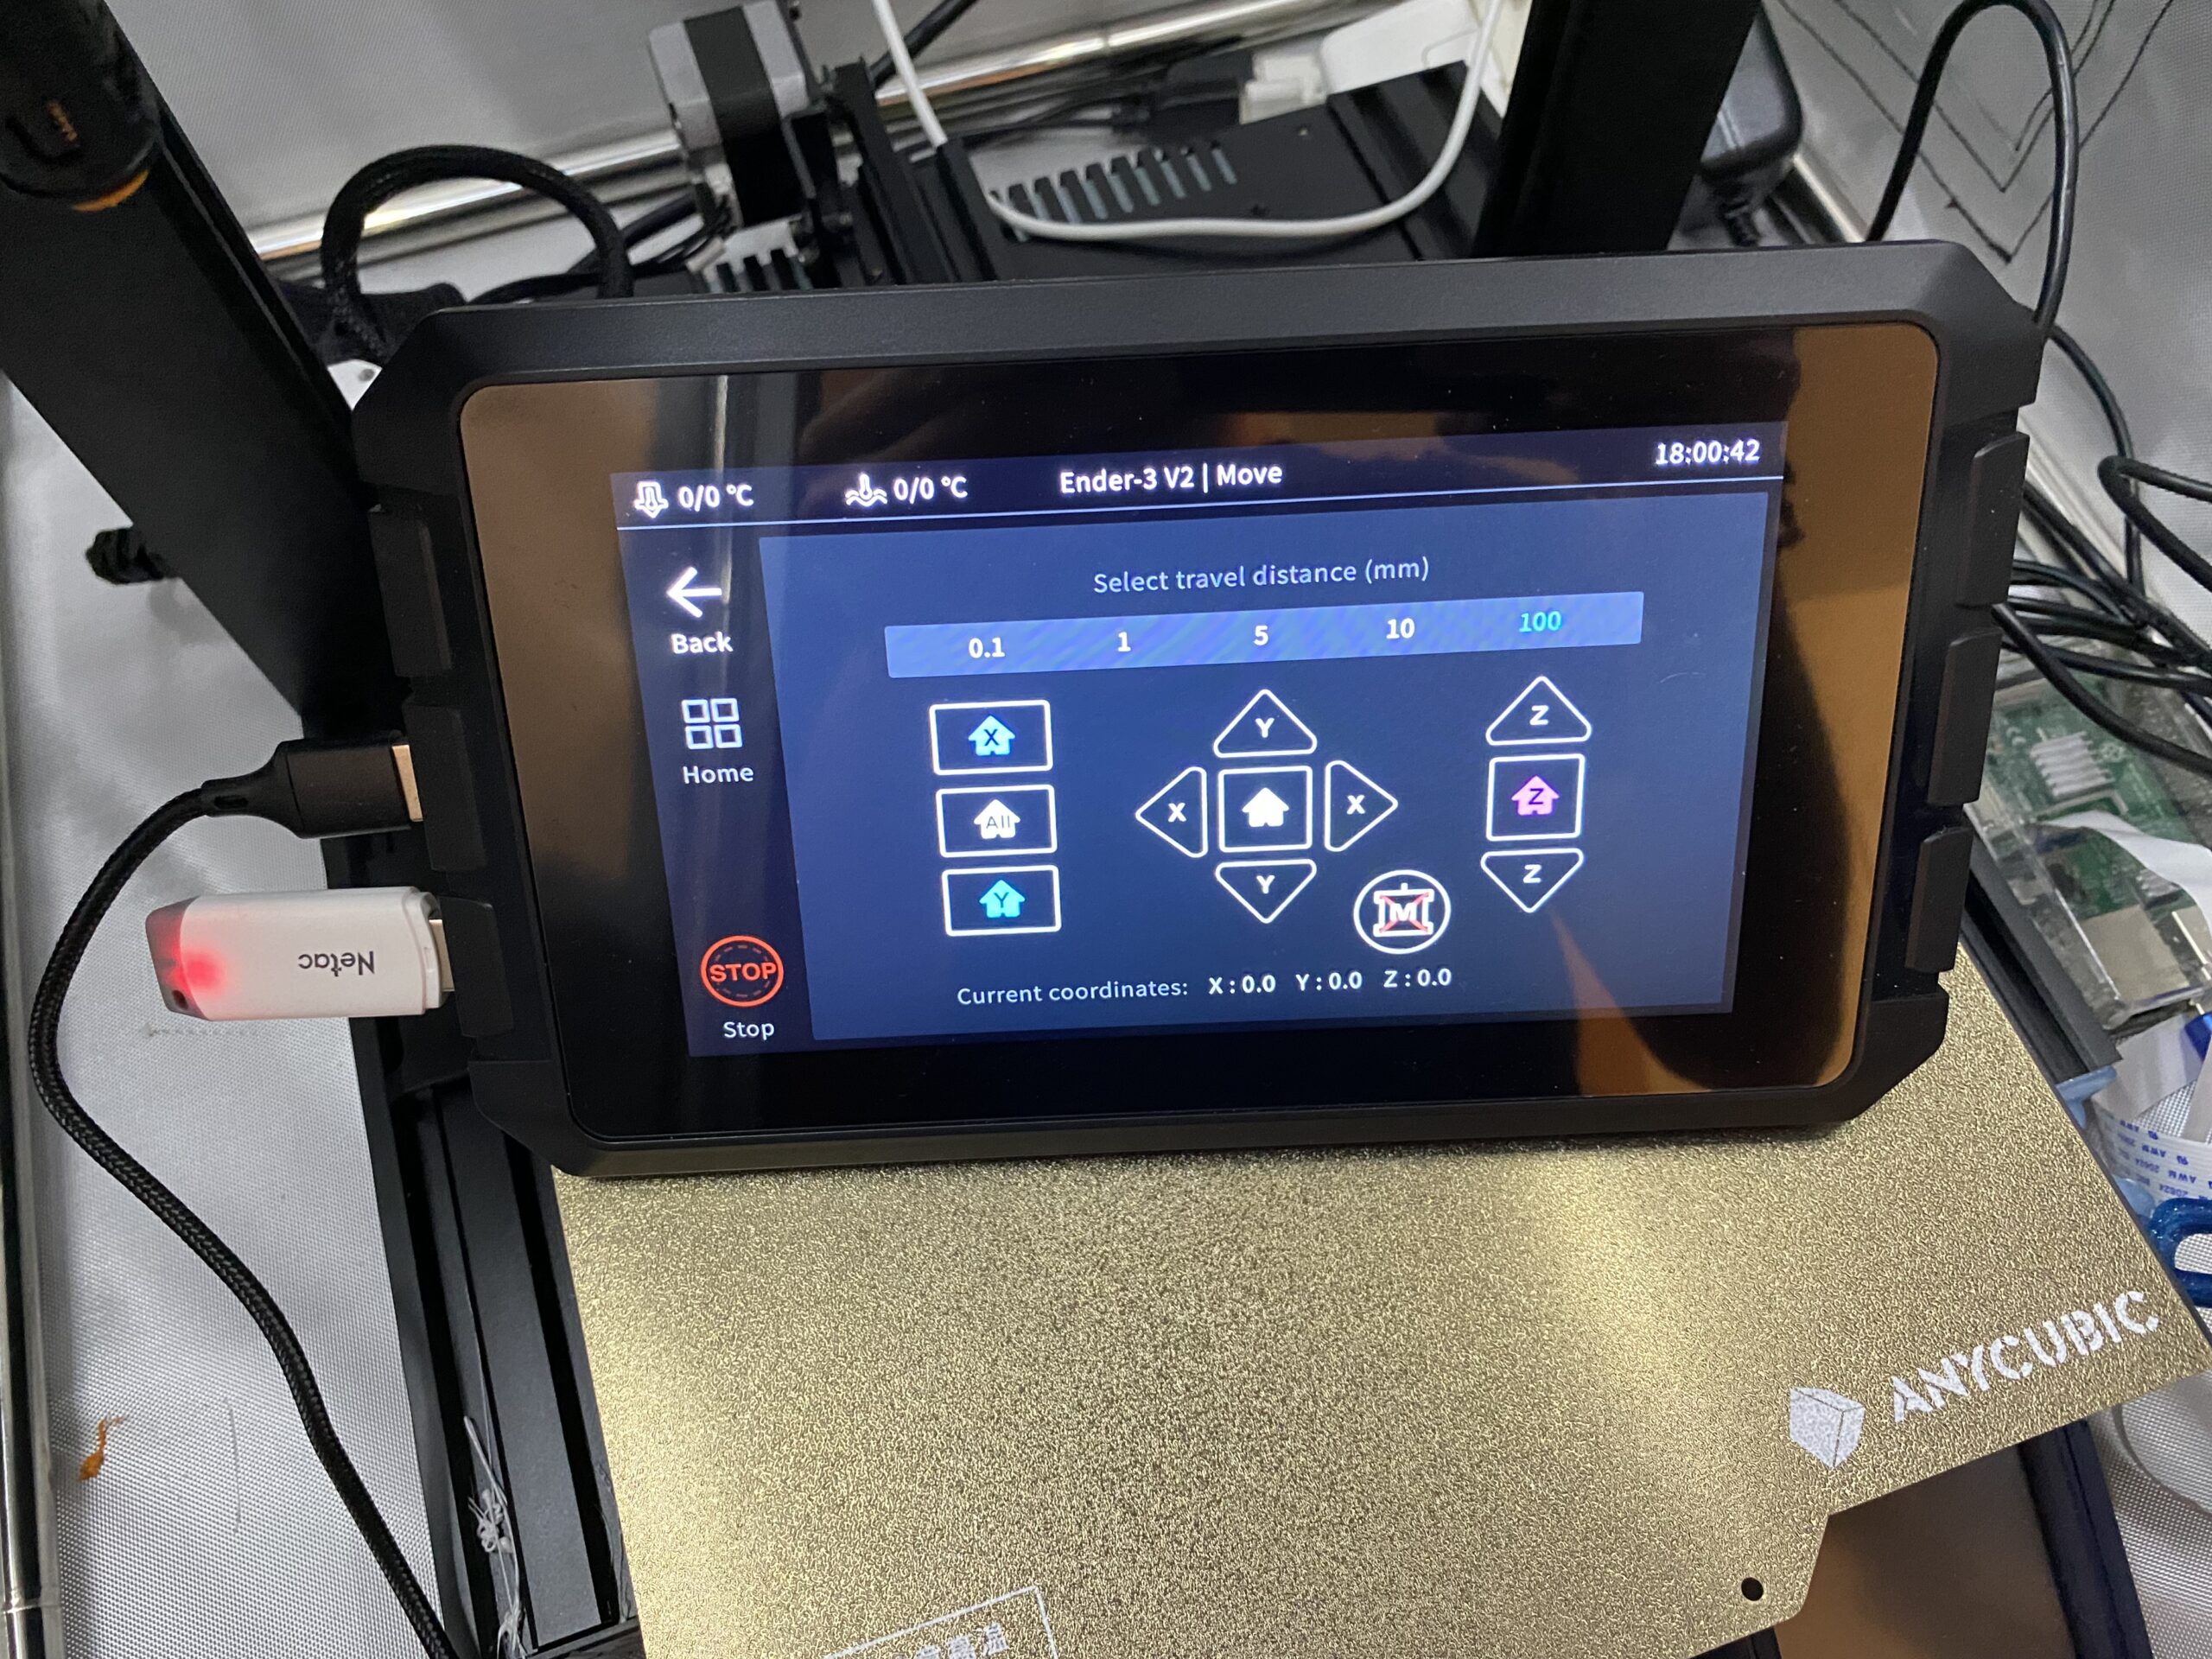
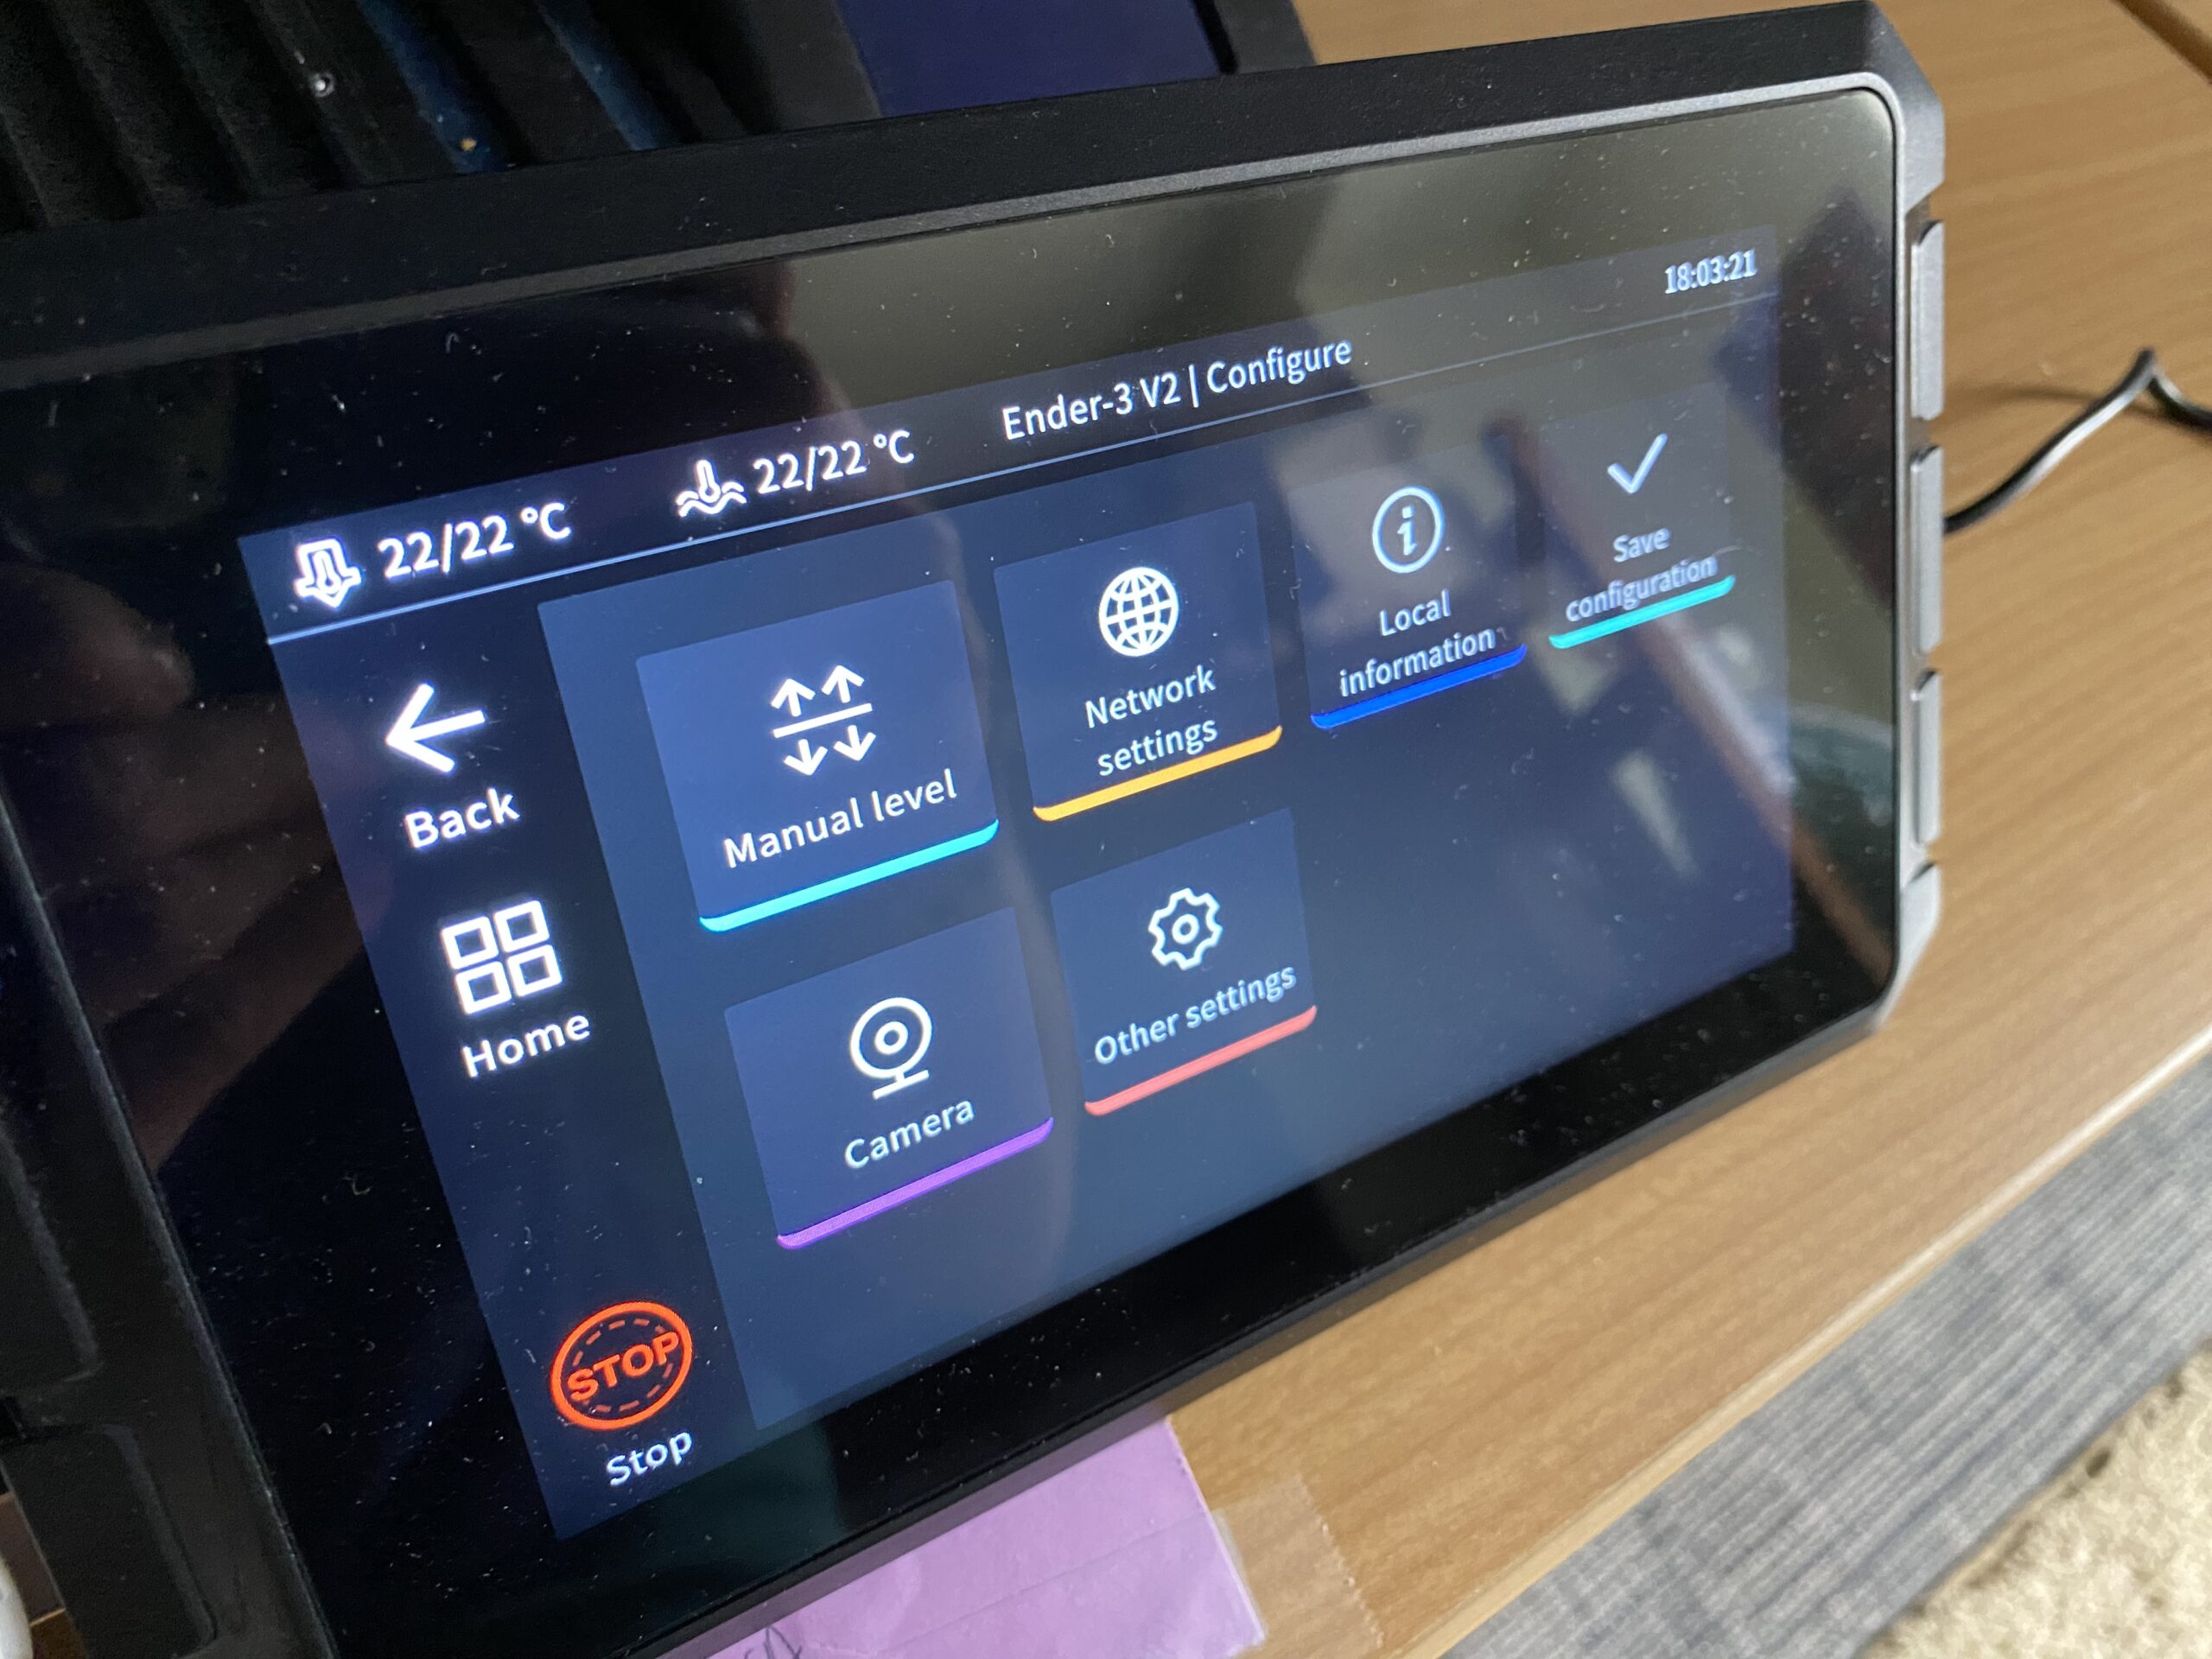
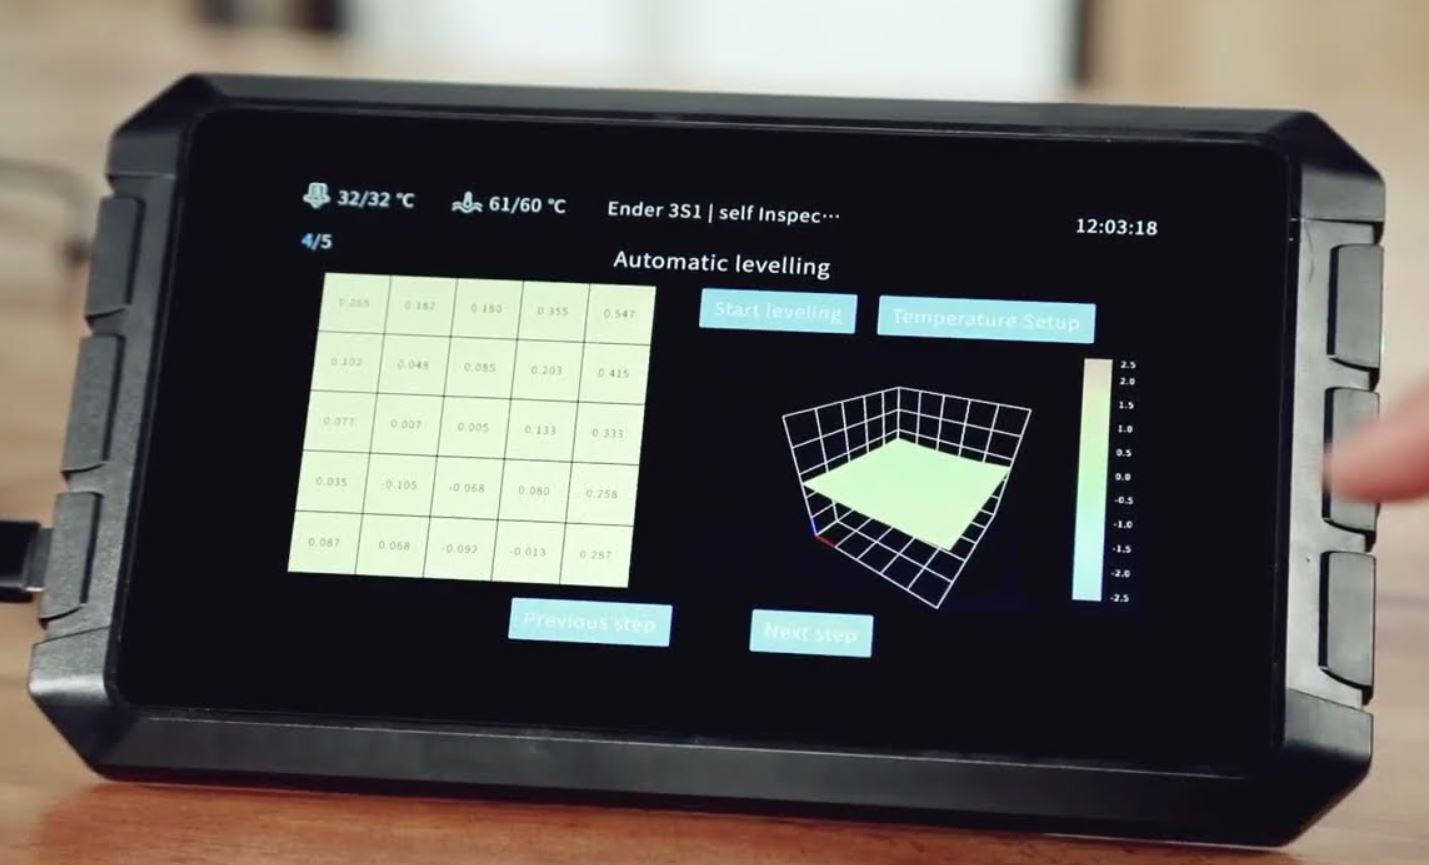
Just like on your printer’s stock LCD interface, you can use the Sonic Pad to set temperatures, move the printhead (and bed), view and start prints, control the fan speed, and more. But the Sonic Pad’s Klipper-focused interface also contains additional features that make the product so useful, such as visual 3D renders of models (looks super cool), bed-level visualizations, temperature graphs, timelapse controls, and more.
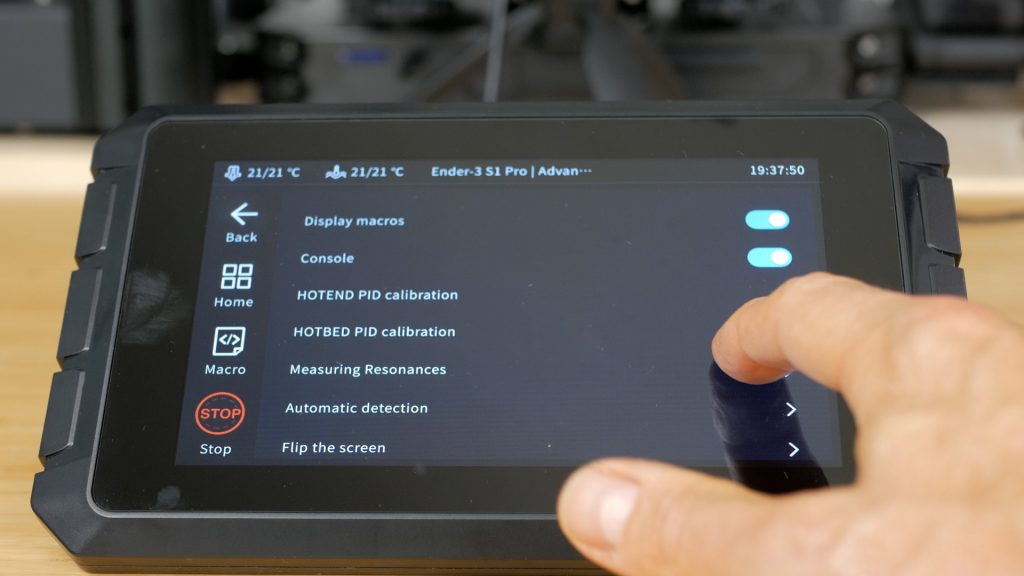
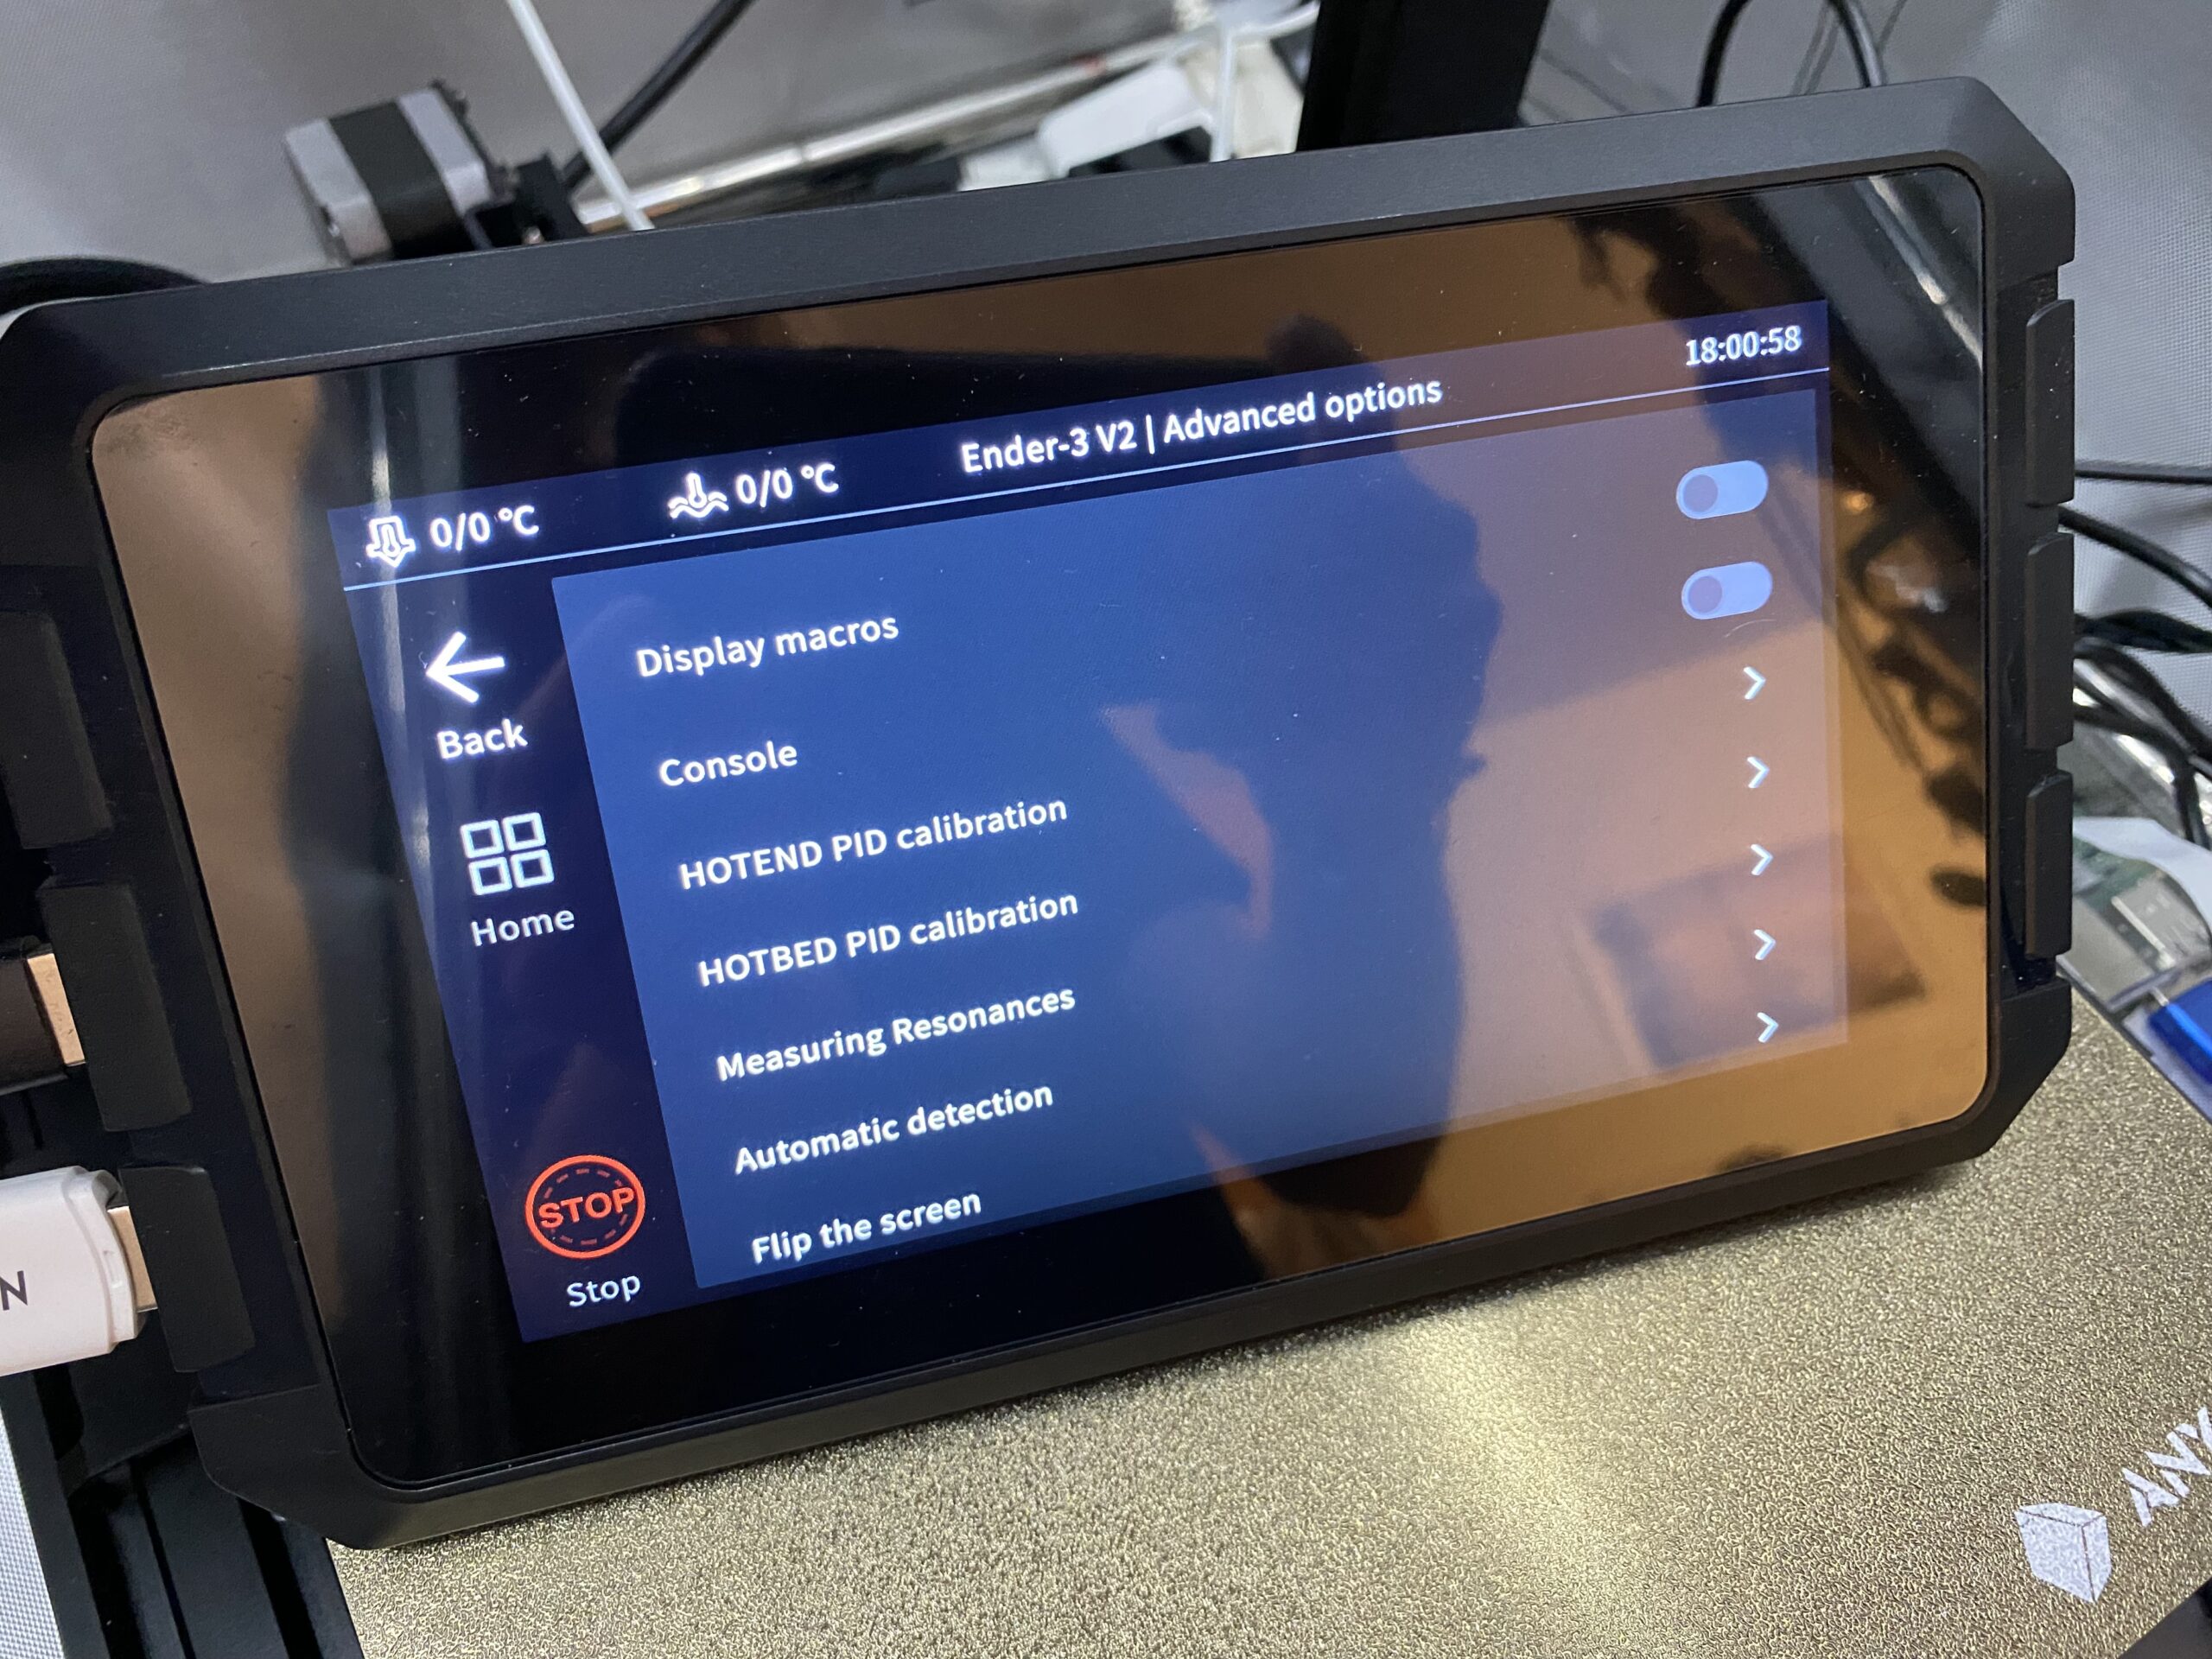
And, if you head on over to the “Advanced Settings” section on the Sonic Pad, you can find and activate some really cool, higher-level features. For example, you can turn on Macro controls (still in beta), adjust the sound the Sonic Pad makes when you click a button and more. You can also change network settings!
Universal Printer Support
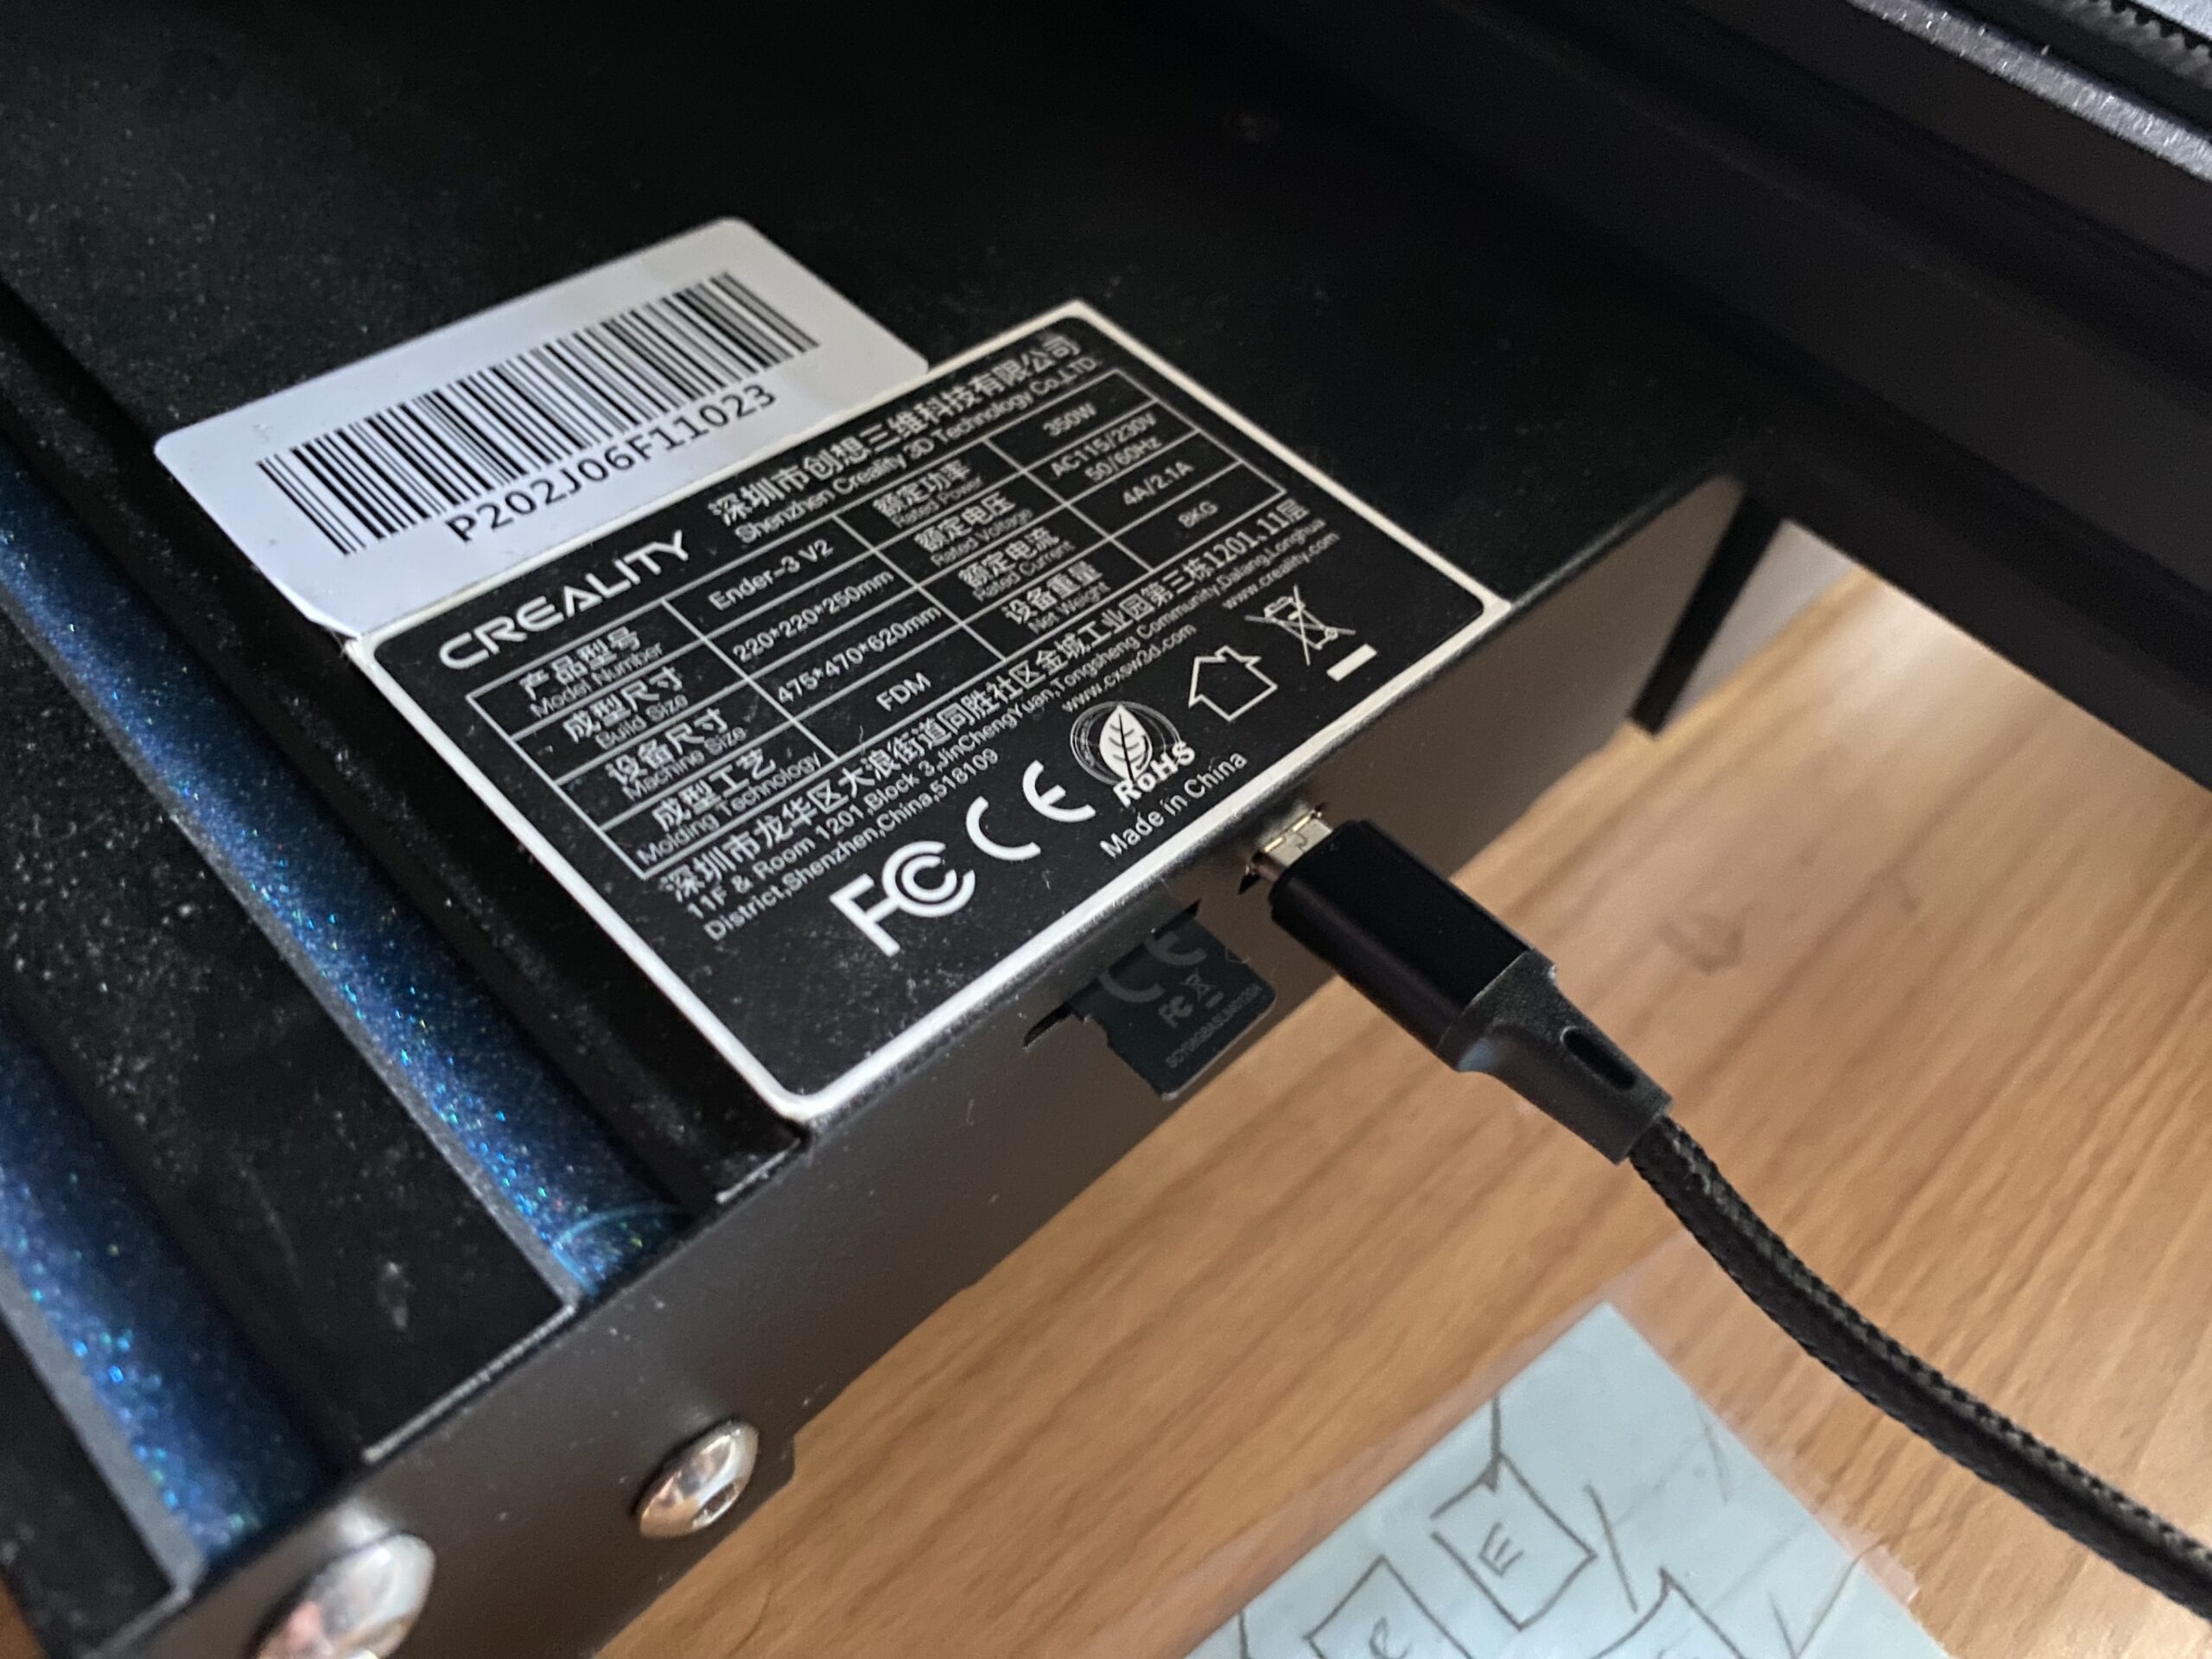
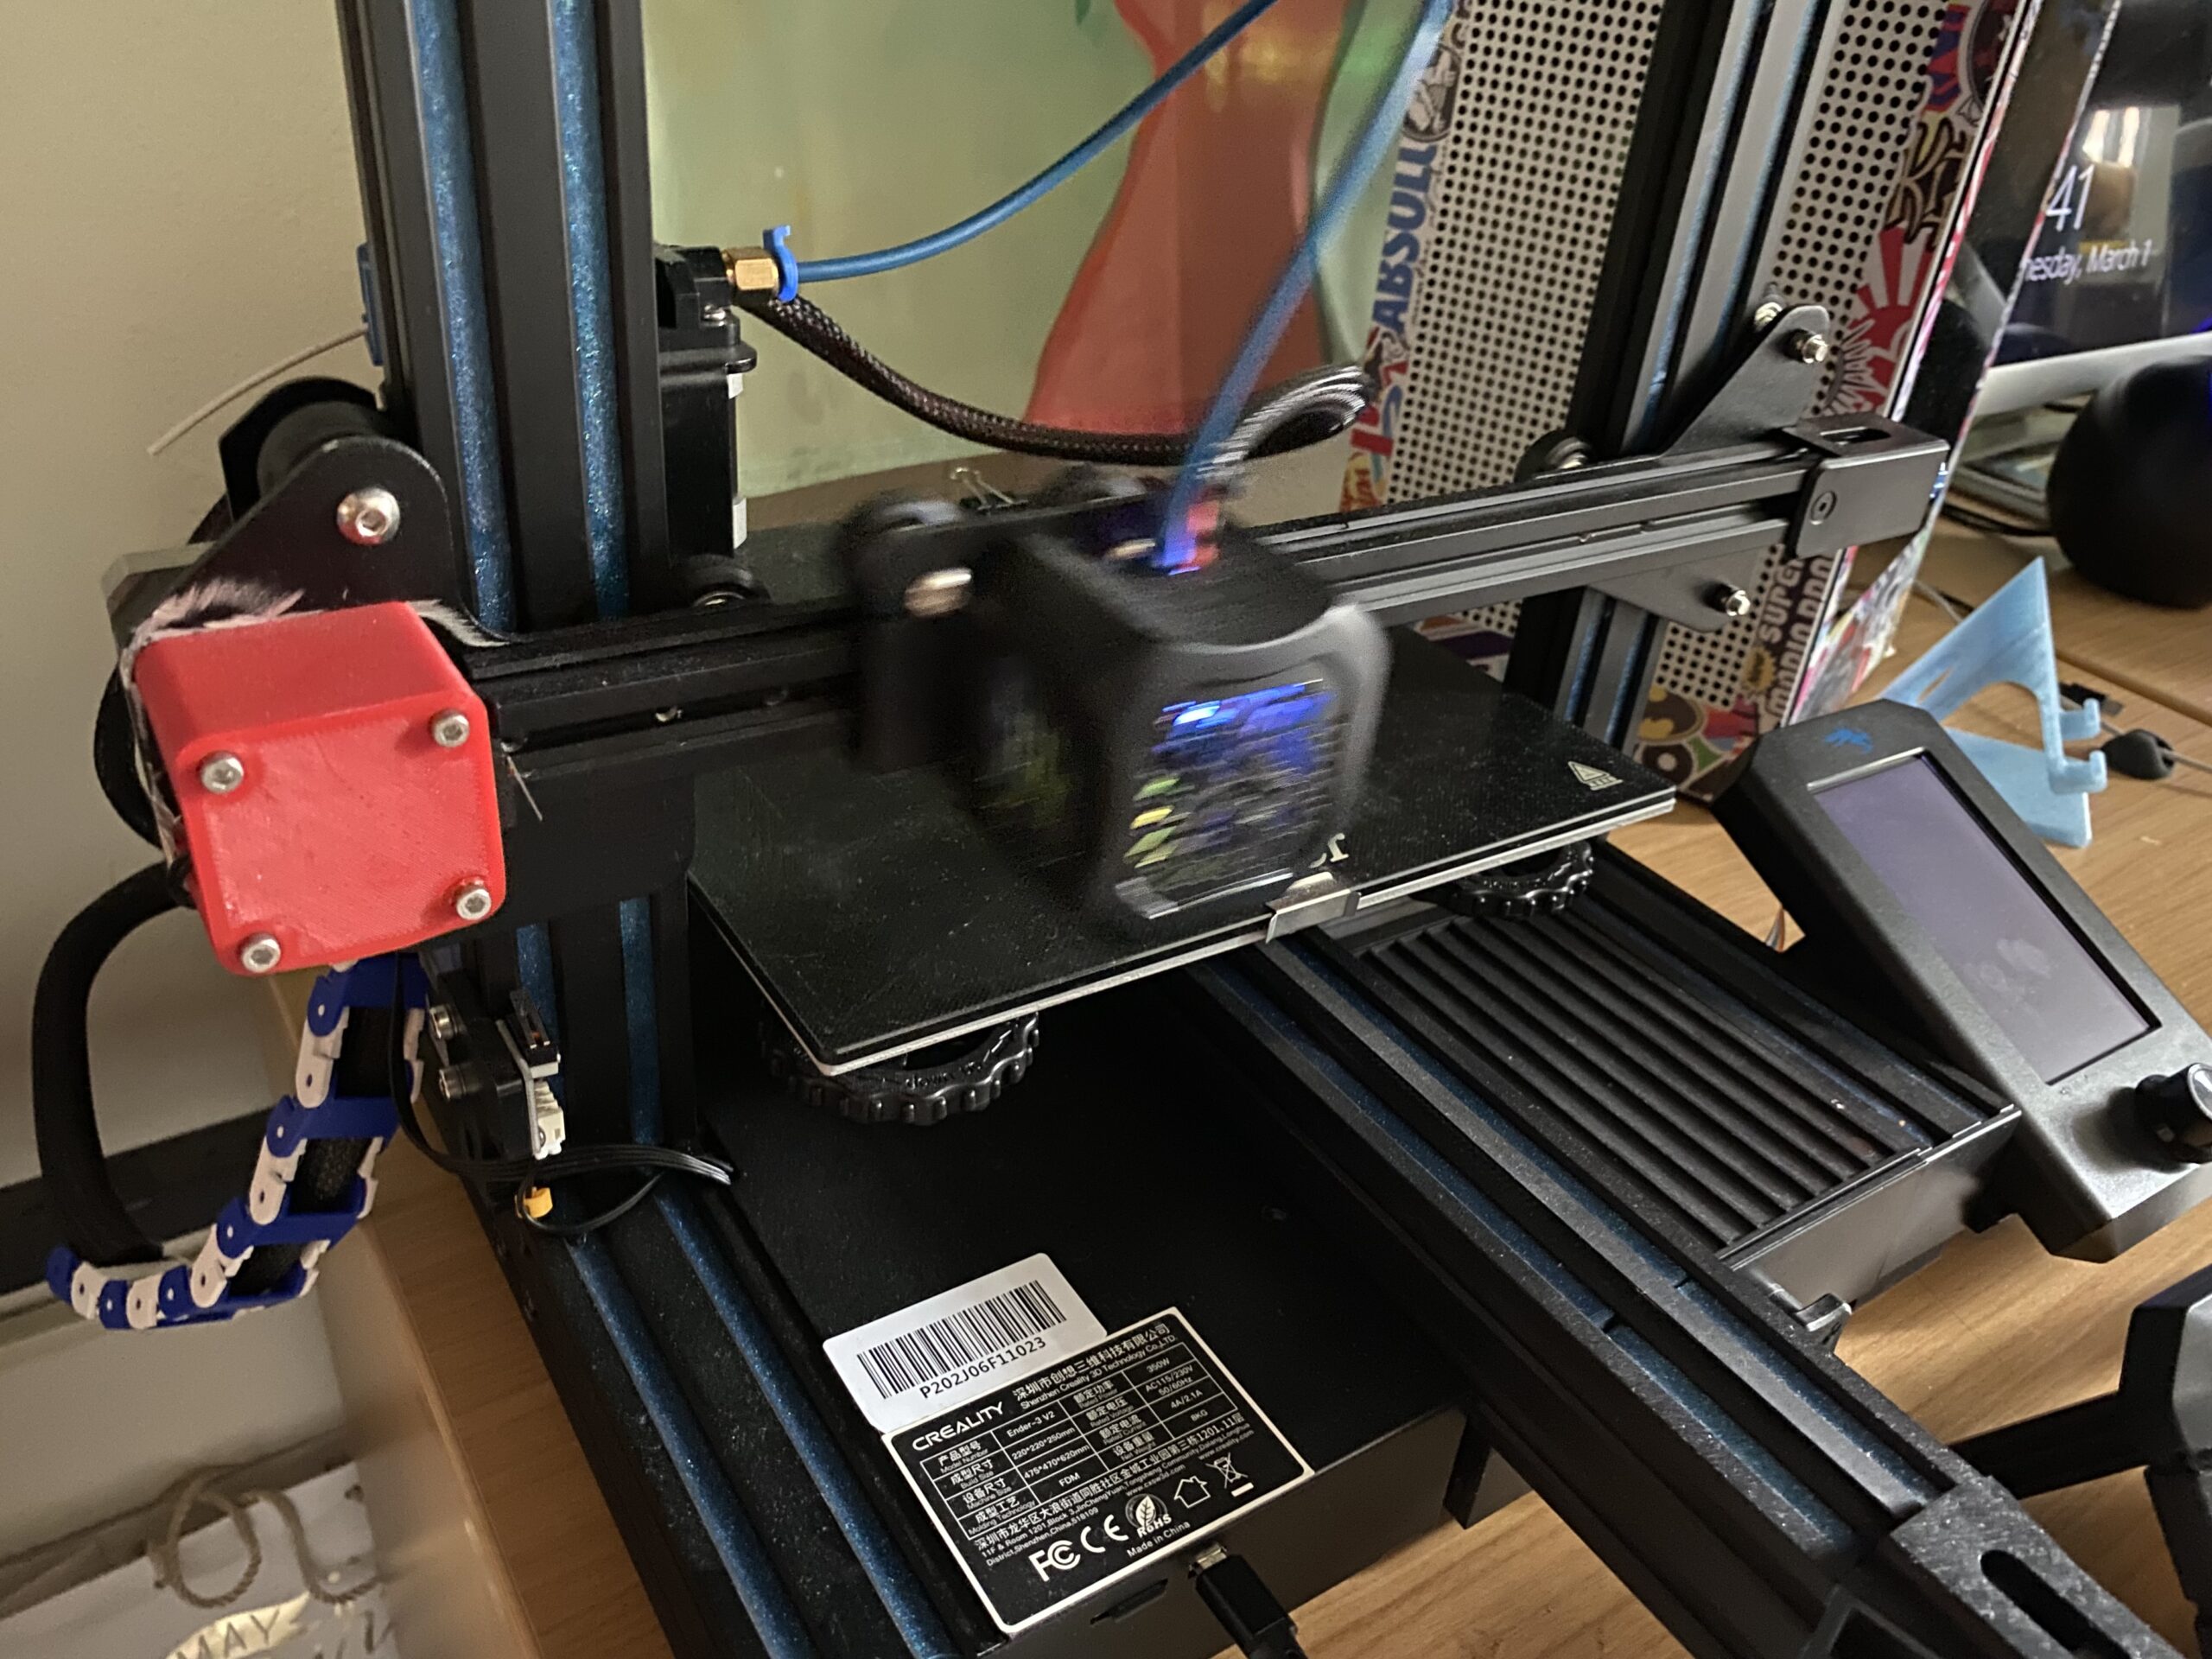
One of the best parts about the Creality Sonic Pad is that you can use the device with non-Creality machines. When you set up the device, you can choose from a pre-configured Creality printer profile (e.g. Ender 3 V2, V4.2.7) or make your own custom configuration if you’re using a third-party (non-Creality) printer.
And, because most 3D printer motherboards across different brands are very similar, the Sonic Pad should work with just about any consumer-level FDM 3D printer. That’s right! Even if you have an Anycubic or Elegoo 3D printer, you can still use the Creality Sonic Pad!
Faster Printing
Of course, one of the best parts about the Creality Sonic Pad is its ability to speed up your prints. This is possible because the Sonic Pad runs Klipper, the special 3D printer software that we talked about previously.
While Klipper doesn’t directly speed up your print jobs, it allows you to use faster print speeds and acceleration values without decreases in print quality. To take advantage of your new Klipper setup, once you connect the Sonic Pad to your printer, try increasing the print speed and acceleration (and also the jerk) values in your 3D slicer and see the results!
So how much faster can you print with the Sonic Pad? Well, in Creality’s test, they were able to halve the time of a 3DBenchy on an Ender 3 S1. However, this is definitely an exaggeration, and, from my own testing, I found the Sonic Pad was only able to make my printer around 25-30% faster.
Still, this is a noticeable and significant difference that’s well worth the price of the Sonic Pad!
Also, I suggest attaching the included G Sensor to either your machine’s bed or printhead to give the Sonic Pad more data about the acceleration of your printer. This data can be used by the Sonic Pad to achieve even better print results with reduced ringing and ghosting when printing at high speeds.
Internet Connectivity
The Creality Sonic Pad, just like an OctoPrint server, can connect to the internet. With an internet connection, whether wired or wireless, you can use your Creality Sonic Pad as a remote printer control server.
Furthermore, the Sonic Pad acts as a server, and, entering the device’s IP on a web browser will take you to a remote console page where you can monitor and control your connected 3D printer.
As I mentioned previously, the Sonic Pad has an Ethernet port, so, if there’s an Ethernet outlet near your printer, you can use that. However, if you’re like me and don’t have any Ethernet ports nearby, then you can also use the wireless connectivity of the Sonic Pad to connect the device to your home Wi-Fi.
It’s also worth noting that you can adjust the network settings (e.g. connecting to Wi-Fi) through the device’s GUI during setup or after.
Webcam Support
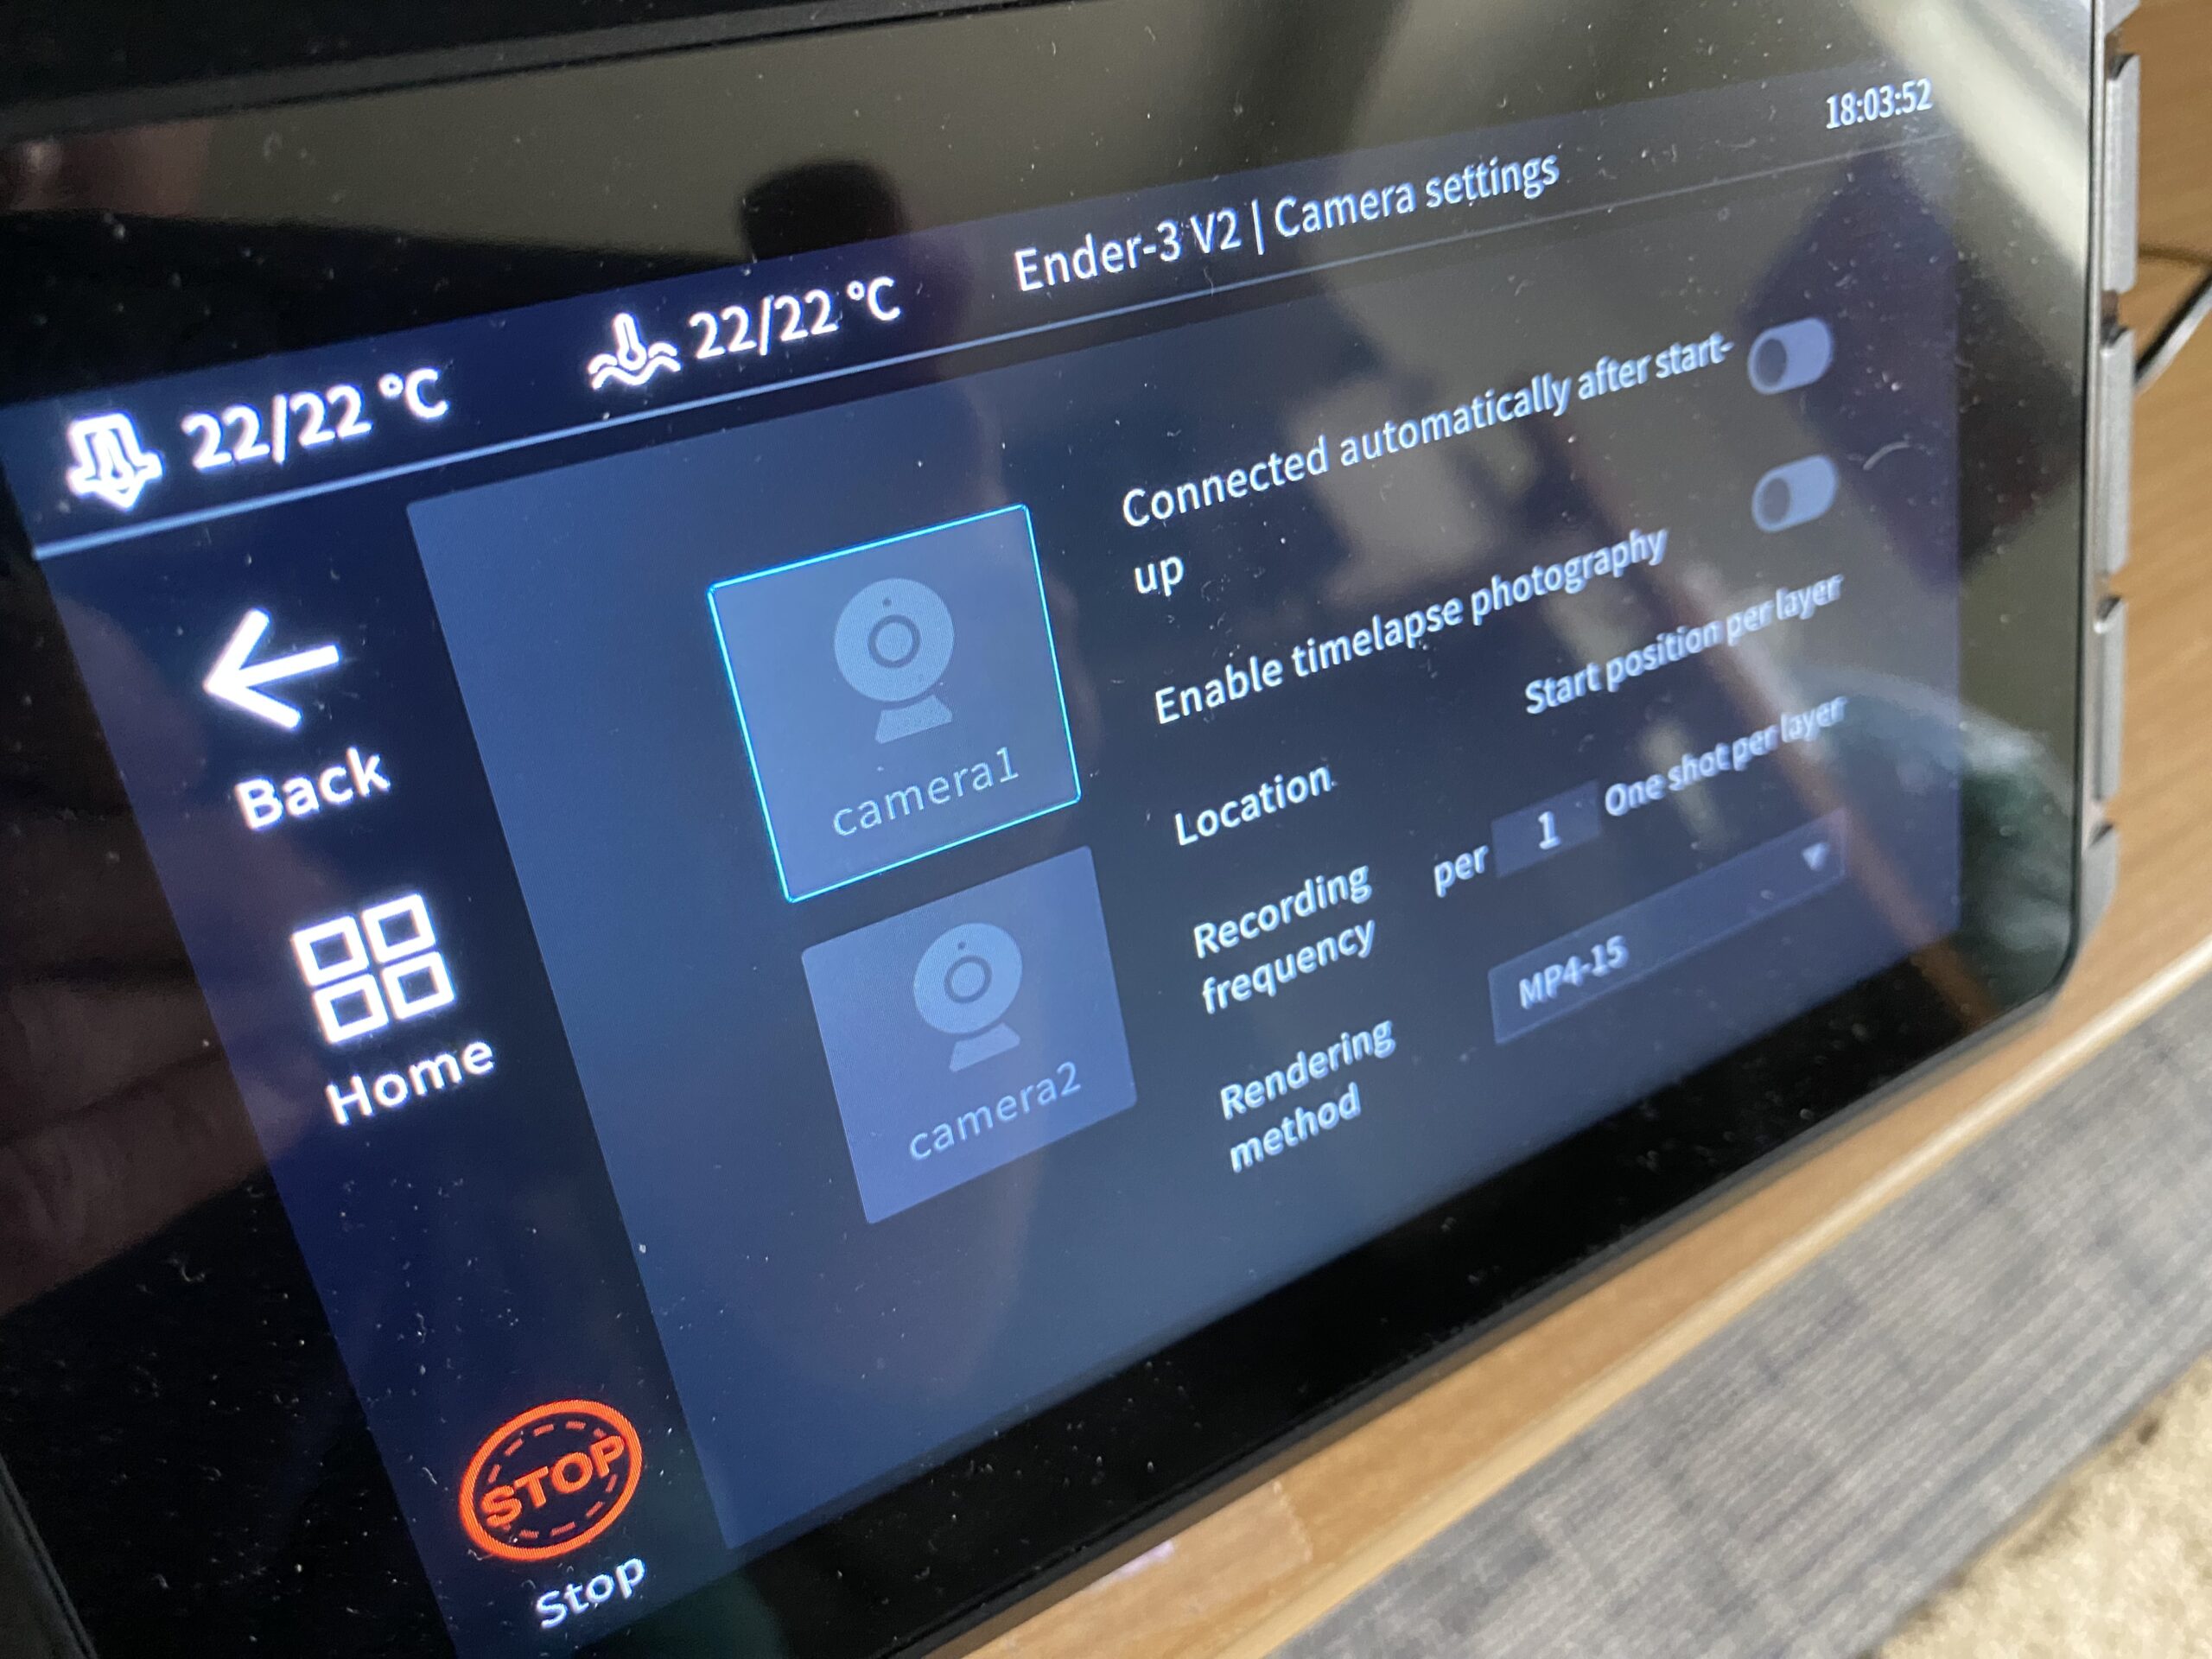
Next, one of the coolest parts about the Creality Sonic Pad is its webcam support. Following along with the universal printer support of the Sonic Pad, the tablet is also compatible with pretty much any USB webcam. So, popular options like the Logitech C270 and C920x, and even knock-offs should work.
Once connected, you can use the Sonic Pad to monitor the camera and even make cool timelapses of your prints. While 3D printer-specific timelapses, such as OctoLapses, aren’t available on the Sonic Pad, it’s still a great feature. And, if you connect your Sonic Pad to the internet, you can monitor the camera feed remotely!
Other Features
The Creality Sonic Pad also has some features that I wasn’t able to cover in the previous sub-sections. I’ve listed a few of these other features in the bullet points below with a brief description:
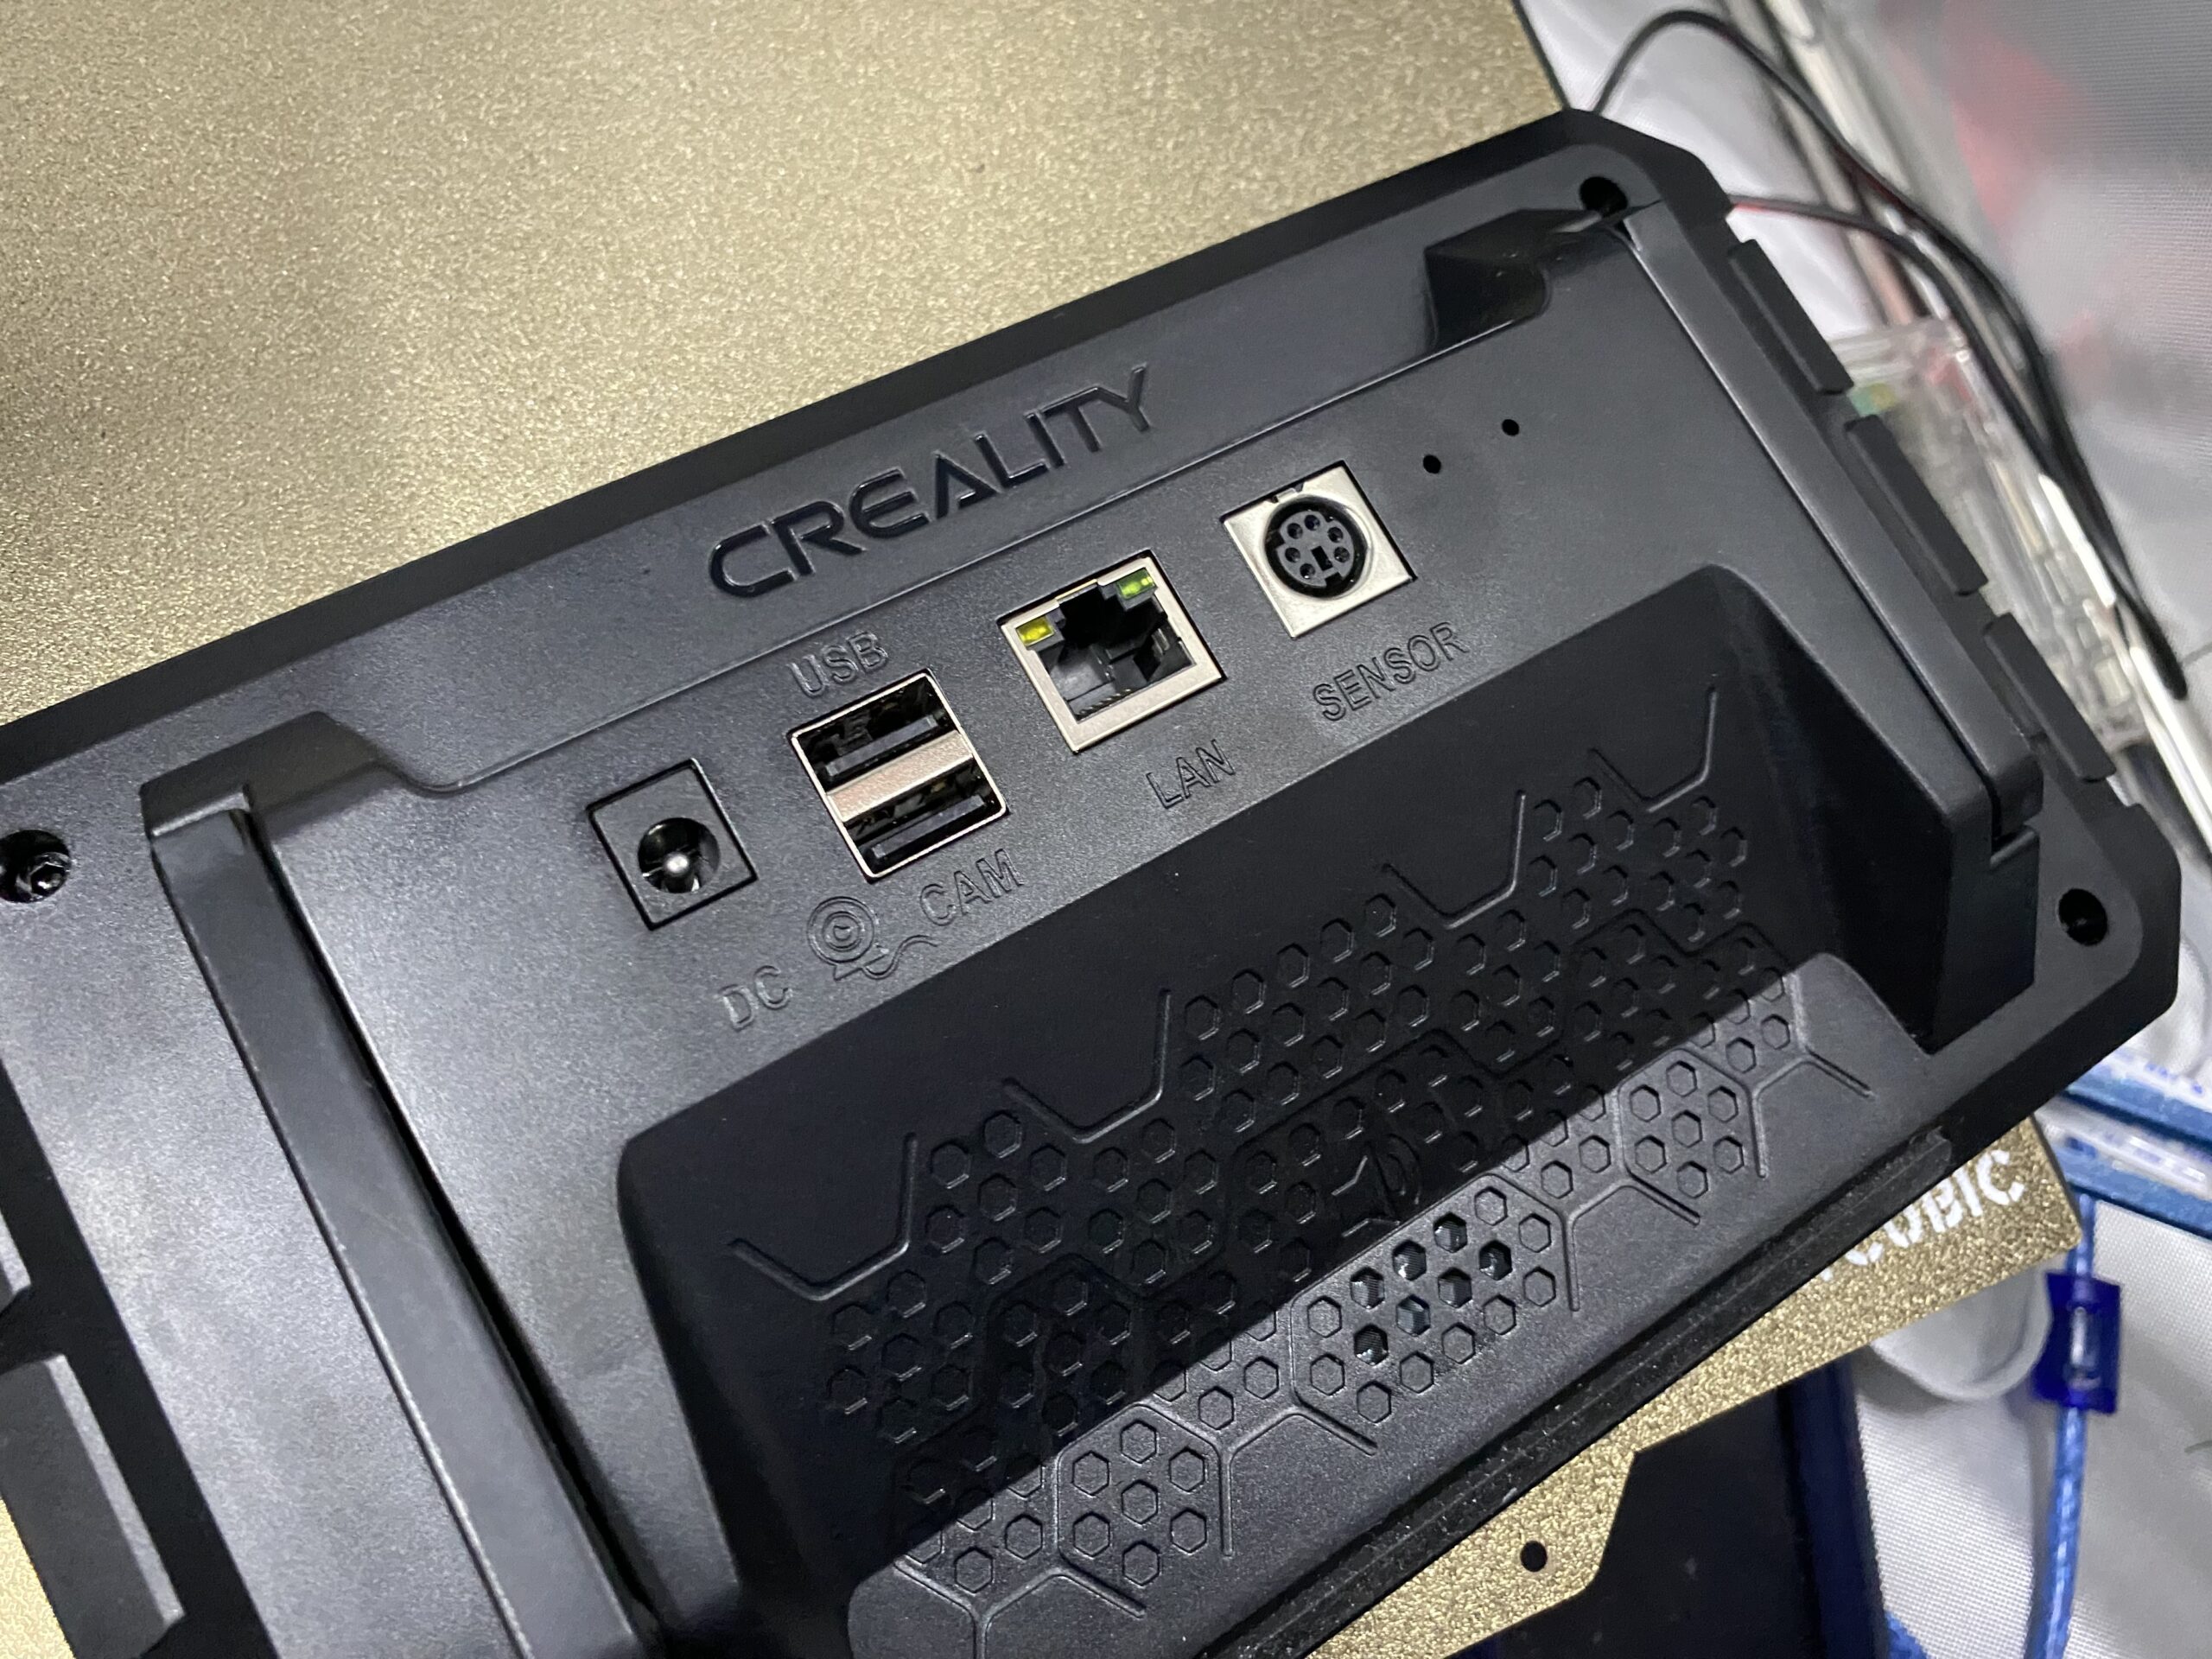
- Interface Ports: The Sonic Pad has a handful of interface ports that can be used to upload prints to the device and otherwise communicate with the tablet. Furthermore, the Sonic Pad features a total of four USB (Type-A) ports, an Ethernet port, a special port for the G sensor, and a port for the power adaptor. Of course, the Sonic Pad also comes with some cables too!
- G-Code Macros: One of the experimental features of the Sonic Pad is Macros. Macros are special buttons that execute multiple G-code commands at once so you don’t have to. On the Sonic Pad, you can make custom Macros to do things like set starting temperature and level the bed at the same time.
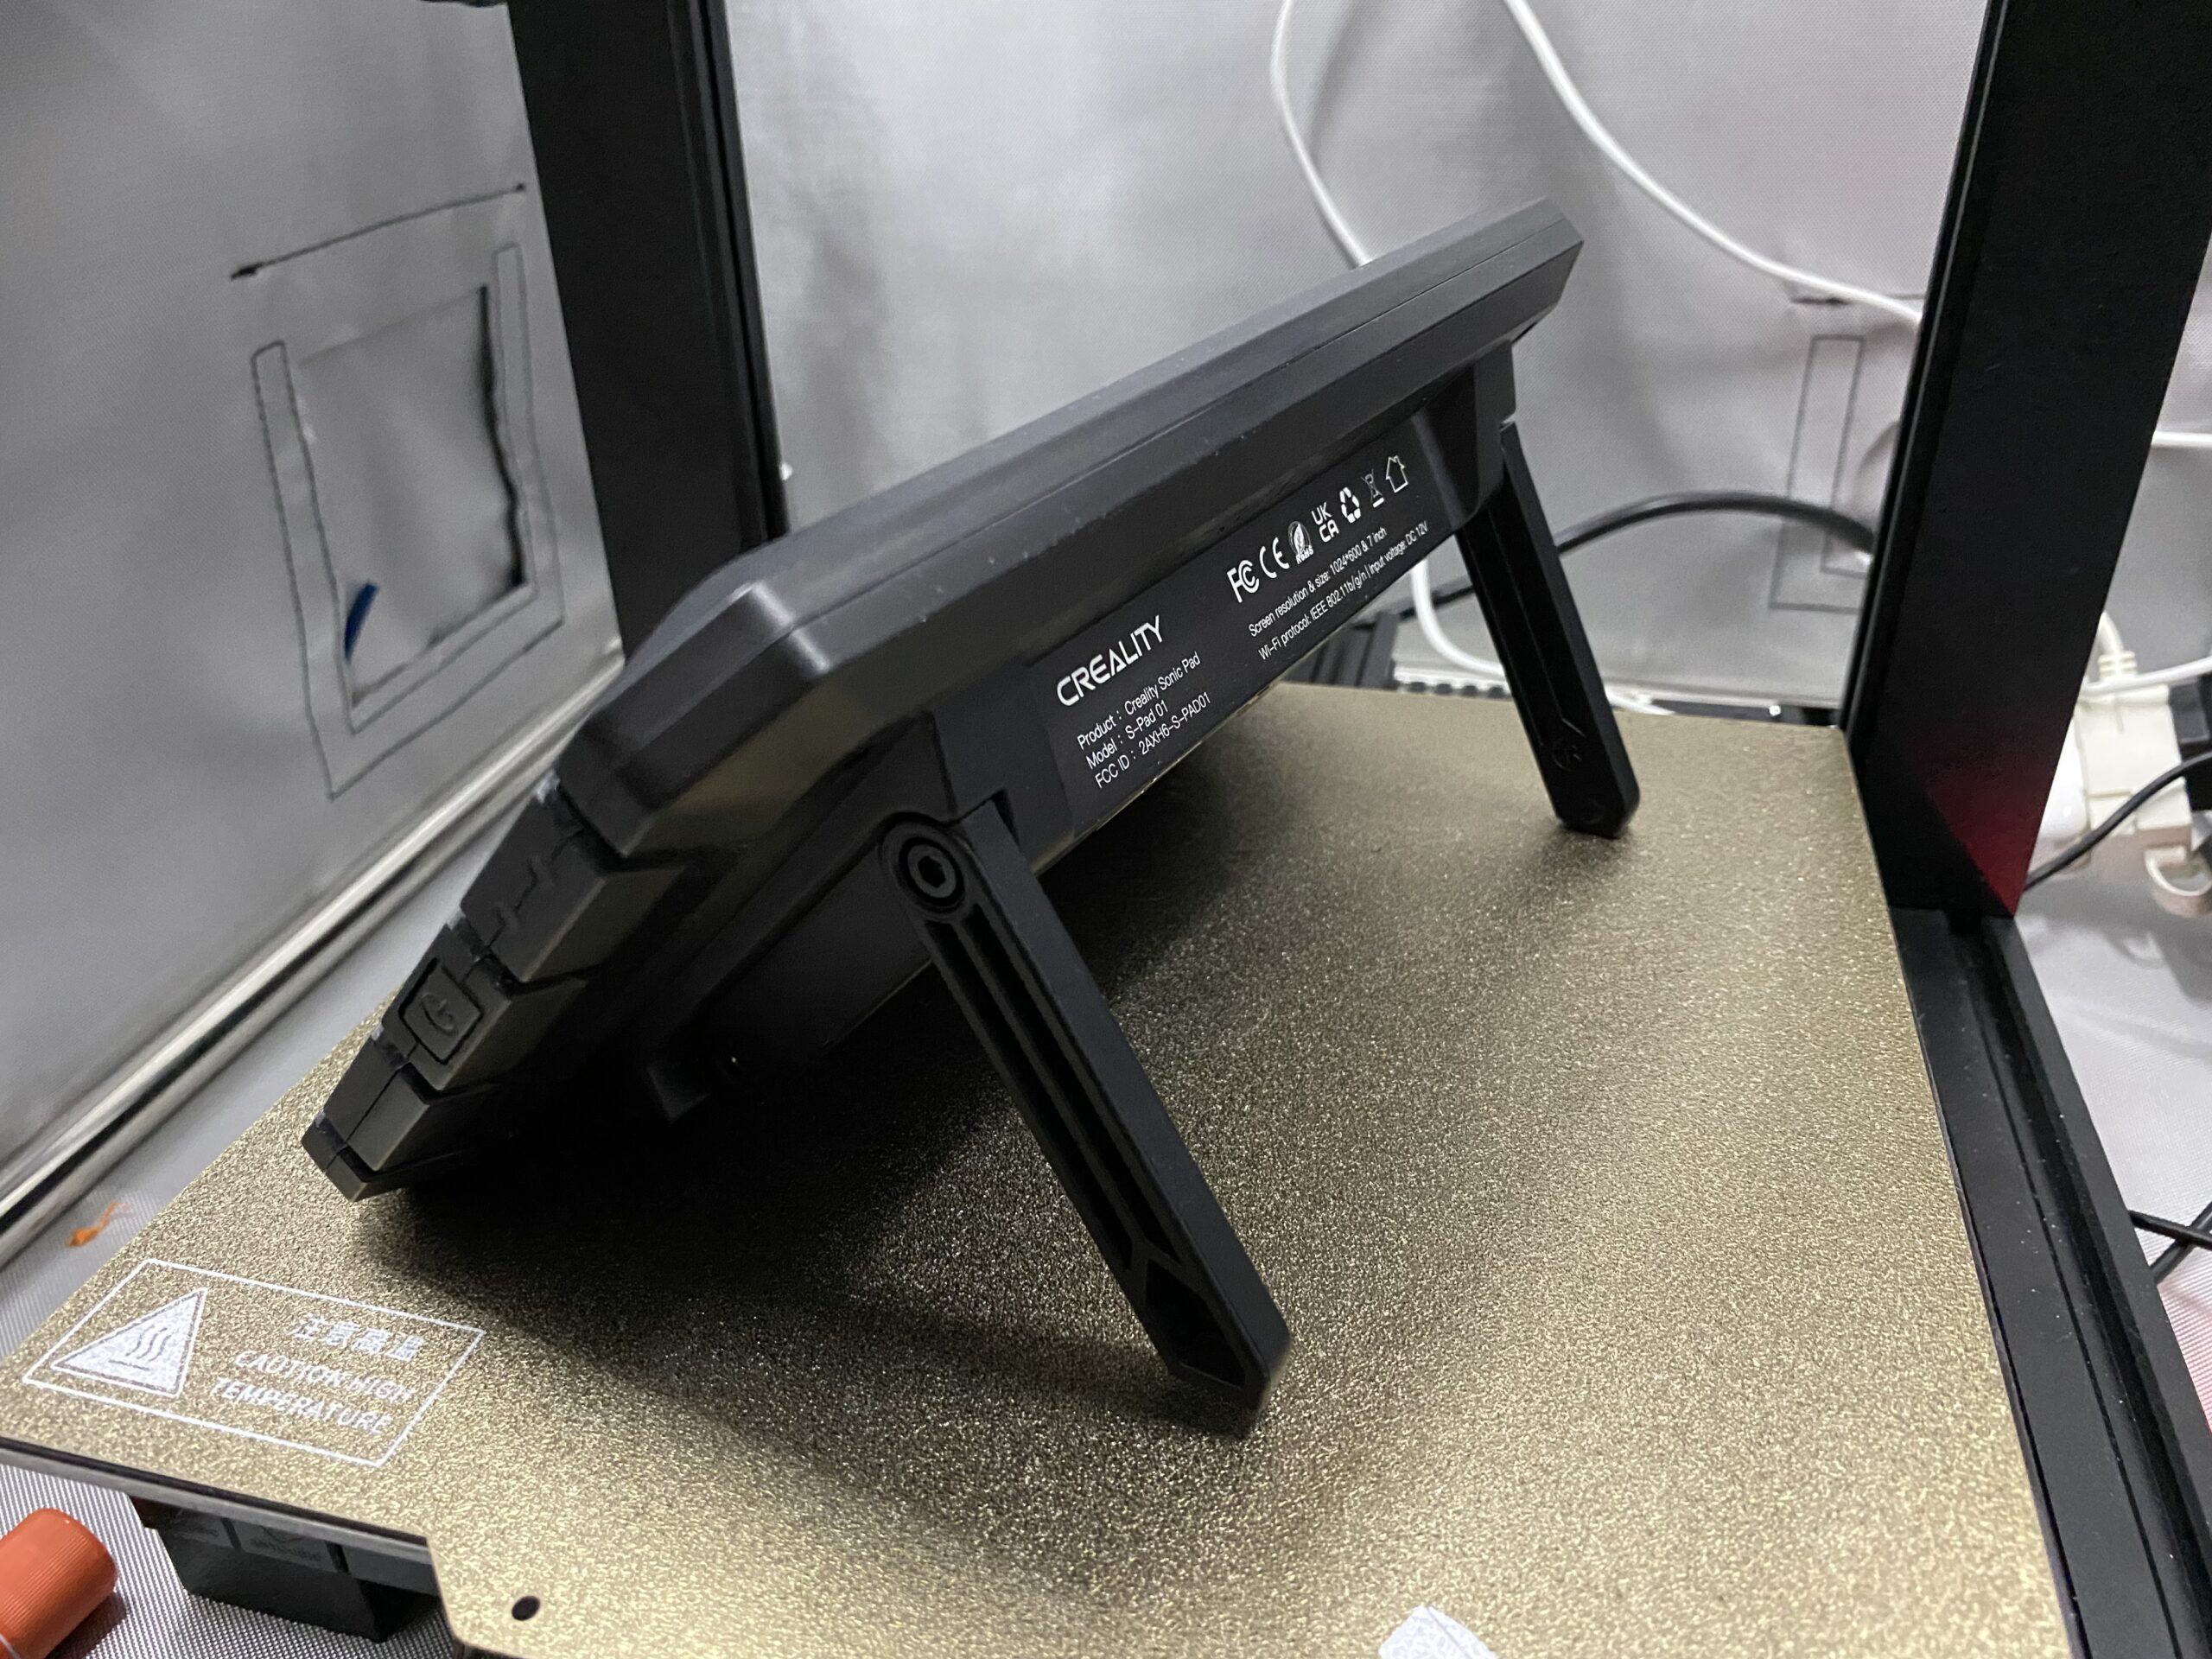
- Stand: The Sonic Pad also has a built-in stand, which you can use to position and tilt the tablet to where you want.
- Bed Leveling Visualization:Lastly, the Sonic Pad has a few features for bed leveling, and my favorite is its bed leveling visualization chart. This feature is available if you’ve connected the Sonic Pad to a printer with automatic bed leveling, and it shows you where your bed is physically higher and lower.
There are many reasons why you should use the Creality Sonic Pad, but the biggest one is to get easy access to all of the latest Klipper features. Running Klipper firmware on your 3D printer not only speeds up the printing process, cutting down print times, but also improves the quality of your 3D models, making corners sharper, details more precise, and more!
Additionally, Klipper is rapidly evolving and new features come out fast. Having the Creality Sonic Pad is a great way to have access to these features if you’re interested in using them.
But Klipper and all of what it brings to the table aren’t the only reasons why the Creality Sonic Pad is worth the money. The device also makes using your 3D printer more fun through its 7-inch, full-color touchscreen display. While the screen itself isn’t the best touchscreen LCD out there, it’s still much better and way more fun to use than the traditional monochrome LCDs on 3D printers.
The large display on the Sonic Pad also makes it easy to check up on your printer. Moreover, you can adjust the main menu on the Sonic Pad to show things like the temperature graph for the nozzle and bed, the incoming G-code commands, and more!
Lastly, the Creality Sonic Pad is super useful for taking videos and timelapses of your 3D prints. As I’ve mentioned, you can connect a camera to your Sonic Pad and set it up to monitor your 3D printer and take awesome timelapses that show off how cool your 3D printer really is.

Pretty much any consumer-level FDM 3D printer!
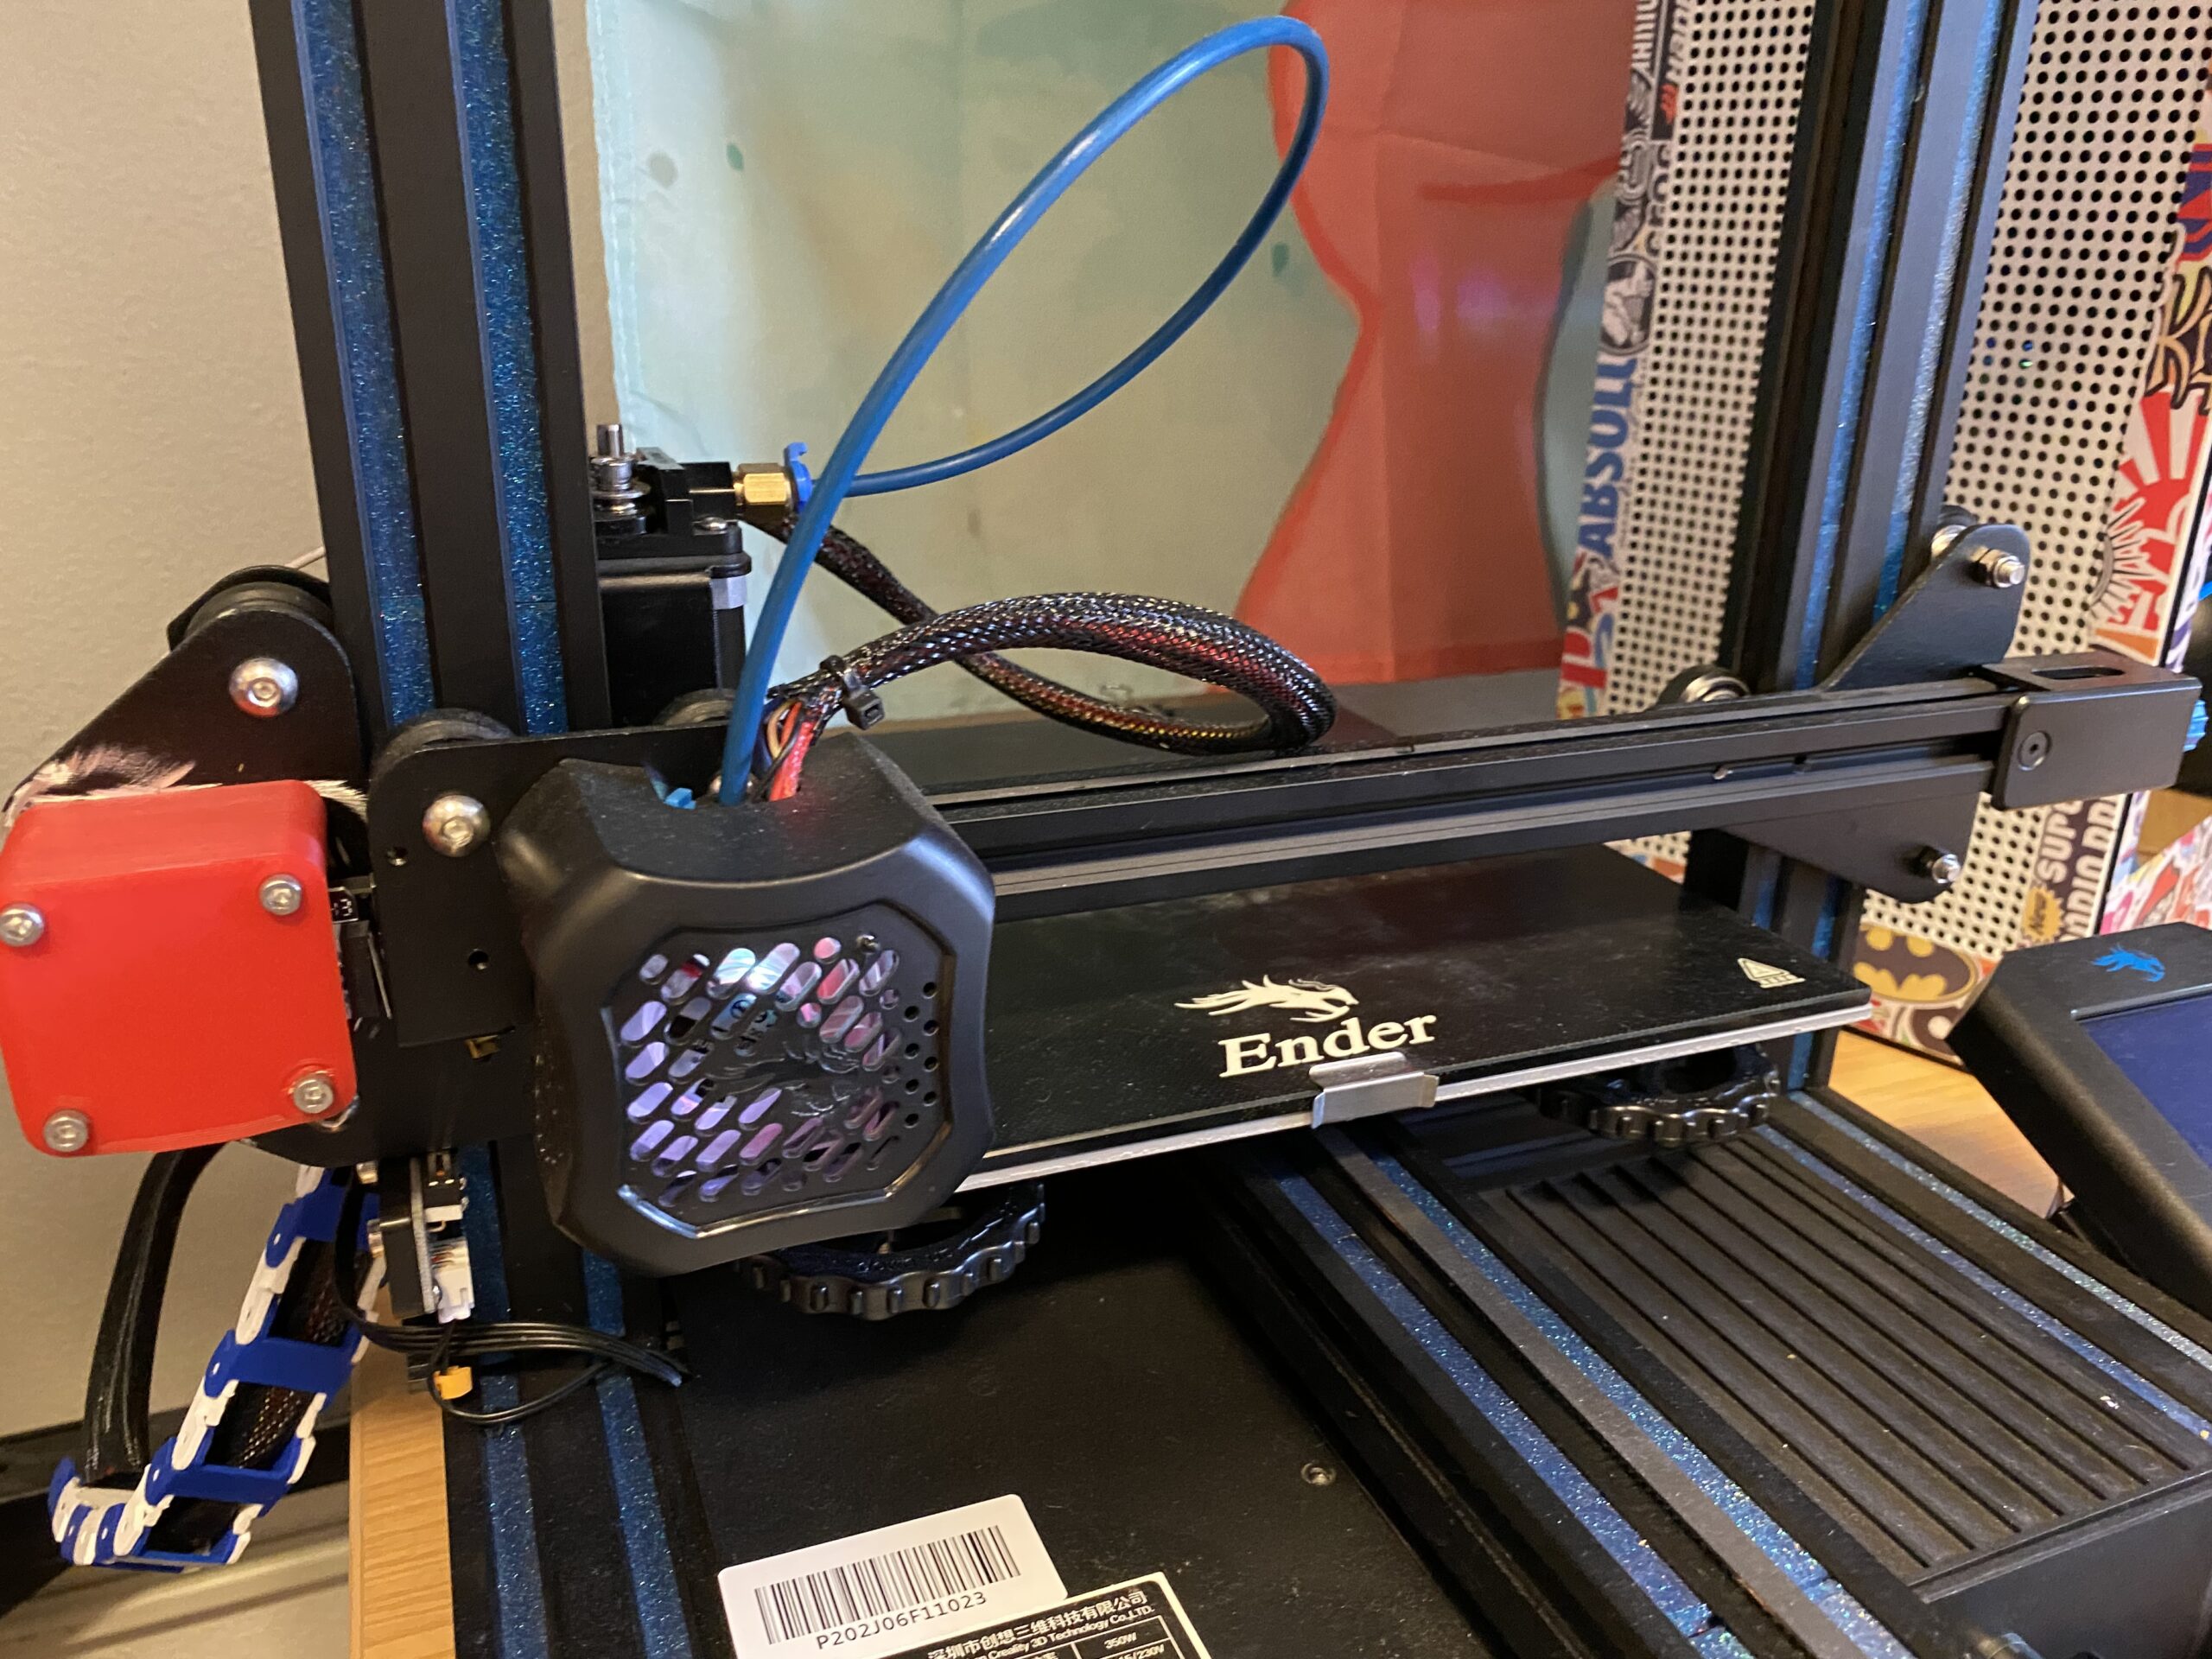
Of course, the Sonic Pad, as it’s made by Creality, works on all Creality FDM 3D printers, like the Ender 3, Ender 3 S1, and CR-10. However, Creality has also opened up the Sonic Pad’s software to support many other 3D printers.
Basically, as long as your 3D printer has a 32-bit motherboard with a USB interface, you should be able to connect the Sonic Pad. The only difference is that, with non-Creality printers, you’ll have to make a custom printer profile on the Sonic Pad using all the specs of your 3D printer (e.g. bed size, motherboard chip, etc.). It’s not too difficult, though!