
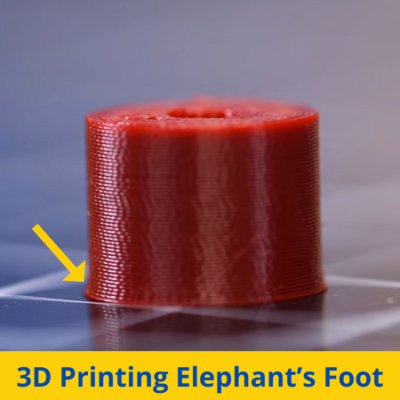
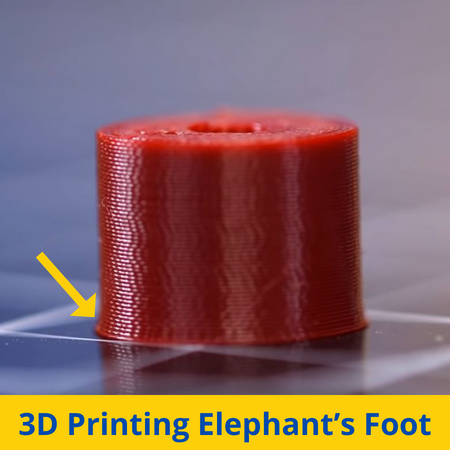
Is the bottom of your 3D print larger than expected? Does it stick out? Well, if so, then you’re experiencing what we call elephant’s foot!
Elephant’s foot is one of the most common problems for FDM 3D printers, and it makes the base layers of your 3D print wider than they’re supposed to be. This expansion not only hurts the visual appearance of your print but also its dimensional accuracy, which is very important for models that need to fit inside or with other parts.
The main cause of elephant’s foot is a high bed temperature, which causes the first few layers of your print job to expand. However, there are a handful of other potential causes such as an unlevel bed, miscalibrated Z-offset value, and more.
Luckily, there are many solutions for elephant’s foot, including lowering the bed temperature, leveling the bed, and modifying the design!
Want to learn more about elephant’s foot, what causes it, and, of course, how you can prevent it? Just keep reading!
Table of Contents
What is Elephant’s Foot?

Elephant’s foot is a common 3D printing issue for FDM machines where the first few layers of a print are slightly larger than they should be. This results in your model looking chamfered at the base, kind of like the foot of an elephant, hence why this issue is called “elephant’s foot”.
While elephant’s foot might not seem like a significant issue for your 3D prints, it noticeably hurts the dimensional accuracy of your model, which is crucial for prints that need to fit inside another part or hold another part. For example, if you’re printing a USB drive holder and experience elephant’s foot, the resulting print might not fit the USB drives even if the design’s dimensions are correct in your CAD software.
Additionally, the layer expansion from elephant’s foot can make your model look worse because the walls are not even or flat. This is especially unfortunate when printing models meant for display, like cosplay armor or a trophy.
With these two effects in mind, it’s no question that you should do everything you can to prevent elephant’s foot from occurring on your 3D prints.
What Causes Elephant’s Foot?
Before we get into how you can solve elephant’s foot, it’s important to go over the potential causes of this problem. Identifying the specific cause of your printer’s case of elephant’s’ foot will help tremendously when choosing the most effective solution.
I’ve gone over the most common causes of elephant’s in the sub-sections below:
1. High Bed Temperature

The first and most likely cause of elephant’s foot on your 3D printer is a high bed temperature. As we all know, heat expands things, and the same is true for the first layer(s) on your 3D print. Furthermore, the hotter the print surface is, the more the layers closest to the bed will expand, causing elephant’s foot.
2. Unlevel Print Bed
If you’ve had your 3D printer for over a week, then you probably understand how important it is to level the bed. An unlevel print bed can cause a whole world of chaos for your 3D prints, like first-layer spaghetti, warping, and even elephant’s foot.
If the bed is positioned too close to the nozzle, which is common on unlevel beds, there won’t be enough space for the filament to flow out to properly set on the bed. Instead, the plastic will squish, causing the first layer to be wider than it’s supposed to be.
3. Miscalibrated Z Offset
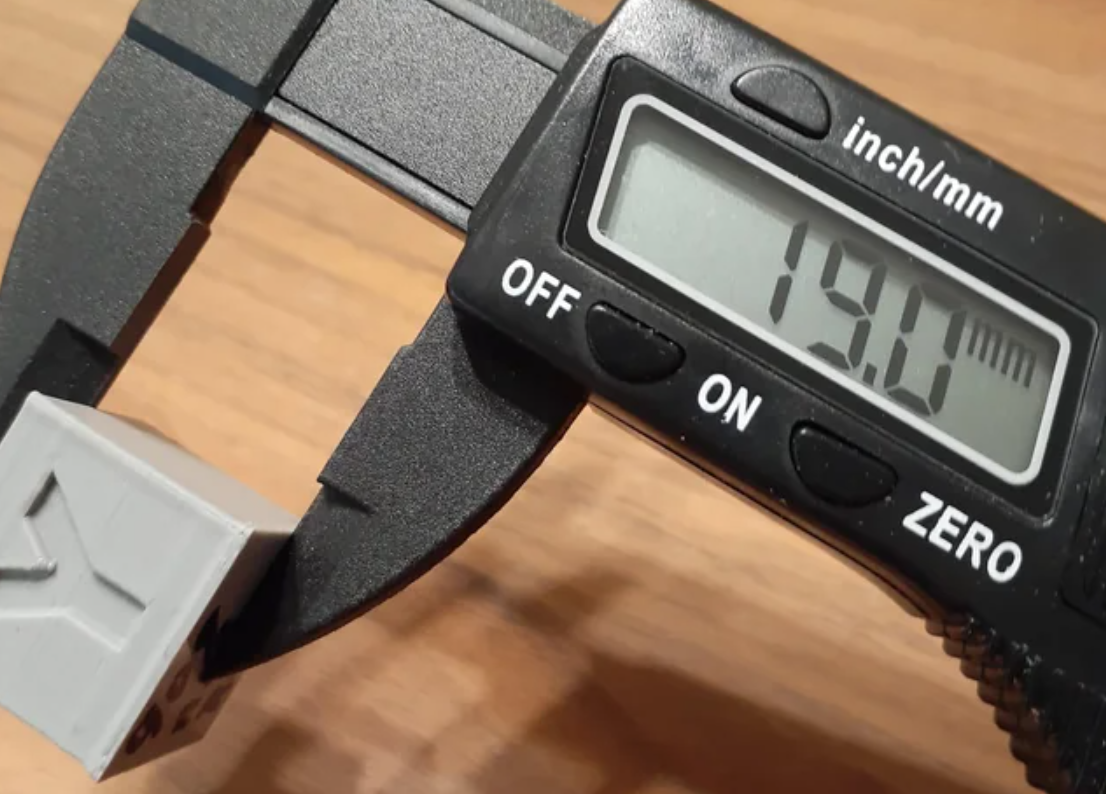
The Z offset is a special 3D printer setting that controls how far away from the true Z-axis zero point the nozzle stays for printing the first layer. If the Z offset value is set too low, the nozzle will, just like I described in the previous section, be too close to the bed for comfort, and the layers will squish, causing the elephant’s foot effect on the first layers of your 3D print.
4. Loose Z-Axis Screw
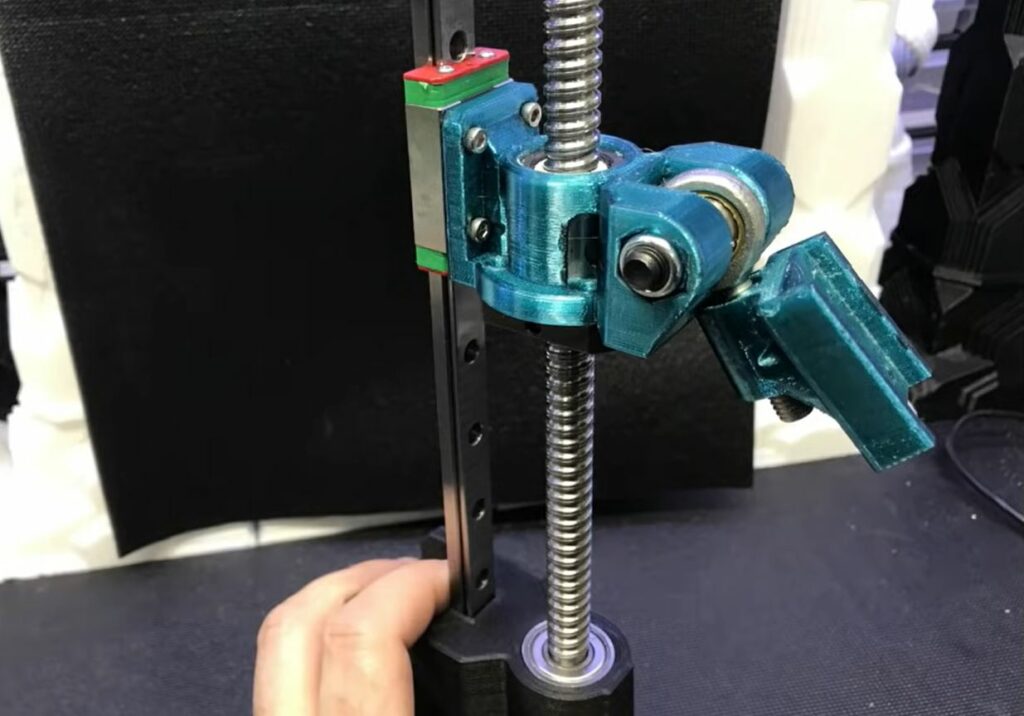
The last major (potential) cause of elephant’s foot is a loose Z-axis screw.
For reference, the Z-axis screw is the long lead screw that the printhead gantry (or bed gantry) moves up and down along.
If this screw becomes loose, which can happen over time, it might come slightly out of place and be tilted. This Z-axis tilt can cause a whole host of print quality issues, including Z banding and even elephant’s foot in some cases.
How to Fix Elephant’s Foot?
Now, it’s time for the solutions! Just as there are plenty of different potential causes for elephant’s foot, there are also many solutions, which I’ve gone over in the sections below.
It’s worth noting, though, that the solution that will be most effective in preventing elephant’s foot will line up with the specific cause of the problem. For example, if your case of elephant’s foot is caused by a high bed temperature, lowering the bed temperature will be much more effective in stopping the issue than re-leveling the bed.
1. Lower Bed Temperature
The first, and usually most effective, solution for elephant’s foot on 3D printers is to lower the bed temperature. As I mentioned, more heat on the print surface will cause the first layer(s) to expand, so lowering the bed temp can go a long way in preventing this problem for future prints.
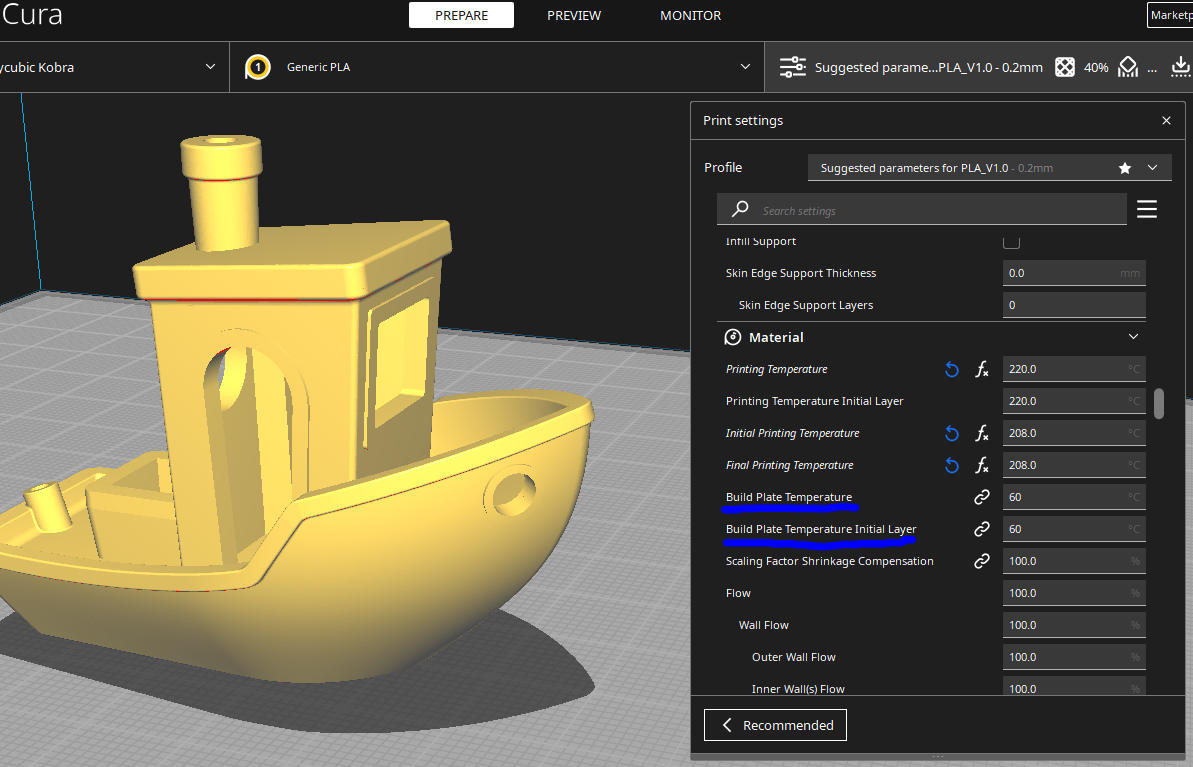
You can lower the print bed temperature in your 3D slicer program, whether it’s Cura, PrusaSlicer, or another software.
I suggest lowering the setting by 5 °C, as this usually does the trick. If you’re still seeing elephant’s foot, you can go down by another 5-10 °C. But, if after lowering the original bed temperature by 15 °C you still see elephant’s foot, I would suggest trying a different solution method.
2. Level Print Bed
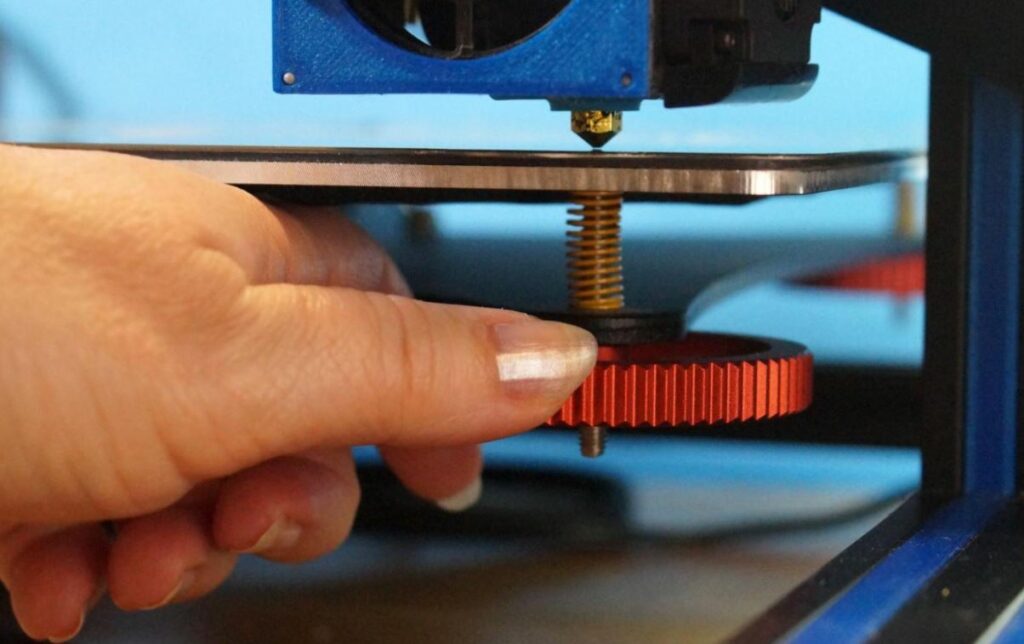
Next, you can level the bed. Not only might this prevent elephant’s foot, but leveling the bed can also prevent a plethora of other print quality issues, like over-extrusion, warping, and more.
The process for leveling the bed will depend on if your 3D printer has an auto bed leveling (ABL) system or not. If it does, all you have to do to level the bed is click “Level Bed” on your 3D printer’s LCD interface and the printer will run a precise and accurate leveling sequence.
If your 3D printer doesn’t have ABL, that means you’ll have to manually level the bed using the leveling knobs below the print surface. If you don’t already know how to level the bed, it’s pretty simple: just adjust the knobs so that the nozzle is the same distance from the print surface at all points.
Also, after you level the bed, I strongly advise you to calibrate the Z offset, which I’ll go over in the next section.
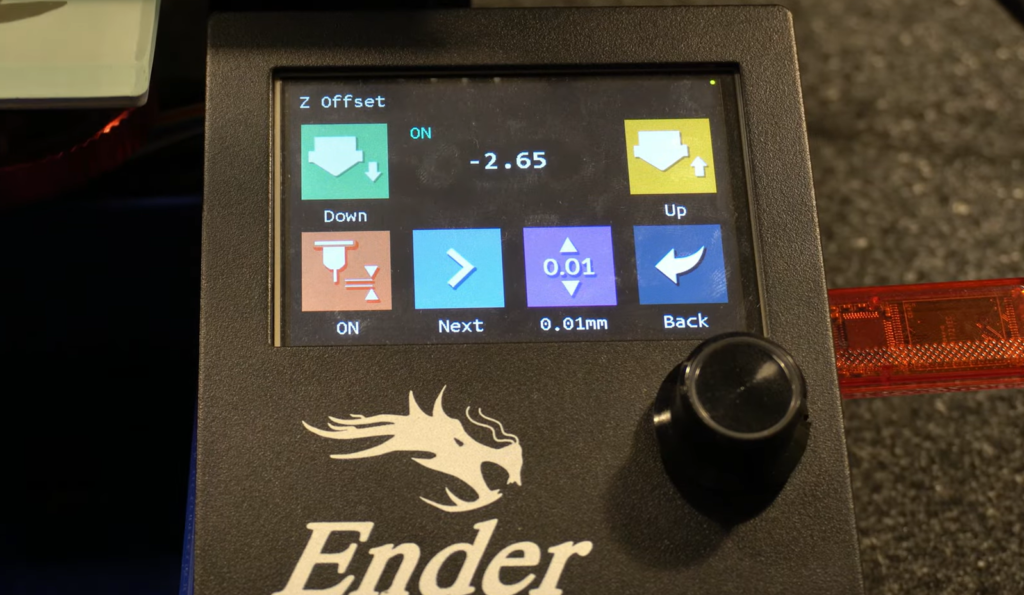
3. Calibrate Z Offset

Even if you level the bed, you’ll still need to calibrate the Z-offset otherwise you might still experience bed-related print quality issues, such as elephant’s foot.
As I mentioned previously, the Z offset is a digital setting that controls the distance from the true Z-axis zero point and the printer’s first-layer position. Elephant’s foot is usually caused by too low of a Z offset so I suggest starting by increasing the value.
You can adjust the Z offset value in a few different ways, including through your printer’s LCD interface, a 3D slicer (e.g. Cura), or a G-code terminal. I suggest the first option as it’s the easiest!
When you navigate to the Z offset control page on your printer’s user interface, I suggest increasing it in 0.01 mm increments until 3D printing elephant’s foot goes away. It might take some time to test, but it’s 100% worth it!
4. Add a Brim or Raft

Next, you can add a brim or raft to your 3D print. Brims and rafts are slicer-generated features that help with bed adhesion. While they’re mainly used to prevent warping, they can also help with stopping 3D printing elephant’s foot.
Adding a brim or raft to your 3D print is simple, and can be done with a click of a button in your 3D slicer. Simply go into the slicer settings, navigate to the bed adhesion section, and activate either a brim or a raft. I suggest going with a brim as it takes less filament and doesn’t increase the print time by as long as a raft does.
5. Tighten Z-Axis Lead Screw

Next, you can stop 3D printing elephant’s foot by tightening the Z-axis lead screw on your machine. Specifically, I mean tightening the two screws that hold the Z-axis lead rod into the stepper motor coupler.
I recommend completely loosening the two bolts, aligning the lead screw so that it’s straight up, and then tightening the screws.
6. Use Chamfers in the Design
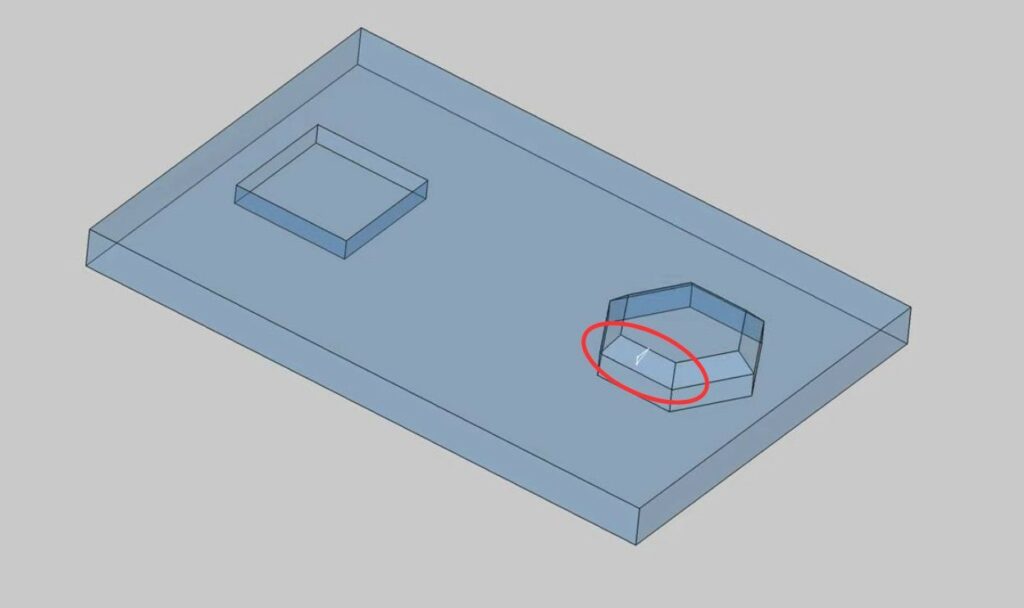
Lastly, you can use chamfers in the design of your 3D model. If you’re not up to date on your CAD lingo, a chamfer is simply an angeled edge, and adding these features to the base of your 3D model can stop you from 3D printing elephant’s foot.
Of course, this would require you to know some basic computer-aided design software skills, but it’s no biggie. Most CAD programs, like Onshape and Fusion 360, have an easy-to-use chamfer tool that automatically chamfers any edge you select. Pop that revised 3D model into your slicer, slice it, and you’re good to go!
Conclusion
While elephant’s foot might not look like a big problem, it can significantly hurt the quality of your 3D prints. On top of degrading the visual appearance of your model, the layer expansion caused by elephant’s foot also affects the dimensional accuracy of your part.
And, if you’re printing a functional model that needs to fit around or inside another part, then dimensional accuracy is essential to the success of your print.
Luckily, there are many ways you can prevent elephant’s foot from appearing on your 3D prints! First off, you should lower the bed temperature in your 3D slicer, as too much heat on the bed is the number one cause of elephant’s foot. Another effective tip is to level the bed and properly set the Z-offset value as this can go a long way in ensuring elephant’s foot doesn’t happen.
Hope this helps! Enjoy!