
The Creality Ender 3 is one of the most popular, if not the most popular, consumer-grade 3D printer. When it initially came out in 2018, its sub-$200 cost was unheard of before, but its performance is what really made the printer, and Creality, become famous.
Despite being a fraction of the price of higher-end machines like MakerBots and Ultimakers, the Ender 3 can pump out some glorious prints with the right slicer profile.
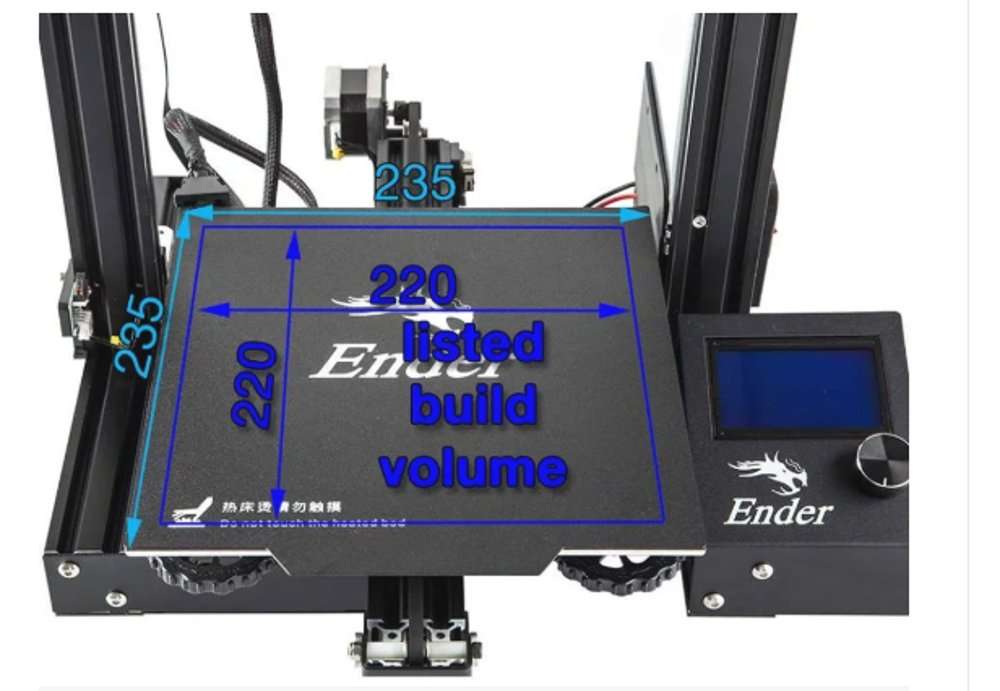
On top of this, the Ender 3 offers a decent build volume of 220 x 220 x 250 mm. But there’s more to the Ender 3’s size and print space than just this one set of numbers.
Read on to learn more about the Ender 3’s build volume, actual bed size which is 235 x 235 mm and the difference between the two, and even how you can print larger than the build space!
And don’t feel left out if you have one of the later iterations of the original Ender 3 such as the Ender 3 Pro, Ender 3 V2, or Ender 3 S1. While the information we’ll go over below is technically meant for the original Ender 3, most of it applies to these other Ender 3 versions.
Now, enjoy!
Table of Contents
Ender 3 Build Volume
Out of the box, the Creality Ender 3 allows you to print in a volume of 220 x 220 x 250 mm.
But what exactly does this mean?
The build volume is the length, width, and height (X, Y, Z axes) of the space where you can safely and properly extrude filament for prints. In other words, it’s the maximum size of a model you can print. So the larger it is, the larger the models you’ll be able to print.
However, 220 x 220 x 250 mm isn’t the true maximum printable volume. The X, Y, and Z-axis gantries where the printhead moves along are longer than these dimensions, so technically, you can print somewhere between 5-30 mm more on each axis. Printing on this extra space, though, could result in lower-quality prints as the frame of the Ender 3 around these printable-but-non-printable spaces isn’t always level or even enough for high-quality prints.
Additionally, in the printer’s firmware and the default slicing profiles, the maximum print space is 220 x 220 x 250 mm. So even if you could physically print a little larger than this space, these digital restraints prevent you from doing so.
Ender 3 Bed Size
As we mentioned, the Ender 3 has a set build volume of 220 x 220 x 250 mm. While 220 x 220 mm might be the maximum area of a model you can print, it’s not the Ender 3’s bed size. The actual X/Y dimensions of the print bed (build plate) on the Ender 3 are 235 x 235 mm.
The reason 15 mm is removed from each side is because of the bed screws which allow you to level the bed to ensure high-quality prints are set 15 mm inwards from all corners. This means those left-out 15 mms on each side can’t be properly leveled. So the chance of getting a good first layer (and the rest of the print) in these places is very low and would be very difficult.
Build Volume vs Bed Size
Although you might already know, it’s important to go over the difference between the build volume and the bed size as these are sometimes confused.
The build volume is the maximum dimensions of the 3D space you can safely and properly 3D print on. On the other hand, the bed size is the actual area (X/Y dimensions) of the build plate, also known as the print bed. The former, as we pointed out, is 220 x 220 x 250 mm, while the bed size is 235 x 235 mm.
The first number is a good way to look at the total 3D space you’ll be able to use on a 3D printer like the Ender 3. The bed size, though, is the better number to look at if you want to see the true X/Y space that your Ender 3’s printhead will be maneuvering around during printing. The bed size also is useful to know if you ever buy a new or replacement build plate for your Ender 3, such as if it breaks or you want a different type of build plate (e.g. PEI sheet).
Of course, you’ll really look at both of these sets of values because the build volume and the bed size are both important factors to consider in the Ender 3 (and other 3D printers).
Ender 3 Machine Size
The machine size of the Ender 3 is the total X, Y, and Z-axis footprint of the printer. This set of values is very useful to know as it shows you how large a space you might need to store the 3D printer. The Ender 3’s machine size is 440 x 410 x 465 mm. Of course, the Ender 3 isn’t a rectangular model with these dimensions and the machine size.
However, if you’re using the machine size to make the dimensions of an enclosure or to allot space to put your 3D printer, you should add 50-75 mm to the Y-axis. That’s because the print surface on the Ender 3 moves back and forth, extending further than the machine size.
Moreover, if you need a set of values to use as the “total space your Ender 3 will take up”, then 440 x 480 x 465 is a safer bet.
Can You Exceed The Print Volume?
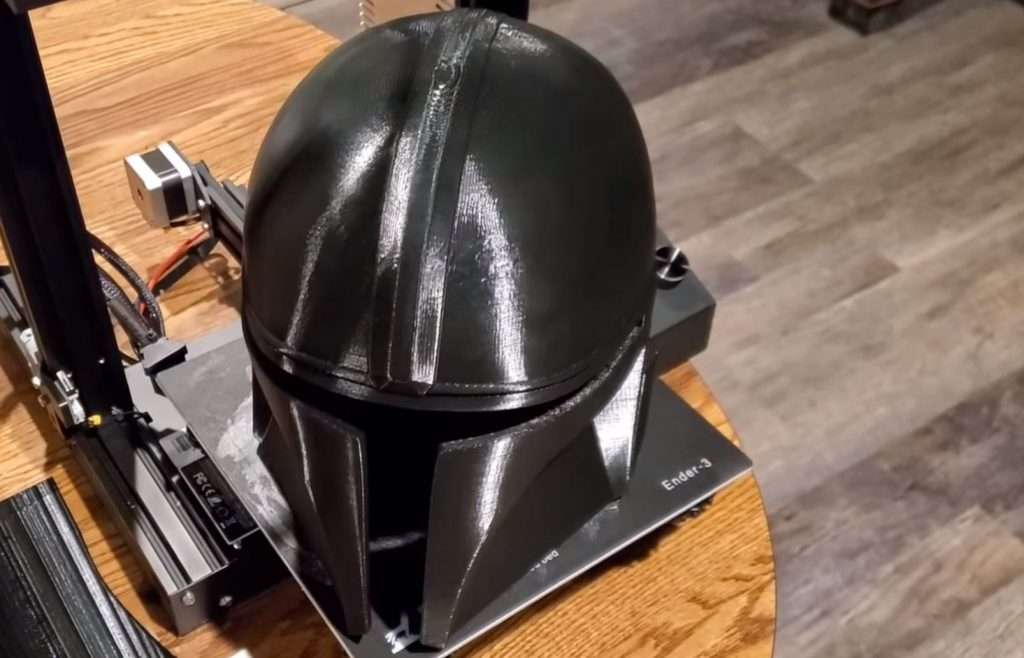
The Ender 3’s print volume is pretty generous and it’s certainly large enough for you to print almost any model. However, for larger projects, like a cosplay dagger or a wide laptop stand, you might be just-out-of-reach from being able to print your desired object. So you may be wondering “Can I print outside the standard print volume?”.
The answer? Yes! Kind of.
There are a few ways you can make printing outside of the standard 220 x 220 x 250 mm. They all have their downsides and can be considered a little slipshod, but they all work and can allow you to print slightly larger models than you would normally be capable of.
Read on to learn about them!
How To Increase Print Volume?
So how exactly can you increase the print volume? Well, let’s start with a few ways to increase the usable print area, which are the first two numbers of the build volume.
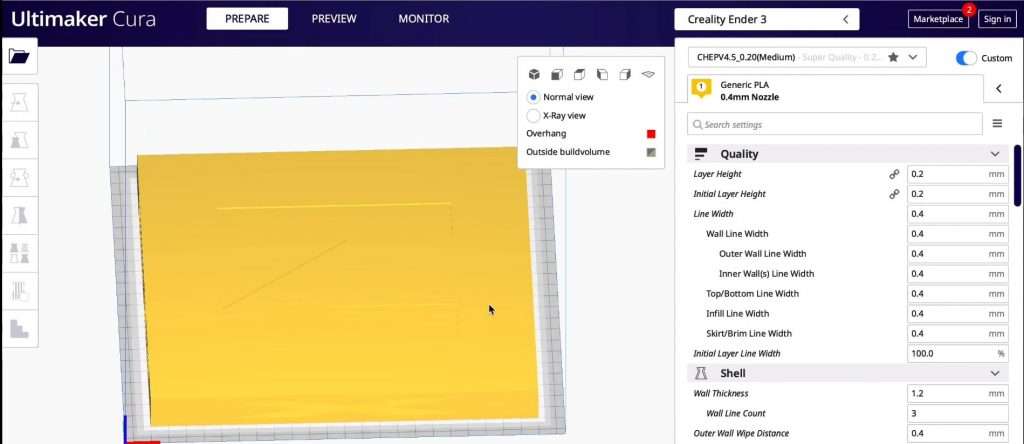
As we explained, there are 15 mm on every side of the print bed that isn’t used. To unlock this space and be able to use it, you can go into the machine settings on your slicer program (e.g. Cura) and change the X and Y maximum dimensions from 220 to 235.
Although it’s unlikely, your 3D printer may also have a firmware lock that prevents the printhead from using this extra bed space. If you’re running Marlin firmware, you can check to make sure that it’s not thereby ensuring that the difference between the X_MIN_POS and the X_BED_SIZE equals 235. The same is true for the Y-axis versions of these settings; both are in the Configuration.h file of the Marlin firmware package.
While removing any digital restrictions will allow you to access the extra 15 x 15 mm, it won’t ensure that models come out high-quality in these areas. You’ll have to level your bed with a high level of accuracy to ensure those areas, which are behind the Ender 3’s adjustable bed screws, are level. You’ll likely have to use an adhesive like glue too on these areas of your print surface.
Another way to get an extra few millimeters of space is to use small-footprint bed clips. Bed clips secure the Ender 3’s print bed to its underframe and most people use binder clips. You can purchase smaller bed clips online that take up less space than binder clips but will still keep your build plate secure. Some users also use two or three rather than four clips.
The other way you can increase the print space on your printer is by making a significant frame upgrade to your Ender 3. There are a few ways to do this and they usually involve replacing the aluminum extrusions that make up the Ender 3’s frame with longer versions.
However, the upgrade process isn’t this easy because you also have to extend how far the printhead can move by using longer belts (for the X and Y axes) or a longer lead screw (for the Z-axis).
The easiest way to make these types of upgrades is by purchasing an extension kit meant for the Ender 3. Creality sells one that will increase the Z-axis component of the build volume by 100 mm.
A company called EnderExtender also makes these types of upgrade kits. The basic EnderExtender 400 kit adds 180 x 180 to the print area, making it 400 mm. They also sell kits that add up to an extra 250 mm to the Z-axis (500 mm). One of their kits does all three axes, making your Ender 3 have a new build volume of 400 x 400 x 500 mm. That’s a lot of space!
As you might expect, these kits are pretty expensive and this is partly because the kits contain almost everything you’ll need to increase the Ender 3’s usable space, including longer extrusions, lead screws, belts, and more! There are also pretty large projects that should take a lot of time. Luckily, EnderExtender has provided some kits online to assist with the process.
And that’s how you can increase the build volume on your Ender 3 3D printer!
Ender 3 vs Prusa i3 MK3S
Now that you know a lot about the build volume and other size measures of the Ender 3, let’s compare it to the Prusa i3 MK3S. Developed by Prusa Research, the Prusa i3 MK3S(+) has a usable build volume of 250 x 210 x 200 mm out of the box and a machine size of 500 x 550 x 400 mm.
While you’ll get a little extra print space on the X/Y area on the Prusa i3 MK3S compared to the Ender 3, you can’t print as high (Z-axis). Additionally, the Prusa i3 takes up a noticeably larger space than the Ender 3, meaning you’ll have to set aside more space to house the machine.
Ender 3 vs Ender 5 Pro
How about compared to the Ender 5 Pro? The Ender 5 Pro has the same print area as the Ender 3, with a usable X/Y space of 220 x 220 mm and the same print bed size. However, you get some extra height with this printer as the Ender 5 Pro has a 300 mm Z-axis print space. Unfortunately, the Ender 5 Pro’s 220 x 220 x 300 mm costs a little more than the Ender 3, so it might not be worth the extra money for just this.
Conclusion
The Creality Ender 3’s build volume of 220 x 220 x 250 mm is more than enough for most users’ desired prints, like little trinkets and toys. However, you can get more out of your Ender 3. I hope you learned a few things you can do to access some extra print space on your 3D printer.