
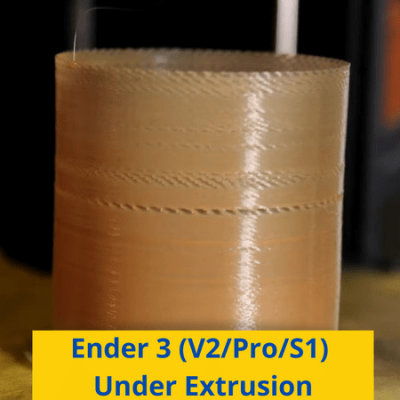

Ever see gaps in your 3D models from your Ender 3 (V2/Pro/S1)? The most common cause of these defects is under extrusion.
While Creality developed one of the most versatile and budget-friendly 3D printers, the Ender 3 still has its fair share of issues. And perhaps the most popular and annoying print quality issue across all versions of the Ender 3 is under extrusion.
Under extrusion is easily my least favorite 3D printing problem (not that any are fun) and makes prints look terrible and perform even worse. And, by “perform”, I mean that all under-extruded models are super weak and brittle.
But don’t fret because many users have experienced under extrusion on the Ender 3 and solved it.
If you run into under extrusion, I first suggest increasing your hot end temperature by 5-10 °C and making sure you’re using a clean nozzle. This will likely rid your Ender 3 of the issue and restore amazing print quality. But if that doesn’t work, check and clean your extruder assembly, increase your hot end fan speed, dry your filament, and even consider changing the PTFE tube. Finally, as a last resort, try increasing the flow setting in your slicer!
In this piece, I’ll go over what causes Ender 3 under extrusion and how you can fix it in more depth!
Table of Contents
What Is Under Extrusion?
To put it simply, under extrusion is when the printer’s filament extrusion is under-performing. This means not enough filament is being melted and pushed through the nozzle as the 3D model requires.
If a print is under-extruded, it won’t have enough plastic to come out as expected. That’s why under-extruded models typically have small gaps or holes in layers.
How to Identify Under Extrusion:
Under extrusion is a pretty broad 3D printing issue, even on just the Ender 3, so identifying it is pretty easy. Here’s what to look for:
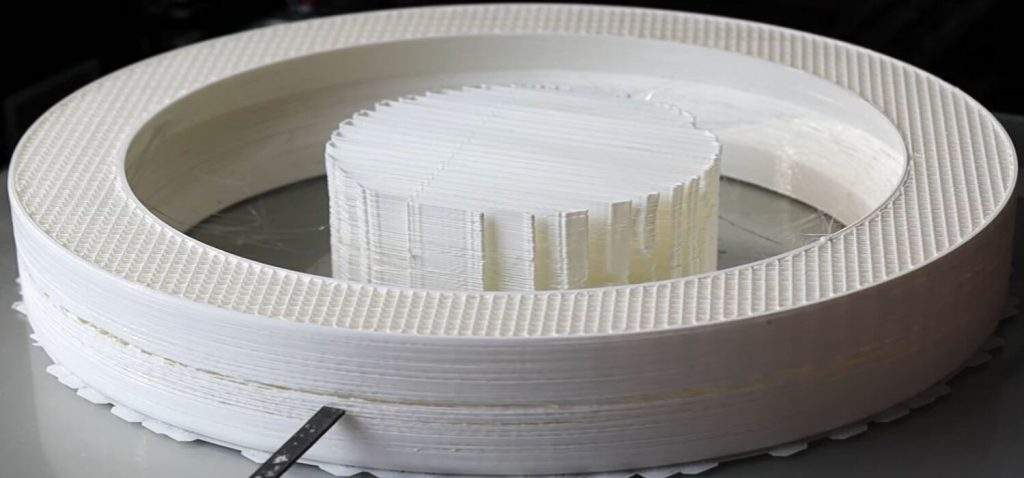
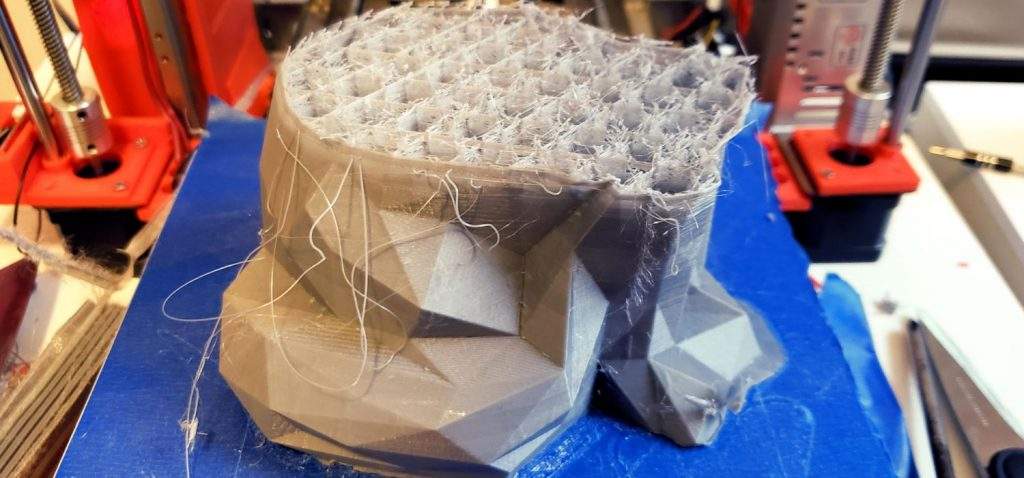
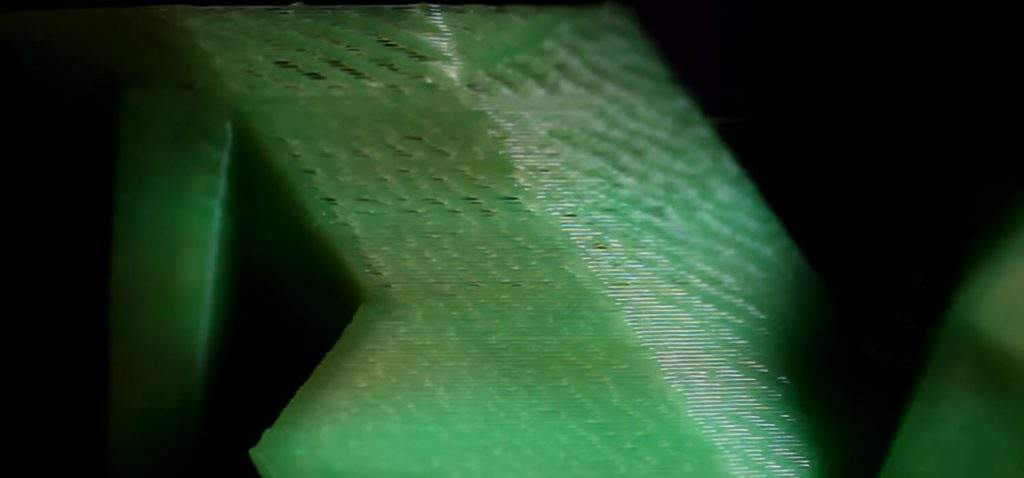
1. Gaps in Layers
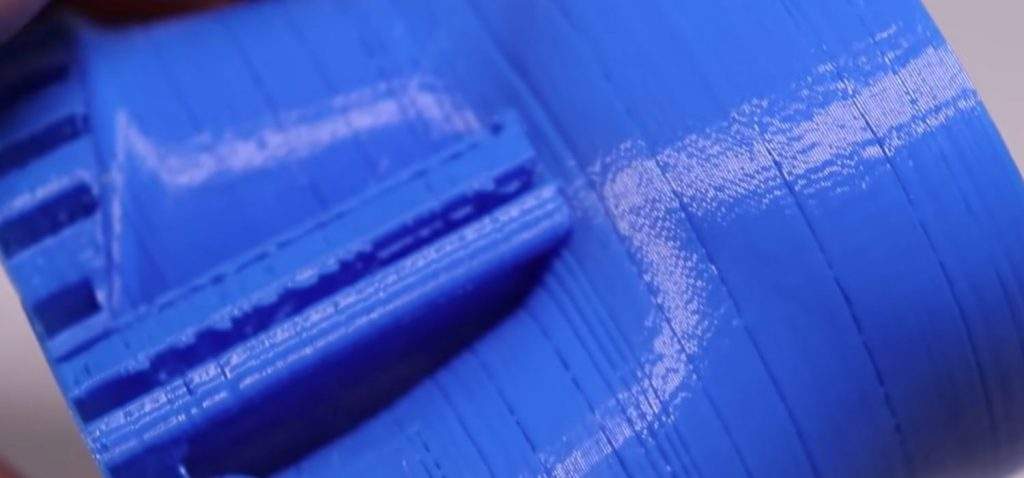
Gaps in layers of prints from your Ender 3 are the biggest tell for under extrusion, and no other printing deficiency causes this. Depending on how bad your printer is under extruding, your prints may have a few gaps across the entire print or tens of noticeable gaps in each layer. No matter the frequency, though, if you see any layers not being 100% printed, you should solve your case of under extrusion.
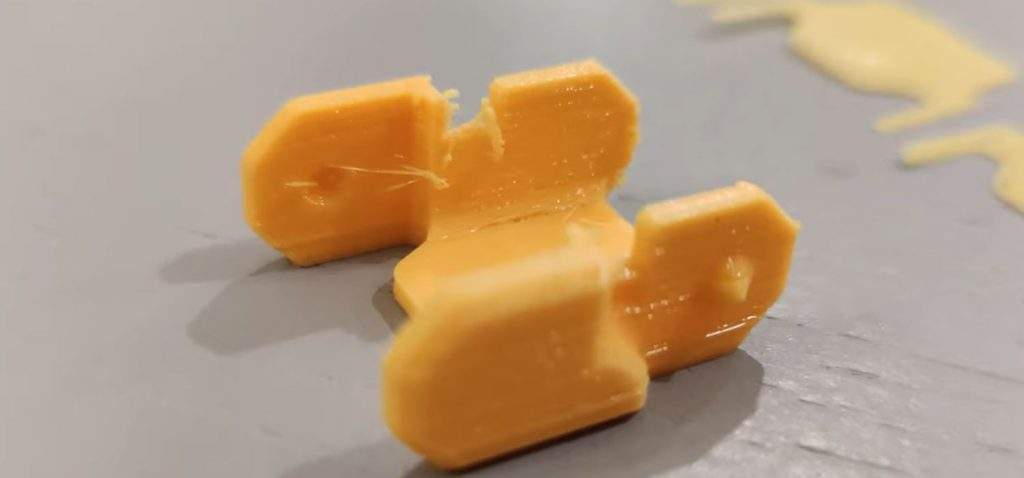
2. Brittle 3D Models
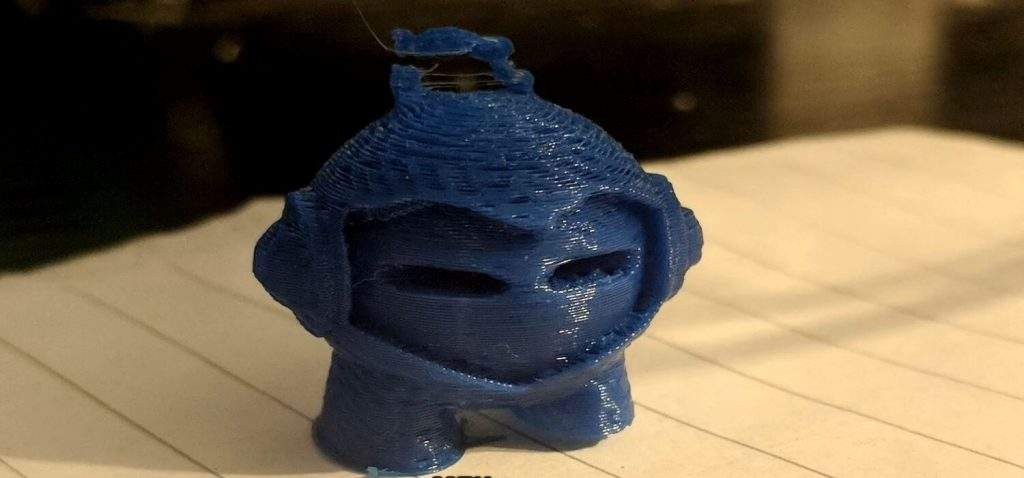
Sadly, you can only see gaps on the outside (exterior) layers of your Ender 3’s prints. But you can still check if your model was under-extruded by testing the strength of the part. That’s because if under extrusion is occurring, then there will be gaps on layers inside the model that you can’t see, and these gaps will make your print very brittle.
Now I’m not saying, “chuck your model at a wall and see if it breaks”. But if you notice that your 3D prints are very brittle (e.g. snapping at layers), then you can safely assume under extrusion is at play.
Causes of Under Extrusion:
Once you’ve determined that your printer is running into under extrusion, it’s time to get into what causes this issue on the Ender 3. That’s because knowing the causes will help us come up with solutions!
1. Temperature

The most likely cause of under extrusion on all printers, not just the Ender 3, is too low a nozzle temperature. The printing temperature is directly correlated with the print speed. If you want to use a high print speed, a high nozzle temperature (for your filament material) is needed.
But if your hot end temperature is not high enough to sustain your print temperature, not enough filament will be melted in time to be extruded. As such, your Ender 3 will under extrude your prints.
2. Nozzle Clogs
Nozzle clogs are another cause of under extrusion and occur when debris blocks the nozzle’s exit hole. If unwanted particles, like metal shavings or even too much dust, get in the nozzle and block the exit hole, not enough filament will be pushed through, causing under extrusion.
Nozzle clogs can be either partial or full, depending on how big the debris inside the nozzle is. Partial clogs will lead to gaps in layers as only some of the expected filament will be extruded. But full nozzle clogs will stop all filament extrusion entirely!
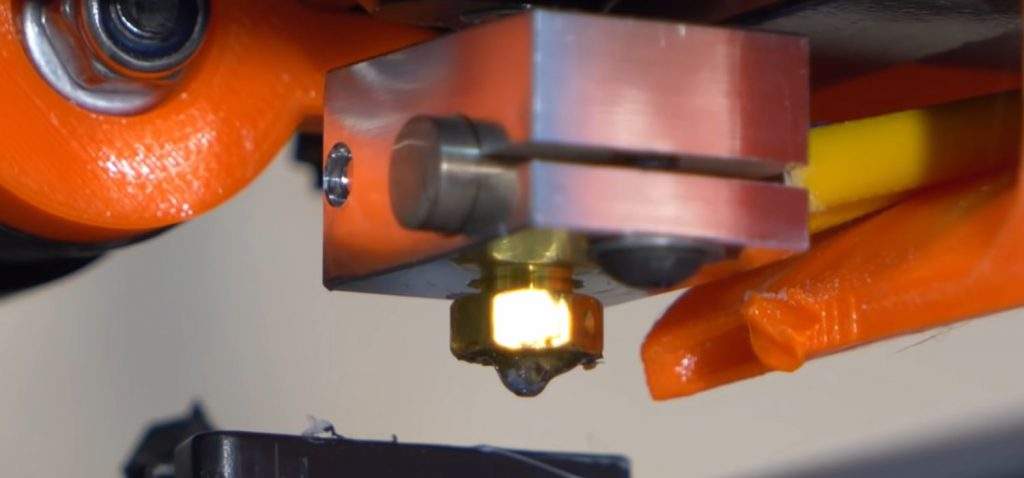
3. Heat Creep (Hot End)
Heat creeps when the filament inside the hot end melts too early, and it’s a common cause of under extrusion, especially on the Ender 3. That’s because Creality uses a pretty low-quality hot end design, which allows heat from the bottom of the hot end to spread up the assembly pretty easily.
And, if the heat rises to the top of the hot end assembly, then the filament will melt too early, causing partial clogging of the hot end assembly. This will result in under extrusion.
While heat creep is mainly an issue for all-metal hot ends, if you don’t have your Ender 3’s hot end fan on full blast, it can still happen on the stock PTFE-lined hot end.
4. Weak Extruder
Given the Ender 3’s budget-friendliness, it’s no surprise that Creality uses pretty low-quality components on the machine. This has already been seen with the printer’s hot end, and it’s also true for the extruder assembly, which is plastic.
Out of the box, the plastic extruder on the printer performs fine. But, overtime, the low-quality polymer degrades, causing the extruder to lose its grip on the inserted filament so that it’s not able to push enough filament through as is required for the print job.
5. Wet Filament
When filament is placed in a humid environment, the plastic can absorb some of the moisture. This is especially true for certain hygroscopic materials, like PETG, but still is the case for regular printing materials like PLA and ABS.
When water gets into the filament, it degrades the quality of the plastic and swells the filament diameter of the filament. And, if the filament diameter isn’t consistent across the spool, the extruder will have issues pushing the filament, as will the hot end with melting it. This then can lead to under extrusion in prints because the extrusion and melting of the filament aren’t precise.
Additionally, wet filaments lead to overall poor 3D prints with low-quality details.
6. Poor Slicer Settings

On top of a low printing temperature, other slicer settings, if poorly calibrated, can also cause under extrusion. The most common one is the flow rate, also known as the extrusion multiplier. This setting determines the percentage of the expected filament usage that’s actually pushed through, and if it’s too low, then prints will be under-extruded.
7 Methods on How To Fix Under Extrusion:
So how do you fix under extrusion? I’ve listed and described the best solutions for the problem in the sections below!
1. Increase Nozzle Temperature/Decrease Print Speed
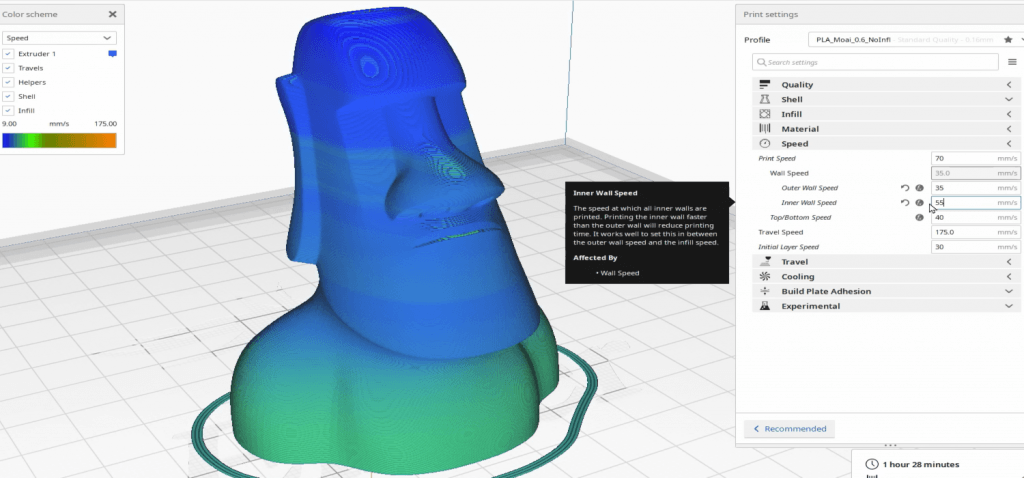
The first solution I have for you is actually one of two: either increase your nozzle temperature or decrease your print speed.
As I explained previously, the nozzle temperature and print speed are directly correlated, and if you increase one, you have to increase the other. But if you’re facing under-extrusion, you’ve set one of them too high for the other setting (or too low).
For example, on my Ender 3, I print with a nozzle temperature of 210 °C and a speed of 60 mm/s. If I increased the speed to 65 mm/s and didn’t also increase the temperature, I would definitely run into under extrusion.
I’m always advocating increasing the temperature instead of decreasing the print speed, so I suggest increasing the nozzle temperature by 5 °C. If that doesn’t work, go up by another 5 °C, and then another. But if you’ve increased your nozzle temperature by 20 °C and it’s still not working, try another solution because the temperature probably isn’t the issue.
2. Clean Your Nozzle
Cleaning your nozzle is something you should get in the habit of doing every ten or so prints, and it’s a great way to prevent under extrusion on prints. To clean your nozzle, first, heat your hot end to regular printing temperatures. Then use a long, skinny metal needle, like the one included on your Ender 3, and stick it up the exit hole of the nozzle.
Push the needle up and down so that it pokes away at any debris that could be clogging the nozzle. And if this doesn’t work or your nozzle has a full clog, unscrew your nozzle from the hot end and clean it from the inside. Finally, if none of this works or your nozzle is too far gone to clean, simply replace it on your Ender 3!
Check out the full article on how to clean your nozzle here for a more detailed process.
3. Turn On Hot End Fan
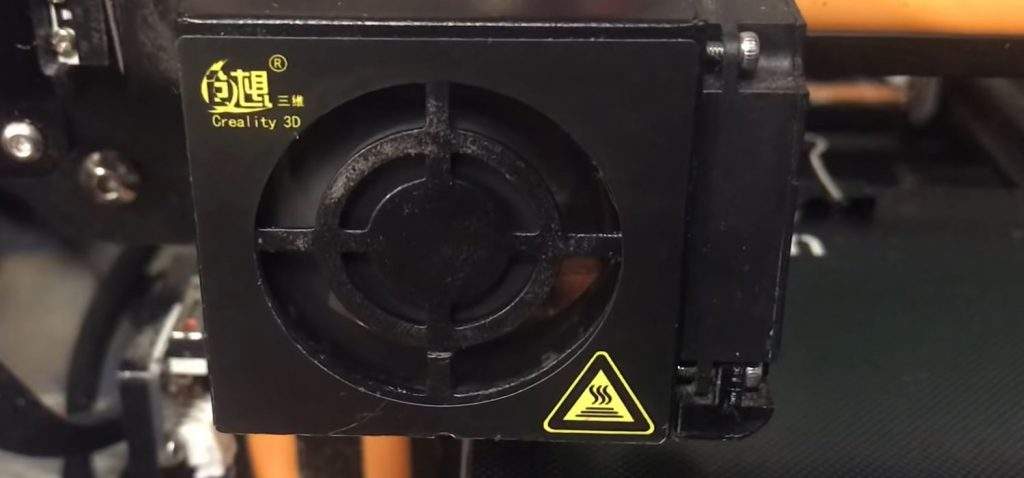
On the default slicer profile for an Ender 3, the hot end fan is set to be turned on. But, if you used a different slicer profile, go into your settings and make sure that the fan is turned on.
And if it was turned on and you can control its speed, set it to 100% to ensure that it’s properly cooling down the hot end assembly to prevent heat creep.
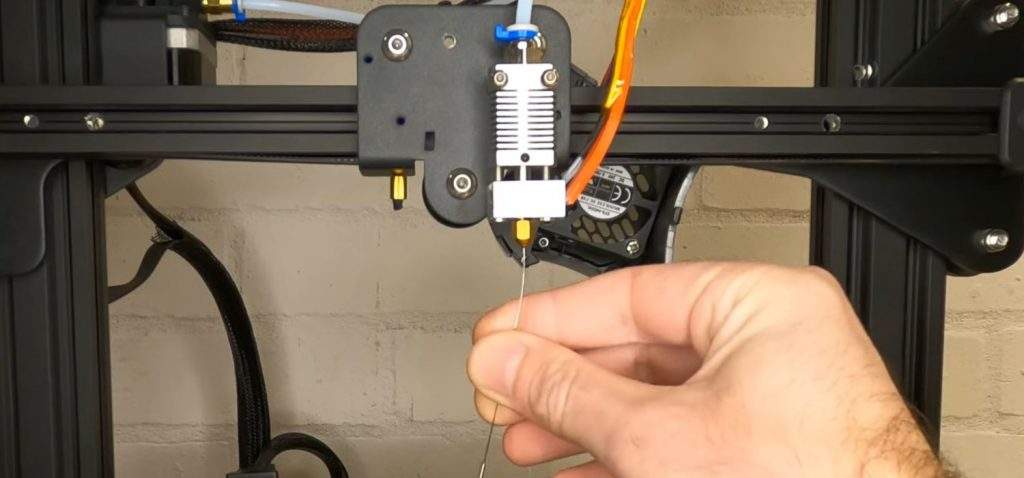
4. Change the PTFE Tube
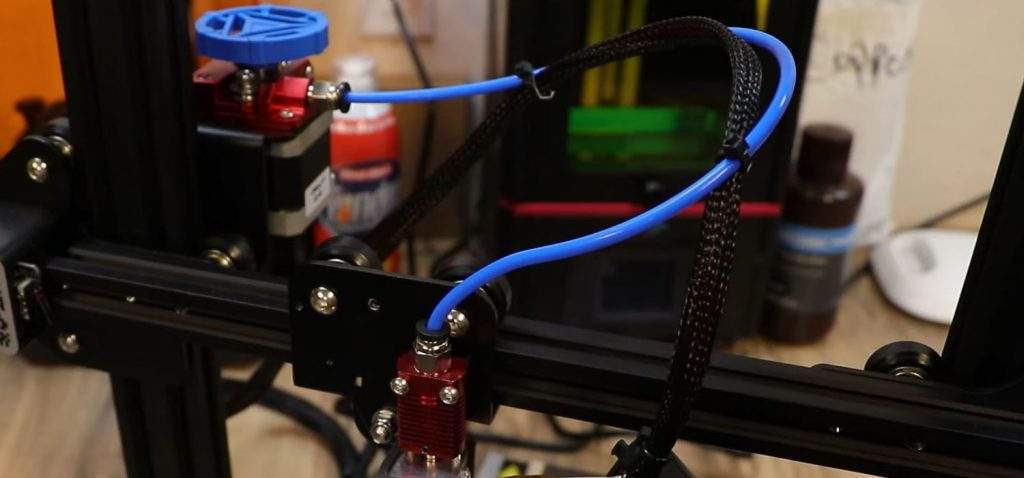
The Original, Pro, and V2 versions of the Ender 3 all use a Bowden configured extruder with a long PTFE tube. This tube can get burned out after prolonged use, which can cause under extrusion, so consider replacing the PTFE tube.
Changing out the PTFE tube is as easy as pushing down the tube couplers on the Ender 3’s hot end and pulling it out. Then do the same for the coupler on the Ender 3’s extruder, and replace it with a fresh tube. Personally, I recommend using Capricorn 1.75-mm PTFE tubing as I’ve had the best results on my Ender 3 with this brand, and their tubing lasts a long time.
5. Clean the Extruder Assembly
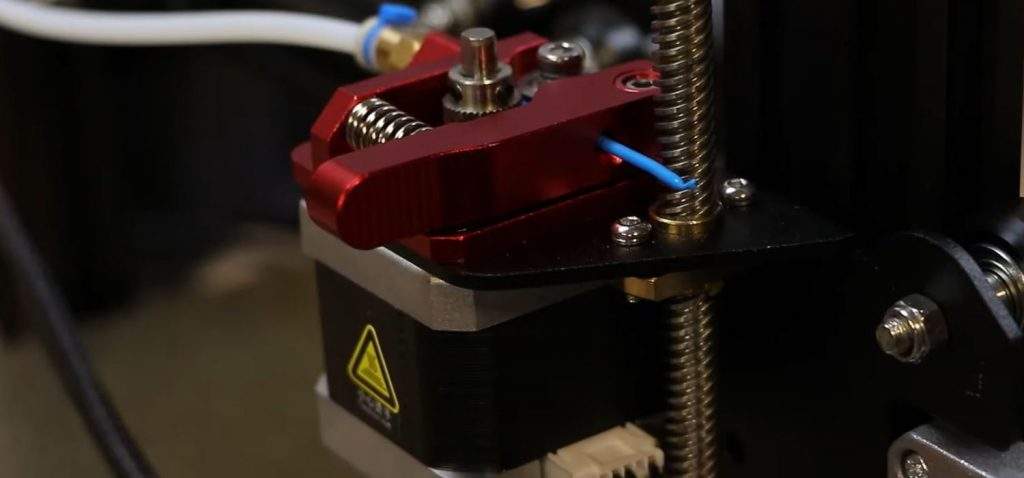
Cleaning the extruder assembly also goes a long way toward preventing under extrusion. After a long time of use, the plastic from the extruder assembly can wear down and get in the way of the extruder gear.
Blowing the assembly or spraying it with an anti-duster is a great way to clean off the drive gear and rid it of any plastic that might slow down the extruder and cause under extrusion.
I also recommend making the investment into a metal extruder assembly. A metal extruder won’t wear down ever and usually offer more pushing power for filament, so you won’t run into extrusion issues.
Also, don’t forget to check the extruder motor. Put your hand on it and see if it’s too hot, as an overheated extruder motor could also cause under extrusion. If it does feel too hot, consider adding a fan to the bottom of the motor or changing it out entirely.
6. Dry Filament
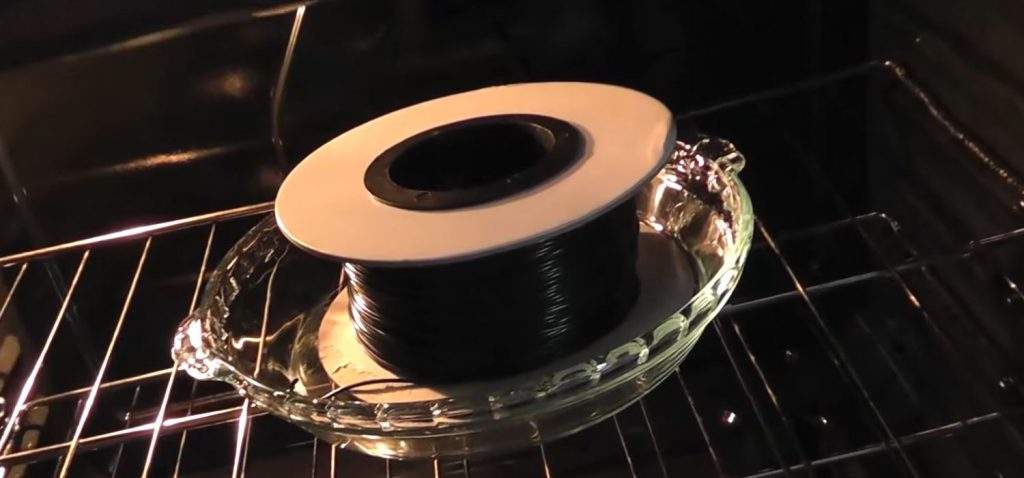
Drying your filament is another easy and effective way to stop under extrusion by making sure the filament diameter across the spool stays the same. While having a filament drying device is helpful, you can rid your spools of moisture and keep the filament diameter consistent by using a traditional cooking oven.
What I do is put my filament spool on a metal baking pan and put it in my oven, which I set at 75 °C (the lowest it can go). Then I leave the filament inside for 2-4 hours before taking it out and letting it sit for 2 more hours. I also make sure to keep the room where my Ender 3s are as dry as possible (no steamy showers nearby!), so I don’t have to dry my filament super often.
7. Increase Flow Setting

Lastly, I suggest increasing the flow setting in your slicer program. The default flow setting (extrusion multiplier) is usually 100%, but feel free to kick it up a few percentage points.
Here’s what I do: When one of my Ender 3s runs into under extrusion and nothing else is working, I increase the flow setting in increments of 2% until the problem stops.
Conclusion
The Ender 3 is an amazing budget 3D printer that can achieve terrific prints. But it’s also very prone to under extrusion, so watch out!
If you run into under extrusion, I first suggest increasing your hot end temperature by 5-10 °C and making sure you’re using a clean nozzle. This will likely rid your Ender 3 of the issue and restore amazing print quality.
But if that doesn’t work, check and clean your extruder assembly, increase your hot end fan speed, dry your filament, and even consider changing the PTFE tube. Finally, as a last resort, try increasing the flow setting in your slicer!