
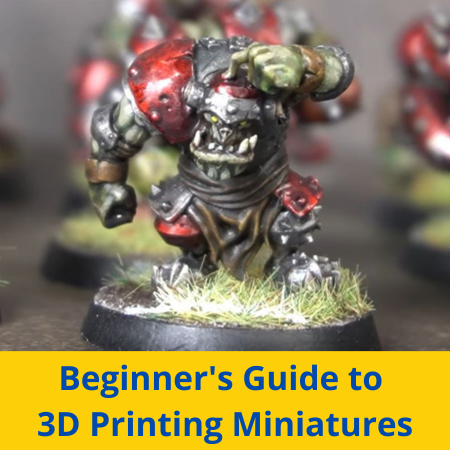
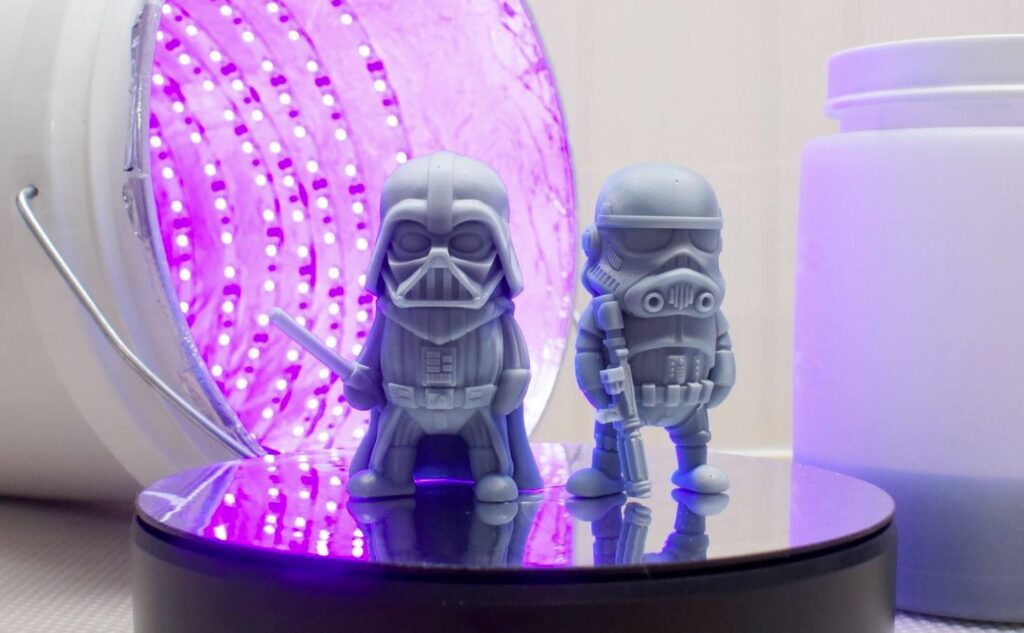
One of the most popular types of models that people 3D print is miniatures. Miniatures are small, heavily-detailed 3D models that are commonly used for tabletop games, like Dungeons & Dragons and War Hammer.
There are literally thousands of miniature designs available online that you can print, including characters, figurines, props, and terrains. And, even if you’re not into playing tabletop games, 3D printing miniatures can still be a fun hobby because they really show off the capabilities and precision of your 3D printer.
But, achieving a high-quality miniature is no small feat as these types of models contain tons of detail and are super small. If you’re interested in making 3D printing miniatures, I’ve got everything you need to know! Just keep reading!
Table of Contents
- 3D Printing Technology to Use for Miniatures
- How to 3D Print Miniatures?
- Post Processing 3D Printed Miniatures
- Where to Download Miniatures to 3D Print?
- What is the Best Filament for Miniatures?
- What is the Best Resin for Miniatures?
- How Long is the Curing for Resin Miniatures?
- How Long Does it Take to Print a Miniature?
- Conclusion
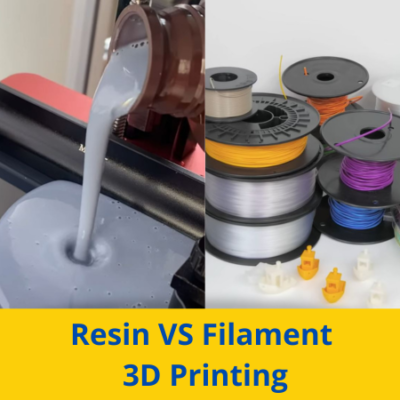
3D Printing Technology to Use for Miniatures
The two main types of 3D printing used to make miniatures are FDM and resin. Both 3D printing technologies are capable of making miniature models, but resin printers are typically seen as better for these types of models because they are more precise and yield parts with practically invisible layer lines. I’ve gone over more detail about each 3D printing technology below:
FDM
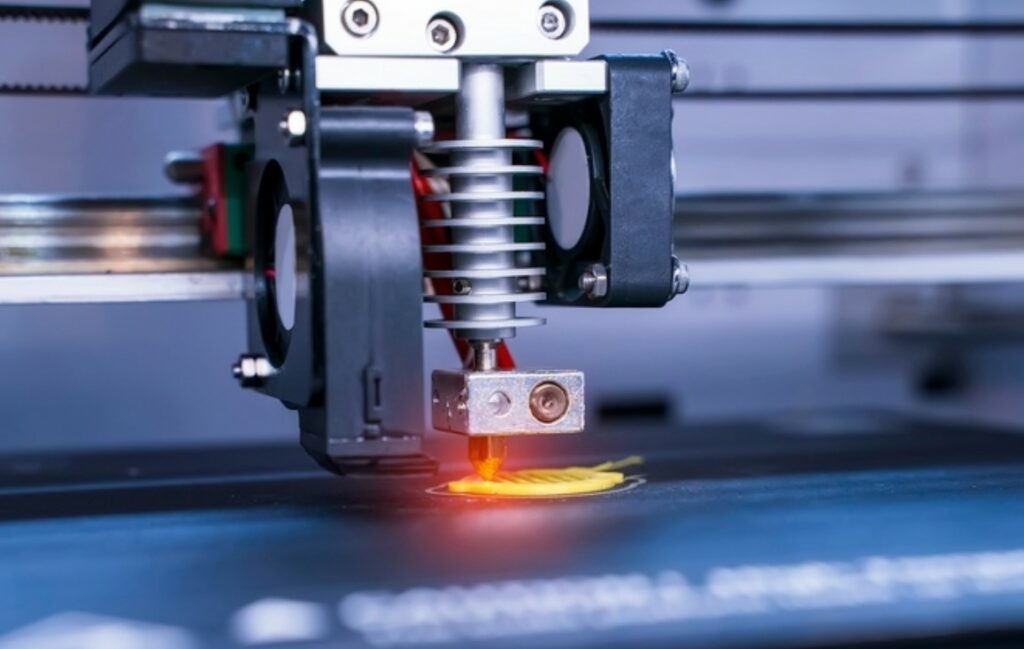
Fused deposition modeling, or FDM, is the style of 3D printing you probably think of when someone says “3D printer”. On an FDM printer, solid plastic in a stringed form (called “filament”), is melted and pushed out of a nozzle. The nozzle moves around a print space across the X, Y, and Z axes and lays out the plastic layer-by-layer until the desired part is formed.
Some popular consumer-grade FDM 3D printers include the Creality Ender 3 (Pro/V2/S1), the Prusa i3 MK3S+, and the Anycubic i3 Mega. These machines can cost anywhere from $180 to $1,000 and are great for printing a wide variety of parts, from miniatures to functional models.
On this note, FDM 3D printers are not super precise or accurate when compared to resin printers, which I’ll talk more about later. Moreover, FDM printers struggle when tasked with printing super-small, highly-detailed models, like miniature figurines. Most miniatures made on FDM printers look a bit blobby and have visible layer lines, which hurts their appearance.
Resin
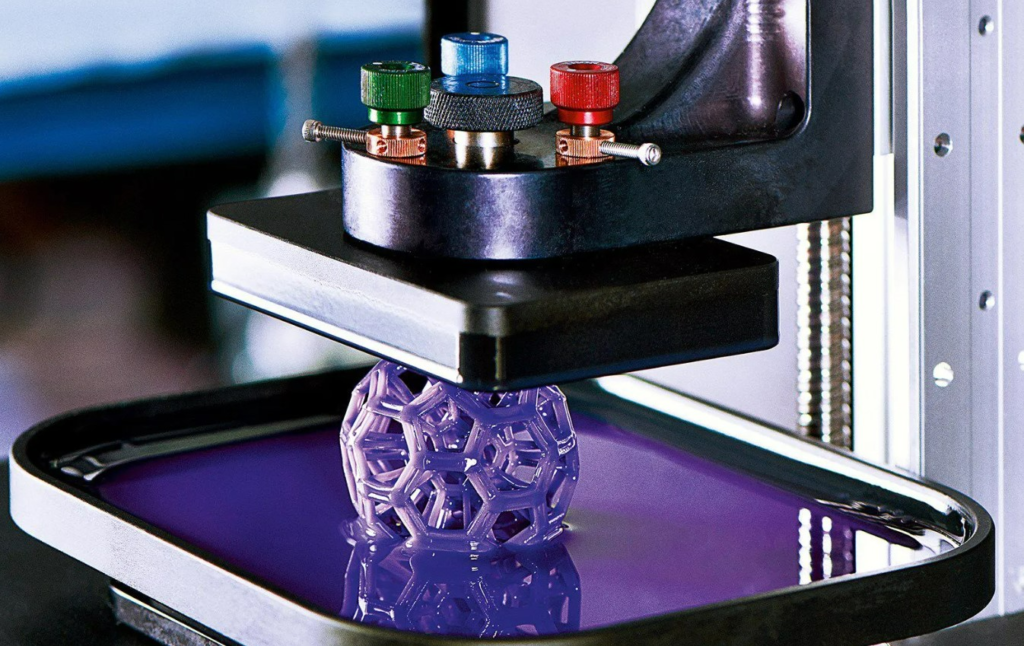
Resin printing encompasses a handful of different technologies, such as SLA, LCD (or MSLA), and DLP. While I won’t go over the differences between each, all resin 3D printers follow the same general process of using UV light to solidify liquid resin in a layer-by-layer manner to form the desired model.
Resin printers, while super expensive 10 years ago, can cost just as much as an FDM printer. Some popular examples of consumer-grade resin printers include the Elegoo Mars 3, Phrozen Sonic Mini 4K, and Anycubic Photon Mono.
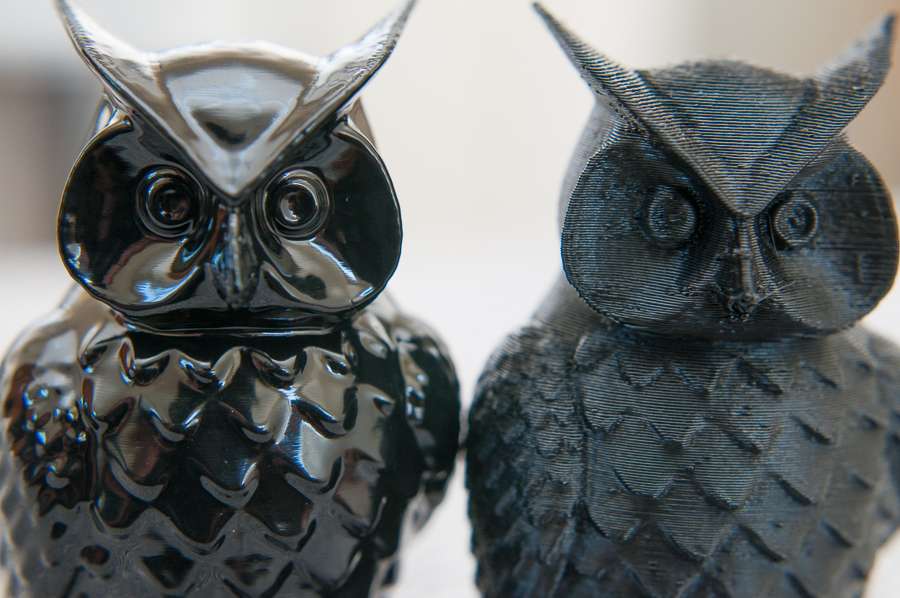
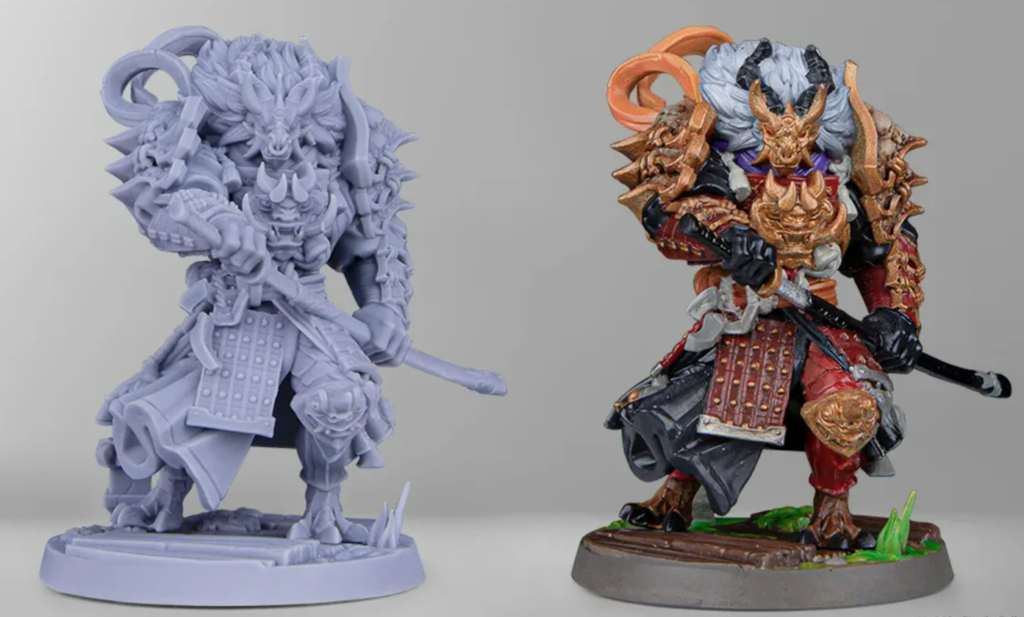
Resin printers are super precise and accurate, making them perfect for printing highly-detailed models like miniature figurines. And parts made with resin printing have practically invisible layer lines and come right off the print bed with a very smooth finish.
Unlike FDM 3D prints, though, parts made on a resin printer are typically very fragile and brittle because of the type of material (photopolymer resin) used on these machines. Additionally, anything you print on a resin printer must be both washed and cured before being used. This post-processing time is definitely a nuisance, but it’s worth it if you’re looking to make the best-looking miniatures.
How to 3D Print Miniatures?
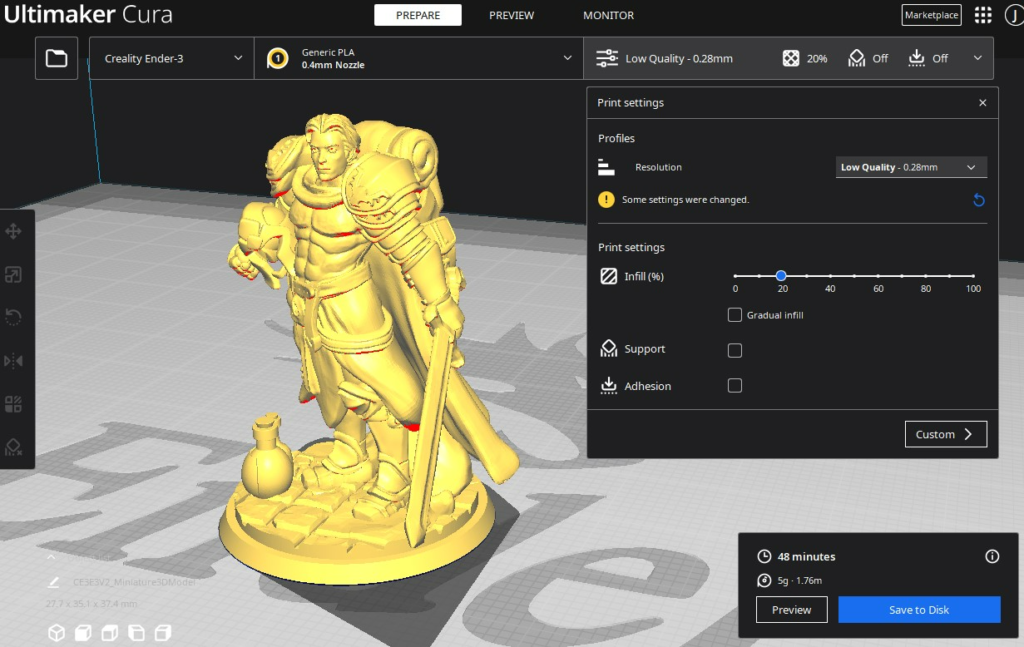
Using the default settings in your slicer software might yield some decent results for miniatures. However, if you’re looking to make the best miniature 3D prints possible, you’ll have to do some adjusting to settings like the layer height, print speed, and infill. In the sections below, I’ve gone over some of the most relevant slicer settings that you can adjust to maximize the quality of your miniature 3D prints.
It’s also worth noting that, while the terminology of the below sections is based on FDM printers, the same information applies to resin prints.
Layer Height
The layer height is perhaps the most important slicer setting when you’re looking to maximize the detail and quality of a print. The layer height refers to the space between each layer of the 3D print. Smaller layer heights, such as 0.15 mm, allow for more detail to be packed into a model, while larger layer heights don’t.
However, there is a trade-off associated with the layer height. Moreover, while small layer heights are preferred when printing high-detail models, like a miniature, a larger layer height is better when strength is desired. That’s because a larger layer height will result in fewer potential break points in a model, making it stronger.
For printing miniatures, I recommend using a 0.15-mm layer height, as this is the lowest possible layer height value for a standard 0.4-mm nozzle diameter. If you switch to a smaller nozzle diameter, then you can use an even smaller layer height. For example, changing to a 0.25-mm nozzle will enable you to use as small as a 0.06-mm layer height.
Check out our related article on the differences between layer height and nozzle size here to learn more.
Print Speed
Print speed is also very important when printing miniatures. Typically, the faster you print a model, the worse the quality of the part. While this isn’t always true, it’s a general rule because higher print speeds mean more vibrations on the printer and also increase the chances of print quality issues, like under-extrusion or stringing.
To achieve the best miniature prints, I recommend using a 35-40 mm/s print speed. This is noticeably lower than the industry standard of 60 mm/s so you can expect a notable increase in the print time. However, you should also see a significant increase in the quality of your prints, especially heavily-detailed ones like miniatures.
Supports
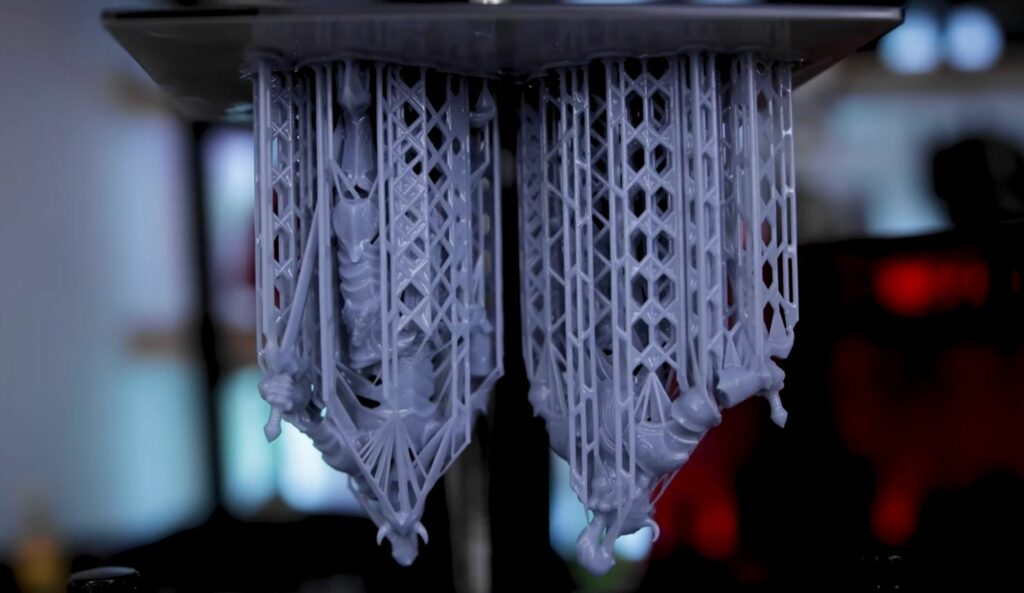
Supports are the slicer-generated structures on prints that show up when there’s an overhang on the model. In general, supports hurt the quality of a 3D print because they cause a rough surface to appear on the bottom of the overhang. As such, when making miniatures, try as much as possible to reduce the support structures on the print job.
Some ways you can do this include increasing the support overhang angle limit (60° works on most machines) and adjusting the model’s orientation in the slicer.
And, if you do end up having to use support structures for a print, make sure to be extremely careful when removing them once the print is complete. You wouldn’t want to accidentally remove an arm or leg from your miniature print.
Infill
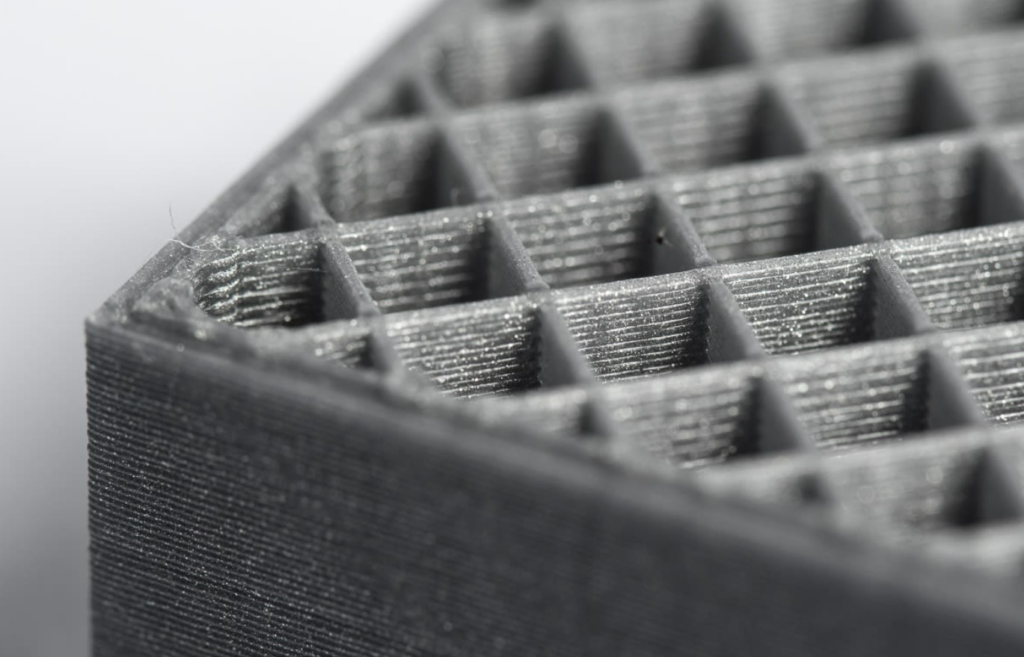
Infill is the internal filling of a 3D print, and it can have noticeable effects on the quality of 3D prints. While most miniature models don’t contain a lot of infill because they are small, it’s still a group of settings worth adjusting to ensure the best quality for your prints.
Infill is made up of two major settings, including the infill pattern and the infill density.
Infill density controls how much infill is inside the 3D print and is expressed as a percentage. Because miniatures don’t need to be strong, 10-25% will work. This will provide enough strength for your print to not be super fragile, while also saving you filament.
The other infill setting, infill pattern, controls how the infill is laid out inside the model. I recommend using the Grid infill pattern for miniatures as it’s simple, so your printer won’t run into any problems.
Cooling
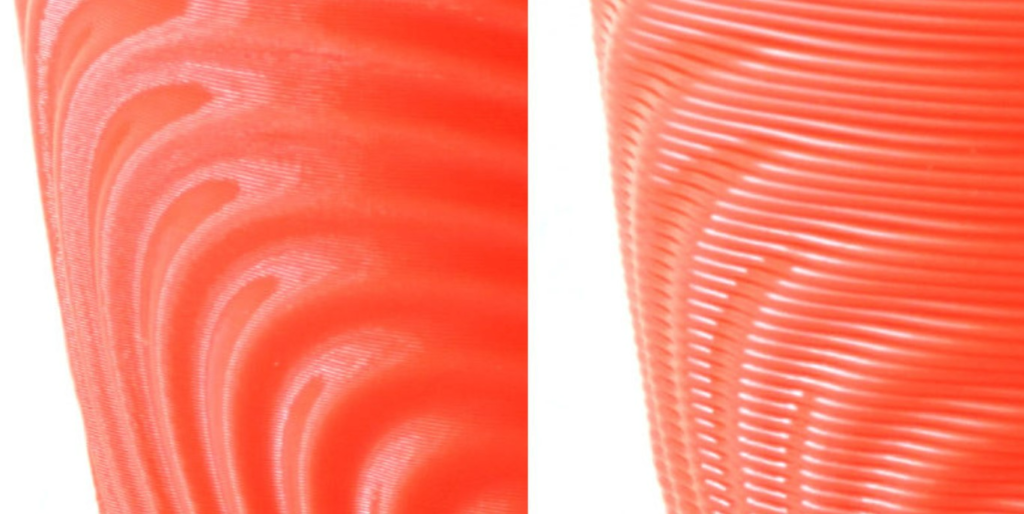
Lastly, cooling is extremely important for the quality of your 3D prints, including miniatures. You can control the level of cooling on your printer through the fan speed setting in your 3D slicer.
Unfortunately, setting the right cooling level for your printer is a bit of a Goldilocks game. Moreover, too much cooling can cause weak prints (poor layer-to-layer bond) while too little cooling can cause hot end clogs and over-extrusion on prints. As such, you’ll probably have to adjust the fan speed in your slicer a few times before you get it just right!
For PLA, a fan speed of 80-100% typically yields the best results for miniature 3D prints.
Post Processing 3D Printed Miniatures
After your model is fully printed, you should consider post-processing the part to enhance its visual appearance. Besides removing support structures and performing any necessary washing and curing (for resin prints), there are a few additional post-processing techniques that you can use to improve your miniature 3D prints, such as sanding, layer smoothing, and painting.
In the sub-sections below, I’ve gone over some of these techniques:
Sanding

Sanding should always be the first thing you do to a 3D print before further post-processing it. Sanding involves rubbing a piece of sandpaper against the outer surface of your 3D printed part to smoothen it and make any layer lines less visible.
Generally, you don’t need to sand resin 3D prints as they come out super smooth, to begin with. But, for FDM 3D prints, it’s practically a must if you ever want to paint or polish the model.
I recommend starting with a low-grit piece of sandpaper, like 220 grit, and then working your way up. It’s important to note that you should sand the part’s entire surface, while also being careful so you don’t accidentally break off features of your 3D print (e.g. an ear). Using water alongside the sandpaper to work as a lubricant can also help!
Acetone Smoothing
Acetone smoothing is another great post-processing technique for smoothing prints. This process involves applying acetone to the outer surface of your 3D print so that the chemical dissolves the plastic enough for the layer to blend together.
Acetone smoothing is only an option for 3D prints made in a material soluble in acetone, including ABS, ASA, and others. You may be able to perform a similar process with prints made in a different material, like PLA, but you’ll have to find a compatible solvent material.
To apply the acetone, I suggest using a paintbrush as it’s easiest. However, many users like to soak paper towels or cloths in acetone, line them along the sides of a Tupperware container, place the 3D print inside, and apply heat to the container. This turns the acetone into a vapor, which smooths the layers of the subject 3D print more evenly than the paintbrush method.
Check out our related article on how to smooth 3D prints and ABS smoothing to learn more.
Priming
If you want to paint your 3D print, you should first prime it. All you have to do to prime a 3D print is spray some primer on the outer surface of your 3D printed model. It’s important to note that you should use a primer meant for plastic parts; acrylic primer works perfectly!
For miniatures, because your model will probably have a lot of nooks and crannies, using a small paintbrush to paint on some primer might help. But, typically, spraying it works best because it creates an even finish.
Painting
Once you prime your model, you can paint it. Both spray and brush paints work for 3D prints, but the latter is typically recommended for miniatures as it’s difficult to spray paint multiple colors onto a small, detailed structure.
Just like with the primer, you should make sure to use paint that works on plastic, like acrylic paint. This goes for any type of paint, whether it’s a spray can, a bottle for a brush, or a bottle for an airbrush.
Polishing
Finally, polishing 3D prints is a great way to make the model and its colors really shine. To do this, you can apply any type of spray polisher, like a clear coat spray, to your 3D print. Just make sure the paint has dried before applying the polish or clear coat!
Where to Download Miniatures to 3D Print?
There are many different places you can find 3D printable miniature models, and most are 3D printing repositories. I’ve gone over the best options below:
Thingiverse
Thingiverse is, by far, the largest repository of 3D printable models in the world with over 2.5 million different designs, all of them free. Additionally, almost every model on Thingiverse is meant for 3D printing and there are literally thousands of miniature designs, from War Hammer characters to D&D figurines and many more!
While Thingiverse has been plagued with bugs for a few years now, the platform is getting better, with more accurate search features and other tools. On this note, the best place to find 3D printable miniatures on Thingiverse is in the “Creatures” sub-category within the “Models” category. You can use the other filters and search tools on Thingiverse to further refine your search results too!
Printables
Printables, originally known as PrusaPrinters, is a large repository of 3D models run by the famed 3D printer manufacturer, Prusa Research. Just like Thingiverse, Printables is specifically meant for 3D printing so many of the over 360,000 designs posted on the site can easily be printed. Plus, all of them are free!
What I love about Printables is that there’s a whole category, titled “Tabletop Miniatures” where you can find awesome miniature designs. Within this category are also a few sub-categories such as “Characters & Monsters” and “Props & Terrain”, where you can find specific types of miniature models. Printables has a handful of other neat search tools as well!
Cults
Cults is another leading repository of 3D printable models, and, though not all of the designs on this platform are free, you can find some epic miniature designs here! Moreover, Cults features just under a million models, most of which can be 3D printed, and about a third of them are free!
While you might think it’s rather sad that you have to pay for certain designs on Cults, these premium designs tend to be of higher quality than the free ones. That’s why Cults is home to many of the coolest, most complex 3D printable miniature designs out there!
MyMiniFactory
Lastly, MyMiniFactory is a repository that’s primarily meant for 3D printable models and contains over 300,000 designs. Similar to Cults, not all of the models on MyMiniFactory are free, but the premium options tend to be of higher complexity, hence why the designer is charging a fee. But, because of this, there are tons of terrific miniature designs on MyMiniFactory.
Additionally, it’s worth noting that MyMiniFactory has some great search features, like a basic search box, hundreds of pre-made categories, and tens of filters. All of these tools will massively assist you in your journey to find a miniature to 3D print!
What is the Best Filament for Miniatures?
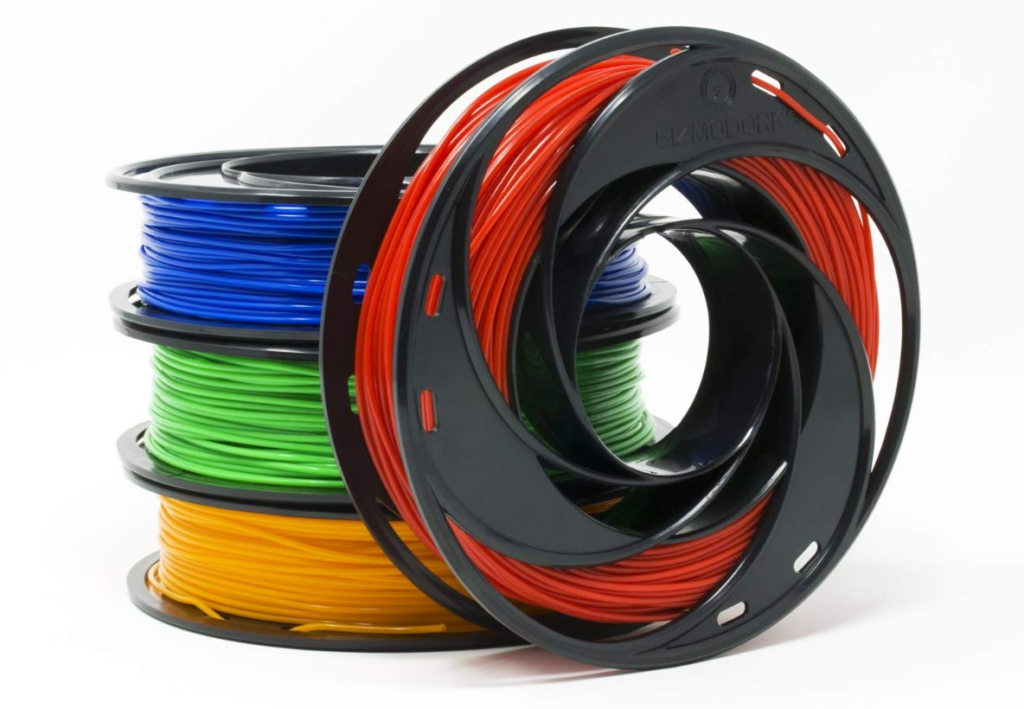
All filaments offer different properties depending on their base material (e.g. PLA), any additives used by the manufacturer, and a few other factors. When it comes to 3D printing miniatures, you’ll want to use a filament that has a low dimensional tolerance, minimal shrinkage, and is easy to print.
These properties in a filament will ensure that your prints come out precise and accurate, which are critical factors for 3D printed miniatures as they contain tons of small details. Conversely, filament properties like strength, flexibility, and transparency are not as relevant to the quality of your 3D printed miniatures.
So what filaments, specifically, offer these traits? Below, I’ve listed a few of the best filaments for 3D printing miniatures:
- Hatchbox PLA: Hatchbox is one of the most popular and well-respected filament manufacturers around. Their standard PLA filament works wonders for making miniatures, offering a great mix of ease of use and high-resolution capabilities.
- Sunlu PLA: Sunlu PLA is a great pick for anyone interested in 3D printing miniatures who doesn’t want to break the bank. Their filament, despite its low cost, is also excellent when it comes to printing small, heavily-detailed models.
- Polymaker PolyMax PLA: Polymaker’s PolyMax PLA is another great choice. This filament performs very well when tasked with high-detail models, and it’s actually decently strong for a PLA filament.
What is the Best Resin for Miniatures?
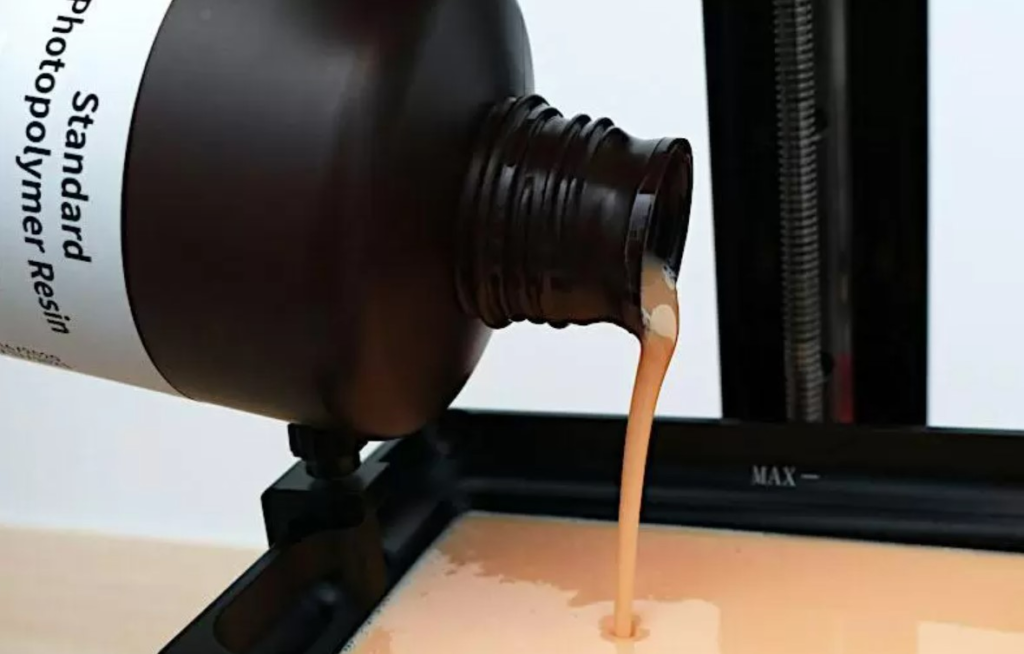
Just like with filament, different resins are better for 3D printing miniatures depending on their properties. For resin, the pixel resolution (or “quality”) of the material is most relevant to its performance when making miniatures or other heavily-detailed models. Moreover, an “8K” resin bottle will yield higher-quality miniature prints than a “4K” resin bottle because the material has been designed to perform better with small areas.
Below, I’ve listed a few of the best resins for 3D printing miniatures:
- Phrozen Aqua Gray 8K Resin: Phrozen is one of the leading manufacturers of resin 3D printers, and their Aqua Gray 8K resin is one of the highest-resolution resins on the market. This resin can handle the maximum detail settings on an 8K resin 3D printer, like the Phrozen Sonic Mini 8K or Elegoo Saturn 2. And, even if you only have a 4K-quality resin printer, 8K resin will yield better-looking miniature prints than 4K resin!
- Elegoo Standard 8K Resin: Elegoo’s standard 8K resin is another great option if you’re looking to achieve 8K-level detail on your miniature prints. This resin comes in a few colors, like space grey, clear blue, black, beige, and more! I’ve had many great experiences using this resin and have been able to achieve absolutely superb miniature prints too!
- Siraya Tech Tenacious Resin: Lastly, Siraya Tech is another popular manufacturer of 3D printing resin. Their “Tenacious” resin is one of their best resin products when it comes to printing high-detail models. The Tenacious resin is also capable of very fast print speeds, allowing you to pump out high-quality miniatures faster than ever!
You can check our guide to the best resins for 3D printing miniatures to learn about more options!
How Long is the Curing for Resin Miniatures?
For curing resin 3D printed miniature, I’ve found that 2-3 minutes works perfectly. Even though miniatures are very complex and detailed, they have a relatively small volume, which is why 2-3 minutes for the curing time works best for these types of prints!
For reference, curing is the mandatory post-processing technique for resin 3D prints that involves leaving the printed model exposed to UV light. Generally, how long you should cure a model is a function of the size of the part, and most parts take 2-5 minutes.
How Long Does it Take to Print a Miniature?
Miniatures are very small and shouldn’t take more than an hour to 3D print. Of course, the actual print time for your miniature depends on what type of printer you’re using, the material, the print speed, and other factors. But, generally, any 3D printed miniature should take no more than an hour to print.
Conclusion
Miniatures are some of the coolest models you can 3D print. They’re small, detailed, and a great way to show off your 3D printer and what it can do.
But, because miniatures are so small and complex, printing it the same way you would any other model won’t do the trick. At least, not if you want to achieve a high-quality miniature print.
No! You’ll have to make some adjustments to your slicer settings, including lowering the layer height, lowering the print speed, and calibrating the fan speed, if you want the best-looking miniature models.
After printing, you should also consider sanding, priming, and painting your miniature model to further enhance its appearance.
Hope this helps!