

What do a vintage car, the hair on your head, and your 3D print bed all have in common?
You have to clean all of them!
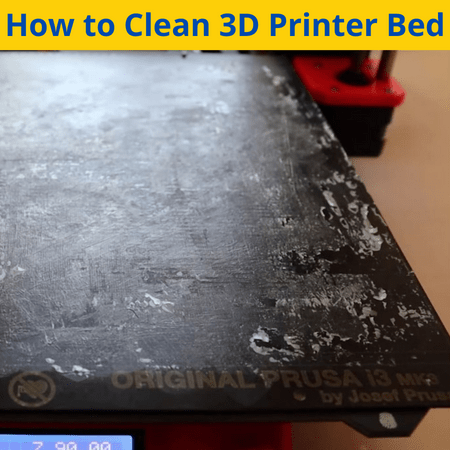
A dirty print bed, with unwanted contaminants on the top surface, is a surefire way to get failed prints. That’s because the first layer won’t be able to properly bond to the surface of the build plate if substances, like grease and grime, are covering the print bed. And, as you probably know, if the first layer doesn’t come out right, none of the following ones will either.
Luckily, cleaning the print bed is very easy and can be done in many different ways.
My personal routine starts with removing the bed and running it under some warm water. I then take my trusty-dusty metal spatula and remove the excess glue in strokes. Then, I thoroughly scrub the bed with a toothbrush and dry it with a microfiber cloth, but any one of these methods can work effectively alone too.
In this article, we’ll go over the methods above and also other methods such as using isopropyl alcohol and acetone. I’ve hand-tested each of these techniques and assure you that you can use them to safely get your print bed nice and tidy.
Table of Contents
Why is it Important to Clean the 3D Printer Bed?
But, before we get into the different cleaning methods, it’s important to cover why you need to clean the 3D printer bed.
Every time you touch, apply adhesive to or make any other form of physical contact with the print bed, you can bet your ass that something you didn’t want made it on the bed. Usually, these contaminants are grease, oils, grime, extra adhesive, or small bits of plastic.
Regardless, any one of them can hurt the bed adhesion of your build plate.
Poor bed adhesion will make it impossible for the first layer to stick to the top layer of the build plate, and, as we mentioned, this will cause the entire print to fail. A dirty print bed will also cause a noticeably unclean texture on the bottom of your prints. Additionally, it can put your printed models at risk of being not food safe.
So, to prevent all of this from happening and to get the best prints possible, CLEAN YOUR BED! Don’t worry, though, because it’s not a lot of work, and you don’t have to deep clean your print bed after every print job. Instead, I’d recommend only doing a full bed clean after every 5-10 prints.
How the Cleaning Process Changes Based on the Bed?
Of course, not all build plates are the same printer-to-printer, and they usually come in different materials. Glass, PEI-coated (or PEI sheets), metal, polypropylene, and painter’s tape are the most common types of print beds.
Depending on the material (which we call the “type”) of the print bed, a different cleaning method might work best. For example, while acetone works very well on smooth metal beds, you would never want to use this method for a polypropylene build plate.
In each section covering a print bed cleaning method, we’ve mentioned what type of print beds won’t work and which ones are best (if any in particular). Luckily, though, most of the cleaning methods we’ve reviewed work on all types of print beds.
8 Cleaning Methods for the Print Bed
Now that you know why you need to clean your build plate and how the best process to use can differ, let’s get into the specifics. In the following sections, we’ll cover the best methods to clean your 3D printer’s bed, from using a cloth to applying acetone and many alternatives.
Enjoy!
1. Metal Scraper
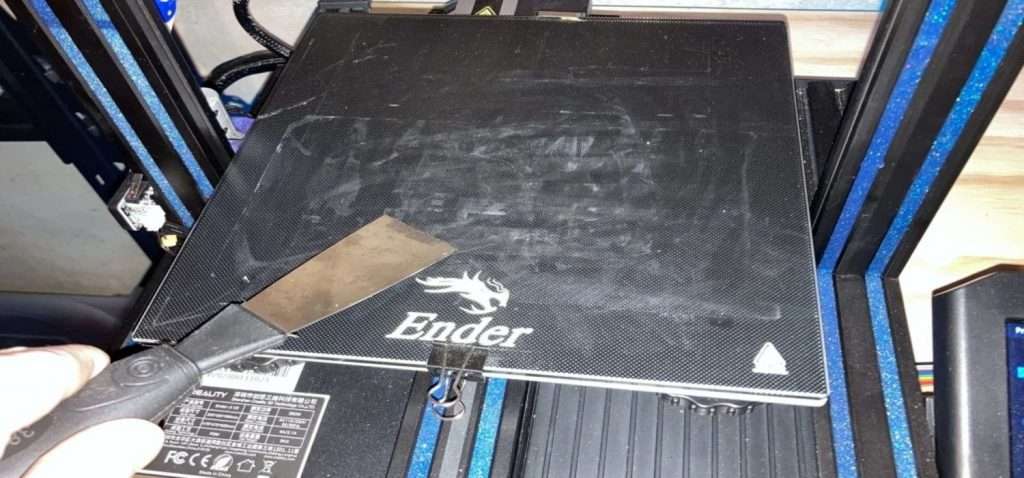
First up, a metal scraper comes with most 3D printers and is a super easy tool to use.
While it’s mainly meant for removing 3D prints from the bed, it can also be used to clean the bed (any material). Unfortunately, the metal scraper won’t really get off any grease or oils from the bed but it’s super effective in taking out any piled-up adhesive, like glue.
What I personally love to do is use the metal spatula alongside some running warm-hot water. I let the water run down the build plate and then run the scraper down the build plate in single strokes until I make it across the entire area. The water loosens up contaminants on the bed and acts as a lubricant for the scraper to move across the bed, so it’s a win-win.
2. Toothbrush
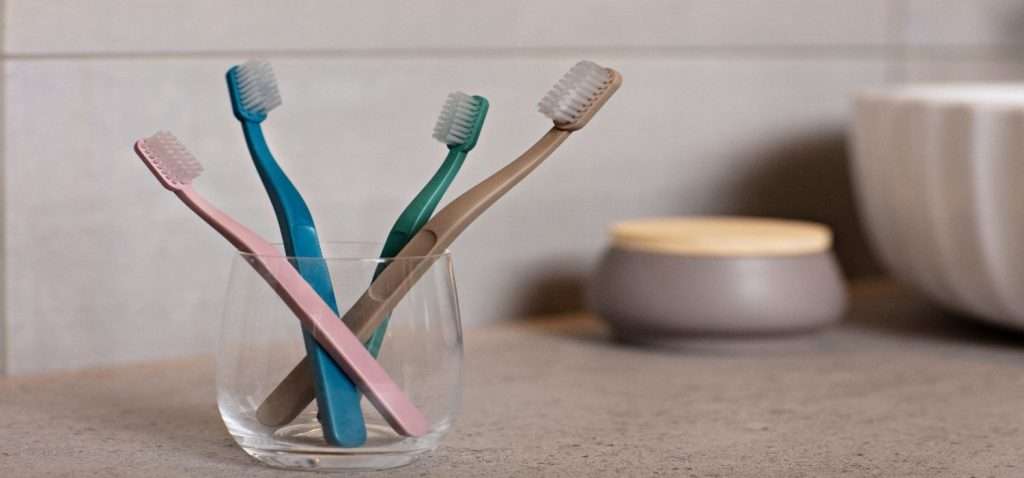
A toothbrush is another super great tool for removing substances off the print bed, and it’s even more effective than a metal scraper. The small and separated bristles of a toothbrush are spectacular for grabbing onto smaller particles on the bed, especially if you brush the tool repeatedly.
To most effectively clean the bed with a toothbrush, start by soaking the toothbrush in water. Then scrub the bed until the brush starts drying up, and then soak it in water. The water will not only release any particles stuck to the bristles but also reapply the water on the brush for more scrubbing.
Using this method, you’ll be able to remove not just solid contaminants like bits of plastic, but also grease and grime from the bed. Just make sure not to put the toothbrush back in your bathroom.
3. Microfiber Cloth
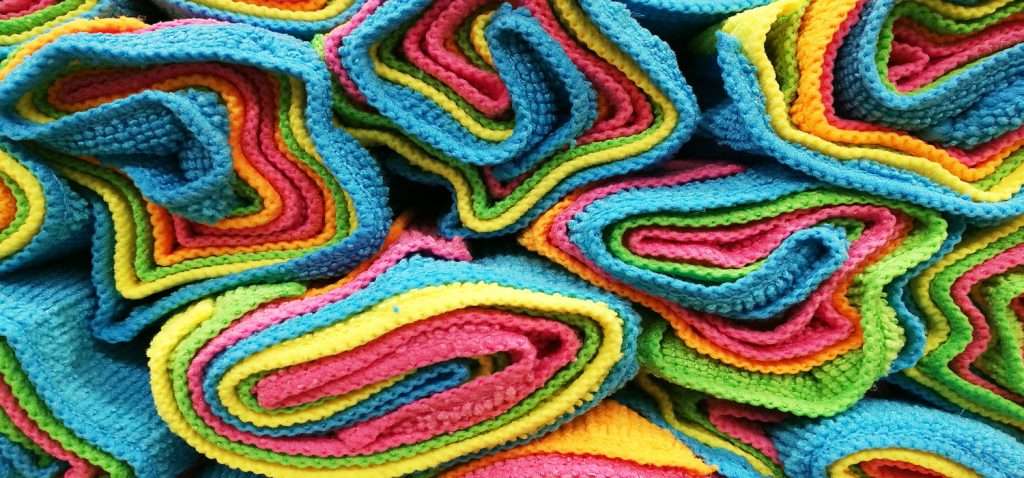
A cloth is one of the most common ways to clean everything from watches to phone screens, and it also works for the print bed. But, not just any type of cloth; specifically a microfiber cloth.
Microfiber cloths are split up into many small segments that give the cloth a much larger surface area than you can see. This makes the cloth better at absorbing liquids and holding onto particles than a regular cloth.
Like with the metal scraper and toothbrush, using a cloth to clean the bed is most effective when used with water. To do this, we suggest having two microfiber cloths on hand: one dry one and one gently soaked in water. First, brush the print bed down with the wet cloth and then use the dry one to finish the bed off.
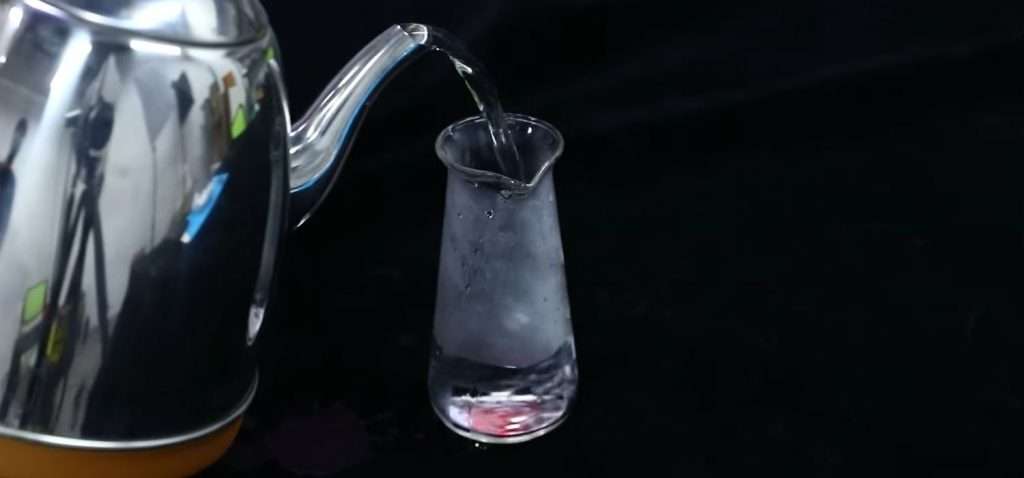
4. Water
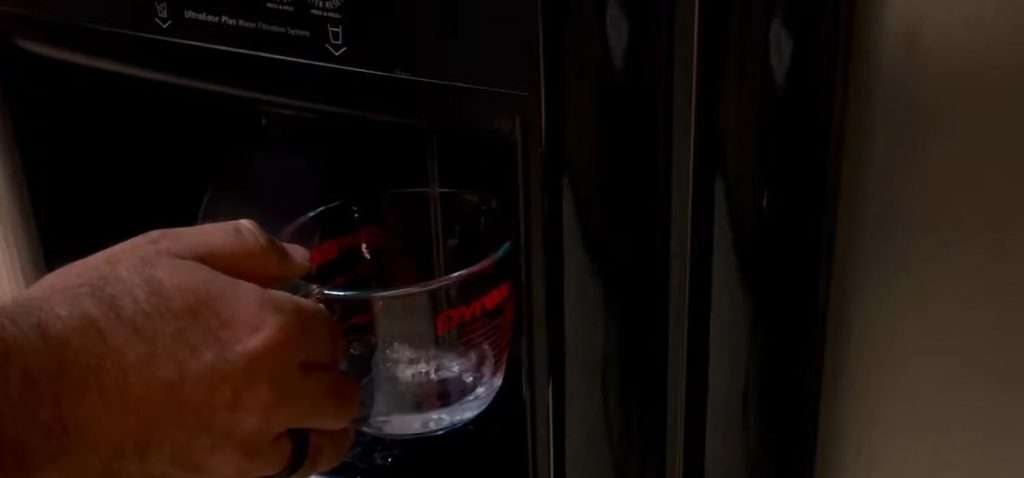
While we’ve talked about using water a few times already, you can also use water alone, with no tool aid, to clean the bed.
Preferably, you should use some warm or hot water as the heat helps loosen any debris or substances on the bed. All you have to do is let the water run down the entire area of the bed for a few minutes.
Of course, using an additional tool like a cloth or toothbrush can more quickly remove contaminants from the bed. But, if you don’t have these tools or just want a more passive cleaning procedure, water alone can do the trick.
5. Soap and Warm Water
Water alone can clean the bed, but adding soap into the mix will make the process even quicker and more effective. Moreover, the soap will break down the contaminants on the surface of the bed so that they can more easily be removed.
To use this process, simply run some water on the bed and add a few squirts of dish or cleaning soap. Then let the soapy water do its thing, and, if you want, use a sponge or brush to help the soap get fully into the pores of the print bed. Finally, use non-soapy water to rinse off the bed until you see no soap left, and then dry the bed.
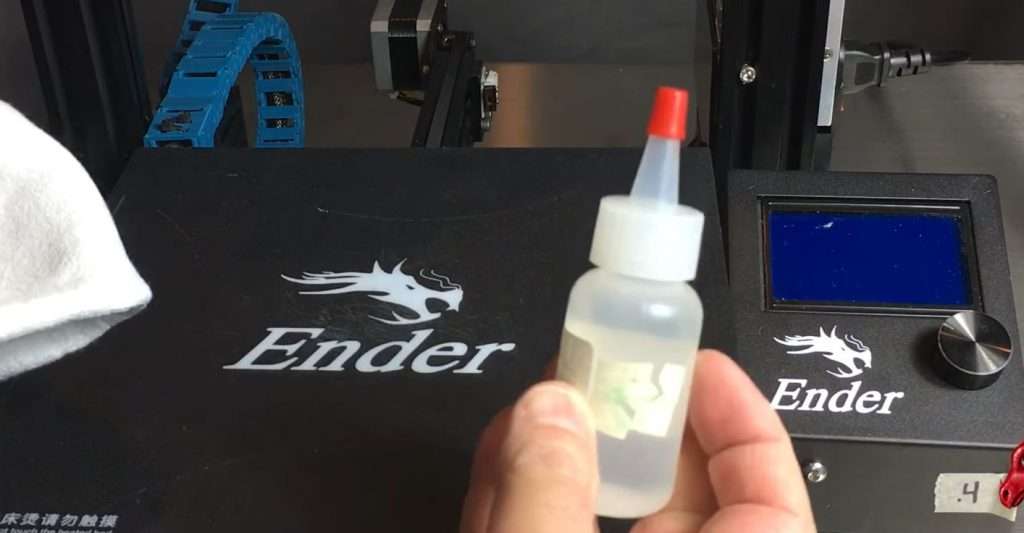
6. Isopropyl Alcohol
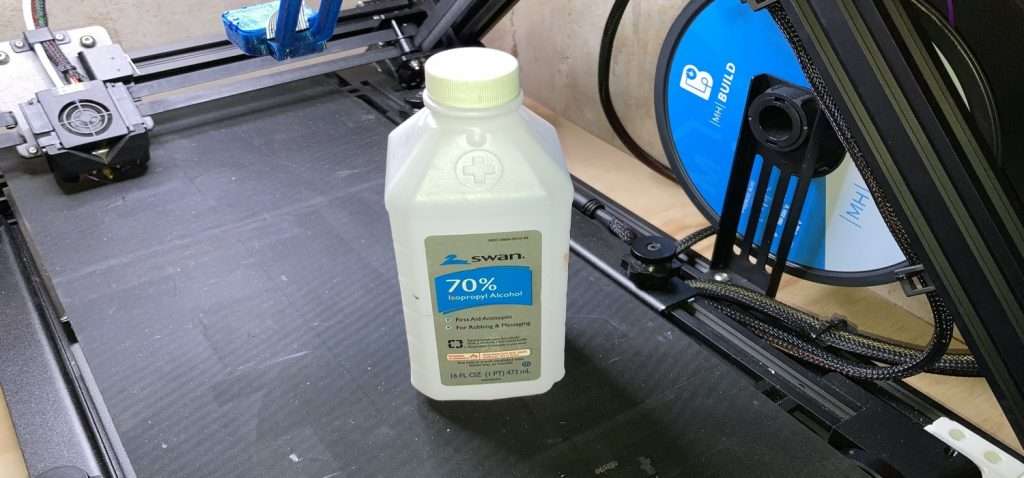
Isopropyl alcohol, commonly referred to as IPA, is a very pure type of alcohol that’s used for cleaning, so it makes sense that it’s excellent for cleaning the print bed. While the chemical is somewhat expensive, especially because of cleaning concerns nowadays, you might find window cleaner as a cheaper alternative.
The reason so many people use IPA for bed cleaning is because of how effective it is at removing everything from dirt to microscopic amounts of oils on the bed. It’s also worth pointing out that this method works especially well if you have a glass bed as well as PEI-coated build plates.
To use IPA for cleaning your bed, angle your print bed down and pour some of the liquid down the surface, making sure that the chemical touches every inch of the bed. Then, use a microfiber cloth, toothbrush, or regular cloth to rub the IPA into all the bed’s pores. Make sure to dry the bed down, though, before you start a print job because some plastics dissolve when exposed to this type of alcohol.
7. Acetone

Acetone is another non-water substance that you can use to clean the print bed. Acetone helps clean the bed by breaking down or dissolving unwanted contaminants, especially plastics, to make them easier to remove.
It’s also a little more expensive than other methods, but, like IPA, it’s very effective in cleaning the entire bed.
To use this method, pour a small cup of acetone down the entire bed and then rub the substance into the surface to make sure it gets everywhere. I suggest using a microfiber cloth as the acetone could dissolve the bristles on a toothbrush because they’re usually plastic.
After the acetone does its thing, you must rinse the bed with water. That’s because excess acetone will leave a thick and noticeable residue on the bed that will both look pretty ugly and potentially cause poor bed adhesion.
Another important thing to mention is that this method works amazing for metal and glass beds, but shouldn’t be used on most polypropylene or other plastic-based beds. That’s because, if the bed contains any other plastics (besides PP), the acetone will likely dissolve them, ruining the bed.
8. Changing Adhesive Tape
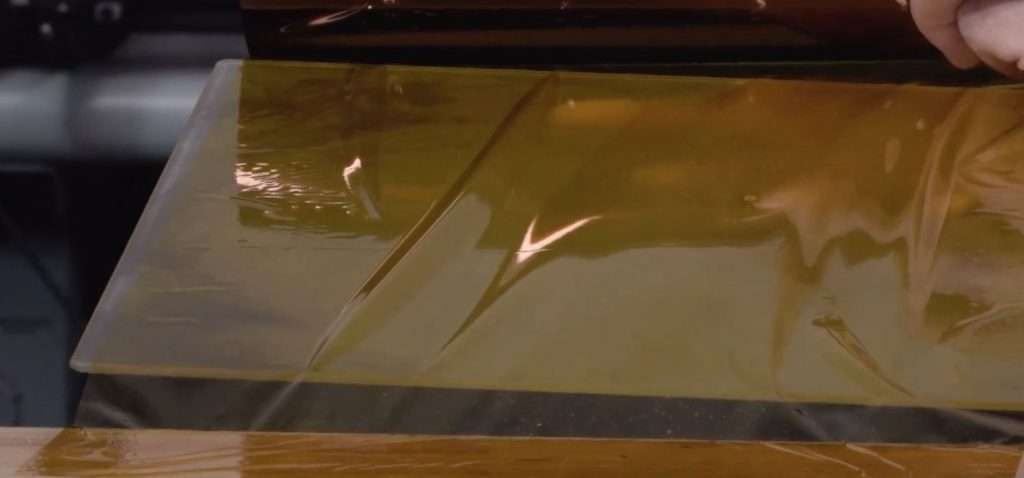
Our final method is changing the adhesive tape. This method only applies to those of you using a build plate covered in painter’s tape or a sheet of adhesive tape meant for 3D printing. The best way to clean these types of beds is to just replace the tape because it’s too difficult to clean the tape without harming the tape.
What to Avoid When Cleaning the Bed?
While cleaning the bed is usually considered a good thing, there are some things you should avoid doing, which we’ll talk about in this section.
First off, the biggest no-no is trying too hard on one method. If your build plate isn’t getting clean on one specific method, don’t spend too much time with that method. Just try another one because you don’t want to accidentally damage your bed. This is especially the case when you’re using the scraper tool because it can scratch build plates easily when pushed too hard.
Second, as we mentioned, never ever use a soluble substance on a plastic bed, such as a polypropylene build plate. That’s because, although the few plastics used on 3D printer build plates are resistant to acetone and other solvents, there’s a chance your bed isn’t made of purely one plastic. And, if any other plastic that happens to be soluble with acetone was blended with the main bed plastic, you could have some issues.
Third, don’t ever finish rinsing your bed with a solvent chemical. Moreover, it’s always best to clean the bed with water after applying IPA, acetone, or other chemicals on the bed. That’s because any remaining residue from these solvent chemicals could cause issues during the printing process is not completely removed.
Fourth, and finally, don’t always blame the cleanliness of your build plate to print issues. More than likely, your print bed’s dirtyness isn’t causing poor adhesion, but rather the levelness of the bed or another issue.
Conclusion
While you might not always be able to tell if your print bed is clean or dirty, it’s always a good idea to clean the bed every so often. And, you won’t have the excuse of “it takes too long” because there are many quick-and-easy ways to clean the bed.
You can also use multiple methods at once as it often works better and faster.
Now, get cleaning!
Check out our other articles on how to clean a nozzle here, how to remove your print from the bed, and what to do if your print isn’t sticking to the bed here.