

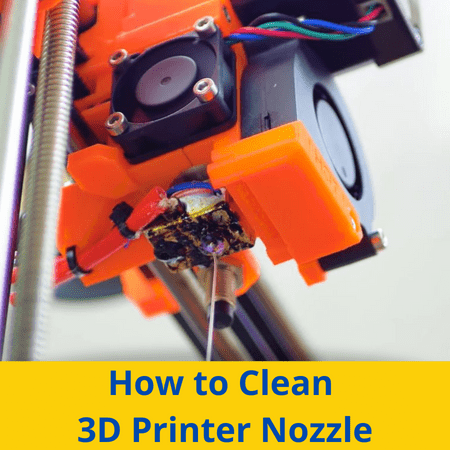
Failed prints? Over or under-extrusion? The problem might be with your nozzle!
Nozzle clogs occur when there’s debris inside the hot end assembly or nozzle that prevents the filament from properly flowing out the nozzle hole. Luckily, there are ways you can clean the nozzle by removing the debris inside them.
In the sections below, we’ll go over the causes of a clogged nozzle and eight terrific ways to clean your nozzle so you can get back to printing amazing 3D models!
Table of Contents
How Will You Know When the Nozzle is Clogged?
A nozzle clog can either be a full clog or a partial clog.
A full clog is super easy to recognize because no filament will be coming out of the nozzle at the bottom of the hot end, yet your extruder motor will be spinning. Funny enough, you can actually hear a full nozzle clog a lot of the time, because the extruder motor will make a clicking noise as it tries to push the filament out of the closed nozzle hole.
A partial clog, on the other hand, is a little more difficult to notice because the effects of a partial clog are the same as other potential printing issues. The most common sign of a partial nozzle clog is under-extrusion, where not enough filament is extruded for a print and gaps form on the layers of prints. However, a miscalibrated extruder or a low flow setting in your slicer can also cause under-extrusion so make sure you know what issue you’re dealing with.
What are the Causes of Nozzle Clogging?
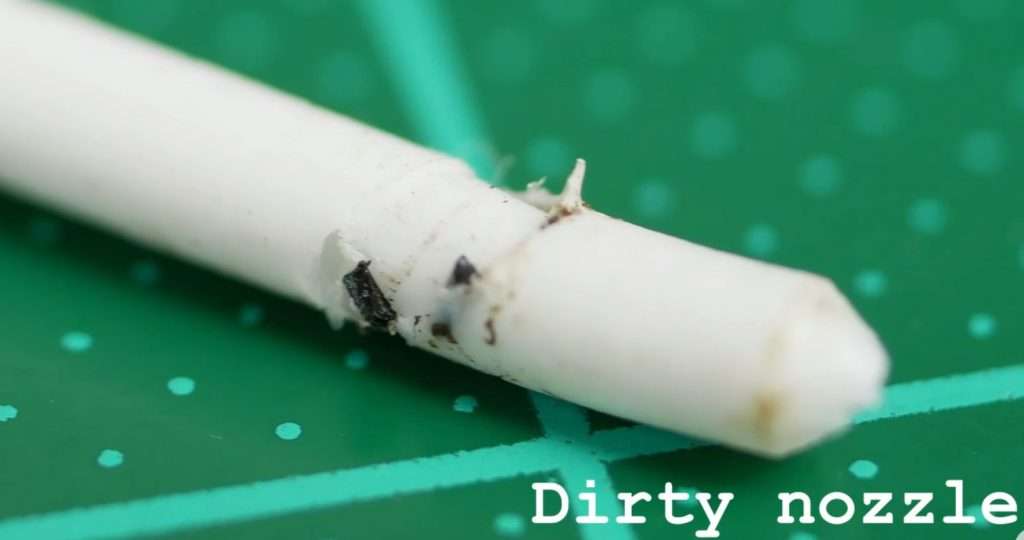
The biggest cause of clogged nozzles is debris inside the hot end that gets in front of the nozzle exit hole, either fully preventing or limiting filament from going out the nozzle.
This debris can simply be over-heated plastic that’s solidified or even small bits of unwanted scraps (e.g. metal scrapings) that somehow slipped into the extrusion system.
A common example of this is small fragments of the extruder gear wiping onto the filament that it’s pushing and then blocking the nozzle.
8 Methods for Cleaning the 3D Printer Nozzle
There are many different ways you can clean your 3D printer nozzle to get your printer back up and running.
We’ll go over eight ways to fix your nozzle clog below!
1. Brush the Outside of the Nozzle
Our first method of cleaning your 3D printer’s nozzle is to brush the outside of the nozzle.
While many clogs (especially full clogs) are the result of debris inside the nozzle blocking the exit hole, sometimes a clog can occur due to debris on the outside of the nozzle. If the filament is surrounding the exit hole, it can create a clog from the outside. Brushing the debris away can fix this issue.

This method works best while your nozzle is heated up to standard printing temperatures (or even higher temperatures).
Make sure to use a tool that isn’t plastic as rubbing a plastic tool on the nozzle could melt the tool. A brush with metal bristles works best but you can also use a metal pick to scrape and pick away at the excess melted plastic surrounding the outside of the nozzle.
2. Cleaning Filament
Cleaning filament is a special type of 3D printing filament that’s meant to help clean out the hot end and unclog the nozzle. Cleaning filament is typically sold in small quantities and has no other purpose besides cleaning your nozzle.
The material is able to clear your nozzle because it’s non-abrasive so it flows smoothly out the nozzle, taking anything in its way (debris) with it. For this reason, cleaning filament really only works for partial nozzle clogs because it can’t start pulling debris out if it never reaches the nozzle hole to begin with.
To use cleaning filament, heat up your nozzle and insert one end of the filament down your hot end. It’s best to do this with the PTFE tube removed and then pushing the filament with your hands rather than with the extruder which is slower. Apply a decent amount of force down on the filament and, after a few seconds of filament flowing, you should start to see some debris coming out as well.
3. Needle
A needle is one of the most popular ways to clean your 3D printer nozzle and it’s super easy and low-mess.
All you need is a long and skinny needle which usually comes with most 3D printers. You can buy more online for a few bucks. These needles aren’t a one-time-use deal, but they wear out after a few cleanings.
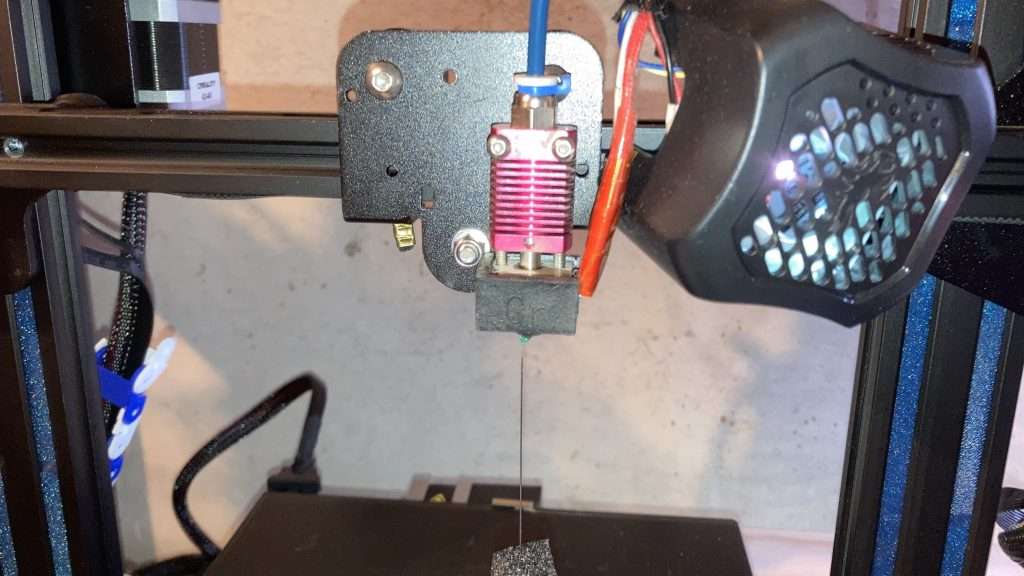
To use the needle, simply stick it up the nozzle exit hole from the outside (below). Then, move the needle up and down continuously until the path feels clear. This will push any debris out of the way so your filament can make it out of the nozzle hole.
4. Heating Gun
A heating gun is another way to clear your nozzle, but it’s a little more intensive a process. This method is great for removing cooled pieces of filament that are blocking your nozzle, especially when your hot end isn’t working and can’t heat up.
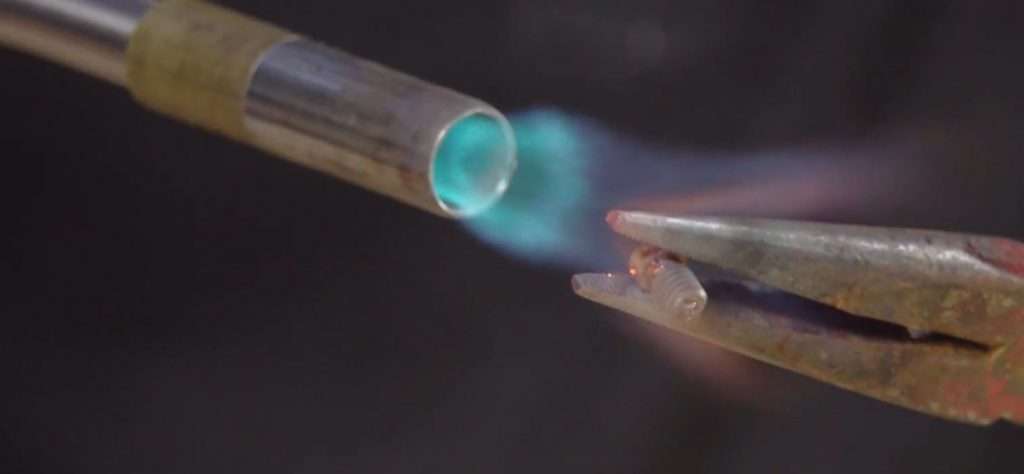
To use the heat gun, simply direct the device at your hot end and nozzle and wait until they get hot enough for the filament to melt or soften. Then, take a metal pick and scrape away at the now-melted filament to remove it from the nozzle.
5. Cold Pull
The “cold pull”, sometimes known as the “atomic pull” is another method of removing debris from the nozzle that works best for partial clogs.
Moreover, this method involves using a strand of filament to capture any debris in the hot end assembly and then pulling it all out. However, if the debris completely blocks the nozzle hole, there’s a greater chance the filament won’t grab onto the debris well enough to pull it out.
All you need for a cold pull is a strand of filament, which you probably have, and the process takes no more than a few minutes. The first thing you’ll want to do is heat your hot end to printing temperatures (or a little higher) and remove the Bowden (PTFE) tube. Insert one end of your filament strand down the hot end and push it so that filament starts to ooze out.
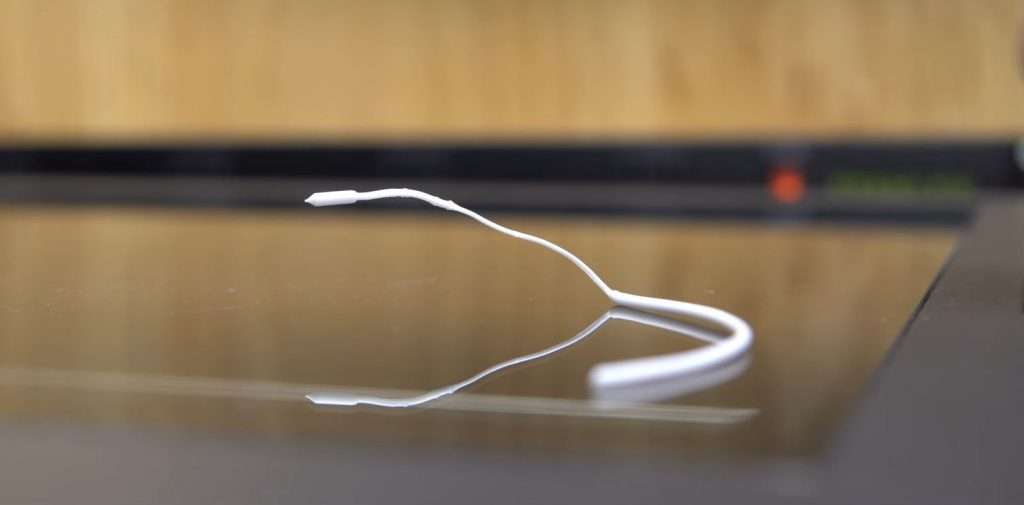
Then, turn off the heat for the hot end, while still pushing down on the filament. Finally, when the temperature reaches 60 °C, release the pressure and pull the filament out of the hot end. For that last step, make sure you’re not pulling too hard as you wouldn’t want to accidentally break the filament, leaving the debris and part of the strand…well…stranded.
The filament should’ve attached itself to the debris around the nozzle, so when you pull it out, the debris should also be pulled out. Sometimes you can tell if this method worked by looking at the end of the filament strand you extracted, but the debris might not always be easily visible.
6. Push Filament Through
While you’ve probably already tried it, one way you can clear your nozzle is through brunt force by pushing the filament with a lot of force.
If you’re lucky, this can do the trick and push any debris that might have been blocking the nozzle out.
However, usually if your extruder motor couldn’t push the debris out of the way, you probably can’t either because of the positioning or size of the debris. It’s worth the shot anyway!
7. Acetone
Solvents are chemicals that can dissolve certain materials, and acetone is a liquid substance that serves as a solvent for many 3D printing materials, like ABS. Naturally, solvents make for excellent nozzle-cleaning substances as you can use them to break down any excess plastic or debris that might be blocking the nozzle.
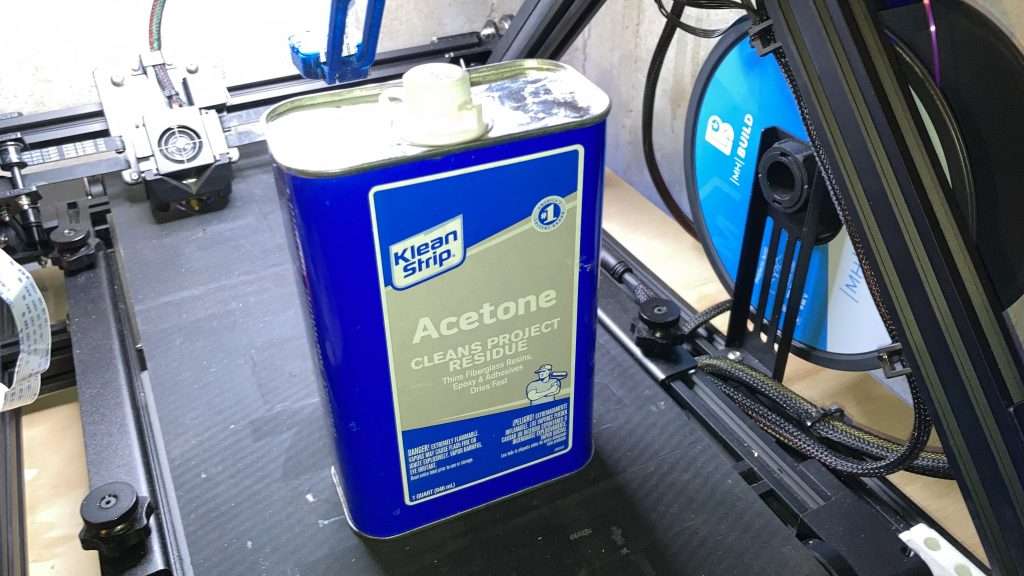
To clean your nozzle with acetone, start by filling up a small cup or bowl with the solvent and dropping your nozzle in. Then, using some gloves for safety, you can help remove debris from your acetone-soaked nozzle with a wire or needle. These cleaning tools should flow more smoothly through your nozzle, removing more debris in the process, because the acetone will act as a lubricator as well as a solvent.
It’s worth noting that acetone isn’t a super safe or user-friendly chemical. For this reason, we suggest not directly contacting the solvent with your skin as it can dry it out or hurt it in other ways. Acetone also tends to evaporate easily, so we suggest performing the acetone nozzle cleaning process outside or in another open-air environment.
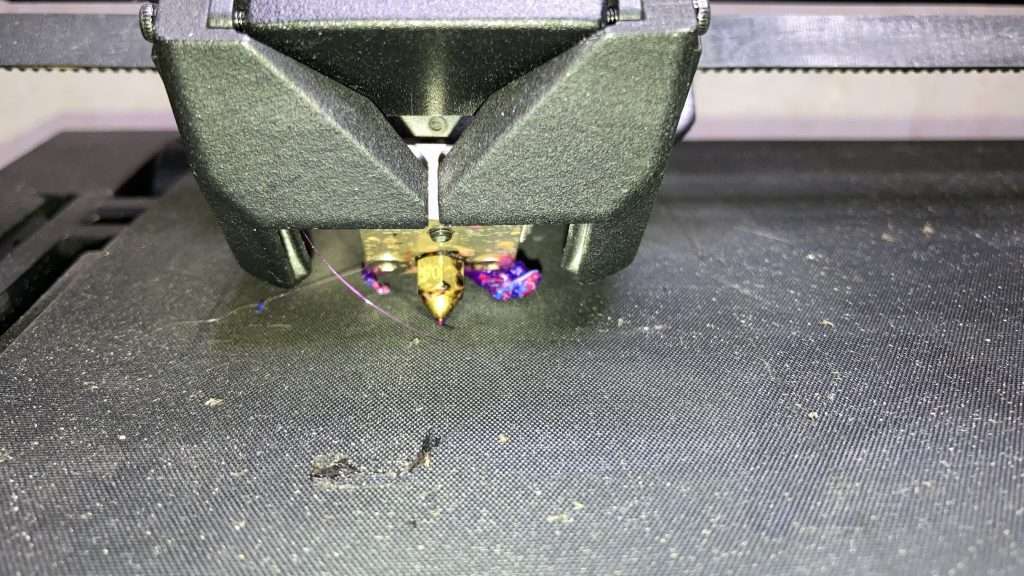
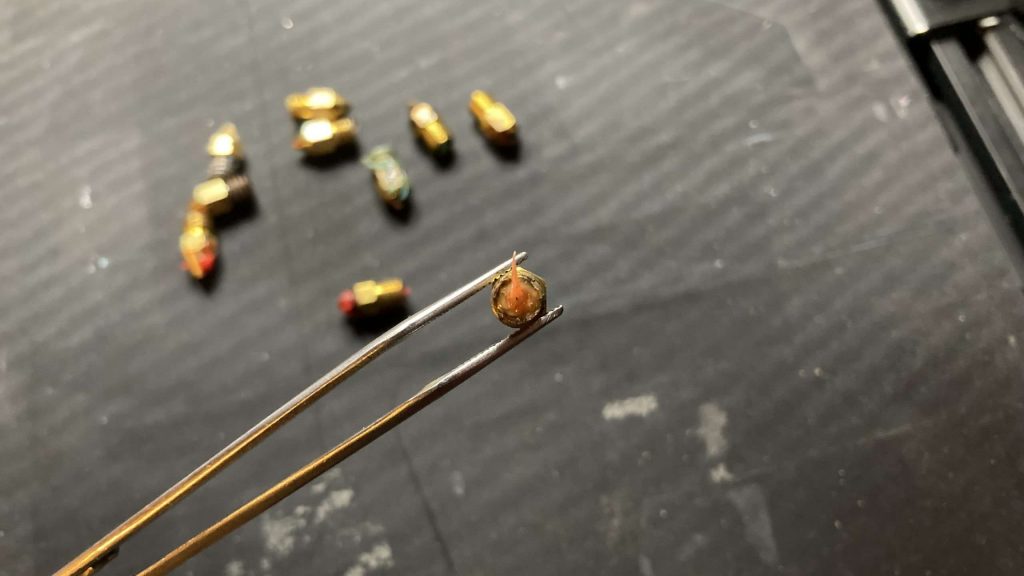
8. Replace the Nozzle
Finally, although it’s not really the same as cleaning your nozzle, replacing the nozzle is another way to fix your clog issues.
This method is very simple but might be a little more expensive than some of the other options on this list. Moreover, you’ll need to buy another nozzle, and, if you get a brass one, it can be very cheap. Higher-grade nozzle materials, like stainless steel and ruby, cost much more.
To replace the nozzle, start by heating up your clogged nozzle to printing temperatures and removing your filament. Then, with a compatible wrench, unscrew your nozzle from the hot end. At this time, we suggest using a small metal pick to clean out any goo or debris that might be in the hot end filament path.
Once you’ve cleaned it, take your new nozzle and screw it in for the first few rotations by hand, making sure to not touch the hot end as it will give a first-degree burn (ask me how I know). Lastly, use the wrench to tighten the nozzle down, reinsert your filament, and then push the filament through to make sure it’s working.
It’s also worth talking about how there are many different types and sizes of 3D printer nozzles.
While 0.4 mm is the standard output diameter for nozzles today, using a wider nozzle (e.g. 0.8 – 1.2 mm) will allow you to print thicker layers, but higher temperatures will be required. On the other side of the spectrum, smaller nozzles (0.1-0.3 mm) are better for printing small details on models but will make print jobs take longer.
The material of the nozzle is also very important, and the most common ones are brass, hardened steel, stainless steel, and ruby.
Brass is the least expensive, costing under ten bucks for 5-20 pieces; with their low price. Hardened steel, stainless steel, and ruby (most expensive) nozzles all cost more than brass, but typically last longer and can better handle abrasive filaments, such as glow-in-the-dark PLA, without wearing down.
When Should You Clean Your 3D Printer Nozzle?
A question you might have when cleaning your 3D printer nozzle is how regularly should you perform these processes. There’s really no one answer. Perhaps the most common interval isn’t really an interval at all because many users only clean their nozzle when they notice problems with extrusion.
However, if you don’t want to spend extra dough purchasing a new nozzle and want to make sure your current one lasts a long time, cleaning it every 5-10 prints should help.
Note, though, that you really only have to perform one cleaning method each time. Brushing the exterior, using a needle, and performing a cold pull are some of the best options as they remove debris from the nozzle without being too intensive a process or causing too much a mess.
Does Nozzle Affect the Print Quality?
The nozzle is one of the most impactful components of a 3D printer as it relates to print quality. That’s because the nozzle heavily influences your machine’s extrusion, and, without good extrusion, you won’t have high-quality prints (you’ll have issues like under-extrusion).
Making sure your nozzle is clean and filament can easily flow out the nozzle hole will help improve the quality of prints. Additionally, using higher-grade nozzle materials like a nozzle made of hardened A2 steel rather than brass can also help improve extrusion as well as increase the longevity of each nozzle.
How Long Does a Nozzle Last?
Another question you might have is how long does a 3D printer nozzle last? Again, there’s really no one correct answer because the nozzle’s life depends on many factors like the material of the nozzle, the filament material you’re using, your printing temperatures, the condition of the filament (e.g. wet or dry), and more.
For a brass nozzle, the most common material for a nozzle, you should get at least 20 prints or a month of regular printing out of the nozzle.
However, if you spent extra dough to get a higher-grade material nozzle like a hardened steel nozzle or a ruby-tipped nozzle (especially this), you can expect to be able to print even more prints (50-100) without having extrusion issues.
Conclusion
Whether you have a full or partial clog in your nozzle, there are many ways you can get your printer back up and running and your extrusion at 100%!
If you want the easiest nozzle cleaning method, I suggest using a needle as this process requires very little supplies and most 3D printers come with the needle. Additionally, attacking any debris inside the nozzle with a sharp and tiny needle is very effective in cleaning the piece.
However, if you’re looking for the most effective cleaning method, well that would go to the cold pull method. While performing a cold pull correctly requires experience, it’s known across the 3D printing community as perhaps the best way to clean your nozzle.