
If your 3D printer isn’t operating as intended, it could be the extruder.
There are a few reasons why the extruder clicks, skips or makes grinding noises.
We’ll go over some troubleshooting steps and offer solutions to try for each. Your 3D printer is an investment, so it should work when you need it to complete a task.
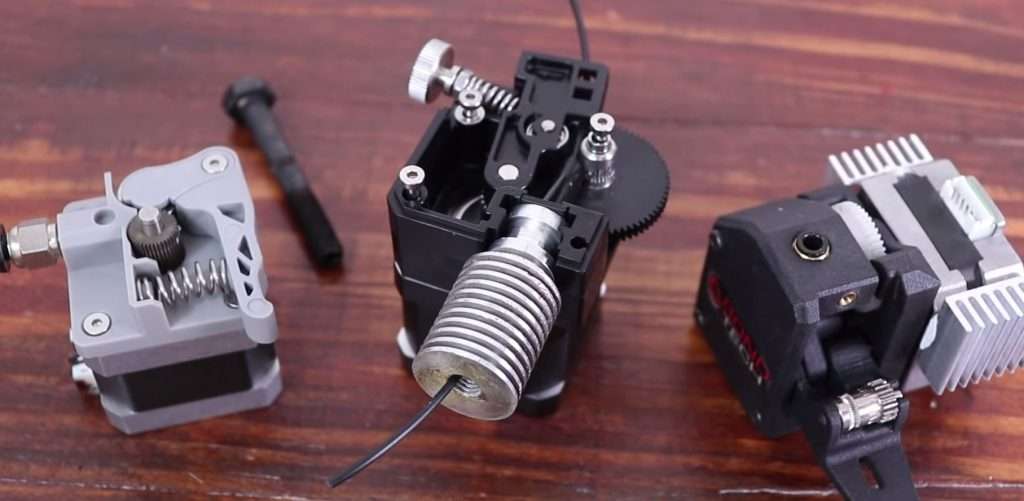
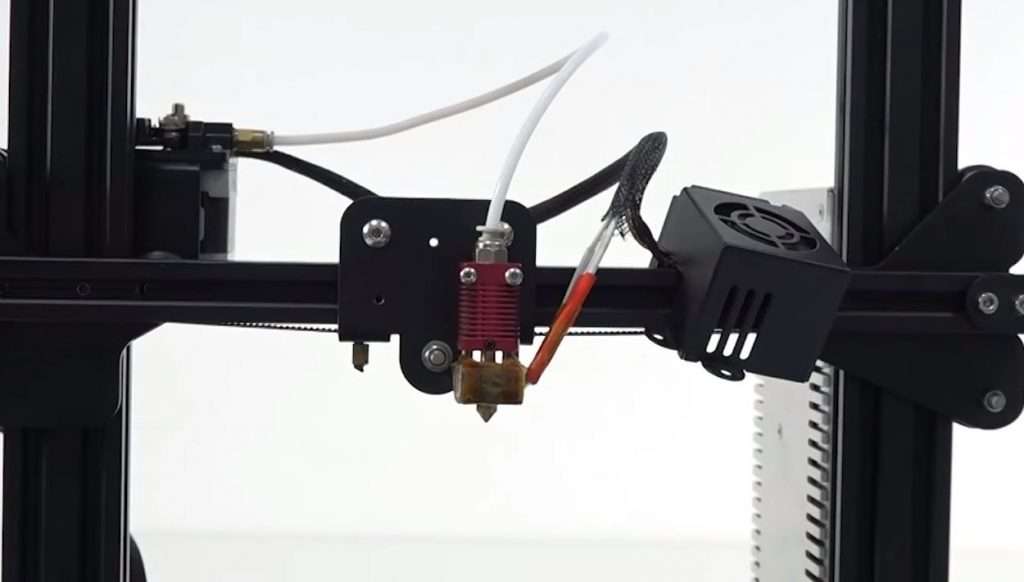
The extruder is a small part, but it’s also a big component that helps a 3D printer operate correctly. It is the cold part that pushes the filament to the hot end. A motor, filament drive gear, and idler comprise the extruder. This part is responsible for ensuring that the correct amount of filament gets to the hot end.
At the hot end, the filament is melted and layered. Several things can get thrown off that impact the melting of the filament. Common extruder issues include debris and dust build-up in it and on the gears. Sometimes the temperature on the extrusion is too low. Fast printing speed, tight idler roller, and overheating are other extruder issues we’ll explore.
It may sound like a drag, but most issues require manual solutions. We make it as simple as possible. The following are troubleshooting steps to get your 3D printer back on track, especially if you notice your extruder slipping.
Table of Contents
Clogs in the Nozzle
One reason why you may notice your extruder clicking is if the nozzle of your 3D printer is clogged.
Filament passes through the extruder. It starts whole; then, it is melted by the heat. It’s logical that specks of the filament will be left behind. If a part isn’t secure, the filament can find its way to the heat-breaker area. Over time, filament accrues in the tiny components, including the nozzle.
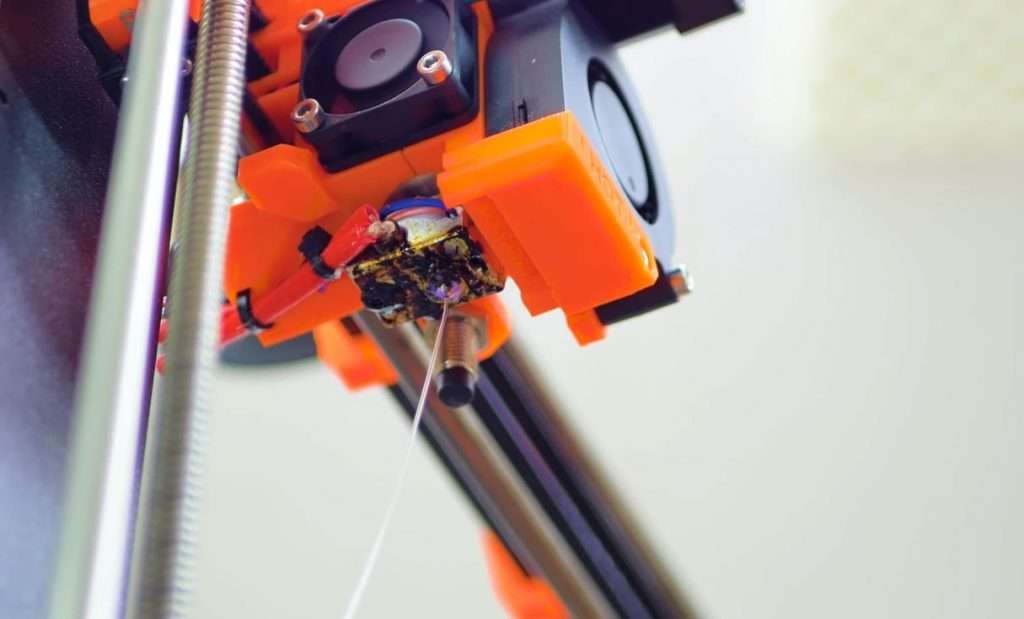
Clogs in the nozzle are a common issue. To fix it, clean out the nozzle and corresponding parts. Next, ensure that the PTFE tubing is all the way down the heat-breaker. Double-check that it’s secure, too. Gaps between the nozzle and the PTFE tubing cause pressure as the filament passes through them. The result is filament oozing out of places where it shouldn’t be oozing at all.
The PTFE tubing guides the filament on direct drive systems. It acts as the filament path in the Bowden printers. Since you’re taking a look at this tube, check its shape, too. If it looks deformed, it’s time to replace it.
Idler Roller Is Too Tight
Another reason you may notice your extruder skipping is if the idler roller is just too tight.
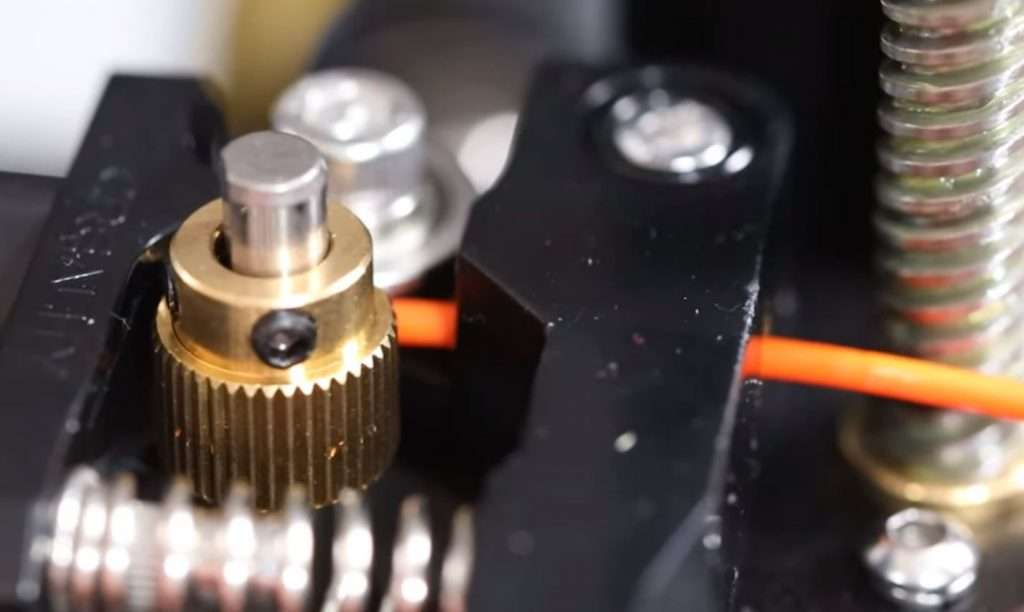
The idler roller helps the filament make its way through the teeth. You’ll know that the idler roller is too tight if the filament is being crushed by the teeth. If you examine the filament, you’ll notice tiny marks. These are normal. The filament shouldn’t be flat or out of shape. If the filament gets crushed, it won’t make its way smoothly to the hot end of the extruder. This will cause a clog and a jam because it’s no longer in the proper shape.
If you hear grinding noises and notice that the filament is crushed, the idler roller is too tight. The idler is attached to the spring-loaded arm on the extruder. Once you loosen it, you shouldn’t hear grinding noises or see an impact on the filament anymore.
Don’t loosen the idler roller too much, though. If the idler begins to move up and down, it could strip the extruder. This also impacts the output quality.
Temperature Is Too Low
There are many reasons you may notice your extruder grinding, but one is because the temperature is too low.
Achieving the perfect temperature on a 3D printer determines the quality of the output. Filament achieves the best results with a temperature range of 190 to 220 °C. If you notice that the filament layers are not sticking to each other, you may need to bump up the temperature.
When the temperature is too low, the filament becomes warped.
To safely bump up the temperature, increase it by five degrees at a time. You’re going to run a couple of tests and check the results. If the extruder is too hot, the output will be too droopy and flimsy.
Small increments give you the opportunity to see the results without damaging the filament. You’re also trying to prevent build-up in between the extruder motor and nozzle. When filament becomes drippy, it’s more likely to creep into other areas of the extruder. Over time, it will cause a clog and a jam.
If you hear clicking sounds coming from the extruder, it means that the filament isn’t flowing at an optimal level. So, the extruder is skipping steps. The clicking sound results because filament pieces that are not properly melted are being pushed through the parts.
Hotter doesn’t mean that you’ll get the results you’re expecting. You might see one heat reading on the thermistors, but that’s not always the actual temperature. For now, run the tests with incremental increases of five degrees.
From the control panel, increase heat and slow down the feed rate. Check the results.
When you have time, consider acquiring a thermocouple on a non-contract probe to verify the true nozzle temperature.
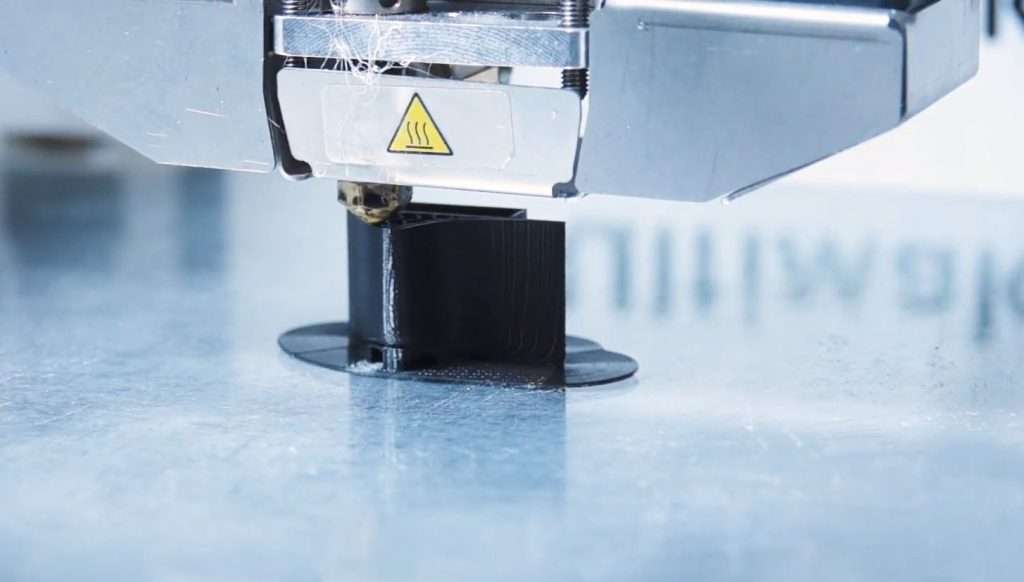
Nozzle Sits Too Close to the Bed
The printer nozzle should sit between 0.06 to 0.2mm from the bed. If you hear clicking sounds coming from the extruder on the first and second layers of printing, the nozzle is not sitting at the ideal level. Clicking sounds occur because the filament cannot flow out of the nozzle smoothly. In turn, this causes a clog and a jam.
In this case, the solution is to re-level the bed.
Another option is to raise the Z-endstop. It is located on the side of the printer. The Z-endstop controls how far down the nozzle goes. You can also adjust the Z-endstop in the slicer settings.

This is a good time to double-check that the bed is even. The bed should sit parallel to the X-axis. It should also be positioned away from the nozzle at the same distance on the entire platform. It’s best to run these tests with the heat on.
If you want to gauge the best distance between the nozzle and the bed, use a piece of paper. The paper should be able to wiggle underneath the nozzle with no problem.
Printing Speed Is Too Fast
A 3D printer has an optimal print speed. If you noticed that the quality produced isn’t too great, the solution might be to slow it down. An optimized printer doesn’t require a lower printing speed. So, this could be a symptom of a larger issue.
An optimized 3D printer means that the parts are stable and working in unison with each other. Some believe that the output quality is subjective. Others believe that there’s a trade-off between speed and quality.
Large 3D printing jobs can take several hours. This is something that you must plan for ahead of time—rushing a job impacts the output. If you’re tempted to raise the speed to decrease the printing time, you’re going to sacrifice the quality.
If the printer’s parts are unstable, the filament isn’t melted completely. It also puts pressure on the nozzle. 45mm/s is an optimal speed. It allows the extruder to keep up with the printing demand. It also allows the output’s quality to remain high. 60mm/s is another setting that should provide quality results. One test showed that going to 100mm/s didn’t improve print time or quality, so fast isn’t always better.
There’s not that much you can do if you’re short on hours and the printing job is long. For the sake of the printer and the output, it’s better to grin and bear it. Next time, allow for more time to print.
Don’t Let the Printer Overheat
A 3D printer is a machine, so it can overheat. Overheating impacts the extruder, the printer as a whole, and the output. If you notice that the printer is overheating, turn it off. Allow it some time to cool off.
If you have not used the printer for a long period of time, it’s a symptom of a larger problem. A machine works well when its parts are not competing or over-leaning on each other. When one part of the printer is working slowly, the rest of the parts have to compensate. The extra exertion means that they’re going to get worn out quicker.
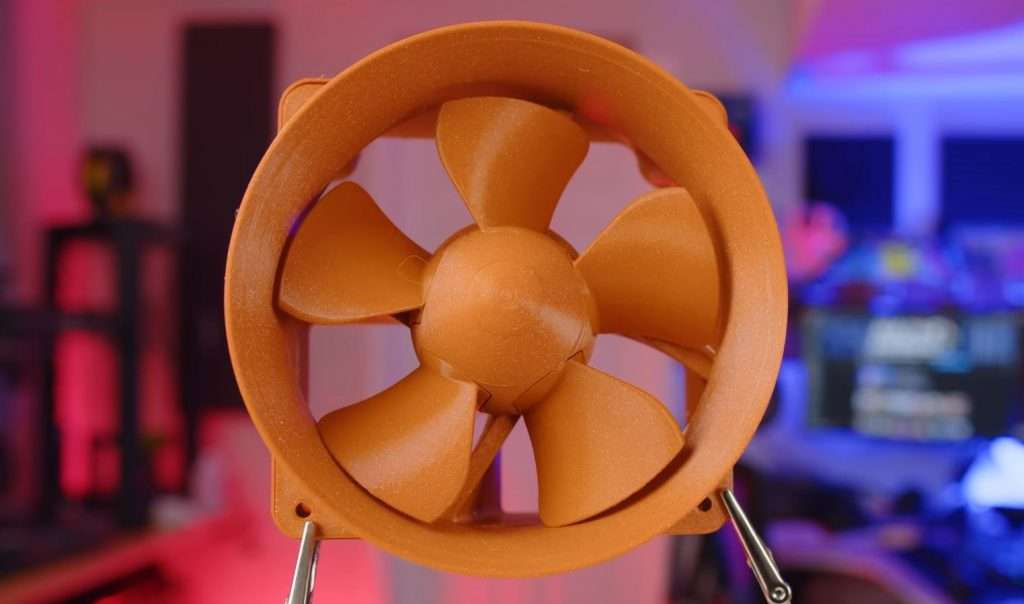
To prevent overheating, add passive cooling such as a heatsink. You can also procure a cooling fan, a better idea. Keep in mind that you should not cool the printer too much. The filament requires heat. During the summer months, your task is to find a balance between the heat the filament needs and preventing machine overheating.
When the machine prints filament layers too quickly, one after the other, it causes overheating. To fix this, lower the print speed.
If overheating is still occurring, the printer may require maintenance. In between printing jobs, it’s a good idea to ensure the machine is going to be ready to print the next task.
Clean the Extruder
All printers and machines require maintenance. Home and office printers require maintenance every year to two. Printers with 3D technology require maintenance every 1,500 hours used or every two months.
Routine 3D printer maintenance includes lubrication, updating the firmware, and tightening the pulley screws. Plus, thoroughly cleaning the extruder is another must.
To clean the extruder, take apart the feeder assembly and clean each piece. Blast debris and dirt away with a can of compressed air. Use a brush to clean the gear teeth. Soaking the nozzle attached to the extruder in acetone for 15 minutes clears away the gunk.
When you’re done cleaning, re-assemble the extruder and place it back in the 3D printer.
These printing machines are far more delicate than home and office printers. They require maintenance far more often. When you put the machine back together, double-check that everything is where it’s supposed to be. If you put a piece back at the wrong height or the piece is not level, you’re going to experience other printing problems. Keep your printer’s manual nearby. If in doubt about the settings, you can always go back to the settings outlined by the manufacturer.
Check the Extruder’s Alignment
Your 3D printer is going to produce the best results if the extruder is correctly aligned. If the idler bearing, hobbed gear, and filament aren’t correctly aligned, filament wanders. The feed path is more likely to slip or buckle as a result. When this occurs, you end up with poor printing results, a clog, or a jam.
During the setup of a home or office printer, the machine calibrates itself. For 3D printers, calibration is manual. If you are advanced in your 3D printer skills and knowledge, you’ll need a few things to calibrate the extruder. Turn on the computer, turn on the printer, and grab your filament.
Start by measuring the filament. Then, put the filament through the printer without heat for Bowden printers. Set the heat for the filament on direct printers. Measure the filament output. It should be the same amount.
Tell the printer to extrude 100mm of filament. Take a look at the output. If the extruder is properly aligned, it’s going to push out 100m. If the printer does not, measure the difference. If it pushed out less, you’d find out how much less, which is under-extrusion. The same logic applies to over-extrusion. The good news is that you’re going to find out the amount to make the desired adjustments.
Run the test three to four times and take the average. If the output is off, you must update the Extr0 or Extr1 value in the EEPROM Settings Configure. Hopefully, you enjoy math because you’re going to use it. The value is going to the desired output divided by the actual output. The calculation gives you the correct multiplier.
Now multiple the multiplier by the original extruder steps/mm. This gives you the calibrated steps/mm.
After you input the new value, save it. Shut down the computer and printer to give settings an opportunity to reset. Turn everything back on and run a test. The calibration should not push out an output with no over- and under-extrusion.
Increase the Voltage on the Stepper Motor
If a 3D printer’s extruder is skipping, the voltage might be too low. This isn’t very common, but if you’re still having trouble, worth a shot.
The issue here is that the extruder cannot push out the filament. So, it’s skipping. Increasing the voltage may provide the power the process is currently lacking. If this works, that’s great. But it could be a symptom of a greater problem.
To provide more current, adjust the micro-stepping boards on the control board.
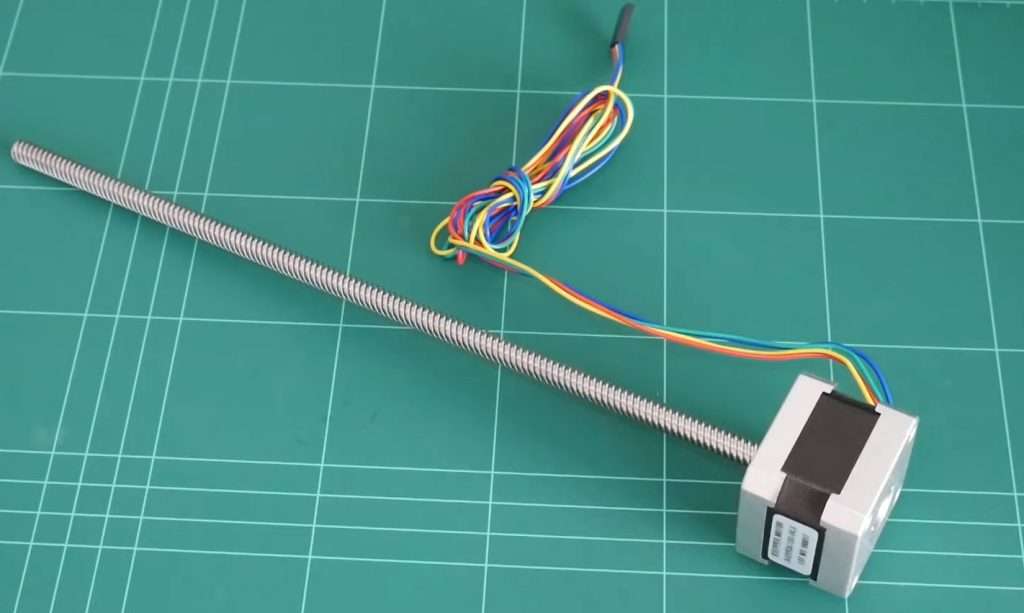
While you’re adjusting the voltage on the stepper motor, listen for sounds. There’s no need to push out any filament during this test. If there’s a bad motor, you’ll be able to hear it without printing. If you hear whining or whistling, it’s a sign that the extruder’s motor does need to be replaced. If you’re not sure about the sounds coming from the motor, slow the flow rate by 25%. This should reduce activity enough to let you clearly hear the motor and nothing else.
Fixing a 3D Printer Extruder Conclusion
The best way to keep your 3D printer and all its parts running well is to keep up with maintenance. Proper maintenance keeps the components, including the extruder, from getting clogged, misaligned, or jammed. In between maintenance, if you experience issues with the printer, hopefully, the above troubleshooting tips help the printer get back on track.