

Ever notice tiny ripples or shimmers on the outer surface of your 3D print? Well, you’re not alone!
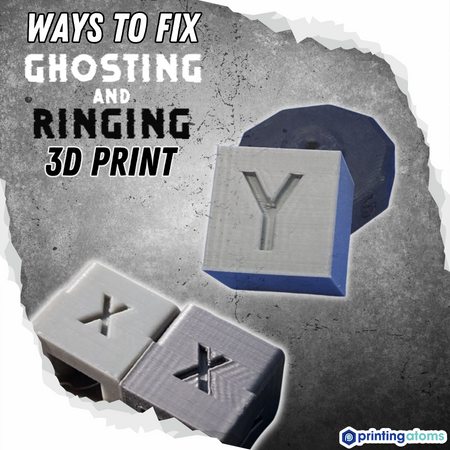
This issue is called ghosting, but it goes by many names (like all criminals), such as ringing or rippling. Ghosting is a super common issue on 3D printers and it severely hurts the visual appearance of your prints.
Ghosting usually occurs from vibrations throughout the frame of your 3D printer, but it can happen for other reasons too. Don’t worry, though, as there are a handful of ways you can solve ghosting and rippling on your printer.
Perhaps the most effective solution is to lower the print speed in your 3D slicer. Lowering the print speed settings will reduce vibrations, hopefully eliminating your case of ringing. Other potential solutions include tightening the belts, lowering the acceleration and jerk settings, and increasing the wall thickness.
Read on to learn more about this printing issue, what causes it, and how to fix ghosting!
Table of Contents
What is Ghosting?
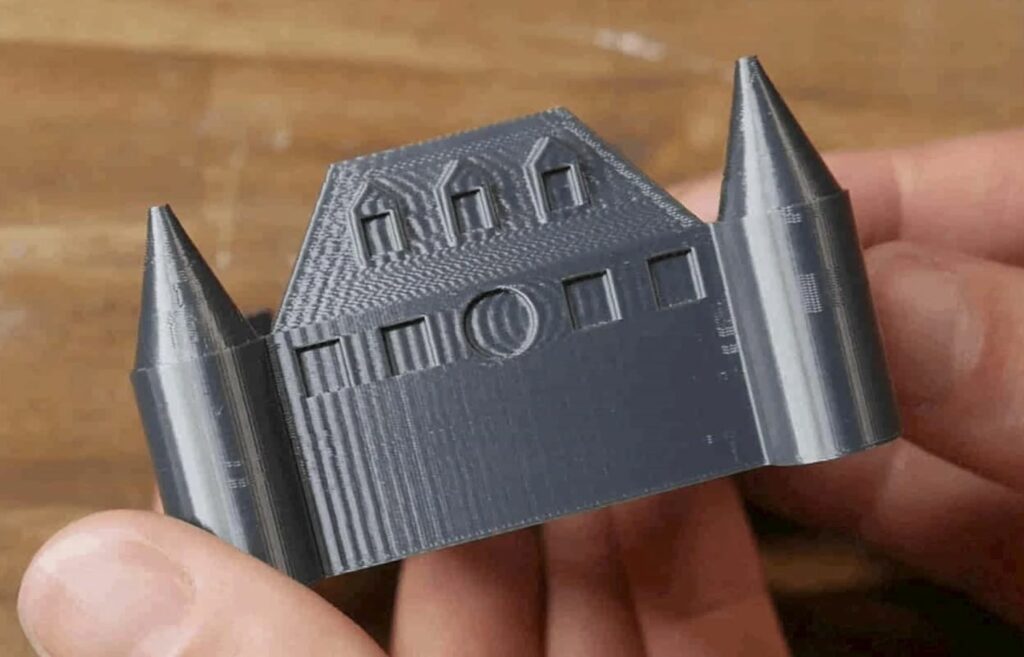
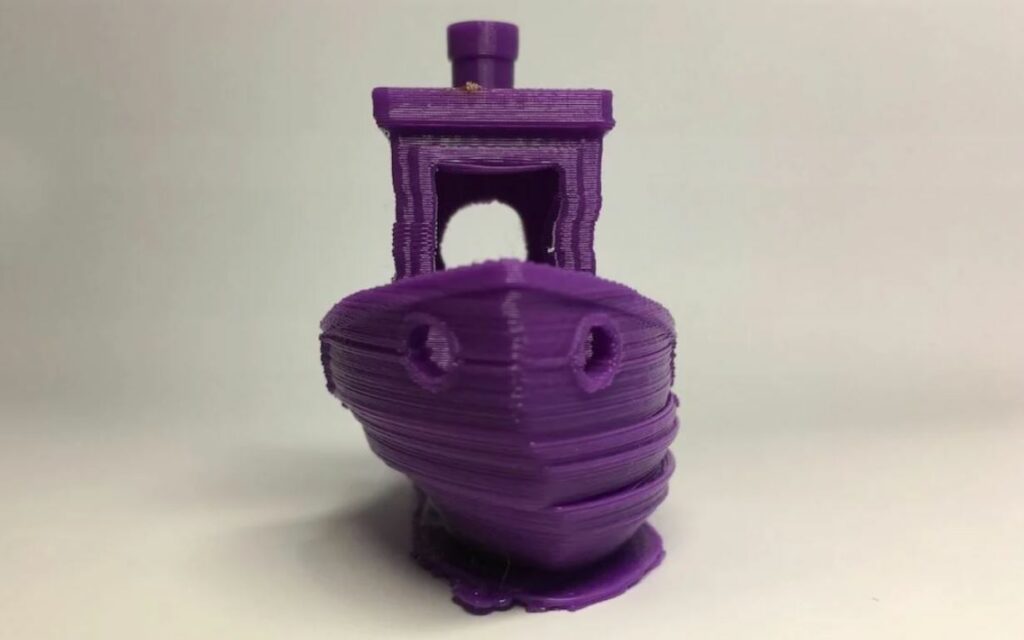
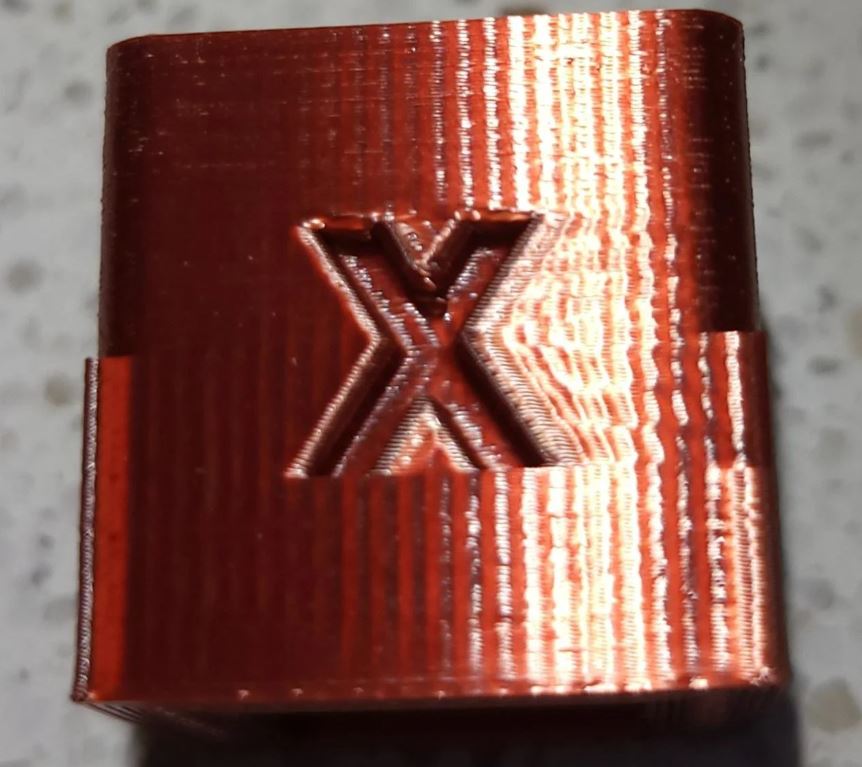
Ghosting, also known as ringing and rippling, is a print quality issue on FDM 3D printers where vibrations cause the flow of filament out the nozzle to vary, leading the wave-like distortions on the outer surface of 3D prints.
In more simple terms, it’s when your 3D prints get ripples because your printer is too janky.
Ghosting obviously hurts the visual appearance of your 3D models because, instead of a mostly-smooth surface, they have a distorted, garbled look. While the wavey-ness ghosting causes don’t really matter for functional prints, like a gear, it’s more of an issue when you’re printing display models and figurines, such as a trophy or a piece of wall art.
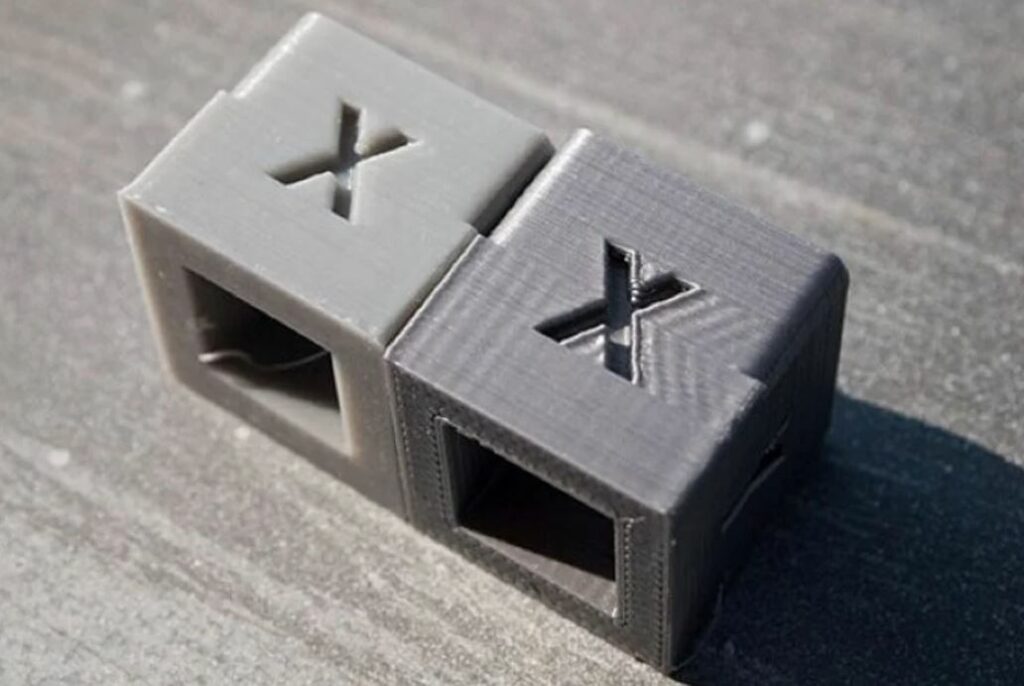
Ghosting VS Layer Shifting
It’s important to note that ghosting is not the same thing as layer shifting.
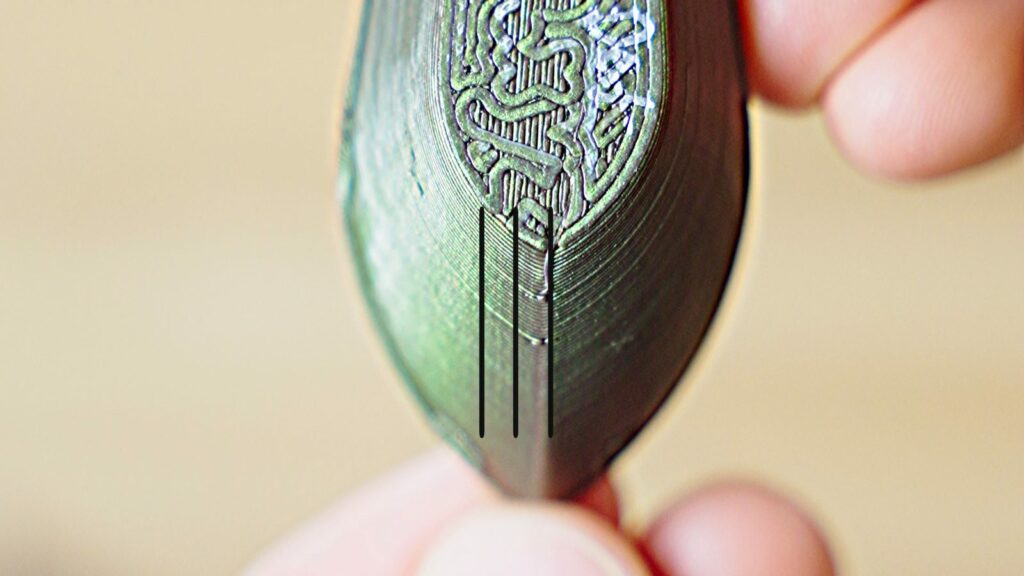
For reference, layer shifting is another print quality issue and it causes prints to have slightly-offset layers. An image of a part printed with layer shifting is below:
The reason ghosting and layer shifting are commonly confused is that both can be caused by loose belts, excessive vibrations, a high print speed, and a handful of other factors.
But the two print quality issues are not the same. One impacts the position of layers while the other (ghosting) impacts the visual appearance of the outer surface of prints. With this in mind, make sure that you know what issue you have so you don’t employ the wrong solution.

What Causes Ghosting on 3D Printers?
There are numerous potential causes for ghosting/ringing on 3D printers, and I’ve gone over the most common ones below:
High Print Speed
HIGH PRINT SPEED
One of the most common causes of ghosting and ringing on 3D prints is a high print speed. The higher the speed, the faster filament is pushed out of the nozzle, and the faster the printhead has to move. And, as we probably all know, the faster something moves, the more vibrations it incurs.
Loose Belts
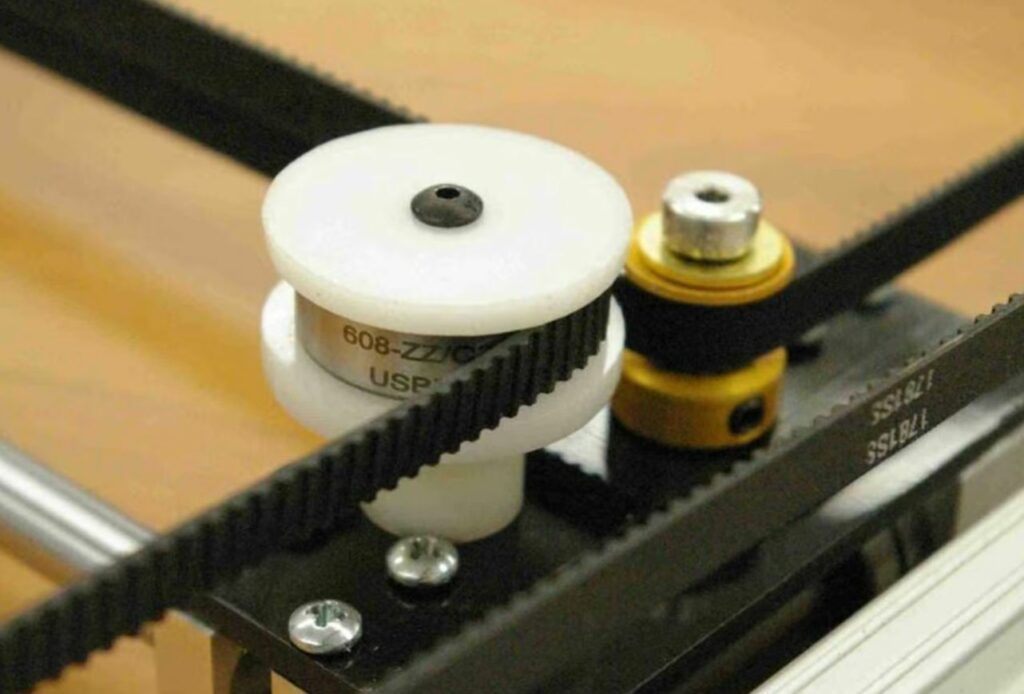
LOOSE BELTS
Most 3D printers, especially budget ones (e.g. Creality Ender 3) use belts for the X and Y axes. While this is an efficient and relatively low-cost motion system, if the belts have slack, then you might experience ghosting or ringing.
And, if you’re wondering how the belts on your 3D printer can have slack, it’s actually a natural process. Most belts are made from a rubber material, and this can stretch over time and after extended use of the 3D printer.
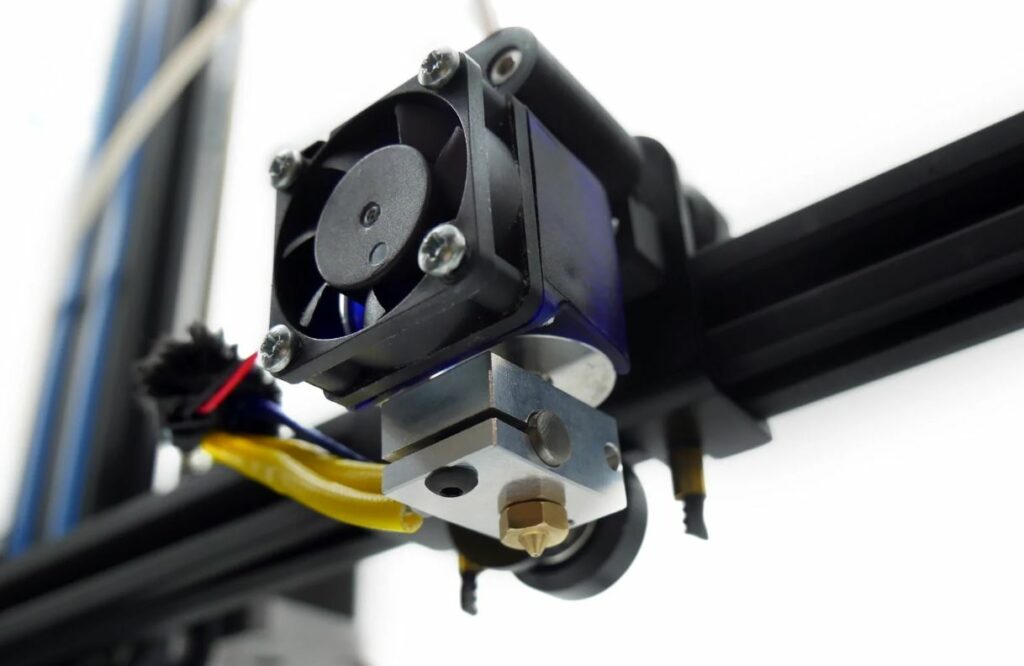
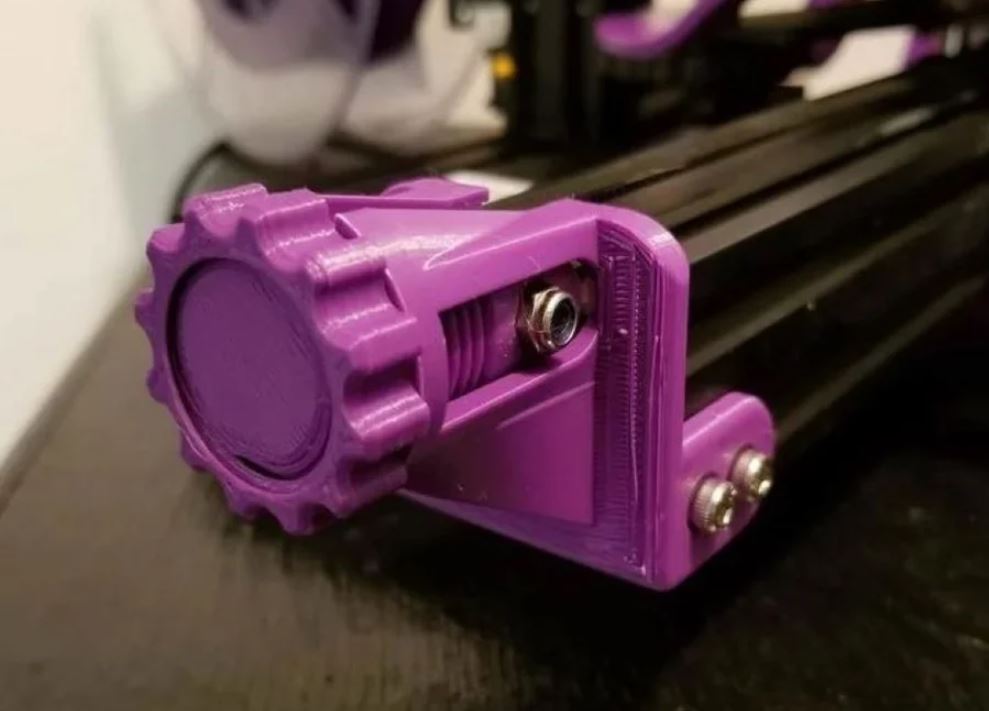
Wobbly Components
WOBBLY COMPONENTS
Wobbly components, whether it’s a fan on the printhead or an untightened bolt around the X-axis stepper motor, can also cause ghosting. Furthermore, any wobbly part will vibrate on the frame of your 3D printer, and this can cause the nozzle to move ever so slightly while it’s laying down filament, which creates the ghosting/ringing effect on the surface of 3D prints.
Typically, the heavier and more wobbly a component is, the larger the ghosting effect it causes.
Check out our article on how to prevent z wobbling to learn more.
Bed Not Secured
BED NOT SECURED
Finally, your case of 3D printer ghosting might be caused by your print bed not being adequately secured to the frame of your printer. Moreover, on most i3-style 3D printers, like the Prusa i3 MK3S+, the build plate (e.g. spring steel PEI plate) needs to be secured to the bed underframe, which is the aluminum plate that the build plate attaches to.
If it’s not secure, vibrations will arise and the part will move on the print bed, causing the ghosting effect.
How to Prevent Ghosting on 3D Prints
Now that you know what exactly causes rippling on 3D prints, let’s get to how you can fix ghosting. I’ve gone over the most effective ways to stop and prevent ghosting on 3D prints in the sections below:
Lower Print Speed
LOWER PRINT SPEED
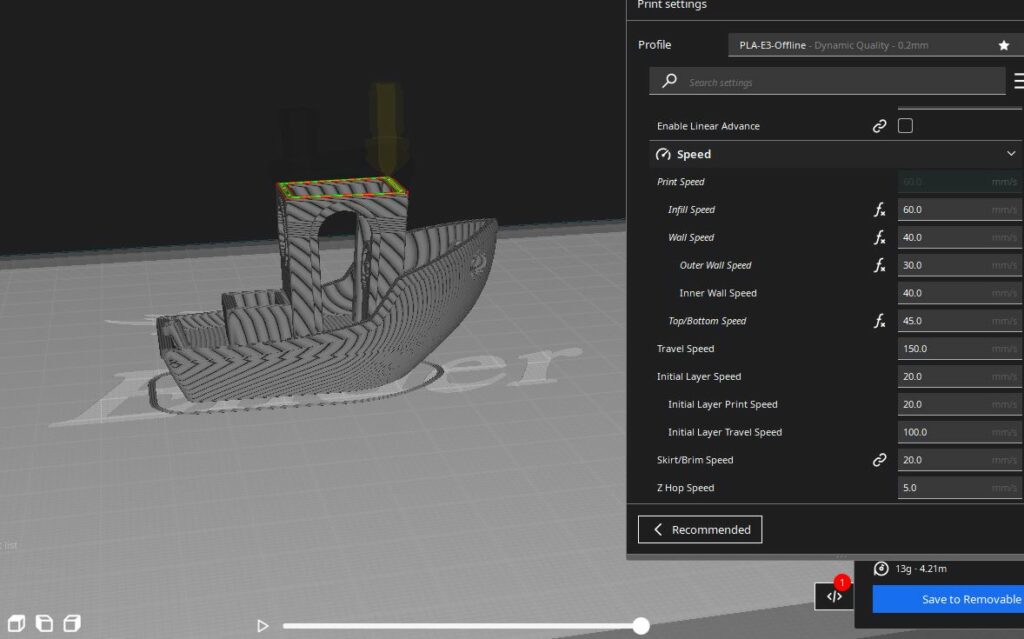
The first and maybe the best way you can stop ghosting from occurring on your 3D prints is by lower the print speed. This can be done in your 3D slicer software, like Cura or PrusaSlicer.
I recommend lowering the print speed by 5-10 mm/s, depending on how bad your case of ghosting is. And, after lowering it once, if you’re still having the issue, you can go down by another 5-10 mm/s.
But, after that, I would resort to a different solution from this list. That’s because, if after a 10-20 mm/s drop in your original speed, you’re still experiencing ghosting, then the print speed probably isn’t the cause.
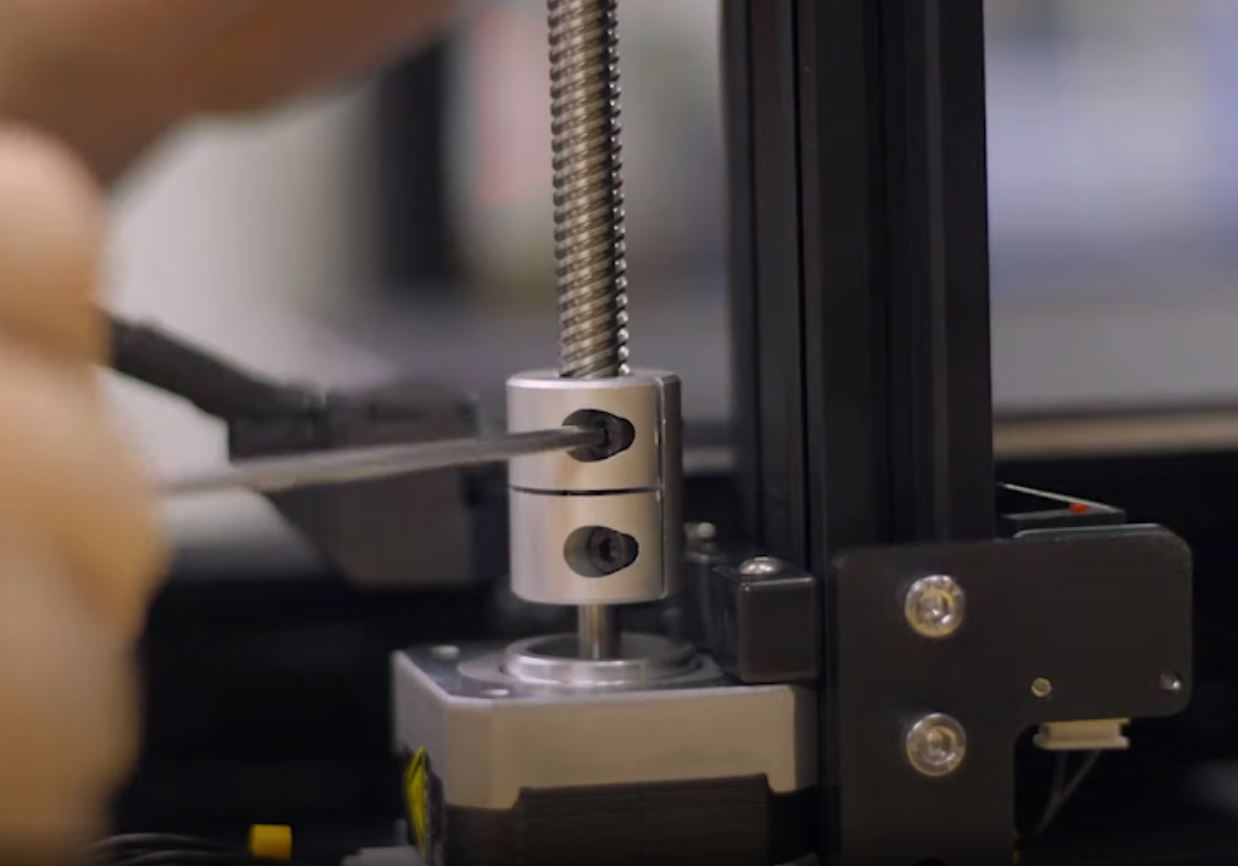
Tighten Belts
TIGHTEN BELTS
The second solution I have for you is to tighten the belts. As I explained before, when there’s too much slack in the belts that control the movement on your 3D printer, then this can cause ghosting, as well as layer shifting.
If your 3D printer has integrated belt tensioners, like the case with Creality Ender 3 V2 and Elegoo Neptune 3, then all you have to do to remove slack from the belt line is hand-tighten the screw. You shouldn’t have to tighten the belt screw too much; just to the point where the belt feels taut when you touch it. Any extra tightening will only cause the belt to degrade faster over time.
And, if your printer doesn’t have integrated belt tensioners, don’t worry; you’ll still be able to tighten the belts on your 3D printer. You just will have to unscrew the belt pulley at the end of each axis (usually just X and Y), pull it back with one hand, and re-screw the pulley back to the frame of your printer. Again, try not to over-tighten the belt!
Adjust Acceleration & Jerk Settings
As I briefly mentioned before, the acceleration and jerk settings can also cause ghosting. So, if lowering the print speed didn’t work for you, then you can try lowering the acceleration and jerk settings for your 3D printer.
There are a few ways you can do this, but I’ve found that the easiest method is to use Cura. Furthermore, on Cura’s settings page, you can activate the “Acceleration Control” and “Jerk Control” settings, and the jerk and acceleration settings will appear.
From there, all you have to do is lower the value. I suggest dropping the acceleration down from 500 mm/s^2 to around 450 mm/s^2 and lowering the jerk from 8 mm/s to about 6 or 7 mm/s. This should solve the problem.
Check All Nuts & Bolts
CHECK ALL NUTS & BOLTS
Next, you should check all of the nuts and bolts on your 3D printer. If any are loose, make sure to securely tighten them as loose screws can cause wobbly parts which will cause vibrations that will lead to ghosting on your 3D prints.
I would pay special attention to all of the screws, nuts, and bolts near the printhead and on your printer’s X-axis gantry. That’s because when these components wobble, the extrusion of filament will be shaky, causing ghosting to appear on your 3D prints.
Increase Wall Thickness
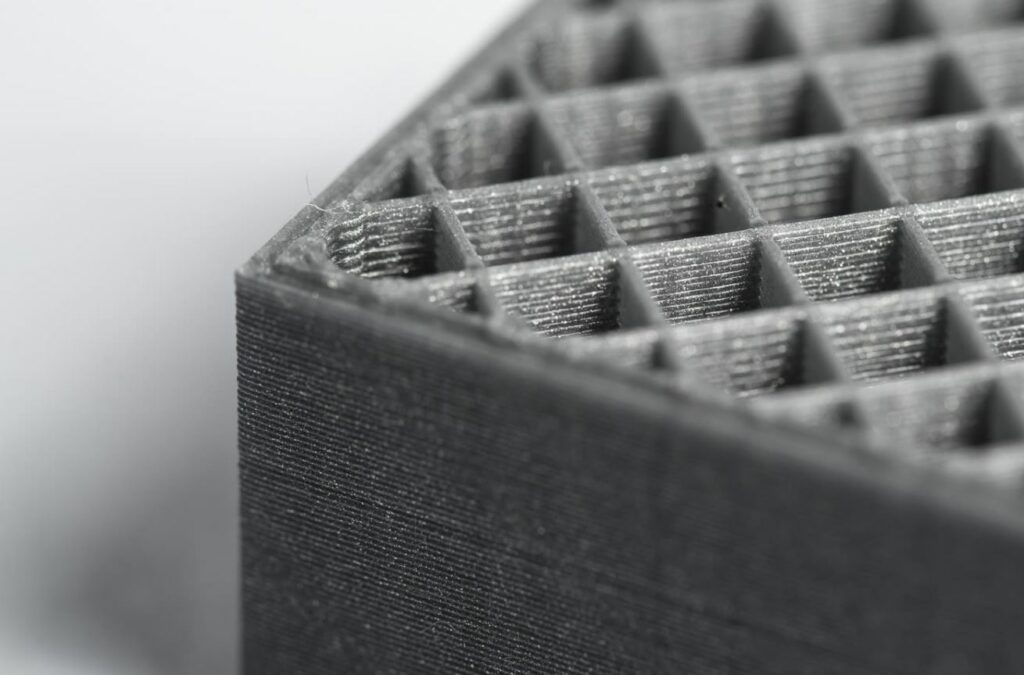
INCREASE WALL THICKNESS
While not exactly a permanent solution, you might want to increase the wall thickness for your prints.
For reference, wall thickness is how wide the walls of your 3D print are, which separates the infill portion of your model from the outside.
A higher wall thickness, which can be set in your 3D slicer (e.g. Cura, PrusaSlicer) will create a larger barrier between the infill and the outer surface of your model. This will hopefully minimize the ghosting effect on your 3D print so it’s less noticeable.
As I mentioned, increasing the wall thickness isn’t an actual solution. Just a way for the problem to be less visible.
Secure the Print Bed
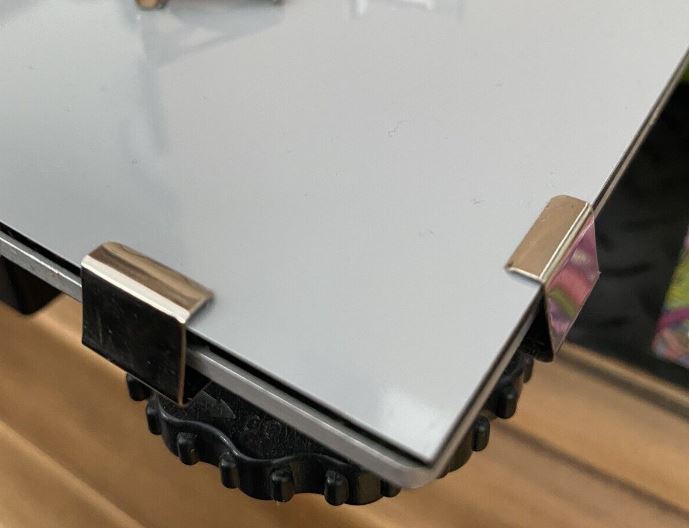
SECURE THE PRINT BED
Finally, another potential solution for ghosting is securing the print bed. If you’re not already using four clips to hold your build plate down to the frame of your 3D printer, start by doing that. And if you already have four clips, a fifth or sixth one doesn’t hurt, especially if the current clips aren’t too tight.
Bottom Line
In conclusion, 3D printer ghosting and ringing can be a frustrating issue, especially for those who are new to the technology. Luckily, ghosting can be easily fixed by adjusting a few slicer settings or making a few hardware adjustments on your 3D printer.
Before you get started trying out different solutions, though, I suggest checking that your issue really is ghosting or ringing, and not layer shifting, which has similar effects on prints.
Once you’ve determined that you’re dealing with a ghost (lol), then start by lowering your printing speed by 5-10 mm/s. I also recommend slightly lowering your acceleration and jerk settings in your 3D slicer.
As for hardware adjustments, you should start by tightening all the belts on your 3D printer’s axes. Then, make sure all the nuts, bolts, and screws on your machine are securely fastened. Finally, make sure the print bed is properly attached to your printer’s frame.
And, as a last resort, you can increase the wall thickness in your 3D slicer. This doesn’t stop the issue, but it does mask the visual distortions that ghosting causes on prints.
Remember: with just a little patience and experimentation, you will be able to achieve a high-quality print that is free from ghosting and ringing.
Related 3D Printing Issues:
- For more list of common troubleshooting problems and solutions check out our article.