

If you want to print something, you’ll need an STL file. It’s like the egg of a 3D print.
While 3D printers can’t directly interpret and print an STL file, you still need this file to get the G-code file, which is what your 3D printer actually uses to make your desired 3D model.
So how do you make an STL file?
Well, the main way to make one is by using computer-aided design (CAD) software, like Fusion 360 or Onshape, and creating a 3D model. From there, you can save and export the model in the STL format to use for 3D printing (or something else) later.
Want to learn more about the specifics of how you can make an STL file? Just keep reading!
Table of Contents
What is an STL File?

The STL file format is a digital format for storing 3D model data. For reference, STL stands for Stereolithography, a 3D printing technology, and the extension for this file format is…you guessed it…“stl”.
The STL format stores 3D model data through a surface mesh composed of triangles. And unfortunately, no colors, textures, or animations on a 3D model can be stored through the STL format.
I won’t bore you with the full history of the format, but it’s worth noting that many other 3D model formats have been developed since the STL’s release in 1987. While these formats, like the STEP and OBJ, might offer improved model precision and the ability to store color and other features, the 3D printing community has stuck with the STL format.
Furthermore, the STL file format is still the most commonly used format for any software having to do with 3D printing, including 3D slicers, G-code viewers, and more. Because millions of people still use and want the STL format, most computer-aided design (CAD) software programs also have continued support for the format.
How to Make an STL File
HOW TO MAKE AN STL FILE
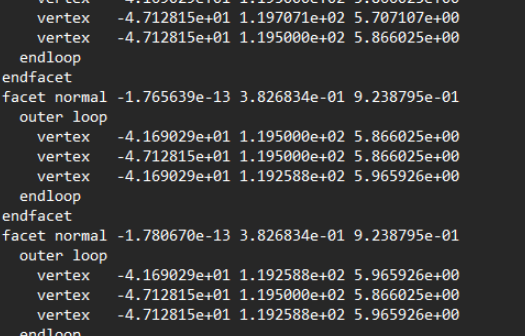
The main way to make an STL file is to use a 3D modeling program, also known as CAD software. Of course, another way to make STL files is by learning how to write data in the STL file scheme, like in the snip-bit below, but I don’t think anyone here is interested in doing that, so I’ll skip that method.
In the sections below, I’ve gone over how you can make an STL file using a CAD program.
1. Get CAD Software
First, you’ll need to pick out computer-aided design software. You can basically choose any CAD software you want, as almost all of them have 3D modeling tools and support STL files, as well as other formats. However, if you’re unsure of what software to use, I’ve briefly gone over three of the most popular options below:
Fusion 360
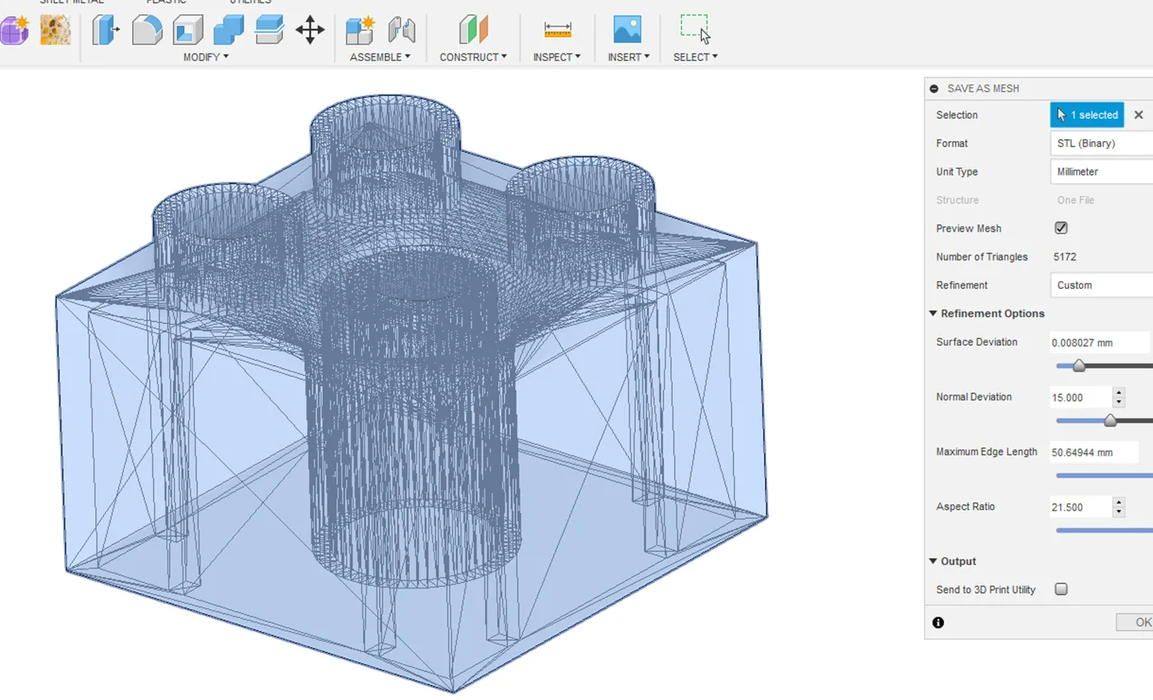
FUSION 360
Fusion 360, developed by Autodesk, is probably the most popular CAD software program for hobbyists. It’s got tons of different 3D modeling features, offers assembly options, and supports many different file formats, including STL files.
Additionally, Fusion 360 features a built-in 3D slicer, so you can go from designing a part to making it 3D print-ready without having to open another software. However, Fusion 360 is probably best for intermediate or advanced users as its features may seem a bit overwhelming.
Onshape
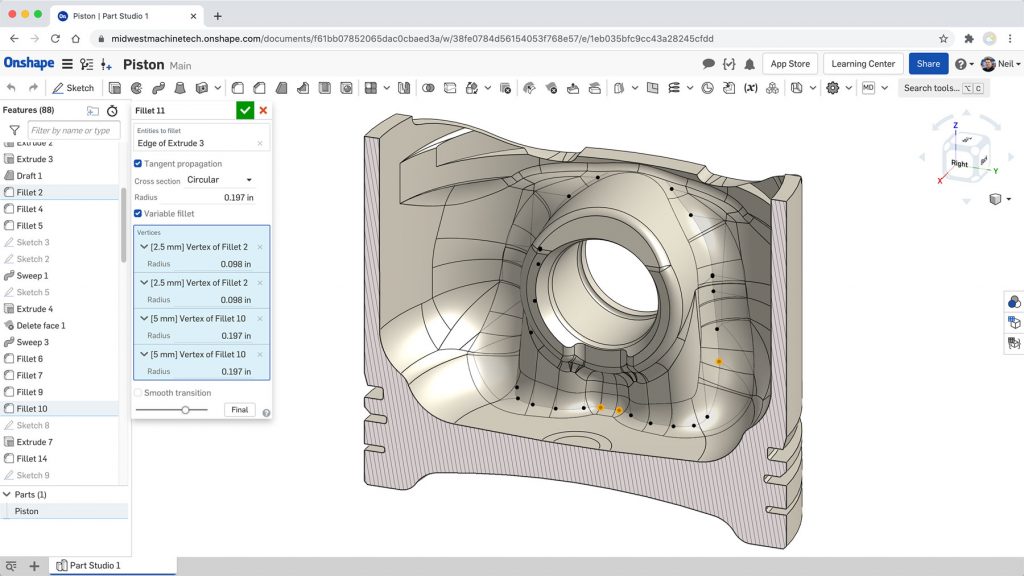
ONSHAPE
Onshape is a completely web-based 3D modeling program with a strong focus on tools for designing mechanisms. Its sketching and 3D modeling tool suites are very expansive, and, of course, it supports STL files, so you can export your models in this format.
Similar to Fusion 360, Onshape is probably best for those who already have a little experience with CAD.
TinkerCAD
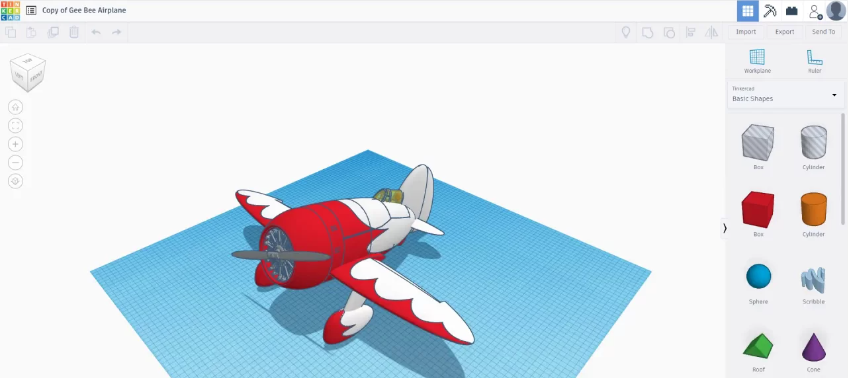
TINKERCAD
Lastly, TinkerCAD is another program by Autodesk. Like Onshape, TinkerCAD isn’t a software, but a web-accessible 3D modeling program, and it’s primarily catered towards beginners and those completely new to CAD. TinkerCAD offers basic 3D modeling tools and supports STL files, as well as a few other formats.
2. Design 3D Model
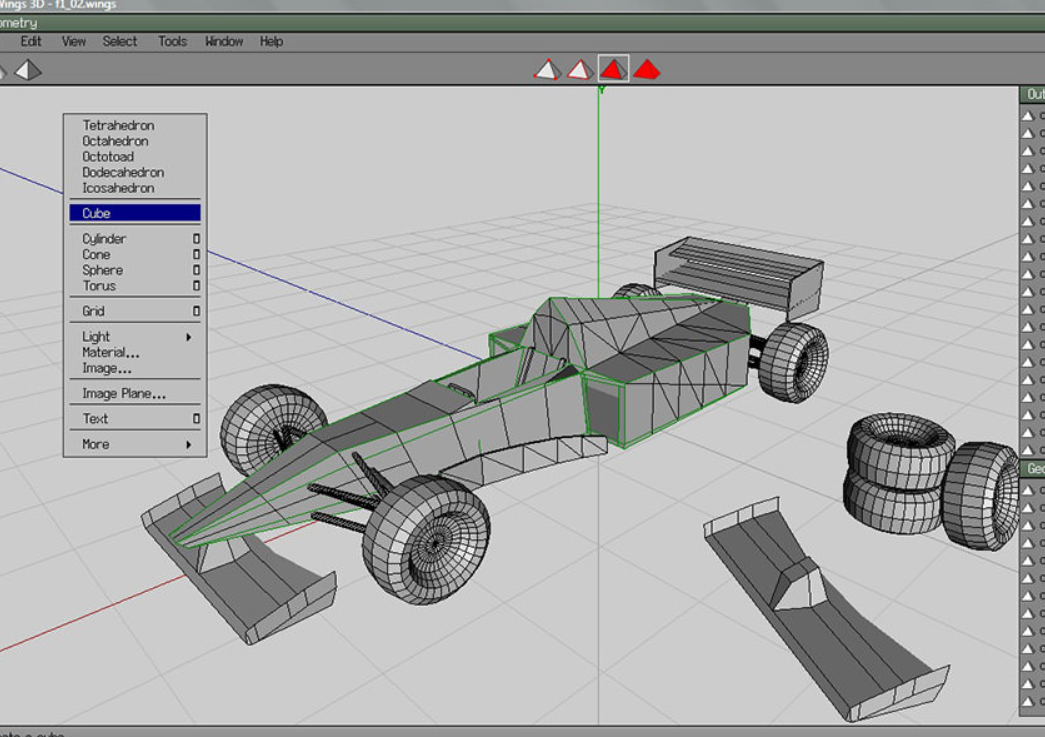
Once you’ve picked out and downloaded your CAD software, it’s time to design your 3D model.
I can’t really instruct you on how to design your 3D model as I don’t know what you want to design, only you do. However, I will say that if you plan on 3D printing the design, you should keep in mind overhangs as well as how detailed the model is, as both of these play a factor in how easily 3D printable a model is.
3. Export as STL File
Once you’ve finished your design, it’s time to export your 3D model in the STL format. To do this, you just need to find and click the “Save As” or “Export” button in your CAD program. Then, select the STL format and choose the location on your computer where you want the file to save.
That’s it! You’ve just created an STL file; see how easy that was!
Can You 3D Print STL Files?
No.
As I mentioned before, you can’t actually 3D print an STL file. That’s because a 3D printer’s motherboard isn’t made to interpret an STL file or any other file format that stores 3D model data. It wouldn’t know what to do with it and if you put an STL file on a microSD card, it might not even show up on the LCD when you plug it into your 3D printer.
Moreover, if you want to 3D print an STL file, you’ll need a G-code file. I’ll talk more about this in the next section.
How to 3D Print an STL File: Step-By-Step
To 3D print an STL file, you need to turn it into a format that your 3D printer machine can actually read and interpret. I’ve gone over how to do this in the steps below!
1. Pick a 3D Slicer
First, you have to pick out a 3D slicer program.
If you’re unfamiliar with the term, a 3D slicer is a digital program that generates a set of G-code commands for printing a 3D model based on parameters (AKA slicer settings) you set.
There are many different 3D slicers out there, and different slicers offer different settings. Typically, the more adjustable settings on a 3D slicer, the more versatile the program because this means you can control how your model is printed in more ways.
My personal favorite 3D slicer is Ultimaker Cura, the most popular 3D slicer program for FDM printers. However, PrusaSlicer is another great option. Feel free to pick any 3D slicer you want!
2. Upload STL File to 3D Slicer
Next, open up your 3D slicer and upload your STL file into the program.
You can usually do this by clicking the “Open” button on the slicer’s interface and selecting your downloaded STL file from your computer’s storage.
Make sure that the STL file opens up in your 3D slicer and doesn’t have any importing issues. If it does, consider using a mesh editing tool, like MeshMixer, to fix the file. Or, if you can’t fix the model, try downloading a different one.
3. Adjust Slicer Settings
Now, it’s time to adjust the slicer settings. Doing this allows you to control how your model is printed and, thus, some properties – like strength and weight – of your part.
You shouldn’t need to adjust many slicer settings if you’ve already configured your 3D slicer for your specific 3D printer. That’s because most 3D slicers have a default slicing profile (slicer settings) for compatible printers and these settings work pretty well.
However, if you want your model to be strong, you can increase the infill density and the layer height. Or, if your model has a lot of detail that you want to be printed well, you can try decreasing the print speed and lowering the layer height.
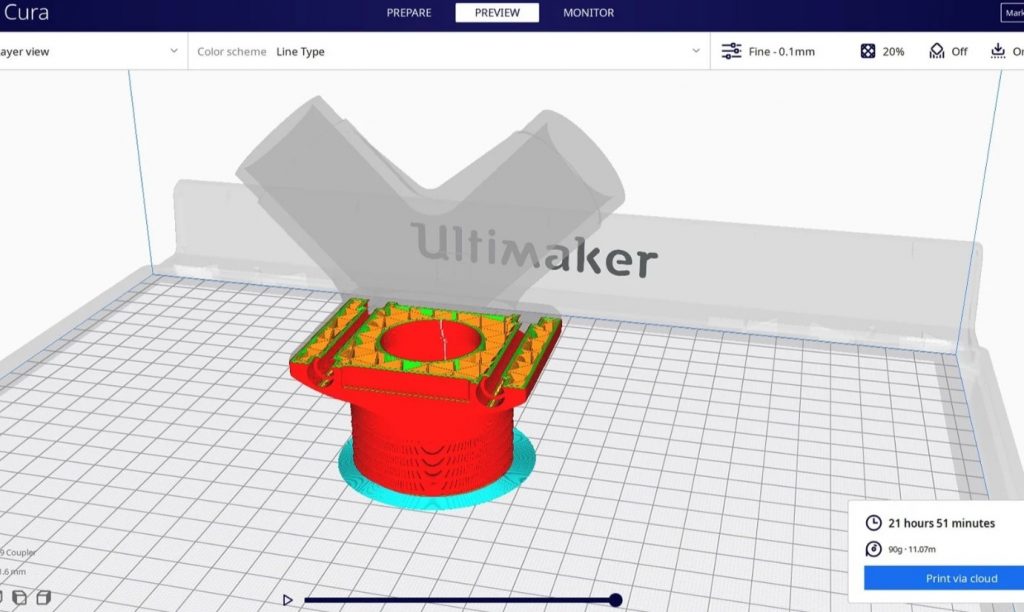
5. Slice 3D Model
Once you’ve tuned your slicer settings based on the desired outcome of your 3D model, it’s time to slice the part. You can do this by clicking “Slice” in your 3D slicer program!
Just so you know, by clicking “slice”, you’re telling the program to generate a script of G-codes based on the 3D model and the given parameters. Most print jobs take just a few seconds to slice.
6. Save G-Code to MicroSD Card
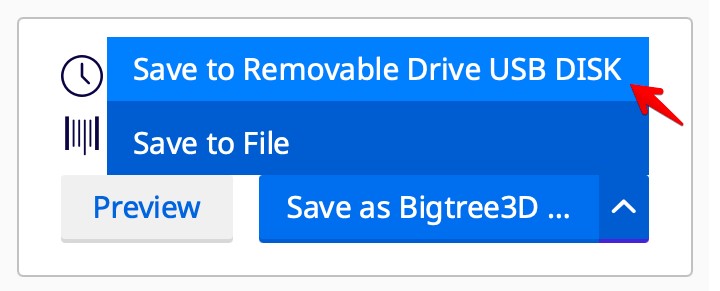
If you want to print your sliced 3D model, then insert a MicroSD card (or another storage option) into your computer, and save the G-code file to the memory card. If you’re using Cura, you can do this by choosing the “Save to Removable Drive” option at the bottom right corner of the interface.
7. Upload to 3D Printer
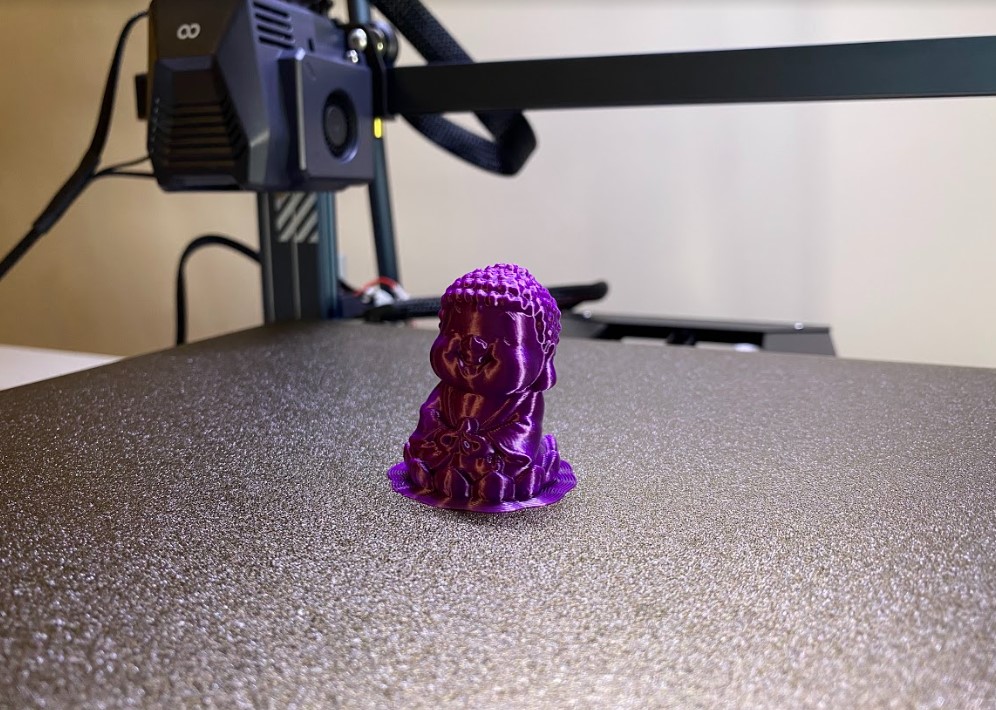
Finally, insert the MicroSD card (or another memory device) into your printer’s motherboard and start the print!
That’s all it takes to go from an STL file to an actual 3D print job being started! While I might have been a little wordy in my explanation, I promise you the whole process takes no more than a minute or two when you’re fast.
STL Files VS G-Code
STL files and G-code files are not the same. As I’ve mentioned, you can only 3D print G-code files, and you can’t simply upload an STL file to a 3D printer.
The reason for this is that STL files and G-code files are not the same.
Furthermore, the STL file format is a format that captures the surface geometries of a 3D model through triangles. Of course, the file can be transcribed into text, but, at the end of the day, its purpose is to store 3D model data.
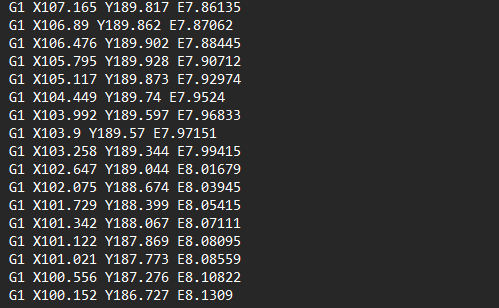
On the other hand, the G-code file format, which follows the extension “gcode”, is a format that simply stores a list of G-code commands. These commands, such as “G1 X100 Y100”, are interpretable by microcontrollers, which is what the motherboard on a 3D printer is. Moreover, these G-code commands define a specific action that the machine should follow, like moving the X-axis and Y-axis 100 mm forward.
So, if you are working in a CAD program, then you can and should use an STL file. However, if you’re trying to actually upload a model for 3D printing to your 3D printer, then you’ll need a G-code file, which can be derived from an STL file by slicing it in a 3D slicer program.
Conclusion
Going from an idea to a physical 3D printed part might seem like a complex process, but it’s actually fairly easy. If you’ve got a 3D printer, then the only real work you have to do is make an STL file.
To make an STL file, you have to first pick a design software like Fusion 360. Once you’re in your CAD program, you can make whatever you want using the sketching and general 3D modeling tools available. Finally, you just need to export the finished 3D model in the STL file, and there you go!
To actually 3D print the STL file, though, you’ll need to turn it into a G-code file. You can do this by opening up a 3D slicer program, like Cura, configuring it for your 3D printer, and uploading the model. Once uploaded, you can adjust different slicer settings and then slice the model to turn it into a G-code file, which you can give to your printer to actually make the design!
And that’s it! Enjoy!