
If you have a 3D printer, you’re probably familiar with supports, the add-on structures that allow you to 3D print models with overhangs.
I used to absolutely HATE using support. They’re so damn hard to remove from the model! And, even when you do manage to get them off without damaging your model, they leave an ugly, rough texture on the surface of your print.
But removing supports from a 3D print doesn’t have to be so hard, especially if you’re doing it the right way. I’ve found the best method to remove 3D printing supports is to let your model cool for 10 minutes and then gently tug at the support structures before finishing the job with some needle nose pliers.
For a more in-depth overview of the best way to remove supports from 3D prints, just keep reading!
Table of Contents
What are 3D Printing Supports?
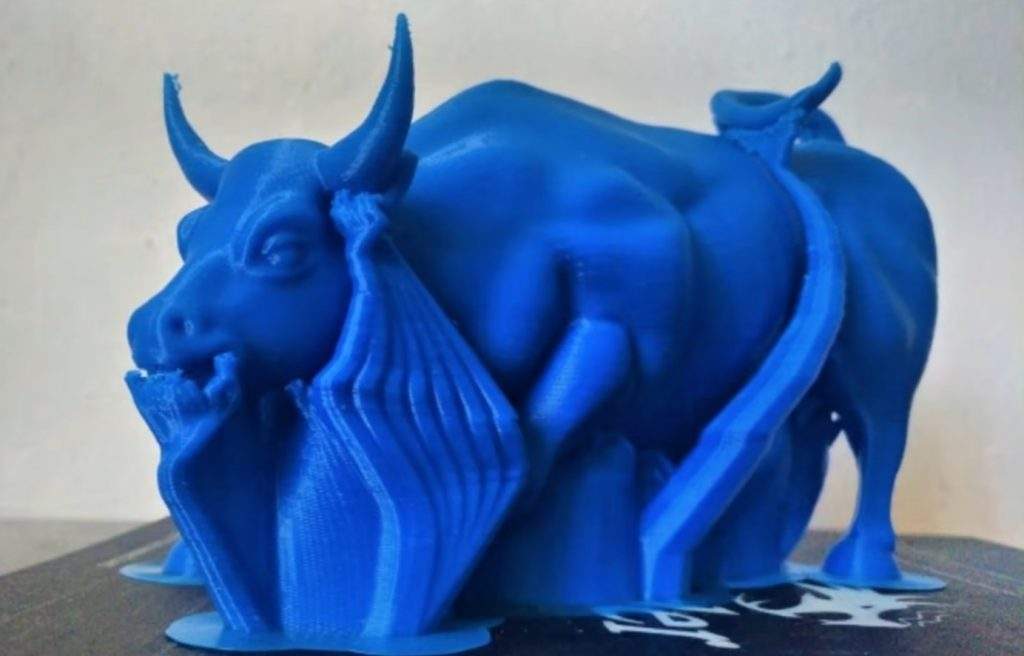
3D printing supports are structures that are generated by your 3D slicer program (e.g. Cura) meant to support overhangs on your uploaded model.
Per basic physics, a 3D printer isn’t able to print in thin air. As such, large overhangs on a 3D model require structures, known as supports, that will hold them up in order for the print to go well. Without supports, these sharp overhangs would end up being a blob of melted plastic.
There are two different types of support structures on a 3D model, and I’ve gone over each below.
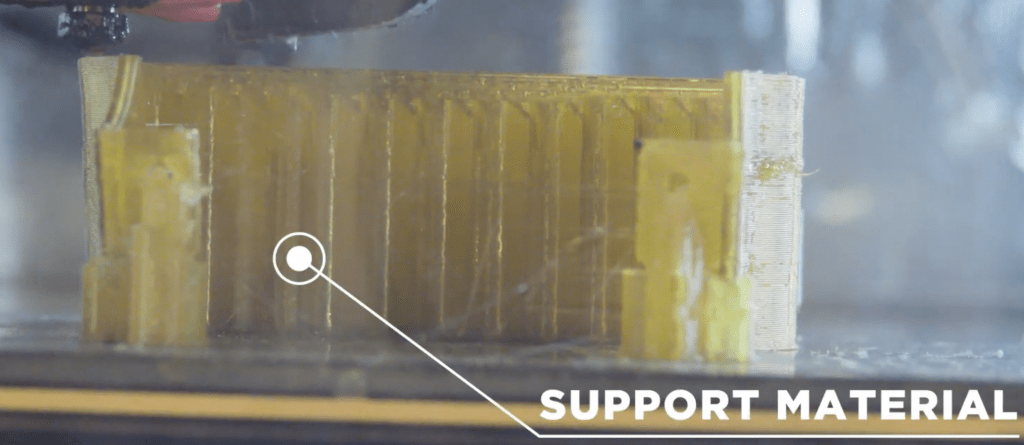
Linear
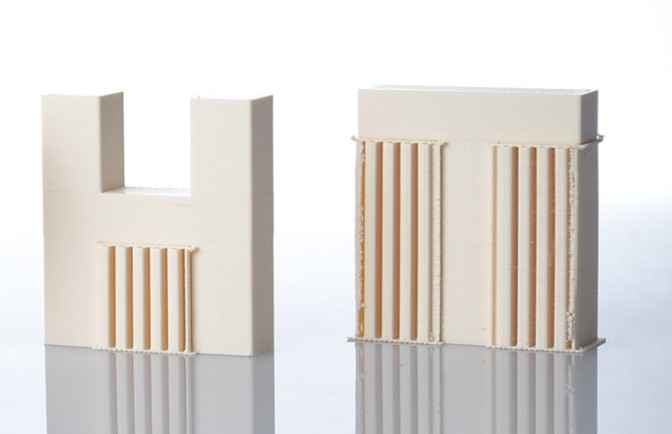
Linear supports, also called normal supports, are the most common type of support structure. Linear supports are simple rectangular geometric structures that are placed by your slicer directly under an overhang on a 3D model.
Linear supports are optimized for simple prints with overhangs that are easy to reach.
You can see an example of linear support below:
Tree
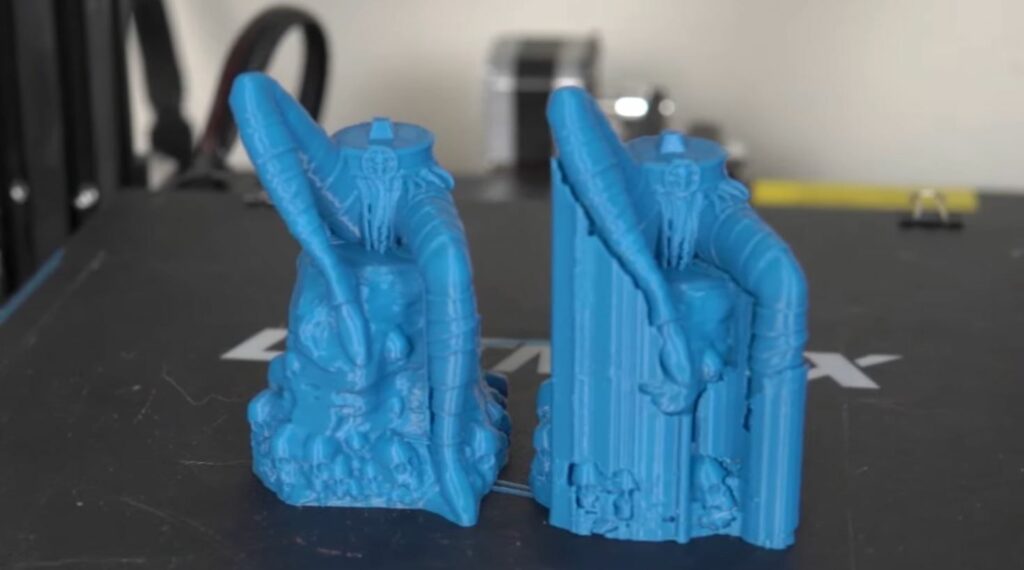
Tree supports are a more specialized type of support structure. Tree support structures are organic geometries that hold up the overhangs on a 3D model in a very unique way.
Unlike linear supports, tree support structures don’t follow a straight path up to an overhang, and they’re also not always placed directly under an overhang. Instead, they have a tree-stump-like base and follow an organic path that somewhat resembles a branch on an oak tree, hence their name.
While tree supports might seem very showy, they’re actually very useful for providing support to a hard-to-reach overhang. As such, tree supports are popular when printing miniatures and other models with a lot of small detail and overhangs.
You can see an example of tree supports in the image below:
When to Use Supports?
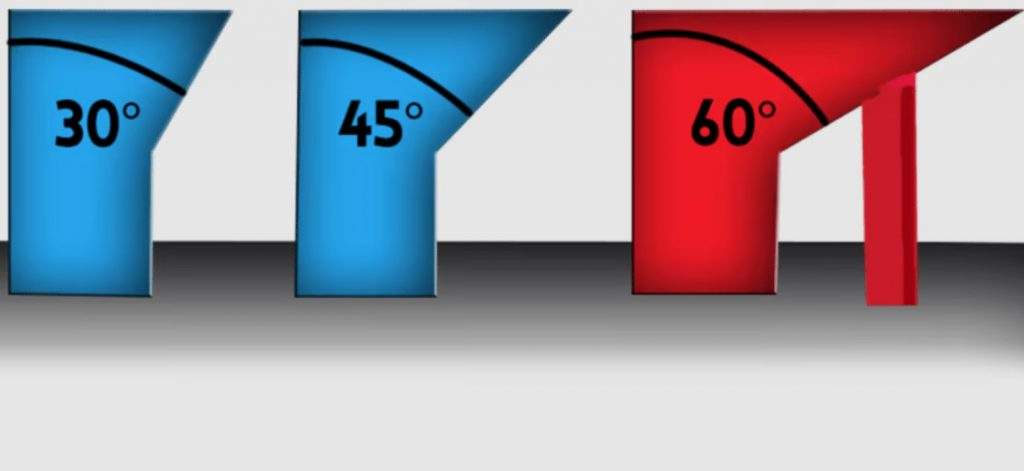
You should use supports whenever you’re printing a model with big overhangs.
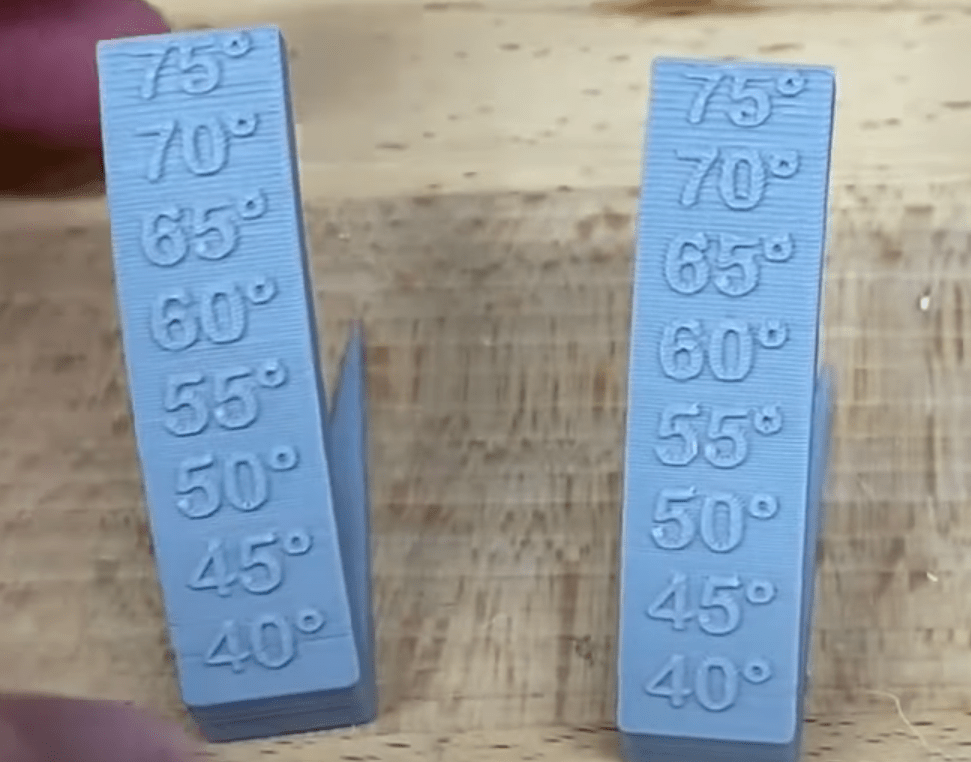
Not all overhangs require support structures, though, as your 3D printer is capable of printing at small overhang angles without an issue.
The Minimum Overhang Angle is a setting in your 3D slicer that controls the smallest overhang angle that your slicer will start to generate support structures. I suggest using a Minimum Overhang Angle of 45°.
5 Simple Steps on How to Remove 3D Printer Supports
Now, it’s time to get to how you can remove 3D printer supports. In the sections below, I’ve gone over the steps for the best method for removing support structures from a 3D model.
1. Let Print Bed Cool
First, you should let your print bed cool so that your 3D printed model and the build plate itself are at room temperature. If your printer is in an open-aired environment, this should take about 10 minutes. If your printer is in an enclosure, make sure to remove the print bed so that it can cool better.
2. Remove Model from Build Plate
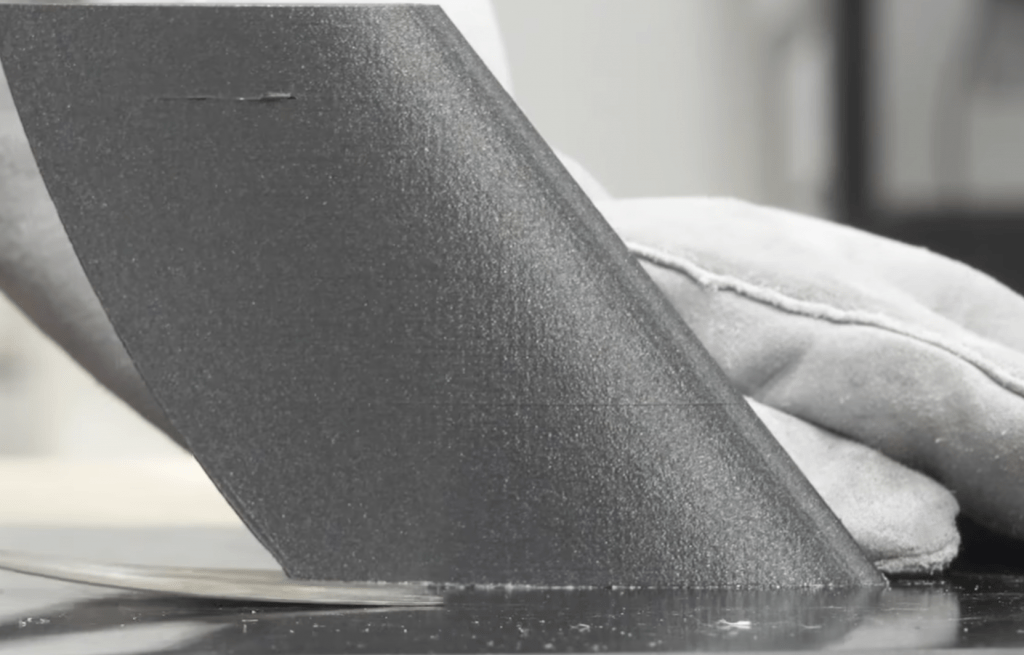
Second, remove your 3D print from the build plate. This should be pretty easy once the bed has cooled down.
If it doesn’t pop off with a simple push, then get out your bed scraper tool and push it toward the base of the print. I like to do this from a few different angles pretty rapidly until the print pops off.
3. Gently Push Supports
Once your model is off, hold it firmly with one hand and, with the other, gently push each support structure. Go one at a time, pushing the support gently to try to loosen it up.
The most important thing about removing supports from a print is to make sure you don’t break your model, so don’t try to full-force rip the support structure out because it likely won’t work.
The goal for this step isn’t necessary to remove a support structure (it would be nice, though). But instead, this step is meant to just loosen the support structures up a bit for the next step.
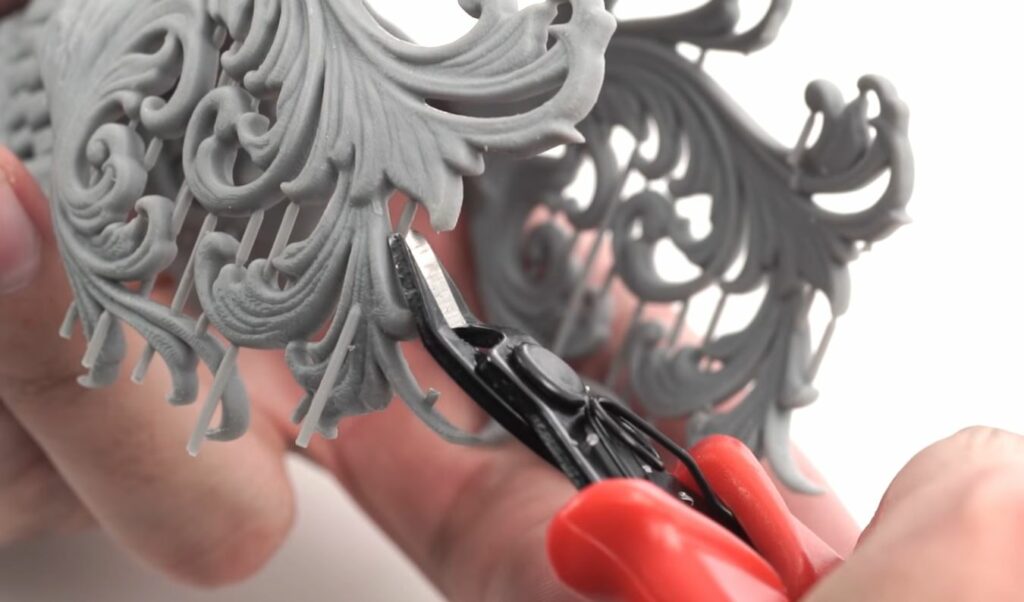
4. Use Needle Nose Plier to Pull Off Supports
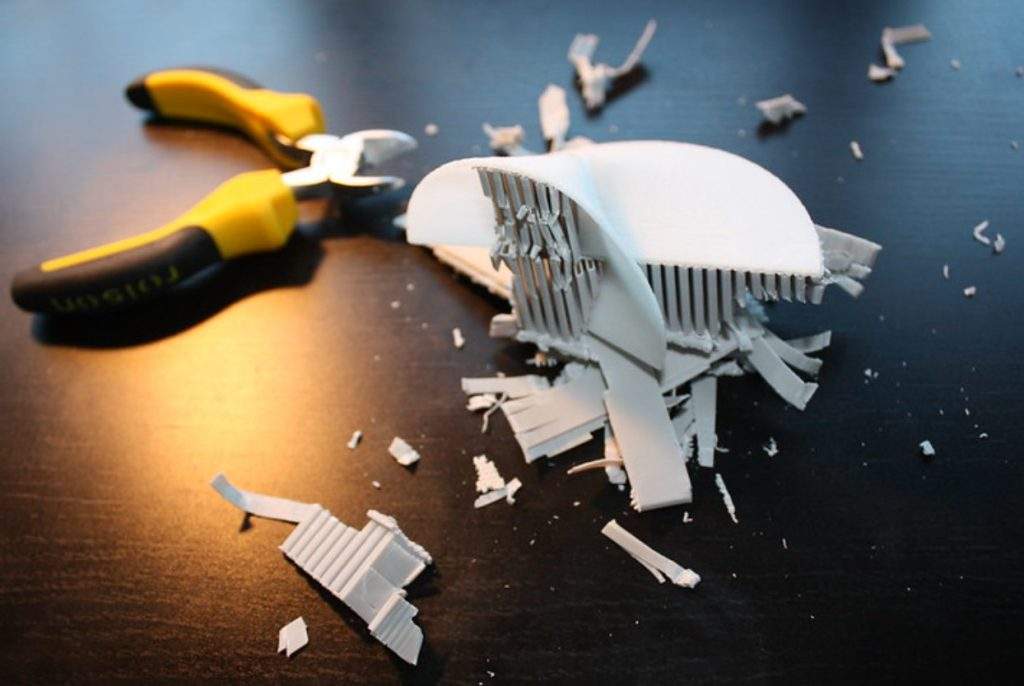
Now is when you finish the job. Take out some needle nose pliers and firmly but carefully, pull off the support structures. Like with the last step, go one by one.
Make sure you have a good clamp on the support structure. I like to hold the bottom of the structures as this provides the most torque when pulling.
Try not to apply too much force when pulling because we don’t want to break your prints. But definitely do be too wimpy either!
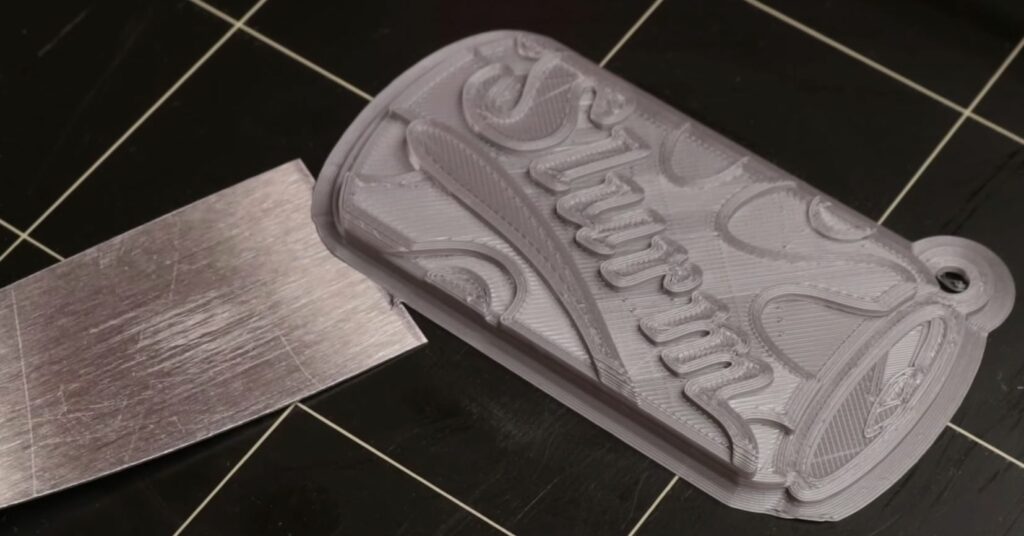
5. File Down Print
Once you get a support structure off your model, you’ll probably notice that the area where the structures touched your model is rough. You can smooth these sections of your model out by using a file.
To do this, firmly push the file’s edge along the overhangs on your model to remove any excess support material that may have stuck to your model.
And, if you don’t have a file, some sandpaper usually works too!
4 Steps on How to Remove Soluble Support Structures
If you’re one of the lucky ones and are using soluble support structures (which requires a dual-extruder printer), then the support removal process is much easier. You can follow the steps below:
1. Remove Model from Build Plate
First, remove the model from your printer’s build plate. You can do this by pushing it with your hand or using the scraper tool included with most 3D printers.
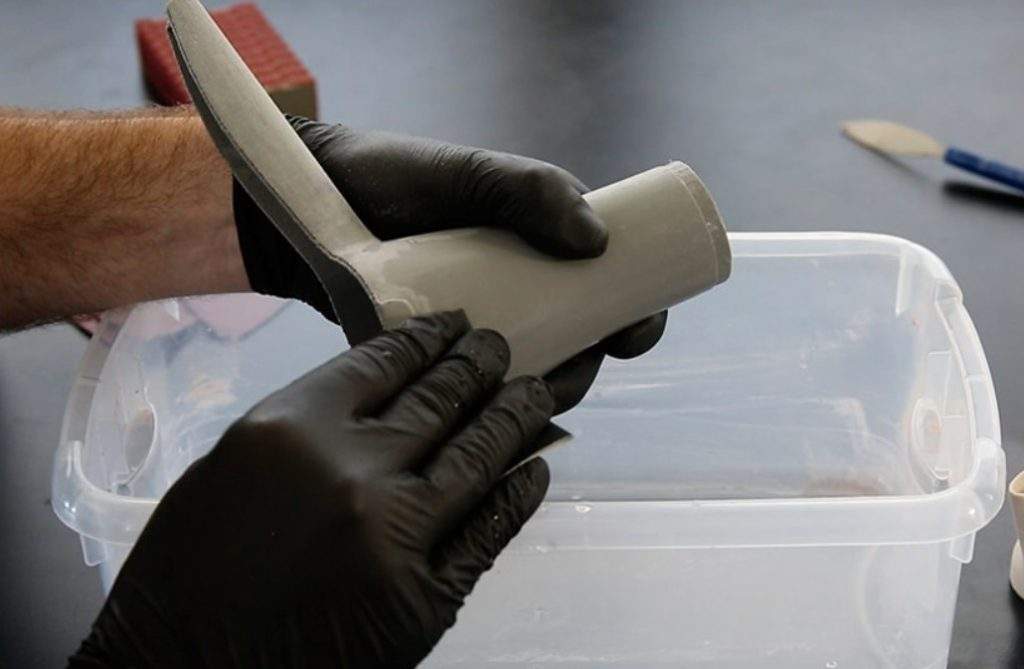
2. Immerse the Model in Water
Second, fill a bucket or cup with water or another solvent compatible with your soluble support filament material. Most filament manufacturers list what solvents work with their soluble filaments, so you can check their website.
Then, simply place your model, with the support structures still attached, into the tub of the compatible solvent.
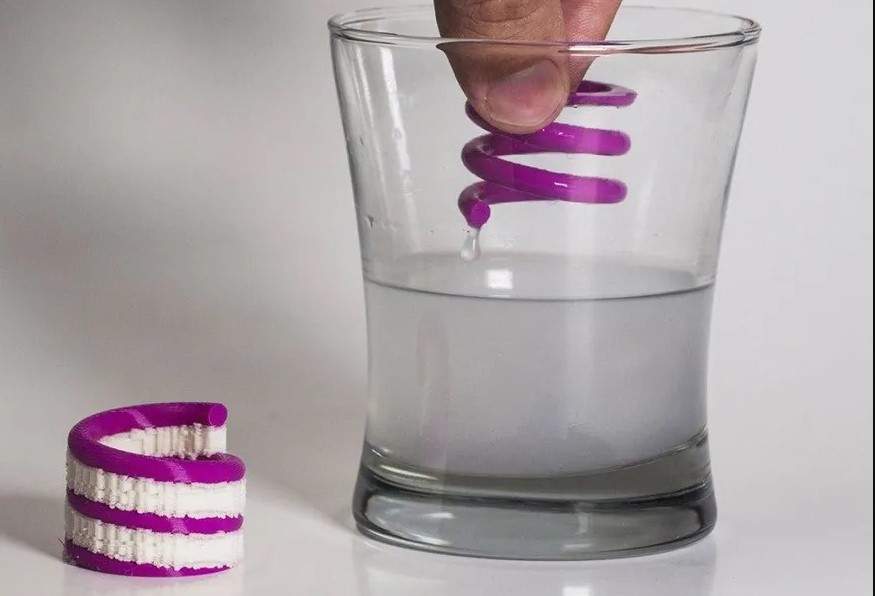
Now you just have to wait a few hours (sometimes even a full day) for the soluble filament to fully dissolve in the water.
3. Rinse the Model
Finally, after the support material has been fully dissolved, take your print out of the tub and rinse it. Make sure to rinse it with fresh water and not the milky water that your print has been sitting in for hours.
You don’t have to power wash the model or anything, but just make sure that it’s properly cleaned and all.
4. Air Dry the Model
Finally, leave the model out for a few more hours so it can dry out in the open air.
Other Tools You Can Use When Removing Supports
Below, I’ve gone over some other tools that you can use for the support removal process.
Flush Cutter
Flush cutters are like super sharp pliers, and they’re included with most Creality 3D printers (e.g. Ender 3). Because they’re so sharp, they’re perfect for cutting off excess filament material that’s stuck to your model or quickly removing entire segments of a support structure.
Scraper Knife
I mentioned a scraper knife tool a few times, but I can’t stress enough how useful this tool is. On top of helping with removing prints from the bed, it can also come in handy for removing a big support structure piece. I like to use it as a wedge tool a lot of times!
X-Acto Knife
Finally, you can use an X-Acto knife to smooth out sections of your model that might be rough. Additionally, you can use it to cut off a support structure from a print because these knives are so freaking sharp.
How to Make Supports Easier to Remove: 4 Methods
Finally, in the sections below, I’ve gone over some helpful tips, such as slicer setting adjustments, that you can use to make support structures easier to remove from a model.
1. Increase Support Gap Distance
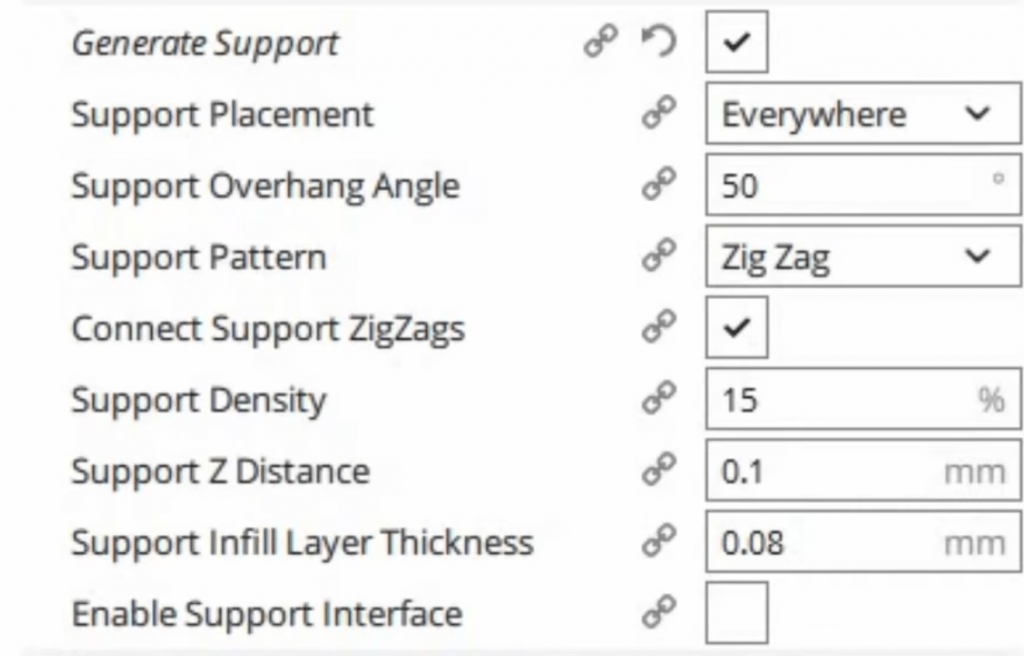
First, in your 3D slicer, increase the Support Gap Distance, which is the space your printer puts between the top of a support structure and the overhang on your 3D model.
2. Print in ABS or ASA
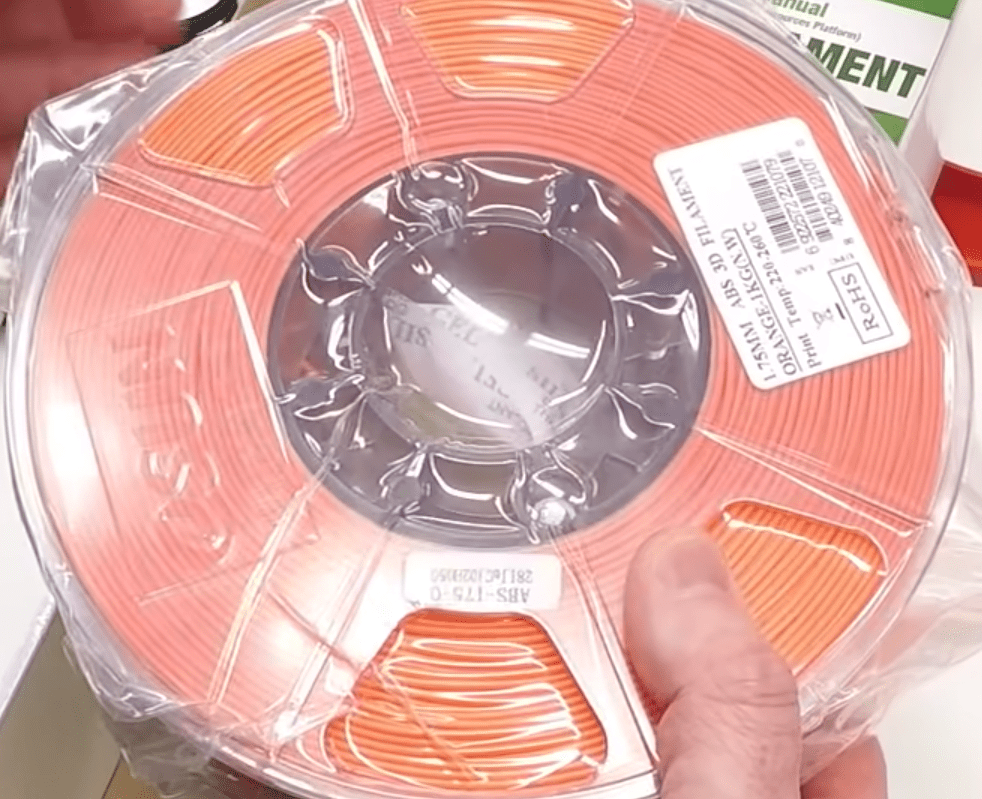
While PLA is super easy to print, it’s known for being difficult when it comes to removing supports. ABS and ASA are more difficult to print (e.g. require an enclosure), but they make removing supports so much easier because of how sensitive they are to temperature changes.
3. Increase Overhang Angle
The Overhang Angle, as I mentioned previously, is a slicer setting that controls when your 3D slicer generates a support structure for a 3D model. The higher this angle, the fewer support structures will be on your print. As such, I recommend increasing the Overhang Angle to at least 45 degrees to reduce the number of unnecessary support structures on a model.
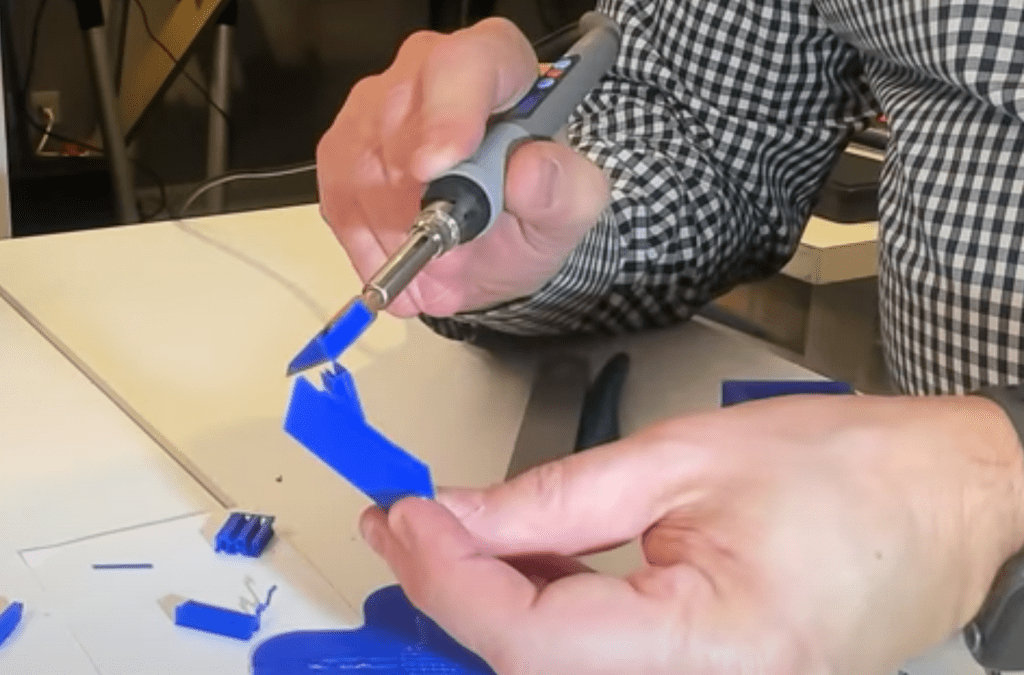
4. Heat the Knife Blade
If you heat the blade of your scraper knife or X-Acto blade, it can make removing the supports much easier. That’s because the blade will essentially melt through the support structure, removing it from your model.
Conclusion
No one likes removing support structures, but it’s a necessary step in the 3D printing process if you want to be able to print models with overhangs.
Luckily, removing supports doesn’t have to be difficult, especially if you follow the steps I discussed.
Moreover, start by letting your print cool down, then remove it from the print bed, and, with your hands, gently push the supports to loosen them up. Finally, pull the support structure off with some pliers and file (or sand) down your 3D print to smooth out the overhangs.
I also suggest increasing the Support Gap Distance setting in your 3D slicer to make support structures easier to remove for future prints!
Hope this helps!