

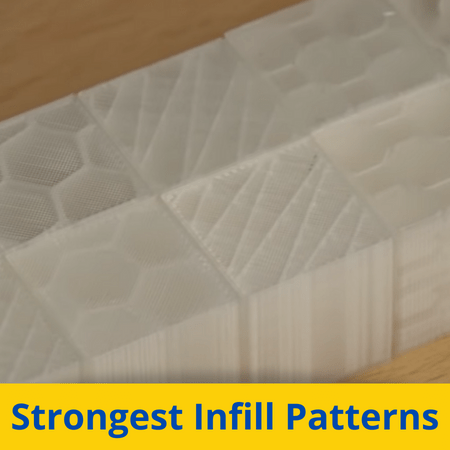
If you want to make a strong 3D print, you’ll need to become familiar with infill.
Infill is the internal filling or density of a part, and it allows 3D prints to be in between being completely solid and completely hollow.
When making a 3D print that I need to be strong, like a part for my bike, infill is one of my go-to settings. Specifically, the infill pattern can really impact the strength of the model.
In your slicer program (e.g. Cura), there are probably a few different infill patterns available. The honeycomb pattern is the strongest infill pattern, offering a lot of strength across the Z-axis. For the best 3D strength, you should pick the cubic pattern as it provides more equal strength across the X, Y, and Z axes.
If you want to hear about more of the strongest infill patterns, then keep reading!
Table of Contents
What Is Infill Pattern?
Infill pattern is the internal shape and structure of a 3D model.
The easiest way to explain infill pattern is to think about the term “infill” in two parts: infill density and infill pattern. Infill density is a percentage value that controls the internal solidity (fullness) of a 3D model. This density isn’t just randomly put into the inside of a 3D model, though, and it’s specifically arranged. This arrangement style (structure) is known as the infill pattern.
As we mentioned, there are many different infill patterns that you can choose from, and each has its own benefits and downsides. Moreover, different patterns affect things like strength, weight, print time, print complexity, and more.
Different Types of Infill Pattern Strength

Just like with a building or a bridge, different infill patterns offer different strength benefits. Some patterns provide more strength across the X/Y plane, while others provide more strength along a part’s vertical (Z plane).
It’s important to briefly go over a few types of strength because knowing how a specific infill pattern is strong will help you determine if you want that pattern for your print. I’ve gone over a few different types of strengths below:
Tensile strength: Tensile strength is the strength along the Z-axis, but I like to think about it as “the strength of being pulled”. The higher the tensile strength of an infill pattern, the more resistant to being pulled apart your model is. This is perfect for printing hooks!
Compression strength: Compression strength is the exact opposite of tensile strength and represents the strength of a part as it’s compressed from top to bottom. This type of strength is important for infill patterns because it is essentially the impact strength of a model.
Shear strength: Shear strength is across the X/Y plane, and it represents how resistant a model is to being ripped apart from its side. Shear strength follows another dimension compared to tensile and compression strength, which focuses on the Z-axis plane strength.
3D Strength: Lastly, we have what I like to call “3D strength”. 3D strength isn’t a technical measure of strength, but it refers to when a pattern offers a good mix of tensile, compression, and shear strength. In other words, it means an infill pattern can handle forces from all directions and isn’t too biased towards strength across one axis or plane.
Strongest Infill Patterns:
Now that you know about infill patterns and different measures of strength let’s dive into the strongest infill patterns for 3D printing!
1. Honeycomb
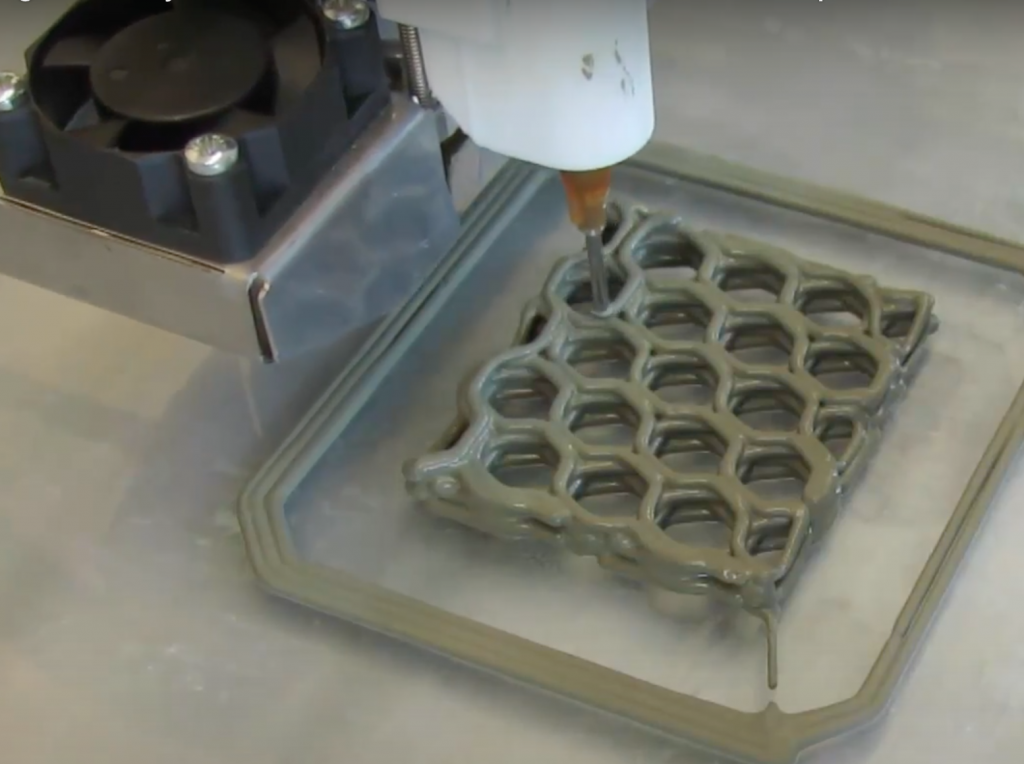
The honeycomb pattern is known to be the overall strongest infill pattern throughout the lands.
On top of having a cool appearance of a honeycomb, this infill pattern provides a ton of 2D strength, meaning the honeycomb has a high tensile and compression strength. This makes the honeycomb pattern perfect for printing hooks and similar models that will face a lot of forces that follow the Z-axis of the model.
One scientific test found that a part printed in the honeycomb infill pattern had a compressive modulus of almost three times more than the part printed with the rectilinear pattern.
But the price you pay for the strength of this infill pattern comes in the form of time and material. Moreover, this pattern increases the print time and filament usage of a print compared to basically every other infill pattern. Additionally, the honeycomb structure causes the printer to have to move in complex motions, increasing the likelihood of print quality issues like ringing on prints.
Overall, the honeycomb infill pattern is my go-to pattern when printing parts that I absolutely need to be strong. Just make sure you’re willing to pay the price in added print time, filament usage, and printing risk.
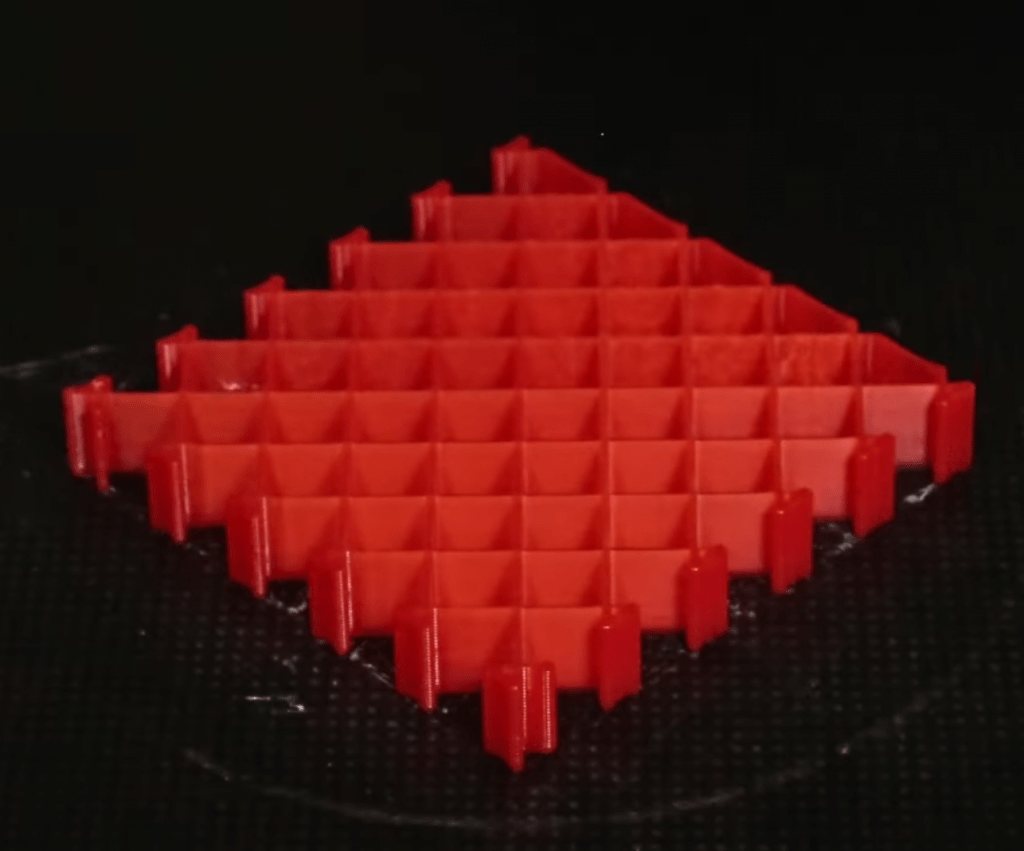
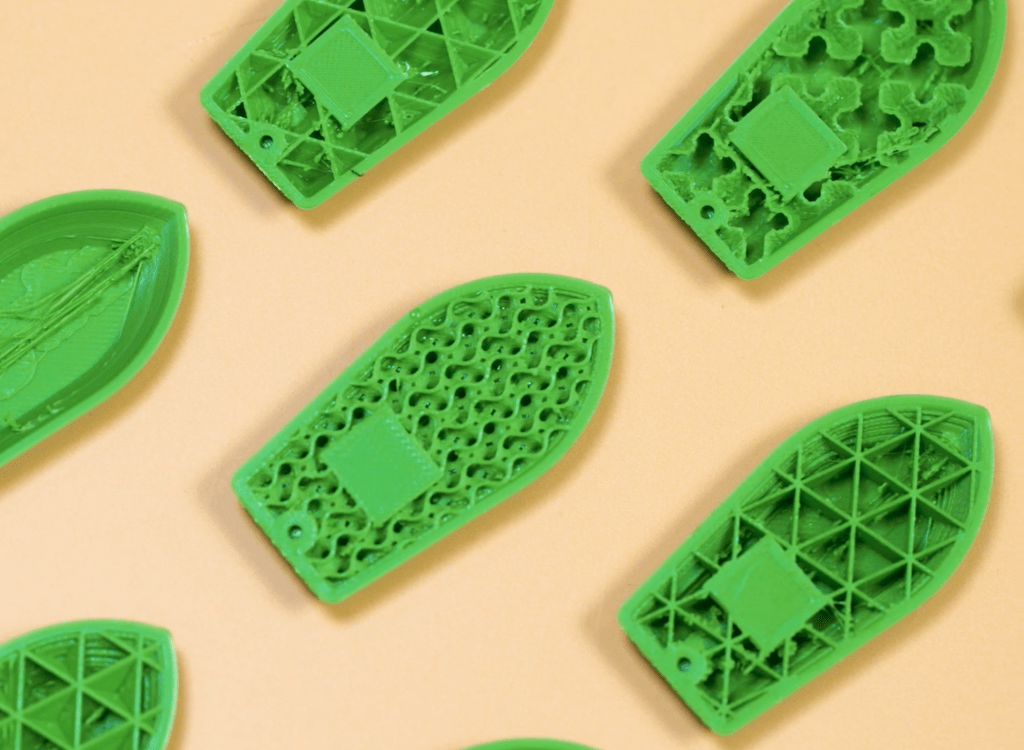
2. Cubic
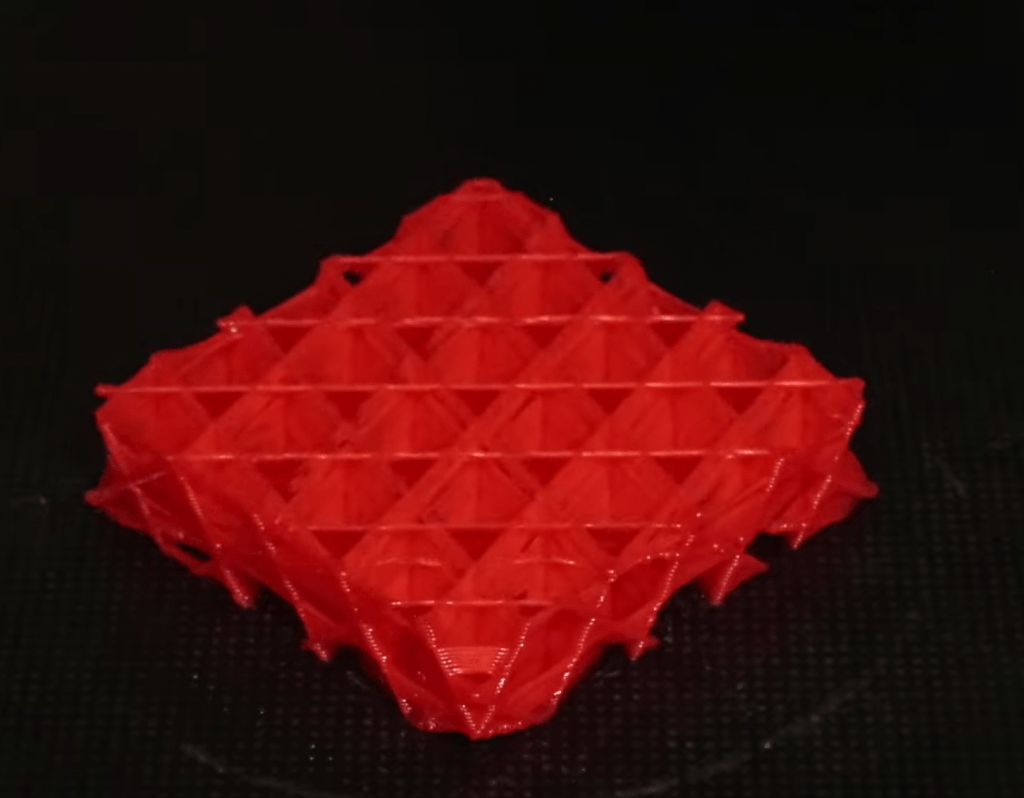
While honeycomb might lead the pack when it comes to Z-axis strength, the cubic pattern takes the cake when it comes to combined strength across all axes. In other words, the cubic pattern has a high shear strength (strength along the X/Y plane), as well as a high tensile and compression strength.
If you’ve never seen this pattern before, it’s basically a set of triangles that expand and contract back into themselves as the print goes on (layer increases). You can see this in the image I’ve provided above!
What the cubic infill pattern excels at is 3D strength. Basically no other pattern (maybe other than gyroid) can provide a shear strength close to that of their compressive and tensile strengths. And, on top of this, the cubic pattern’s strengths are also all pretty high, so parts printed in this pattern will be strong.
One study found that a part printed with this infill pattern was able to withstand about 260 kilograms of compression force and 270 kilograms of shear force. On the other hand, the rectilinear pattern could withstand about 310 kilograms of compression force but only about 190 kilograms of shear force. If you look at the numbers, the cubic pattern is simply more efficient, providing a better mix of strength across the Z-axis and the X/Y plane.
The cubic pattern also doesn’t take very long to print and isn’t known to cause print failures as much as the honeycomb pattern because the nozzle movements are more simplistic. Because of this, cubic is my favorite infill pattern for printing models that I want to be strong in all directions, like a dice.
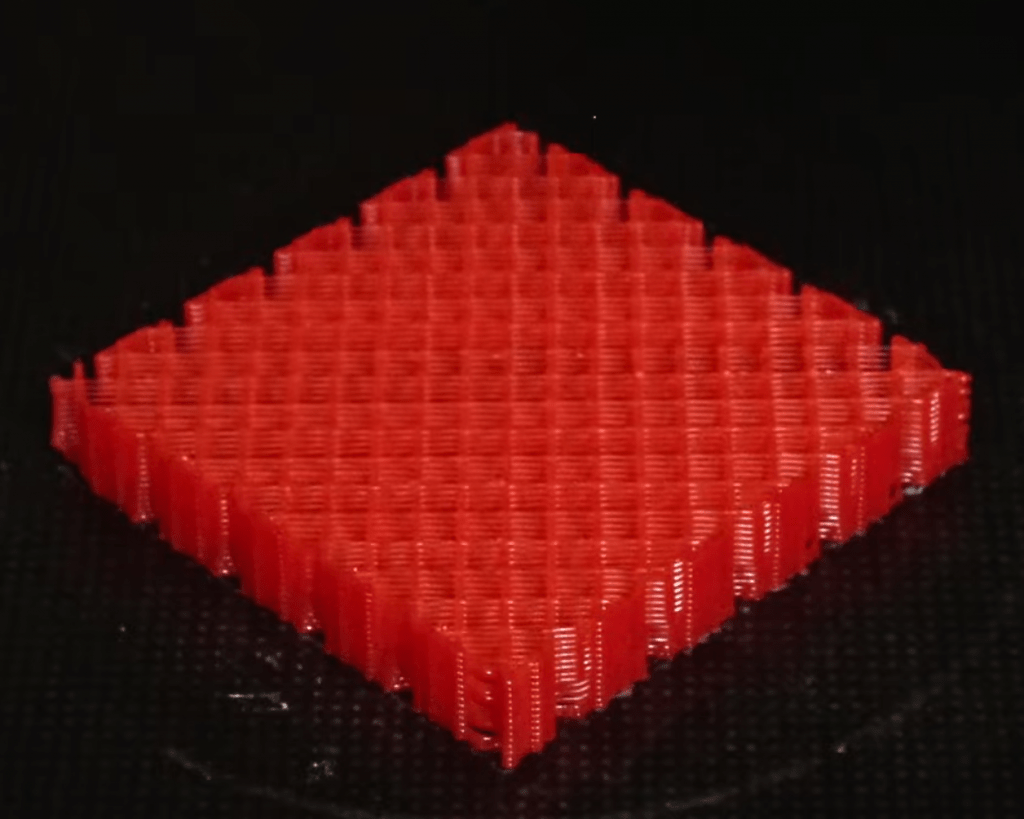
3. Grid
The grid infill pattern is another great option for strength. As you can guess, this pattern follows the shape of a two-dimensional grid, but don’t mistake it for the rectilinear pattern, which is kind of like a less solid version of the grid infill pattern.
Although it’s simplistic in its structure, the grid infill pattern is very strong, providing a lot of compression and tensile strength (along the Z-axis) for parts. In one test, it was found that a part printed with this pattern had a compression failure load of about 350 kilograms. For comparison, the part made in the gyroid pattern could only withstand about 260 kilograms.
But sadly, the grid infill pattern is inherently very two-dimensional in its structure. As such, it comes as no surprise that this pattern’s shear strength is much lower than its compression strength, with a failure load measured at just 200 kilograms.
However, as a benefit of its simplistic structure, the grid infill pattern is easy to print, with not many users reporting printing issues specifically related to the infill pattern. Additionally, the grid pattern doesn’t consume too much filament or take too long to print compared to the other options.
4. Triangles
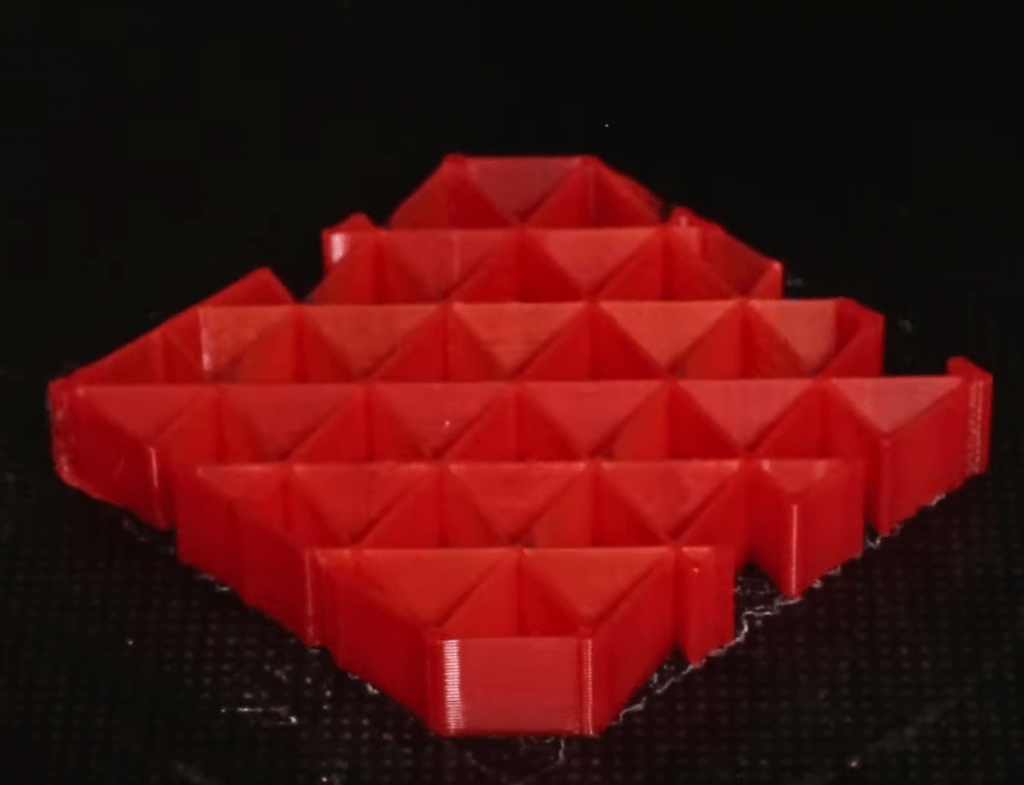
Finally, we have the triangles pattern. This pattern is a lot like the honeycomb pattern, but instead of a set of hexagons following the Z-axis plane of a print, it’s a set of 2D triangles.
Unlike the cubic pattern, these triangles aren’t converging or narrowing throughout the print. As such, this pattern doesn’t offer the same mix of compression and shear strength as the cubic pattern (not a lot of 3D strength).
Instead, the triangles infill pattern more closely matches the strength measures of the grid pattern. In fact, it’s actually even stronger than the grid pattern as it offers noticeably more shear strength and just a tad bit more compression strength per some studies.
However, what you gain in strength, you lose in print speed. The triangles pattern was measured to have about a 123% normalized print time, meaning it’s about a quarter slower than other infill patterns.
Nonetheless, the triangles infill pattern is a terrific option if you want to print strong models but want a simplistic pattern that won’t make things difficult.
Special-Purpose Infill Patterns:
While having a strong infill pattern is useful many times, strength isn’t always the number one concern for prints. For example, if you want a fast print, you may want to use a different infill pattern. Below, I’ve gone over three options that aren’t the strongest infill patterns but offer other great benefits!
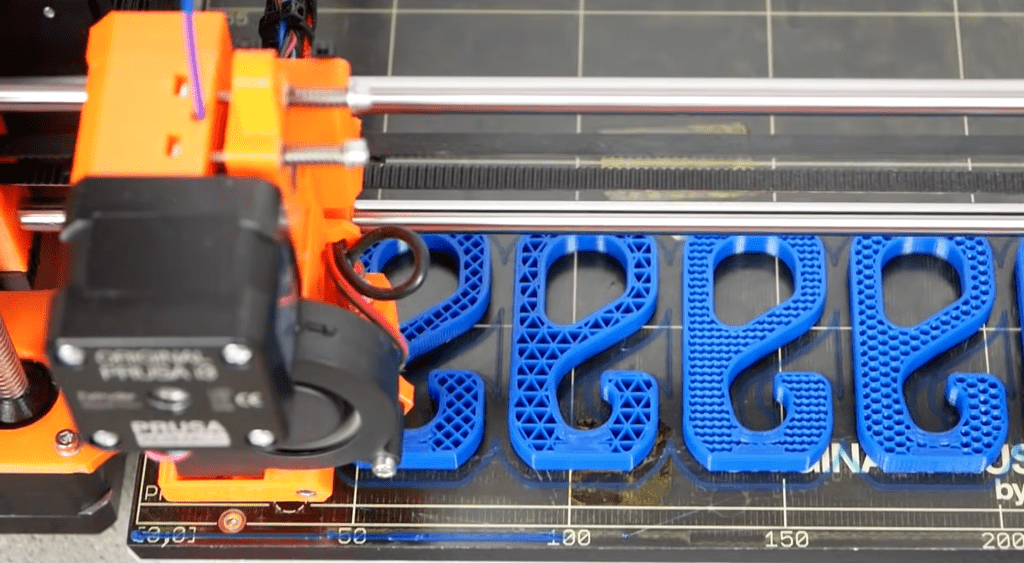
5. Lines (Fastest and Least Material)
For the fastest prints and those that use the least filament, you’ll want to use the lines infill pattern. This pattern’s structure is the simplest, with just line-after-line on the inside of a model.
Due to its structural simplicity, the lines pattern can be printed very fast because the nozzle can move at higher speeds without a chance of failure. Additionally, there is less material usage for prints made with the lines infill pattern, so using the pattern can kind of save you money.
What’s also good about the lines pattern is that it’s actually pretty strong when it comes to compression and tensile strength. In one study, a part printed with this pattern had a failure load of about 325 kilograms, just a little below the triangles pattern, which had a failure load of about 350 kilograms.
So, if you want fast prints, less money spent on filament, and decent strength, the lines pattern is the way to go.
6. Concentric (Best for Flexible Parts)
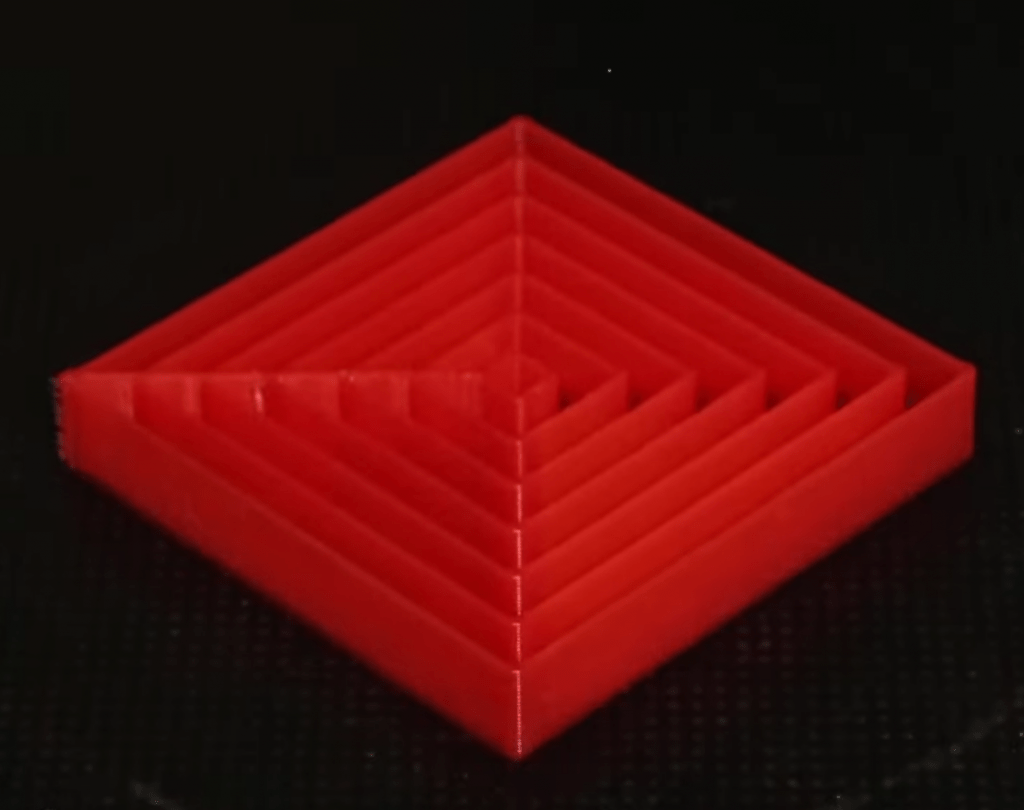
If you’re using a flexible filament material, like TPU or TPE, you’ll want to use an infill pattern that maximizes the flexibility of prints while still making them durable. The best option for this is the concentric pattern.
The concentric infill pattern has a unique structure: a collection of skinny walls that somewhat outline the shape of the model (see above image).
The effect of having such a very minimalist structure is that the outermost walls of your print can fold in on the internal ones. This wouldn’t work for prints made in traditional materials, but makes for very flexible models when printed in a flexible filament.
7. Gyroid (Best for Visual Appeal)
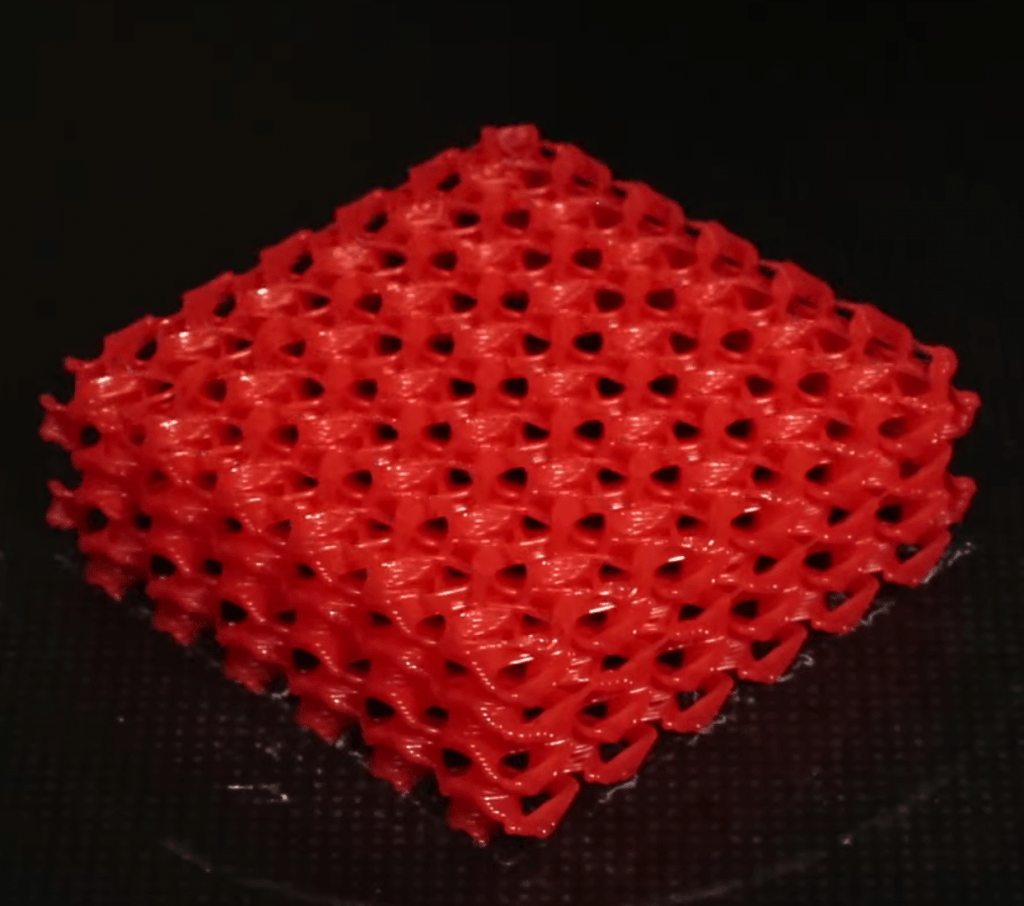
Lastly, if you’re looking for the sexiest, most visually appealing infill density in the game, then the gyroid infill pattern is for you. I swear, I’ve never seen an infill pattern that’s as cool as this one. Its structure is so organic and complex that it’s hard to even describe, so I’ve put a picture of a print following the shape of this pattern above.
I love using this pattern whenever I’m printing a model that I’m leaving with exposed infill. You can do this by setting the top and bottom layers to zero in your slicer.
But on top of its very unique appearance, the gyroid infill pattern is also equally strong across all axes. Furthermore, the compressive strength, tensile strength, and shear strength of a part printed with this infill pattern will all be the exact same. This type of strength is useful when printing spherical objects because they can withstand forces well from all directions.
Why is Infill Pattern Important?
Infill pattern is important for a few reasons, but the main one is because it affects the strength of a print. You wouldn’t want your 3D prints to be super fragile and break every time you put a little bit of force on them. So using the right infill pattern will help make sure that your 3D model is strong enough to handle its purpose.
Does More Infill Make Prints Stronger?
Yes! The more infill you have, which means a higher infill density, the stronger your prints will be. Additionally, increasing the infill density in your slicer will also increase the print time and filament usage for the print job.
But I don’t recommend only increasing the infill density to try to achieve a strong part. Instead, you should employ a few different strength-increasing tactics for your prints, such as raising the nozzle temperature, increasing the layer height, and more.
Conclusion
You might not be able to see the infill of a 3D print, but it’s super impactful on the strength of your model. As such, you shouldn’t just use any ol’ infill pattern that your slicer recommends if you want to print strong parts.
The honeycomb pattern is the strongest infill pattern, with the highest combined compression, tensile, and shear strength. This is my favorite pattern for printing parts that will face physical stresses, such as a computer stand or robot part.
The cubic pattern is the better option if you want more equal strength across different directions, like if you’re printing a sphere. The grid and triangles pattern are two other very strong options that provide good strength and are simplistic enough for any quality printer to use them.