
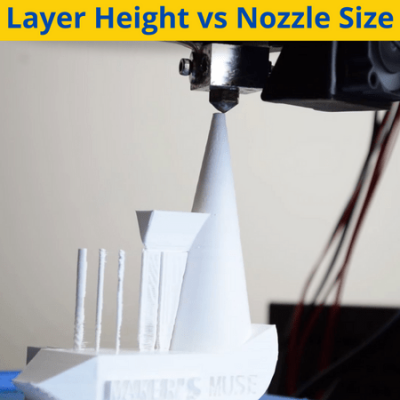

Layer height and nozzle size are two very important factors of the 3D printing process. Adjusting either will affect the strength of your 3D printed part as well as the level of detail in the model.
However, you can’t just use any layer height or nozzle size combination. Because the two printing parameters are very intertwined, you have to use them together.
This means, that if you increase one of them, you should do the same with the other to optimize your prints (getting the most strength for speed). Using a layer height that doesn’t align correctly with the nozzle size (or vice versa) is a common beginner mistake that can lead to inefficient printing and poor model quality.
On consumer printers today, the default is a 0.4-mm nozzle diameter (size) with a 0.2-mm layer height. But, if you want strong prints, the 0.8-mm nozzle and 0.6-mm layer height might be a better way to go. On the flip side, for more detailed models, a 0.2-mm nozzle size with a 0.3-mm layer height should get the job done.
In the sections below, we’ll dive more into what layer height and nozzle sizes are and how they work. Of course, we’ll also review how they affect each other and how you can use them to get the most out of your prints. Enjoy!
Table of Contents
What is a Layer Height?
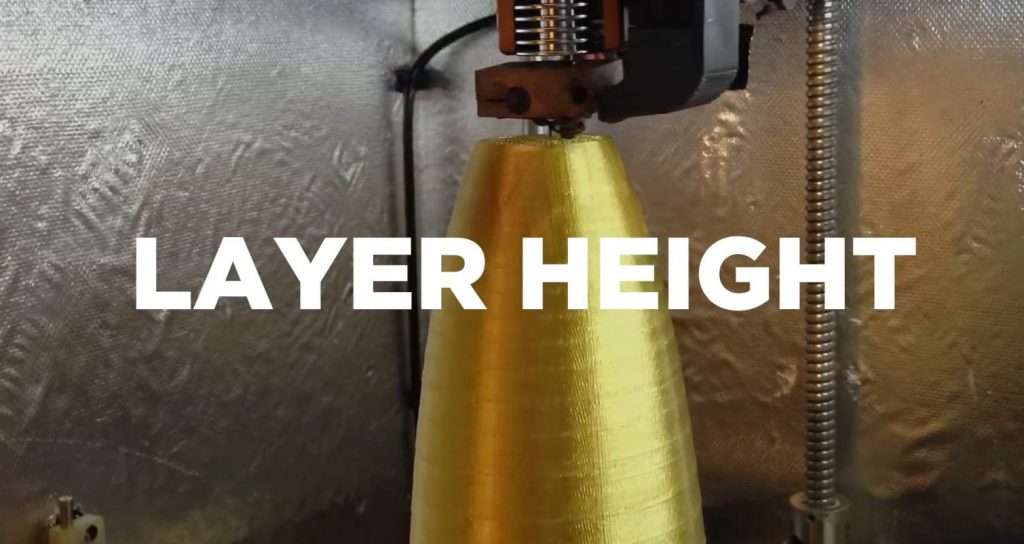
3D printed parts are made in a layer-by-layer manner. The distance of each layer is known as the layer height and this value can be controlled in the slicer profile for your printer.
Layer height greatly impacts the accuracy and strength of the print. The larger the layer height, the fewer the layers on the 3D printed model, and thus the stronger it is.
Just imagine a LEGO house made of small bricks compares to a house made of large bricks. The one made of larger bricks will obviously be stronger because there will be less places where the house’s walls can break; the same is true when it comes to layers on a 3D print.
On the flip side of the equation, a smaller layer height yields weaker prints. That’s because more layers are used, and each layer is another place where the model could break.
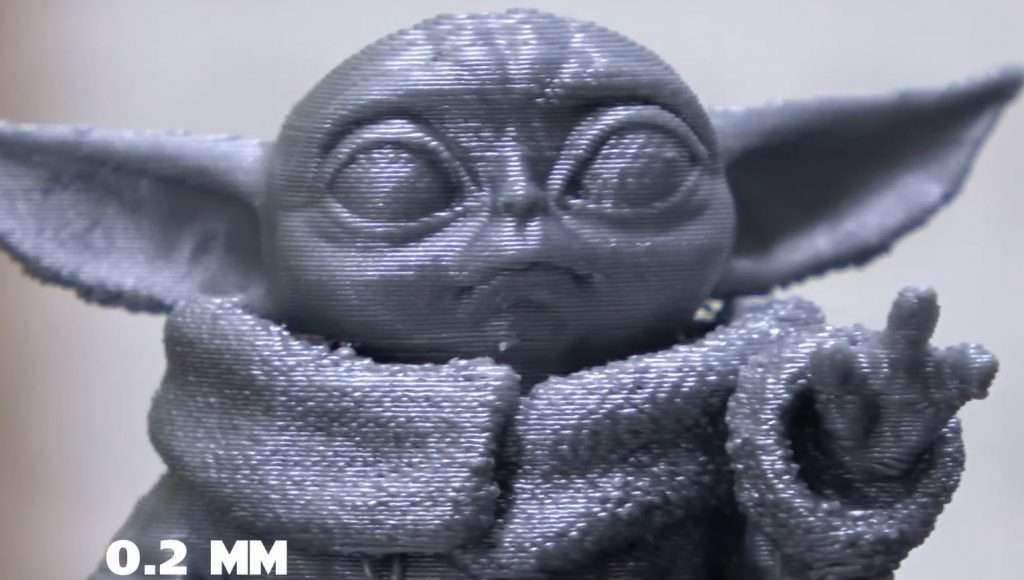
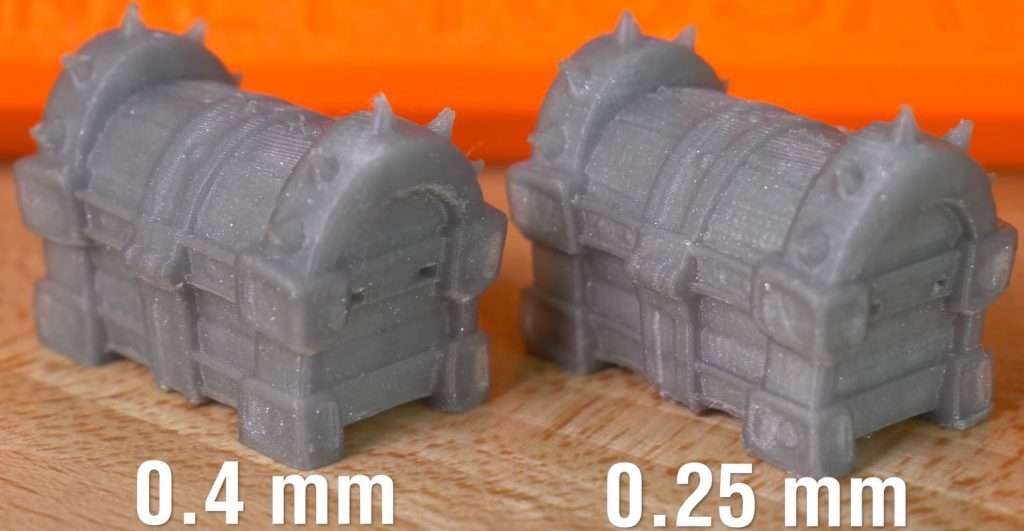
However, a small layer height has its benefits too, mainly concerning print quality. Moreover, a small layer height gives the printer more room to fit detail and small features into 3D models.
For example, let’s say you’re printing a headphone stand, and there’s a peg on the model that is only 0.1 mm tall. If you’re using a relatively-large layer height of 0.2-mm, the peg will either come out very inaccurate, being twice as tall as it’s supposed to, or it won’t be printed at all.
Using a small layer height will essentially give your 3D printer room to pack detail and small features into your prints, making them more accurate and usually higher quality.
Besides strength and detail in prints, layer height also affects other aspects of a print, such as material usage and print time.
As you might expect, a smaller layer height will increase the print time of parts because your nozzle will have to make more passes to finish a model. That’s why many people choose to use above-normal layer heights when printing larger models so that they’re not spending eternity waiting for their print to finish.
As for material usage, while it’s hard to think about, a smaller layer height actually uses less filament…but not by much. For example, a 3DBenchy model consumes about 15 grams when printed with a 0.2-mm layer height, but only around 12 grams with a 0.05-mm layer height. This isn’t much, but the results can significantly increase when you print much larger models.
While layer height doesn’t have a significant effect on the smoothness of the top and bottom of a 3D printed model, it does have an impact on the surface finish of the sides of the part. Typically, a smaller layer height can yield a smoother finish because the layers blend together more fluidly than with larger layers. However, this is really only noticeable for the sides (walls) of the 3D print as layer height doesn’t really affect the top or bottom smoothness of a print.
If you really want to achieve a super smooth 3D printed model, though, you can check out our guide to smoothing 3D prints as it presents a lot of options.
What is the Best Layer Height in 3D Printing?
Now that you know all the different ways the layer height can affect your print, you may be wondering what the best value for this setting is. Well, there’s really no one right answer.
The best layer height for you depends on what you’re 3D printing and the desired properties of the model.
If you are printing something large, like a prototype, and don’t want to wait as long for the model to finish, a large layer height better suits you. Additionally, to get stronger prints, we suggest using a larger layer height. Any layer height above 0.2 mm is relatively large, and 0.24, 0.28, and 0.32 mm are all great values if you want to stay on the larger side of the spectrum.
For more detailed prints, like miniatures or models with a lot of small features, you’ll want to use a smaller layer height. This would be any layer height under 0.2 mm. For this side of the spectrum, I’d suggest going with a layer height of either 0.16, 0.12, or even as low as 0.08 mm.
Of course, you may be conflicted between the advantages and disadvantages of using either a small or large layer height, but there’s really no way around these trade-offs. For models where you want speed but also detail, I’d recommend using a mediocre-size layer height of 0.2 mm as this offers a good mix between the print time and part strength.
What is a Nozzle?
The nozzle on a 3D printer is the lowest part of the hot end assembly, where the melted filament exits and is laid out on the hot end into the desired 3D model. In other words, the nozzle is the last component of the hot end to touch the melted filament before it goes on the print bed.
The nozzle is easily one of the most impactful components of a 3D printer. Any debris in the nozzle will cause clogs, which lead to issues like under-extrusion (gaps in layers) on prints. You can check out our guide to cleaning your nozzle for ways to ensure no debris blocks your nozzle.
On another note, all 3D printer nozzles are made out of a conductive metal material. This allows the heat produced by the hot end to travel to the tip of the nozzle to more effectively melt filament. This is necessary because you don’t want the filament to solidify while it’s in the nozzle assembly as this would jam your hot end completely.

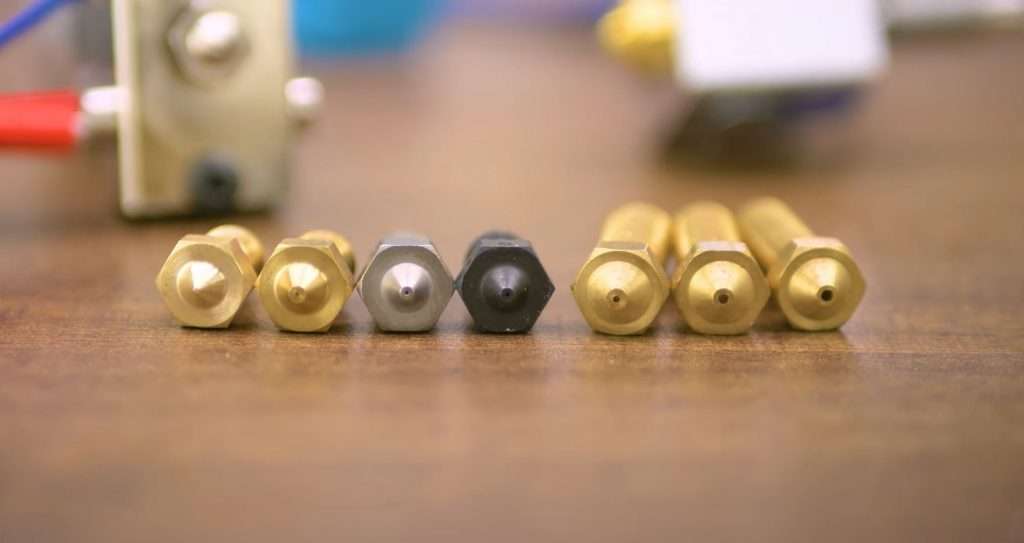
The material is one of the main ways 3D printer nozzles vary. Most nozzles on the market are made of brass, which is the least expensive but the quickest to wear out and start having issues. Hardened steel and ruby-tipped nozzles are a bit more expensive but will last you a lot longer and provide more consistent extrusion.
Besides nozzle material, different nozzles also have different diameters. The diameter of a nozzle defines the width of the exit hole on the nozzle. The larger the diameter, the wider and larger layers your machine can use and the less time prints will take. Smaller diameter nozzles, however, allow you to use smaller layer heights and print more detail and small features on 3D models.
Today, most nozzles have a 0.4 mm diameter (bore) and this size is great for general printing, where you want some speed and some detail.
However, if you’re printing miniatures or other models with a lot of detail, I’d recommend going with a smaller diameter nozzle, like 0.1, 0.2, or 0.3 mm. On the other hand, if you want to print large parts or want a lot of strength or speed for prints, then larger diameters, like 0.6, 0.8, and even 1.0 mm will suit you best.
How Does Nozzle Size Affect the 3D Printing Process?
We briefly mentioned that the diameter (size) of your nozzle can impact the print speed and strength of your part, and, in this section, we’ll talk more about that.
First off, it’s important to mention that the diameter of your nozzle only directly affects the width of the layers. For instance, a 0.4 mm nozzle will produce a wall (nozzle pass) that’s 0.4-mm thick.
As a result of the change in the width of walls, the nozzle size affects a few other things, such as print speed. Because fewer nozzle passes are required with a larger diameter nozzle, prints take less time compared to if you used a smaller nozzle.
However, it’s not as simple as “larger nozzle = faster prints” because the print speed also matters. In order to maintain the same print speed when switching to a larger nozzle diameter, you’ll have to use a higher hot-end temperature. That’s because a larger nozzle temperature means more filament is flowing, so more heat is necessary to melt the filament.
For example, let’s say you’re using a nozzle temperature of 220 °C to print PLA on your 0.4-mm diameter nozzle with a speed of 60 mm/s. However, if you switched to a 0.8-mm diameter nozzle and wanted to maintain a print speed of 60 mm/s, you’ll have to use higher temperatures around 260 °C.
What Are 3D Printer Nozzles Made Of?
We mentioned that 3D printer nozzles can come in a few different materials and even named a few. There are a fair amount of different materials that 3D printer nozzles can be made out of. While what a 3D printer nozzle is made out of may not sound super relevant, the more wear-resistant your nozzle is, the less likely it is to clog and the better the extrusion on prints.
Brass, as we stated, is the most popular, and is almost always the stock (default) nozzle that 3D printers come with. This is mainly because brass is the least expensive material to make a nozzle out of. With its low cost, however, also comes some lower-quality features, and brass nozzles wear very fast, usually only lasting up to a few months.
Second, steel nozzles are a decent bit better than brass when it comes to wear resistance. Steel nozzles come in two variations: stainless steel and hardened steel.
Stainless steel nozzles are almost always less expensive than hardened steel nozzles, but not by too much. Additionally, stainless steel nozzles are best for printing when you want food-safe parts because this type of metal is great for avoiding plastic sticking to the nozzle.
On the other hand, hardened steel is a lot more abrasion and wear-resistant, making it the optimal option for printing abrasive materials like glow-in-the-dark PLA or polycarbonate.
Then there are a few other materials that nozzles can be made of, which we can group into a category that I like to call “the outlast-ables”. Nozzle materials in this category include ruby (ruby-tipped nozzles) and tungsten. These materials are super abrasion-resistant, which is why they’ll likely outlast tens or even hundreds of brass or steel nozzles. Of course, with great power… comes a great price, and these nozzles cost a pretty penny compared to other material options.
How Does the Layer Height and Nozzle Size Affect the 3D Print Quality?
So, now for the big question: how does layer height and nozzle size affect your prints? Well, both the layer height and the nozzle size go hand-in-hand when it comes to their effect on print strength, speed, and quality (detail).
Moreover, with a large nozzle size, you’re able to use a larger layer height. The reverse is also true: a small nozzle diameter enables smaller layer heights.
So if you want to print huge prints and don’t want to wait a millennium for your printer to finish, consider switching to a large nozzle and then using a correspondingly large layer height. The same is true if you want super strong prints (with fewer layers), or if your 3D model doesn’t have a lot of small features.
On the flip side, I suggest going switching to a small nozzle and using a proportionally smaller layer height if you want to maximize detail in prints. If you choose to go with this route, though, know that your print time will go way up and your print strength way down. Again, it’s also worth pointing out that using a smaller layer height can reduce filament usage slightly, so keep that in mind too!
For some reference, a 0.4-mm diameter nozzle works well with a 0.2-mm layer height. As a rule of thumb, start with the configuration described in the previous sentence, and for every 0.1-mm change in nozzle diameter, allow yourself to change the layer height by 0.05-mm in the same direction.
So, if you’re using a 1.0-mm diameter nozzle, you can go up to a 0.5-layer height. And, if you’re using a 0.1-mm nozzle diameter, you can go all the way down to a 0.05-mm layer height.
Settings To Change When Changing the Nozzle
Like most modifications to a 3D printer, when you change the nozzle, you have to adjust a few slicer settings to make your printer compatible with the new hardware. This is mainly related to the nozzle diameter, as the nozzle material mainly affects the longevity of the nozzle rather than how it prints.
As we briefly mentioned, if you increase the nozzle diameter, you should also increase the printing (hot end) temperature. This is because more filament will be flowing through the hot end, so more heat is needed to melt the filament in time before it exits the nozzle. This increase in printing temperature allows you to sustain your previous print speed, but you can also get away with keeping your nozzle temperature the same and then lowering your print speed as the two settings are directly related (if you increase one, you have to increase the other).
Cooling is another setting worth looking into. A smaller nozzle diameter will require less part cooling than a larger nozzle diameter because less filament is flowing out the nozzle at a time. So, if you increase or decrease your nozzle diameter, do the same to the fan speed by the same proportion.
Conclusion
The layer height and nozzle size are very related factors for your 3D printer, and changing them allows you to adjust the strength, print time, and detail in prints. However, you can’t just use any combination of nozzle diameter and layer height. If you increase one, you have to increase the other, and vice versa.
While there’s no one “correct” combination, a nozzle diameter of 0.4 mm with a layer height of 0.2 mm is proven to work great and is the default configuration in many printers and slicer profiles. However, for shorter print times and more strength, consider going up to a 0.8-mm layer height with a 0.6-mm layer height. And, for getting more detail in prints, try a 0.2-mm diameter nozzle with a 0.3-mm layer height.