
 Who doesn’t love chocolate? So imagine gifting your friends and family chocolates customized just for them. They would LOVE you.
That’s the magic of chocolate 3D printing.
What is chocolate 3D printing?
Chocolate 3D printing involves printing any chocolate in a highly customized, low volume, and intricately detailed way.
Those completely new to the world of 3D printing may ask. What do you mean ‘print chocolate’? That’s such a weird phrase.
Well, welcome to 2022. By printing chocolate, I mean just that – printing chocolate. Like you print designs on a piece of paper. You can make edible chocolate and mold it into any shape that you like, and eat it.
Hell yeah, the Future is the shizz!
You Get to Eat Friggin Chocolate
I mean, do I need to spell it out? You get to make and eat your own chocolate. Whenever and forever.
Just keep an eye on your waistline.
Make Something that Tastes Good, Look Good
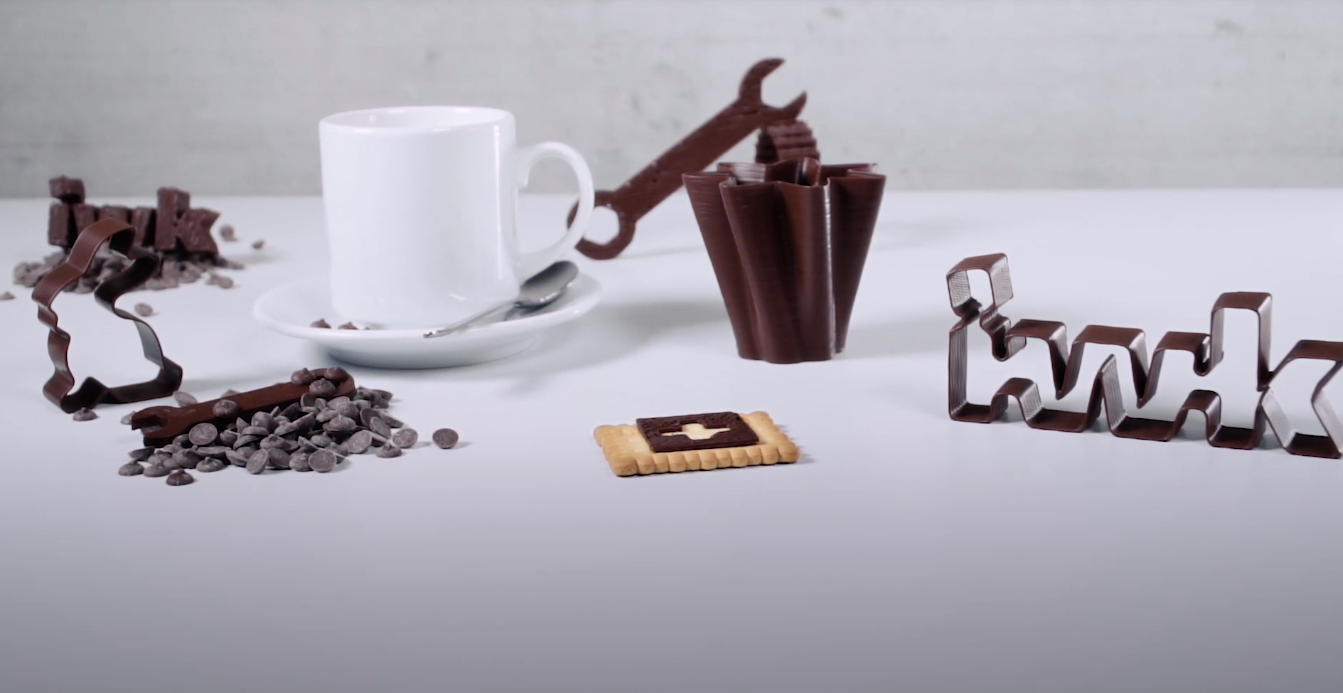
Chocolate is great to taste, but it’s somewhat average in the looks department. But not anymore.
With the advent of chocolate 3D printing, you can create complex chocolate designs. Traditionally, this can’t be done using your hands or any other methods.

The best part about owning a printer is that you can make chocolate for any occasion. Is it Christmas? Then make a chocolate Christmas tree. Easter? Then an Easter egg. Halloween? Then a chocolate pumpkin. You get the point.
The fundamentals of standard plastic 3D printing and chocolate 3D printing are the same. It’s just that instead of plastic filaments, chocolate is used as the printing material.
Melted Chocolate is added a layer at a time to create a final delectable chocolate print. This chocolate then cools to become a solid piece.
For those with experience in regular 3D printing, you can use the same 3D printing file types and software you’re familiar with.


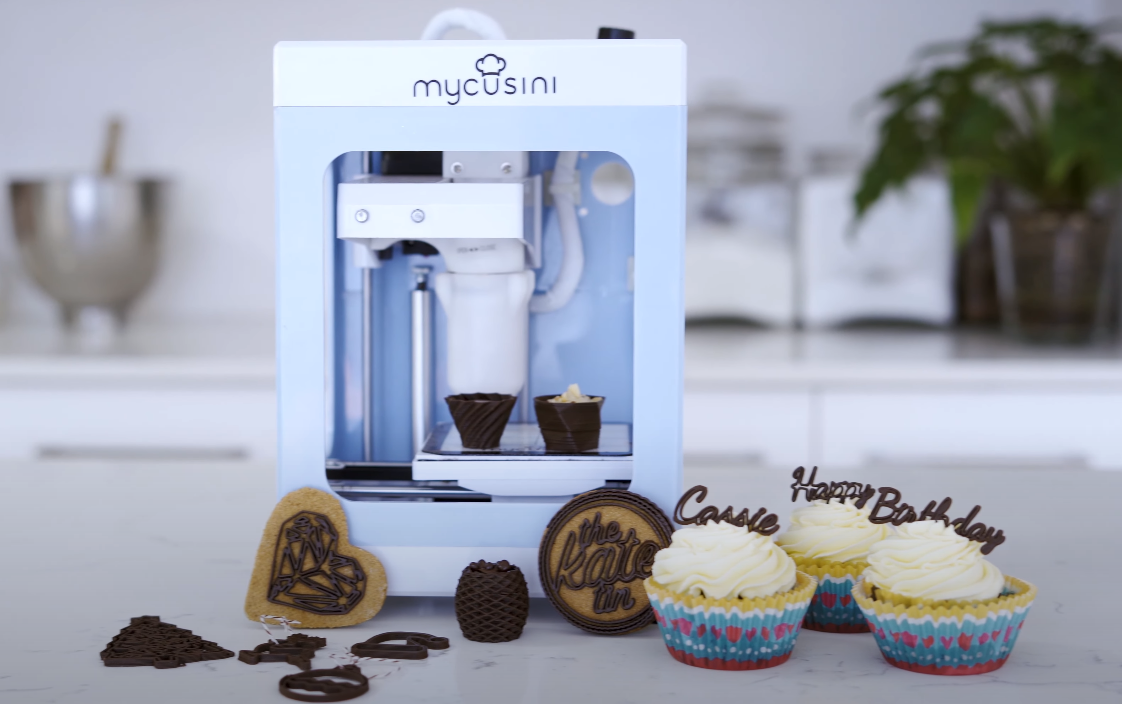
The Mycusini is small, can fit on your kitchen countertop/cabinet. It’s also easy to use, your 3-year-old can become a chocolatier overnight.
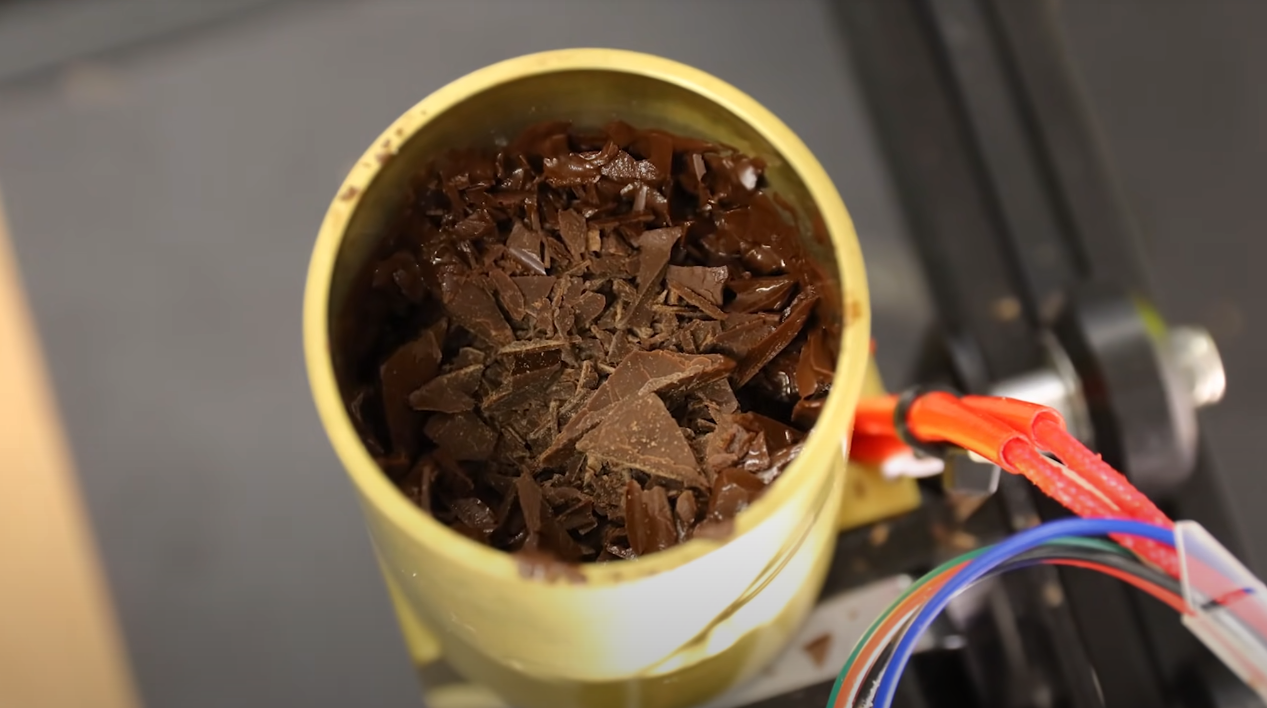
The refills are filled with melted chocolate which comes plastic-wrapped in a log-shaped appearance.
Preparation is simple. Chop this refill into half and add it to the cartridge. The machine then heats the chocolate in a uniform manner, outside-in, to ensure that the texture is uniform and the chocolate extrudes evenly.
Finally, printing the chocolate is a straightforward affair. You just need to push a few buttons and the item is 3D printed. Final prints are also consistent and accurate.
Just make sure you have tons of paper towels next to you; chocolate 3D printing is a messy endeavor.
The second coolest feature of this food 3D printer (the first being the fact that you can print chocolate!) is the Mycusini club software. It allows you to create any print design you like.
For example, you can handwrite your name, or you can draw cool 2D shapes and designs. STL files can be uploaded and 3D printed as well (for those unfamiliar with an STL file, it’s a file used by standard 3D printers that contain the design to be printed).
Thingiverse is a fantastic site to find print models of all types like cars or action figures. You can finally get to eat and enjoy your favorite superheroes!(if funny thoughts crossed your head, get it out of the gutter!)
A major gripe I had with this food 3D printer was that chocolate ran out halfway. If this happens, there is no way to resume printing. Everything had to be redone from scratch. This led to a lot of wastage.
The second complaint I had was about the noise the food 3D printer made. It was annoying: I couldn’t get myself to do any work next to the printer.
But don’t let my nitpicking discourage you; you should get this food 3D printer if you’re an ardent fan of chocolate.


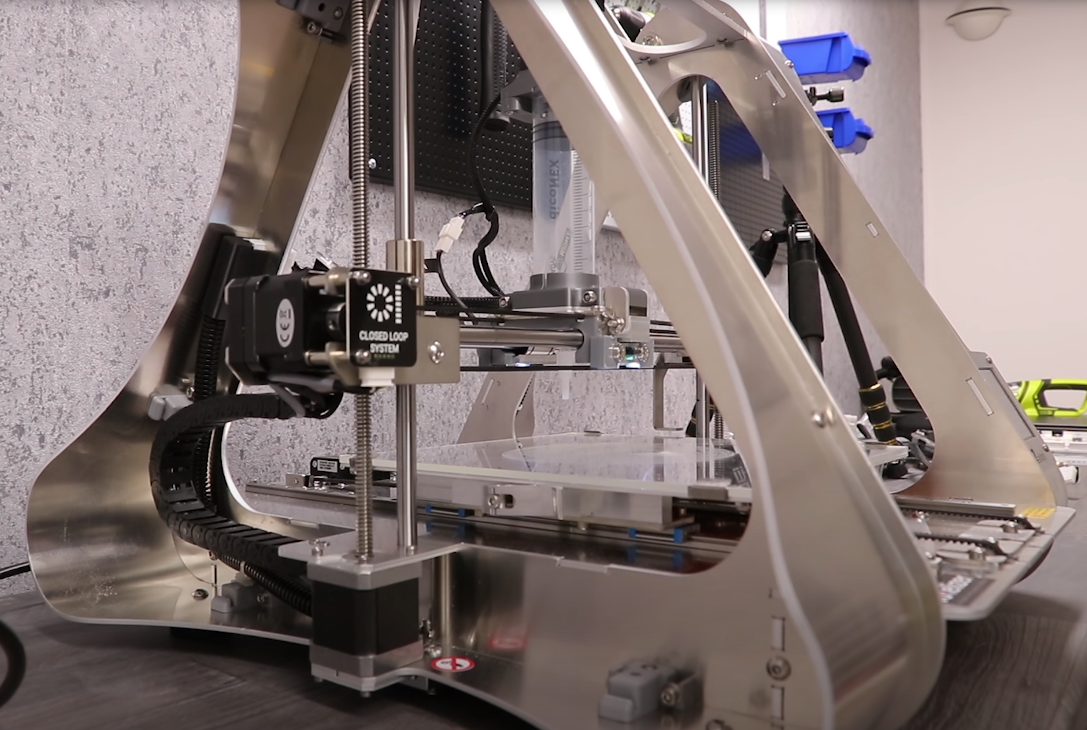
The ZMorph VX is nothing short of an engineering marvel. It’s the King of 3D Printing Multitasking. It can 3D print, CNC machine, laser engrave, and foodprint.
But let’s just stick to the chocolate printing aspects for now.
To print chocolate you would need to purchase the Thick Paste Extruder. It costs around $249.
With the help of the extruder, this 3-in-1 3D printer can print ingredients like chocolate, cream cheese, cookie dough, frosting, and much more. The extruder includes a syringe powered by a stepper motor.
The prints turn out accurate and precise.
The ZMorph does not certify that foods extruded from the thick paste extruder are eatable, so this is best left for home use only.
If you do plan to use ingredients of your own, make sure to make the paste entirely homogeneous. Otherwise, the nozzle might clog up.
The main selling feature for the ZMorph is of course its all-in-one appeal. So definitely get this printer if you want the option to 3D print food while still being able to print with regular filament.
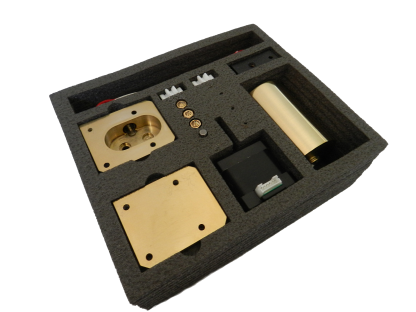
Any veteran 3D printers here in your audience? If you’ve been rolling your eyes at the prices mentioned so far, you’re in luck. You can customize your own printer into a choco printer thanks to ChocoL3D kit.
The kit is made by a single person who lives in Ukraine. It consists of a stepper motor, heater cartridge, a bunch of nozzles, thermistors, and screws. The components are designed to fit well with each other.
Setup is straightforward if you’ve had experience installing a hot end or extruder before.
You need to change the slicer settings specifically for chocolate, but luckily there is a video tutorial on their website.
While you can use any chocolate type, it’s best to stick to chocolates that have vegetable fats (unnatural chocolate) instead of cacao fats(natural chocolate). This is recommended by the kit maker.
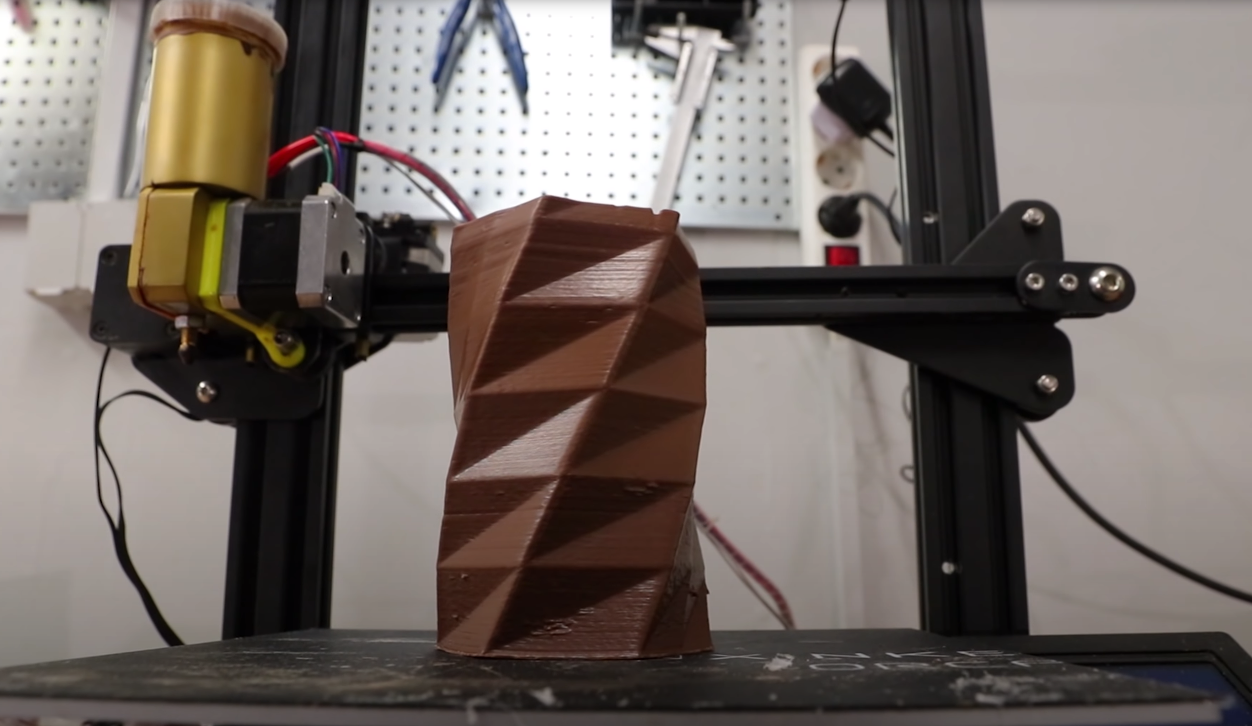
If you use the wrong type of chocolate, often the prints end up very messy and inaccurate.
Even with the unnatural chocolate, you may face issues with printing. This is not the case for simple, straightforward prints but the case with more complex prints. You need to play around with speed and other settings to get a perfect print.
If you have any issues you can always get in touch with ChocoL3D through Facebook (the dude is responsive).