 Warning: This article will make you hungry. Make sure your tummy is satisfied before reading further.
Wondering if actual food can be printed by 3D printers or if the title ‘food 3D printer’ is just a marketing ploy. Yes, actual food can be printed.
Food 3D Printing was first showcased in shows like The Jetsons and the Star Trek series. In these shows, just about anything edible could be 3D printed with a push of a button.
Unfortunately, real life food 3D printers haven’t caught up to fiction (for the time being). But they will soon. These printers are in their infancy, yet they perform miracles.
If you are familiar with FDM 3D printing, then you’ll understand how a 3D food printer works. If not, here’s an ELI5 explanation.
FDM 3D printers use an additive process to create 3D plastic models. This means that layers of plastic are added one by one to create the final product. Look closely at any 3D printed item, you’ll notice these layers piled one above the other.
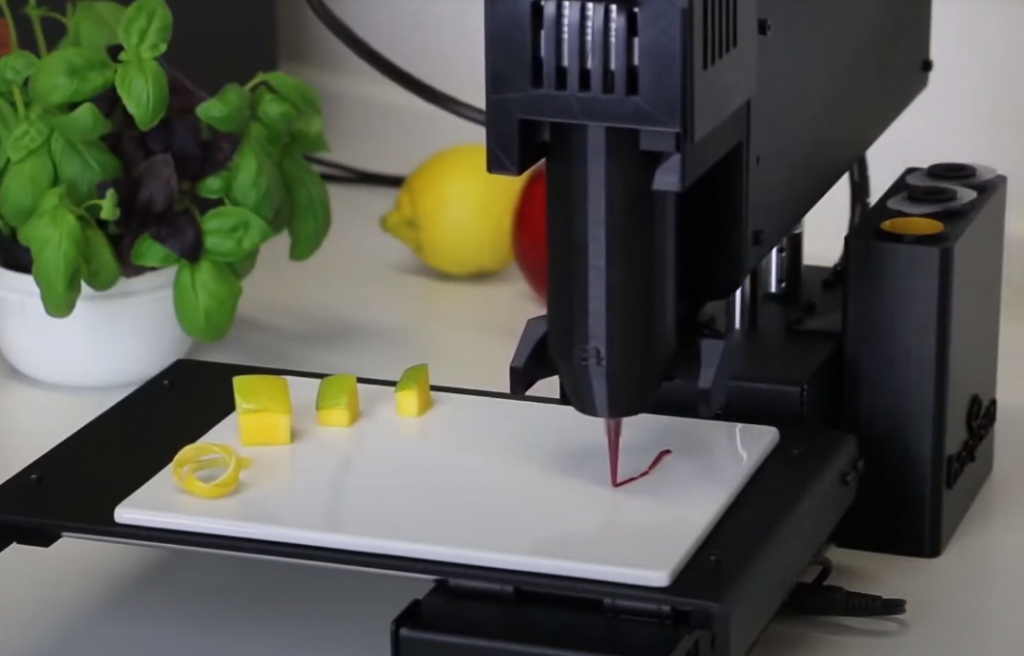
Just like FDM printers, in food 3D printers, different materials are added, one edible layer at a time to create actual food. The ingredients are pushed through a nozzle using compressed air or squeezing.
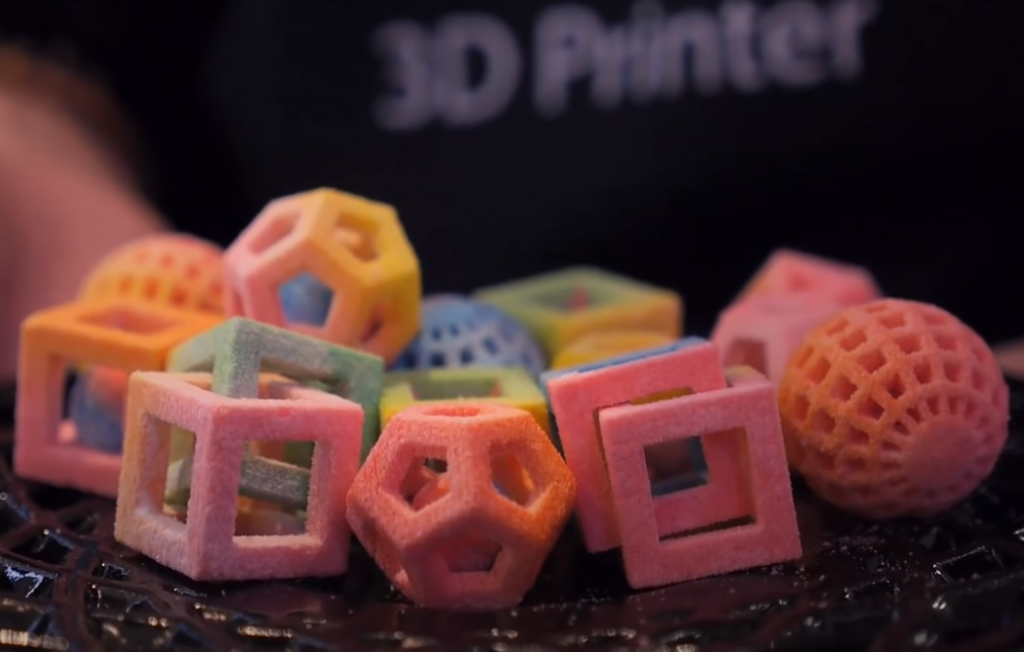
Another way to 3D print food (albeit a less common method) is by the process of selective laser sintering. This is used especially for making candies and sweets.
Some of the food materials/ingredients currently used in food 3D printing are:
- Jelly
- Frosting
- Cheese
- Mashed potatoes
- Purée

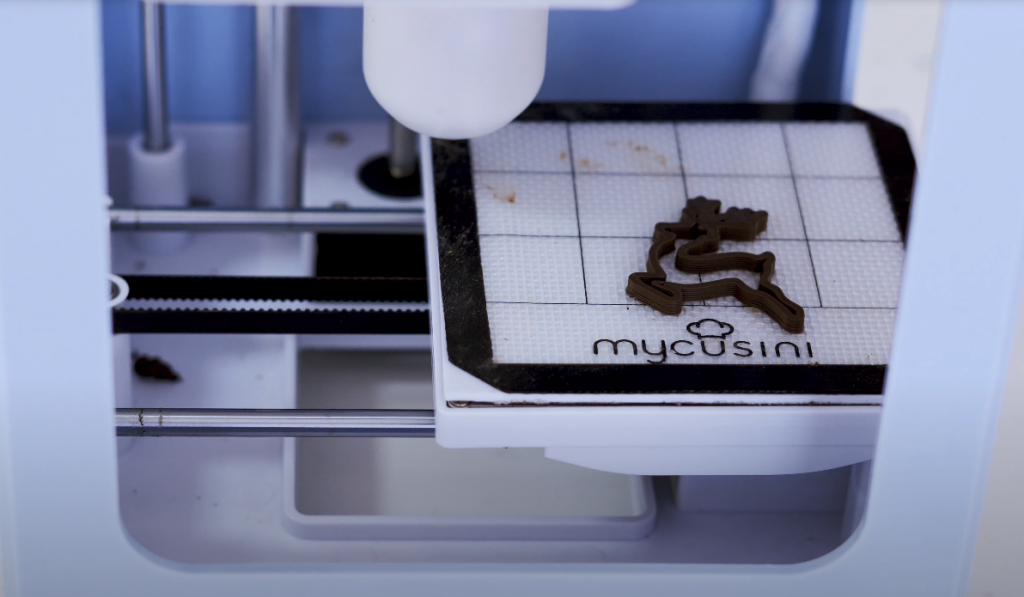
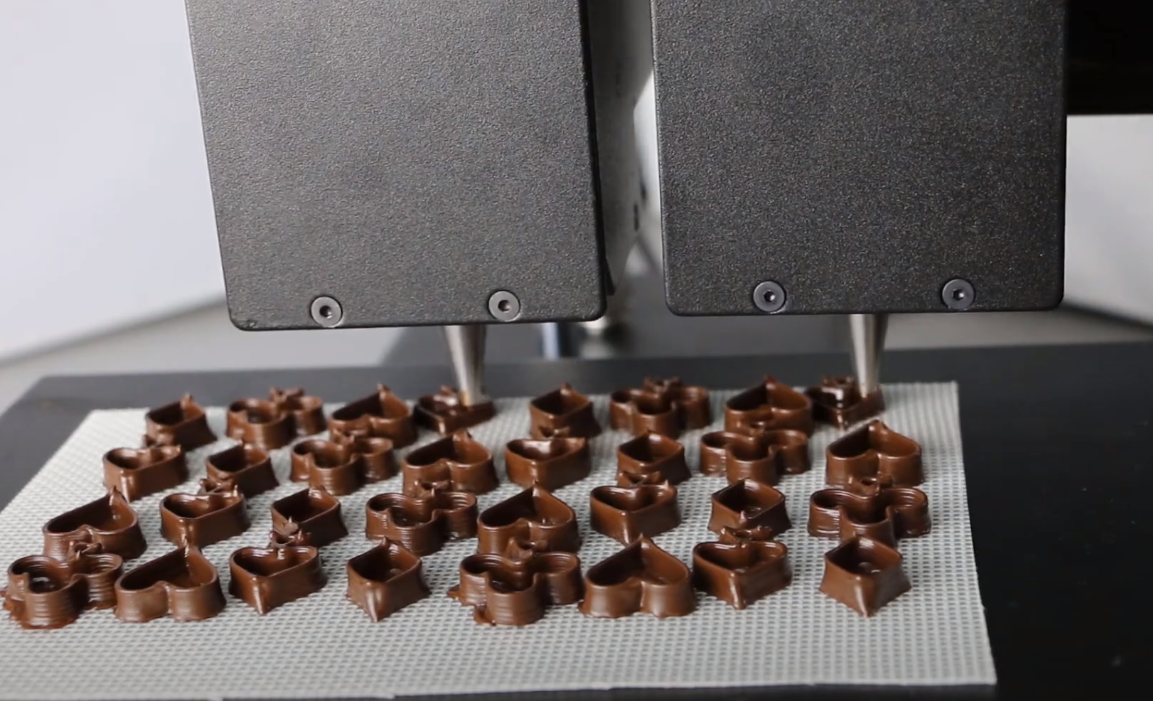
Chocolate. Mankind’s greatest invention. And the key to most people’s stomach. Thanks to the Kickstarter funded Print2taste, high-quality chocolate can now be 3D printed.
This compact chocolate food 3D printer is small, can fit on your kitchen countertop/cabinet. It’s also easy to use, your 3-year-old can become a chocolatier overnight.
The refills are filled with melted chocolate which comes plastic-wrapped in a log-shaped appearance.
Preparation is simple. Chop this refill into half and add it to the cartridge. The machine then heats the chocolate in a uniform manner, outside-in, to ensure that the texture is uniform and the chocolate extrudes evenly.
Finally, printing the chocolate is a straightforward affair. You just need to push a few buttons and the item is 3D printed. Final prints are also consistent and accurate.
- Check out our review of the best chocolate 3D printers here
Just make sure you have tons of paper towels next to you; chocolate 3D printing is a messy endeavor.
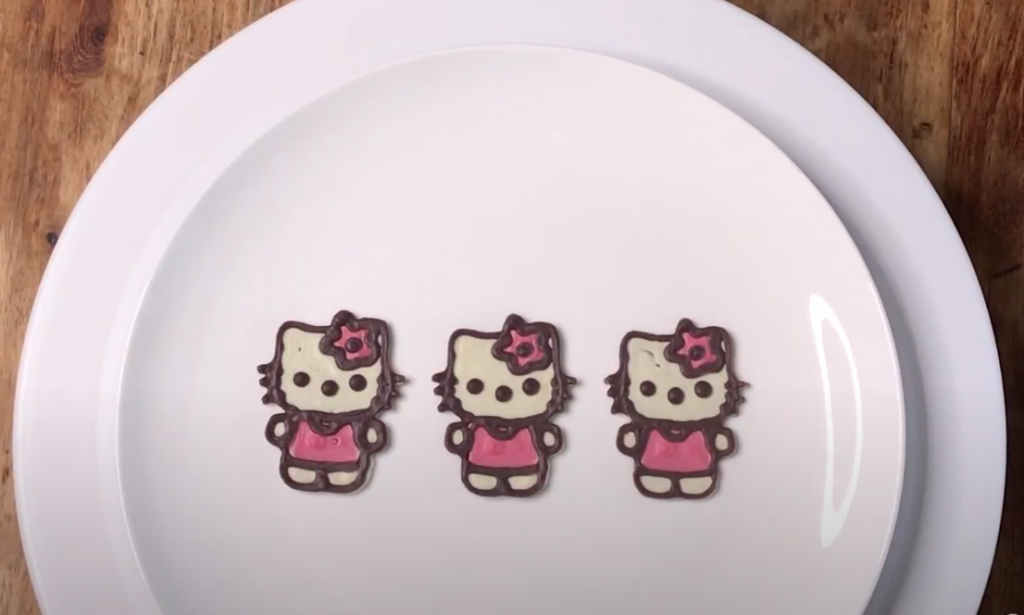
The second coolest feature of this food 3D printer (the first being the fact that you can print chocolate!) is the Mycusini club software. It allows you to create any print design you like.
For example, you can handwrite your name, or you can draw cool 2D shapes and designs. STL files can be uploaded and 3D printed as well (for those unfamiliar with an STL file, it’s a file used by standard 3D printers that contain the design to be printed).
Thingiverse is a fantastic site to find print models of all types like cars or action figures. You can finally get to eat and enjoy your favorite superheroes!(if funny thoughts crossed your head, get it out of the gutter!)
A major gripe I had with this food 3D printer was that chocolate ran out halfway. If this happens, there is no way to resume printing. Everything had to be redone from scratch. This led to a lot of wastage.
The second complaint I had was about the noise the food 3D printer made. It was annoying: I couldn’t get myself to do any work next to the printer.
But don’t let my nitpicking discourage you; you should get this food 3D printer if you’re an ardent fan of chocolate.

Another Kickstarter funded food 3D printer, the Foodini, goes a step beyond the Mycusini. And it 3D prints more than just chocolate.
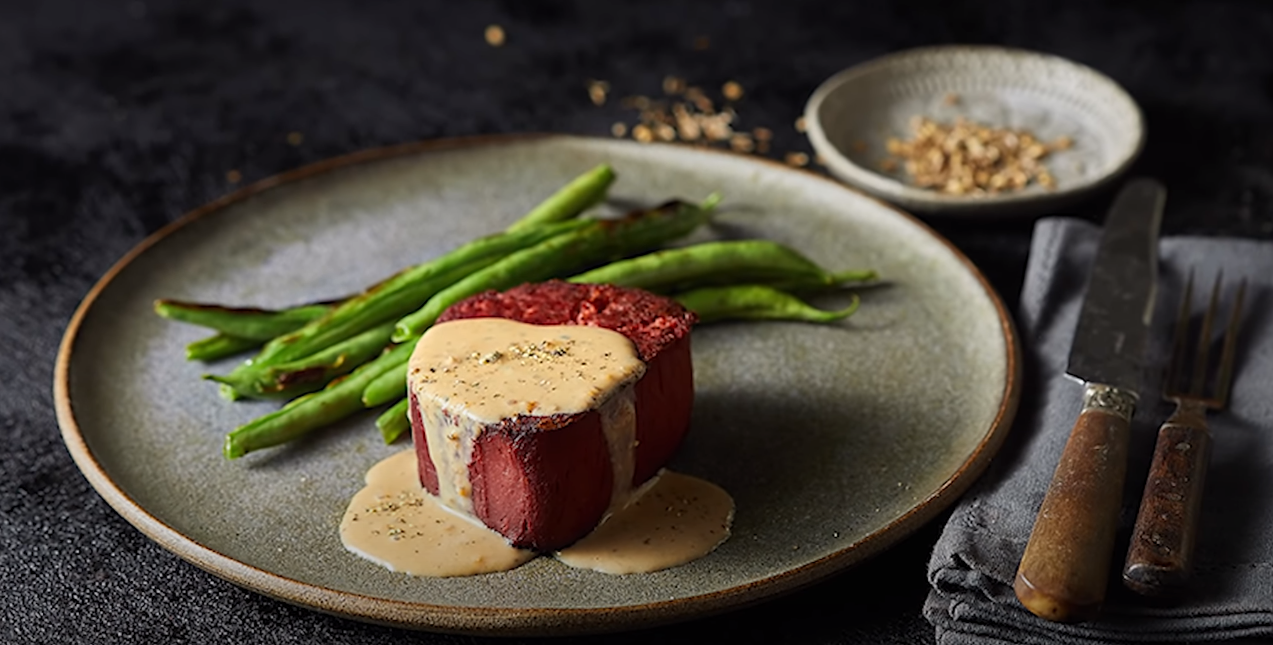
Other ingredients that the Foodini supports include ravioli, dough, mashed potatoes, raw beef (yes you heard that right, you can print beef!). Common dishes that the Foodini can prepare include pasta (yum), burgers (yum yum), pizza (yum into infinity).
The Foodini was designed to save you time in the kitchen. It comes with nozzles of various sizes to handle most food types. The smallest size is 0.5mm, capable of printing thin crackers.
It is important to note that Foodini, like most 3D food printers, doesn’t cook the food. The most it can do is heat items like chocolate or mashed potatoes. Depending on the type of food, you might have to pre-prepare or post-prepare the dish.
The Foodini Creator software helps you come up with your own unique print designs. And just like the Mycusini, you can download STL files to print your food.

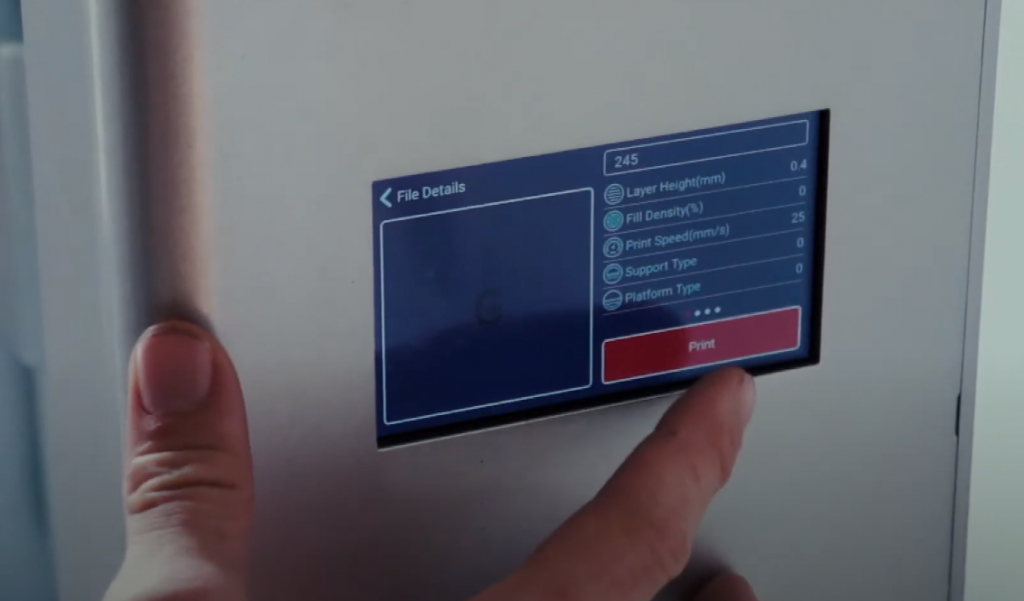
The Foodbot S2 is another versatile food 3D printer, just like The Great Foodini. While being marketed mostly as a chocolate printer, don’t let their under-marketing fool you: this printer can print many ingredients like toffee, jam, biscuits, and even pizza.
The machine looks freakin cool. It’s sci-fi, modern look is sure to catch the eyes of any friends or guests you bring over. It comes with a cool 5.2 inch touchscreen that adds to the machine’s charm.
Printing speeds are adjustable, with ranges from 15-70 mm/s. Not only that, the Foodbot S2 gives you the ability to modify the temperature. This gives you freedom to play around with the settings depending on what you wish to print.
I also loved how easy to use this printer was. Printing took little to no effort.
The Foodbot S2 is one of the most advanced food 3D printers in the current market, both in terms of looks and functionality. Unfortunately, the price is advanced as well, but if you have the dough (both the monetary and the edible), this is one to buy.

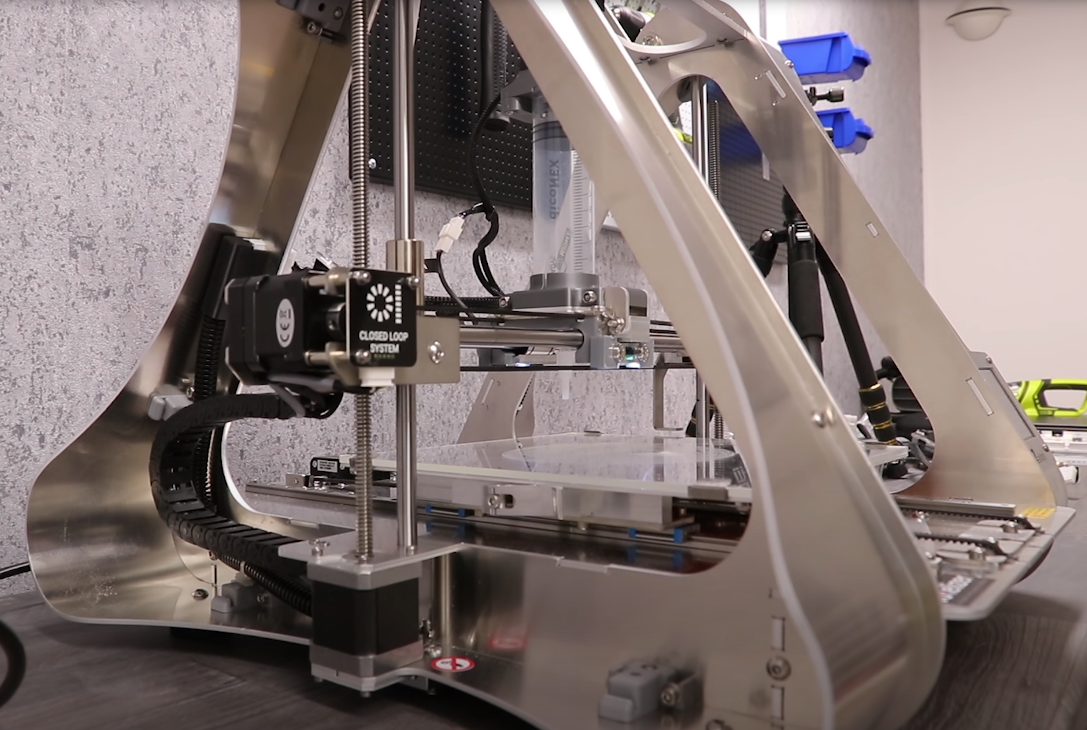
Have you dreamed of being a mechanical engineer by day, a 3D printing hobbyist by evening, and a chef by night? If so, great! This miracle of a machine can 3D print, CNC machine, laser engrave, and food print.
I couldn’t contain my excitement when using this piece. The geek in me fell in love with its looks. The ZMorph is quite an engineering marvel.
I’ll briefly go through the other non-food features of this model first.
It comes with a dual-extruder that prints incredibly fine and accurate 3D printing models. The laser engraver was no slouch either. I 3D printed various designs, and yet again, the accuracy was precise.
A word of warning when using the machine. DO NOT look at the lasering process while in play. It can cause damage to your retina. While the machine comes with special goggles to protect against this, we still advise you to take caution and be out of eyeshot.
The CNC machine cuts with a diamond-like precision. The tool head can be mounted with five types of cutter tips.
Okay, that’s enough about the engineering side of things. Let’s talk about the aspect you are here for. Food.
Thanks to the optional thick paste extruder, this all-in-one 3D printer can print ingredients like chocolate, cream cheese, cookie dough, frosting, and much more. The extruder includes a syringe powered by a stepper motor.
Now while the Zmorph VX is a beast of a machine, food 3D printing is not its strongest suit. The other printers on this list (like the Foodini) do a better job at it. ZMorph does not claim that foods extruded using the thick paste tool head are certified as eatable, so perhaps this is one best left to home use.
If you plan to add any ingredients, make sure that the paste is entirely homogeneous. Otherwise, the nozzle might clog up.
If you’ve dreamed of an all-in-one machine like the ZMorph VX, it may be hard to pass up on the offer. Just be warned: you may end up being a better engineer than a chef.

While the Zmorph VX was a 4-in-1 printer, the ByFlow Focus is a 2-in-1 printer that can 3D print both plastic as well as edibles.
In terms of plastic, this food 3D printer can print PLA, ABS, PET, Nylon, Carbon Fibre, and much more.
This 3D food printer is the best for one major target group. Bakers. Those of you with dreams of becoming a pastry chef, will find this a handy tool in your food arsenal.
The byFlow Focus is similar to the Foodini and Foodbot S2, in so far as you can print similar ingredients like mashed potatoes, pasta, meat, fish, etc. You’ll have to make the dishes into a puree format before you print them, otherwise the prints won’t be very accurate.
By far, the best part about the byFlow Focus is their top-notch software. I loved the interface, it was colorful and intuitive.
With the platform’s help, you can access plenty of recipes, designs, and manuals. There are tremendous possibilities for customization. You can upload all types of files, be it text files, images, photos, freehand drawings. After you upload the file, you have the incredible editing tool at your disposal to create the masterpiece of your choice.
If I had one reason to recommend the byFlow Focus, it would be for the software alone.

The Procusini 4.0 is yet another 3D food printer with the most normal-sounding name ever.
One of the best parts about Procusini 4.0 is that you can buy refills for chocolate, marzipan, fondant, cassis, and pasta. So if you don’t want to go through the trouble of finding such ingredients, you can easily purchase them through their site. And if you prefer preparing your own ingredients? No problemo, that can be done as well.
The refills can be heated to a temperature of 60°C. With the help of a dual-extruder, two ingredients can be 3D printed simultaneously.
Fancy traveling with a food 3D printer in your backpack? Procusini’s incredible portability will allow you to do so.
Print times are fast as well. You can print your first dish within 15 minutes of unboxing the machine.
The software is similar to the byFocus Flow in terms of its capability. The template library has 1000s of 3D objects, molds, and fonts (letters and numbers).
I know that customer support may be important for some of you, so you’ll be happy to know that the developers of Procusini care about their customers and have the best client service.