

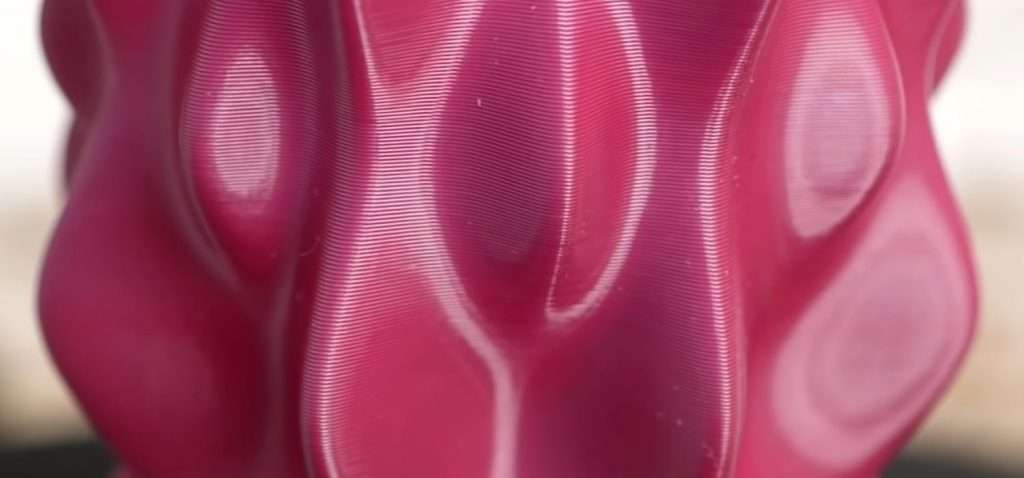
In all my years of 3D printing, there’s one problem that truly infuriates me down to the bone, and it’s under-extrusion.
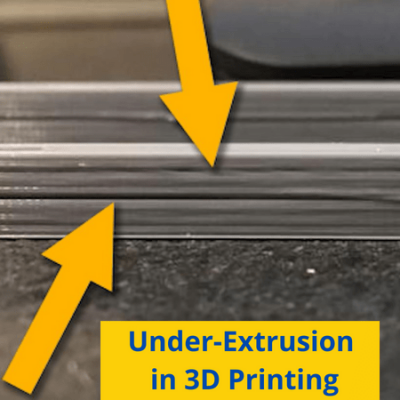
Whether you’re familiar with the term or not, you probably know what it looks like: gaps in layers, ugly sides of prints, etc.
All in all, under-extrusion, is a problem on 3D printers that make prints ugly, very brittle, and overall low-quality.
If you’re experiencing under-extrusion, I recommend first increasing the nozzle temperature in your slicer and cleaning the nozzle. And, if that doesn’t work, try drying your filament and tightening the extruder tension!
If you think you’re experiencing under-extrusion on your 3D printer, don’t wait; act fast! In the sections below, I’m gonna help you identify the under-extrusion and solve it so you can get back to printing in no time!
Table of Contents
What is Under-Extrusion?
FDM 3D printers work by melting and pushing (AKA extruding) plastic onto a build surface. Under-extrusion is when not enough filament is being pushed through the hot end.
That’s why under-extruded prints have gaps because not enough filament is coming out to fill the entire layer like it’s supposed to.
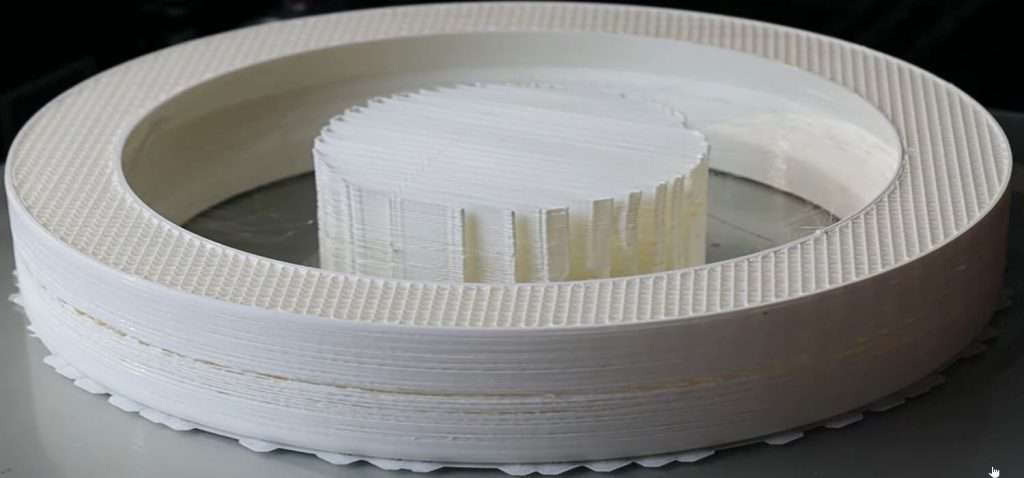
Under-extrusion can come in a wide array of levels. On one end of the spectrum, your prints may just have a tiny gap every few layers. On the more extreme levels, no filament at all will come out of the nozzle.
But no matter how severe your under-extrusion is, it’s worth fixing to improve the quality, strength, and appearance of your prints!
How To Identify Under-Extrusion?
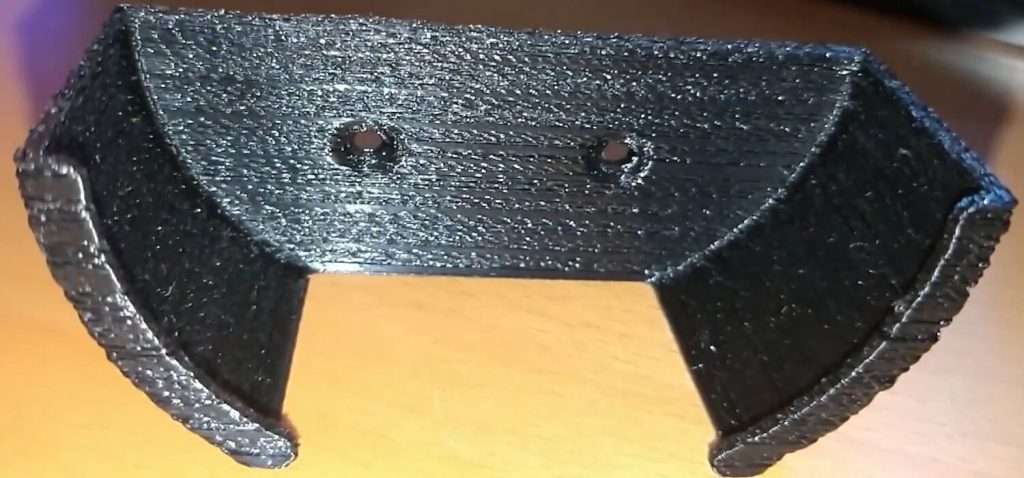
You can usually identify under-extrusion by looking for gaps in the layers of your print. But note that under-extrusion can vary a lot in its severity, ranging from a few gaps in the entire print to a complete stop of extrusion.
Typically, correctly identifying a specific issue on your 3D printer is difficult because many look the same. However, under-extrusion is very notable. And, even if you miss identify your problem as under-extrusion, none of the solutions we’ll go over are detrimental to the printer, so don’t be too scared!
Causes of Under-Extrusion:
As under-extrusion is a pretty all-encapsulating 3D printing issue, there are many different potential causes of the issue. In the sections below, we’ve gone through some of the main ones.
Do note, though, that your specific case of under-extrusion might not just be caused by one single cause, but maybe a few.
Low Printing Temperature
The first and most common cause of under-extrusion is a low nozzle temperature. The hotter the nozzle, the faster filament will melt so that it can be pushed out of the nozzle. But if it’s not hot enough to melt filament fast enough to keep up with the printing speed, you’ll have under-extruded parts.
Wet Filament
Filament is the fuel of FDM 3D printers, and if you put low-quality or diluted gas in your car, it will start to have issues. Similarly, if you use wet filament on your printer, you’ll run into under-extrusion on prints.
Filament is supposed to be dry to print, but it can absorb moisture from the air over time, especially in a humid environment. One time I made the mistake of leaving my new filament spool in my bedroom as I took a steamy shower. Needless to say, that spool printed terribly when I tried it out.
Blocked Nozzle
A blocked nozzle is another popular cause of under-extrusion. Basically, when debris gets down the hot end and blocks the exit hole of the nozzle, there’s a smaller space for the melted filament to exit, so under-extrusion occurs.
Nozzle clogs can either be partial or full. You can tell which type of clog you have because partial clogs will cause gaps in layers while full clogs will stop extrusion completely.
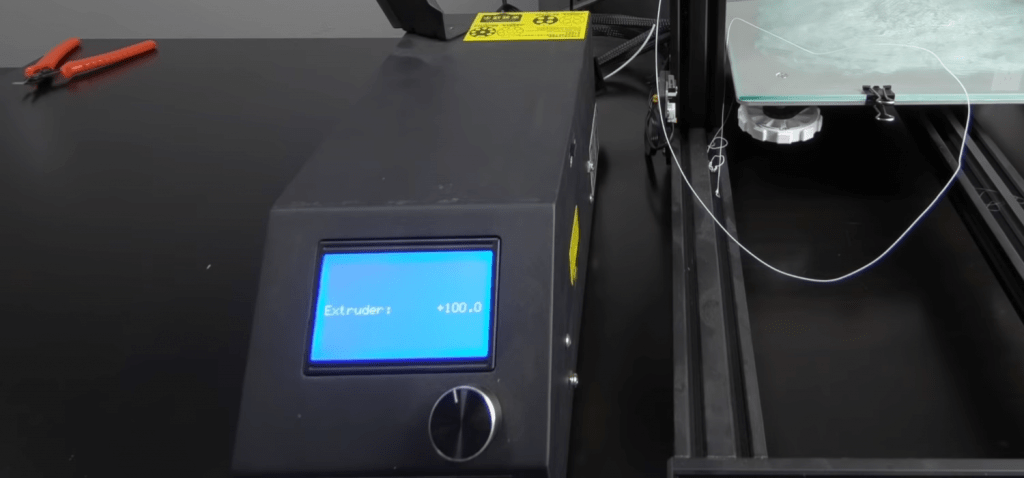
Jammed Extruder / Dull Gear
The extruder is the motor-driven assembly that actually pushes the filament, so it makes sense that if it jams, not enough filament will be pushed.
Though it’s unlikely that the extruder will jam completely, it’s definitely possible for the gears of the extruder to become dull due to prolonged use. If this happens, the pushing gears of the extruder won’t be able to push filament with enough force to push filament out the nozzle, leading to under-extrusion.
Too Little Extruder Pressure
On top of the gears being dull, if the gears aren’t pressed up the filament tight enough, you can also experience under-extrusion. That’s because, even if the gears are sharp, they might not be pushed up to the filament enough to actually move it when the gears turn.
High Print Speed
Lastly, a high print speed is another surefire cause of under-extrusion. Just like if you use too low a nozzle temperature, using too high a printing speed will also cause under-extrusion because the filament is being pushed too fast through the hot end for it to melt. As such, not all of the filament melts and is pushed out, causing under-extrusion.
Simple Solutions for Under-Extrusion:
Although there are a good bit of causes for under-extrusion, there are also many different solutions. In the sections below, we’ve gone over some of the most effective ones!
And remember: just like you can have multiple causes of under-extrusion, you can also use multiple solutions to get rid of the problem!
1. Clean Nozzle & Hot End
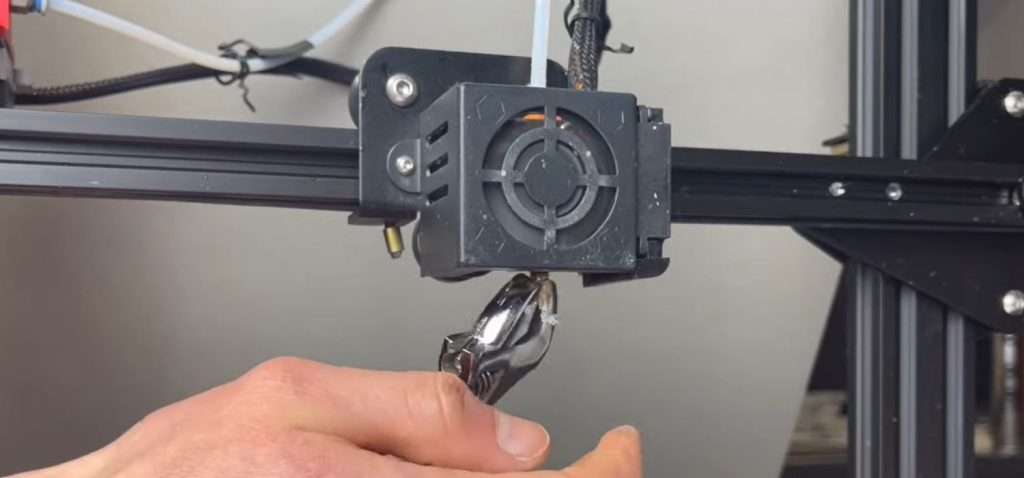
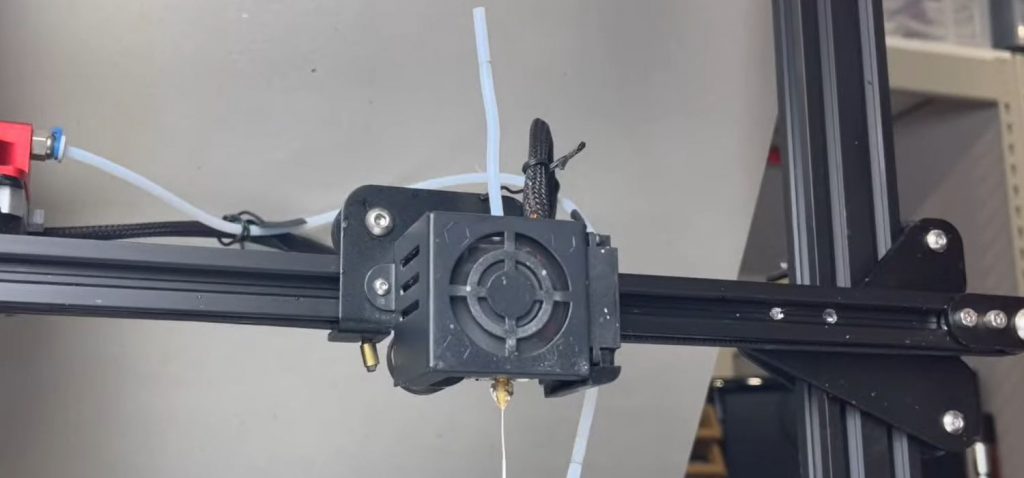
My first suggestion for anyone experiencing under-extrusion is to check and clean the nozzle and hot end assembly. This is where the melting of filament occurs, so if it’s not nice and clean, debris can interfere with the printing process, causing gaps in prints.
To clean the nozzle you can use a long sharp needle, like those provided with most consumer-grade 3D printers. All you’ve got to do is stick it up the nozzle while it’s at printing temperature, and it will push any debris out of the way. If the debris isn’t moving, consider replacing your nozzle entirely.
As for cleaning the hot end, start by unscrewing the nozzle and the PTFE coupling. Then, with the assembly at printing temperature, use a metal pick and gently scrape around the inside of the hot end to clean it out.
2. Check Bowden Tube
If you’ve got a Bowden-drive 3D printer, make sure to check the Bowden (PTFE) tube for any inconsistencies. If the tube is burnt at one end or has a kink along the path from the extruder to the hot end, it may be causing the under-extrusion. If you notice any of these signs, try using a new PTFE tube that’s more straight and not burnt.
3. Tighten Extruder Tension
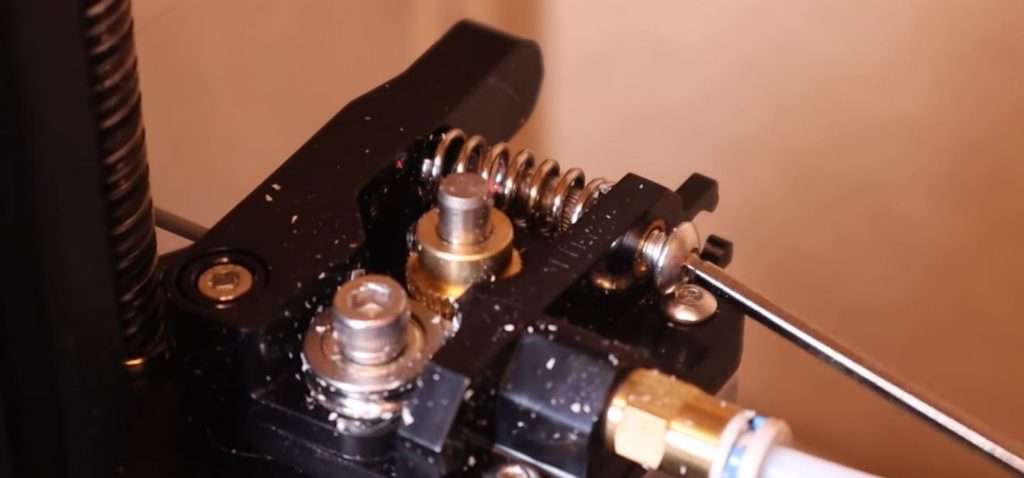
My third suggestion is to tighten the extruder gear tension on the filament. Most extruder assemblies on 3D printers have a spring that controls this tension, and you can usually adjust the force of the spring by tightening or loosening a bolt that holds the spring.
What you want to do is make the spring more compact, so it pushes the extruder gears more into the filament strand.
4. Clean Extruder Gear

While you’re in the area of the extruder, also try cleaning the extruder gear. Often, excess filament bits build up in between the ridges of the gear, which makes it very dull. You can clean it by using a metal brush and a small but rigid metal pick and just going at it!
5. Dry Filament
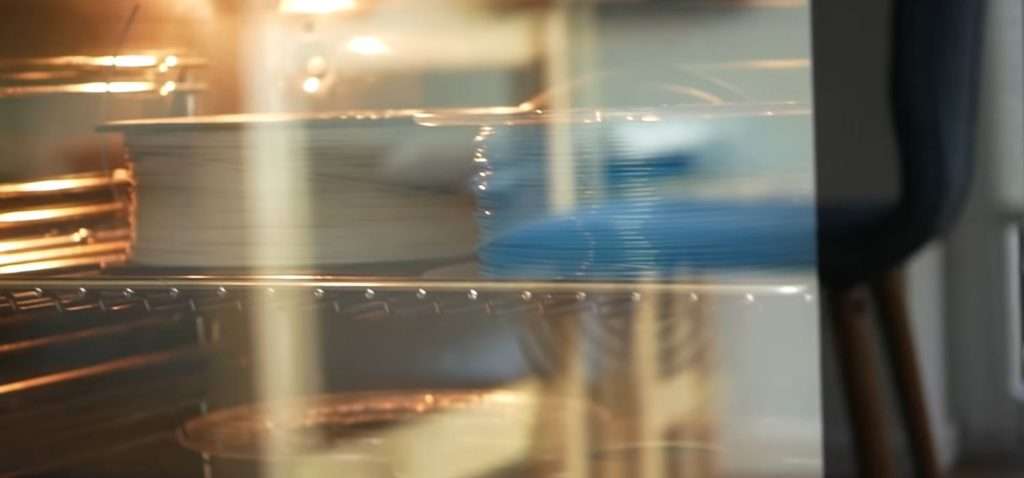
Drying your filament also seems to work for many users looking to eliminate under-extrusion. There are a few different ways you can dry filament, such as by getting a filament dryer device or even using a blow dryer.
But what I find most convenient is putting a few spools inside my oven and running it at the lowest temperature possible. I leave the filament at that low temperature for 3-5 hours and let the moisture be cooked out of the filament.
6. Increase Print Temperature
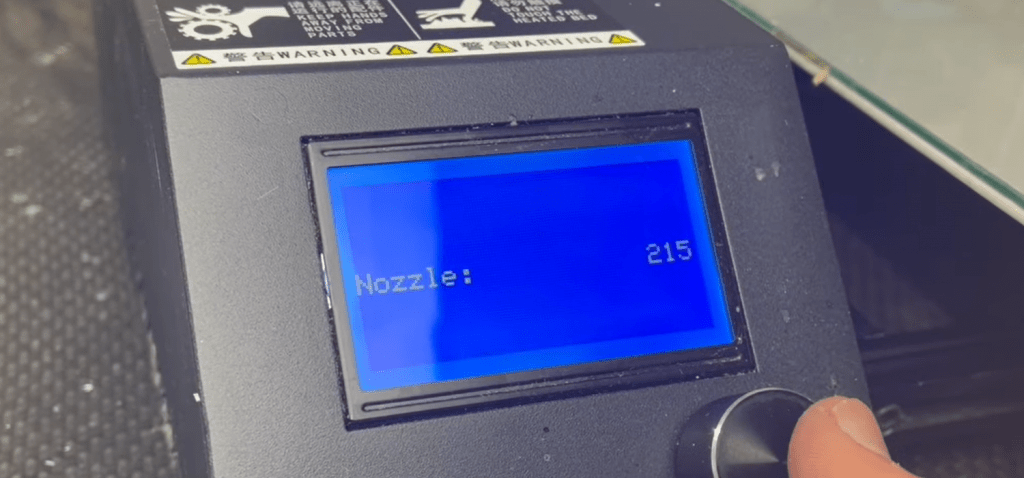
Increasing the print temperature is usually one of the first things I do when I start to see any under-extrusion on my printers. And you don’t have to increase the temperature by much to see some results.
Usually, increasing the nozzle temp by just 5 °C does the trick, and I recommend you start with this. But I’ve gone as much as 15 °C higher than my normal nozzle temperature before I eliminated under-extrusion, so don’t be scared to keep going past +5 °C.
7. Adjust Retraction Settings
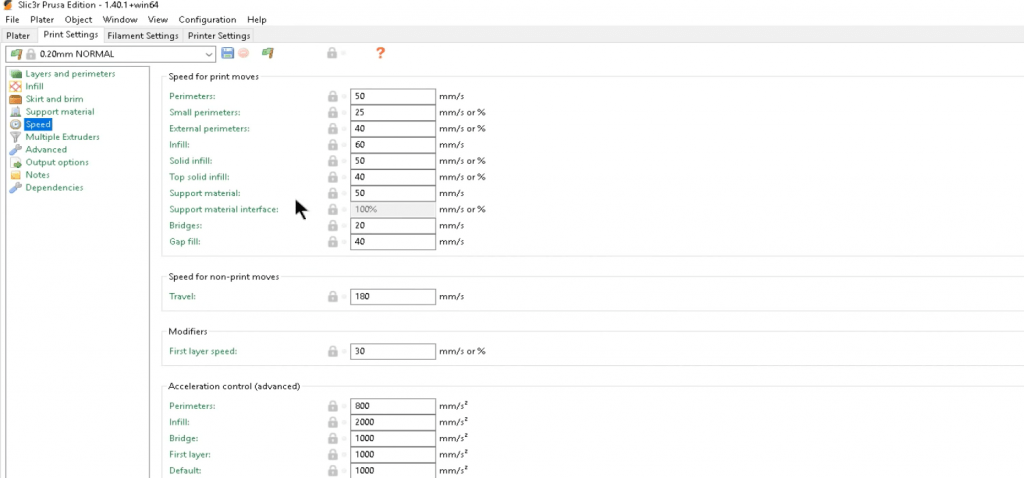
Retraction is the printing process where the extruder pulls filament back from the hot end to relieve built-up pressure inside the hot end assembly. It’s a necessary process to prevent other printing issues like stringing, but too intense of retraction settings can cause under-extrusion because too much filament is pulled back.
You can adjust retraction settings in your 3D slicer program, and I suggest starting by decreasing your current retraction distance by 0.1-0.2 mm. You also should lower the retraction speed by 10 mm/s. But just like with the print temperature, don’t be afraid to go out of these bounds as everyone’s printers are different!
8. Increase Flow Rate
The flow rate, also known as the extrusion multiplier, is yet another slicer setting for your 3D printer, and it determines how much of the expected filament usage should be pushed through. This value is, by default, set at 100% because the slicer assumes a perfect world where the motors work as expected.
If you’re having under-extrusion issues, try increasing this flow rate in increments of 2-3%. Make sure you don’t make the flow rate higher than 112%, though, because if it gets to that point, the flow rate likely isn’t the right solution for your case of under-extrusion.
9. Use Higher-Quality Filament
All 3D printing filament maintains a diameter, usually either 1.75 or 2.85 mm. But if the filament has a very inconsistent diameter, the extrusion will also be very inconsistent, causing issues. So, if none of the other solutions are working, consider purchasing a different filament spool, preferably from a different brand.
Check out our articles on the best PLA filament brands, PETG filament, ABS filament, nylon filament, and carbon fiber filament.
When looking for a new filament, try sticking to a popular manufacturer like Hatchbox or Sunlu, and look at the diameter tolerance value. The lower it is, the better. Anything lower than +/- 0.05 mm is pretty good and shouldn’t cause any issues!
Conclusion
Under-extrusion is without a doubt one of the most annoying and common issues for a 3D printer, leaving gaps in your layers and unfinished prints.
But you can easily solve it by attacking its causes!
If you’re experiencing under-extrusion, I recommend first increasing the nozzle temperature in your slicer and cleaning the nozzle. And, if that doesn’t work, try drying your filament and tightening the extruder tension!