
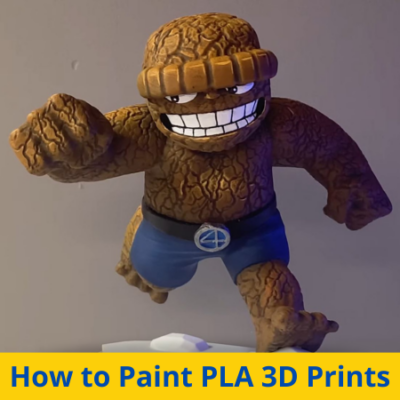

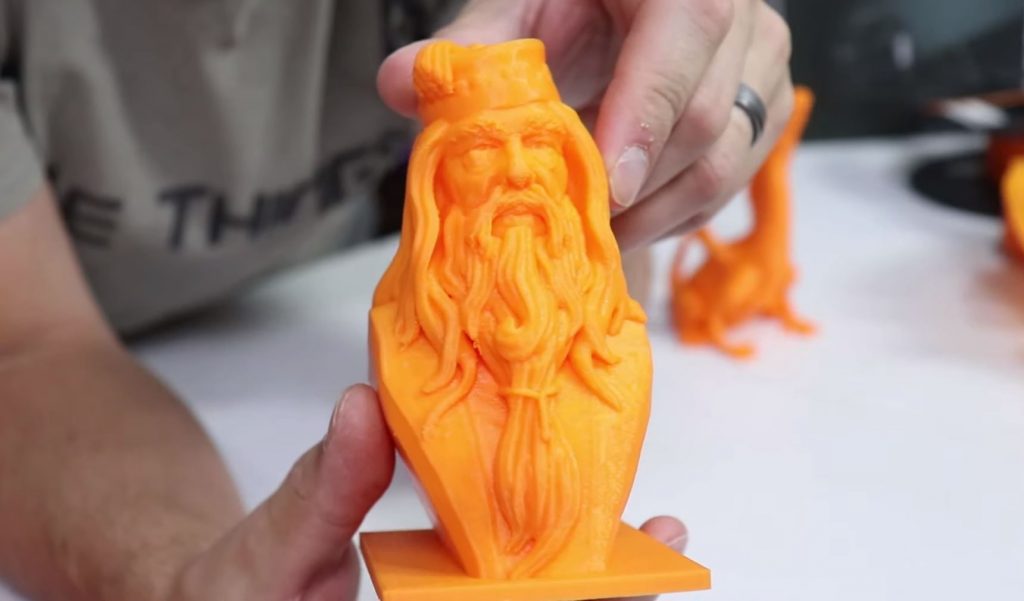
Have a 3D print that doesn’t look the way you want? Painting 3D prints is a super easy way to change the color or finish of a 3D print!
And you don’t have to be a painting pro to do it. PLA plastic responds very well to spray paint, so the process is very straightforward with little room for error.
To paint PLA 3D prints, you first must sand down the surface until it’s decently smooth, and then you can apply a primer coat. After the primer dries, lay down 2-3 coats of your actual paint before finishing the model with a clear coat or polish. It’s that easy!
In the sections below, I’ve gone into more detail about the process, so keep reading!
Table of Contents
Can You Paint PLA 3D Prints?
Yes!
With so many different paint options today, you can paint pretty much anything no matter its material or original surface finish. PLA prints are fairly easy to paint because the plastic responds well to standard acrylic paint, like many Rustoleum paints.
And painting PLA prints is very popular, so there are many resources that you can turn to for more tips regarding this process (this article is one of them).
What Paint Can You Use for Painting PLA 3D Prints?
If you want to paint a PLA 3D print, you’ll have to use a paint substance that’s “compatible” with the material. A compatible paint means any paint that can maintain a strong surface adhesion with the surface you’re painting, which, in this case, is a 3D print made of PLA thermoplastic.
There are tons of different paints that work with plastic objects, including PLA prints, but the best options are acrylic paints. These paints are based on acrylic polymers and stick very well to the surface of PLA prints.
However, universal paints, like Rustoleum’s UltraCover Painter’s Touch options, which aren’t usually acrylic-based, also work very well with PLA prints. These paints are typically much less expensive and more widely available than acrylic paints, making them a more practical choice in some scenarios.
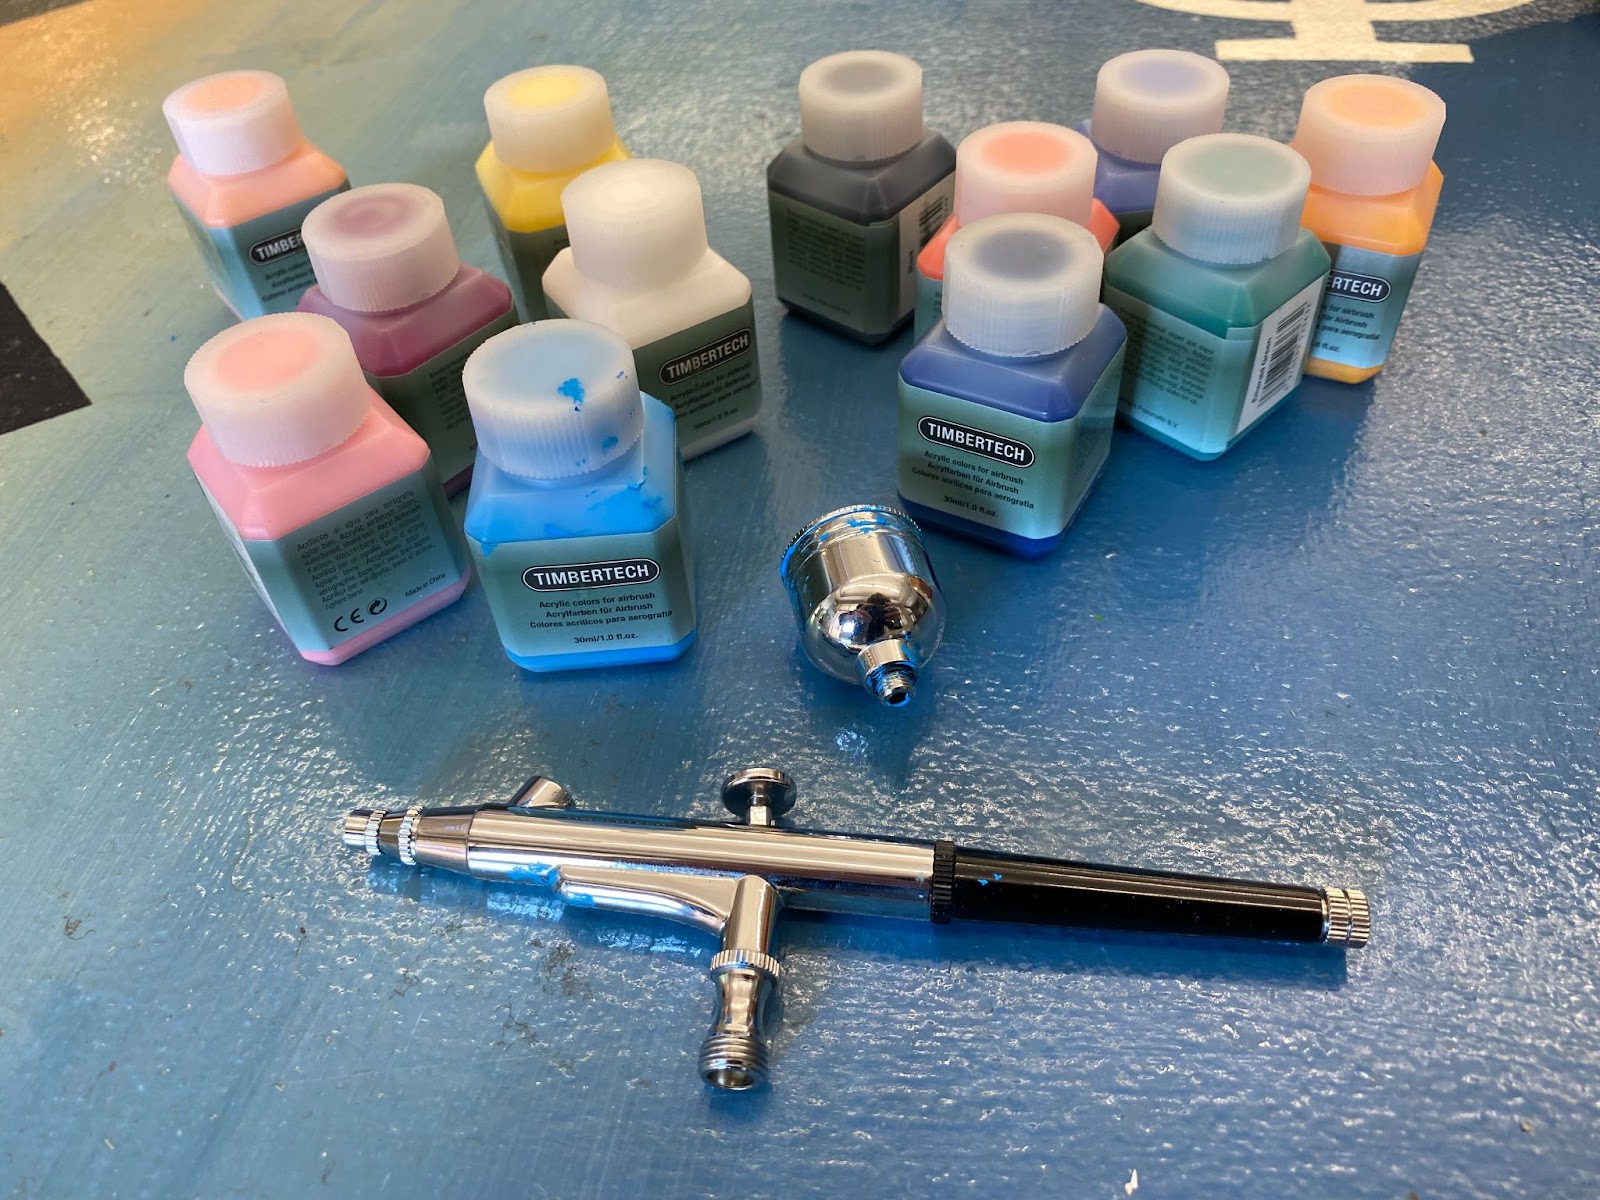
On top of spray paint, you can also use brush and airbrush paint too!
In the sections below, I’ve provided links to some of my favorite paints for PLA prints:
- Rustoleum UltraCover Painter’s Touch 2X
- Krylong Fusion All-In-One
- VHT Duplicolor Plastic Paint (High-Temperature)
- Krylon COLORmaxx Primer Paint
- Timbertech Acrylic Airbrush Paint
How to Paint PLA 3D Prints?
Spray painting PLA prints is a very easy process, and in the sections below, I’ll guide you through each step of the process so you can achieve a super sexy PLA 3D print!
Step 1: Prepare the Print
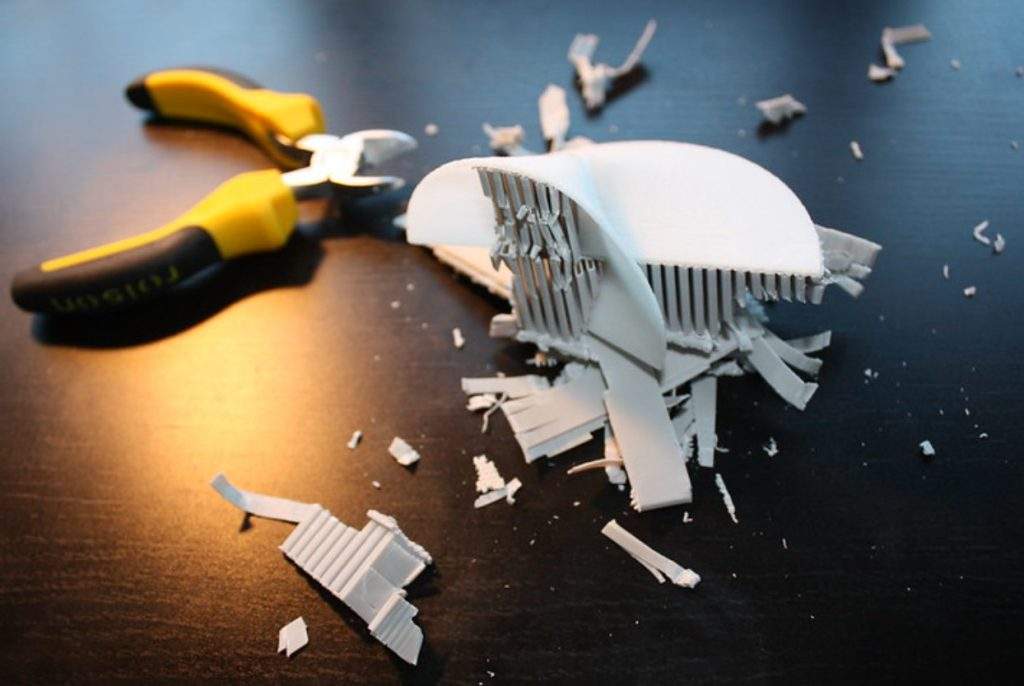
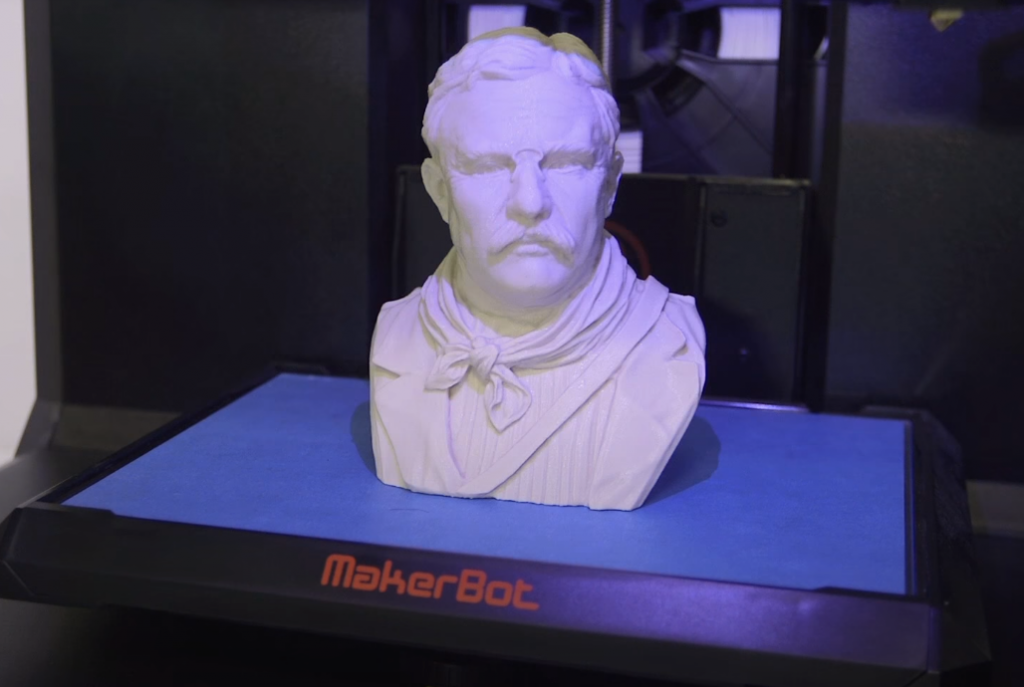
First, remove your PLA 3D print from your machine’s build plate and take off any unwanted structures, including a brim, raft, and supports.
Make sure you take your time with this process! It’s better to spend 20 minutes removing a delicate support structure than accidentally breaking your model and having to wait another 4 hours to reprint the model.
Step 2: Sand the Surface
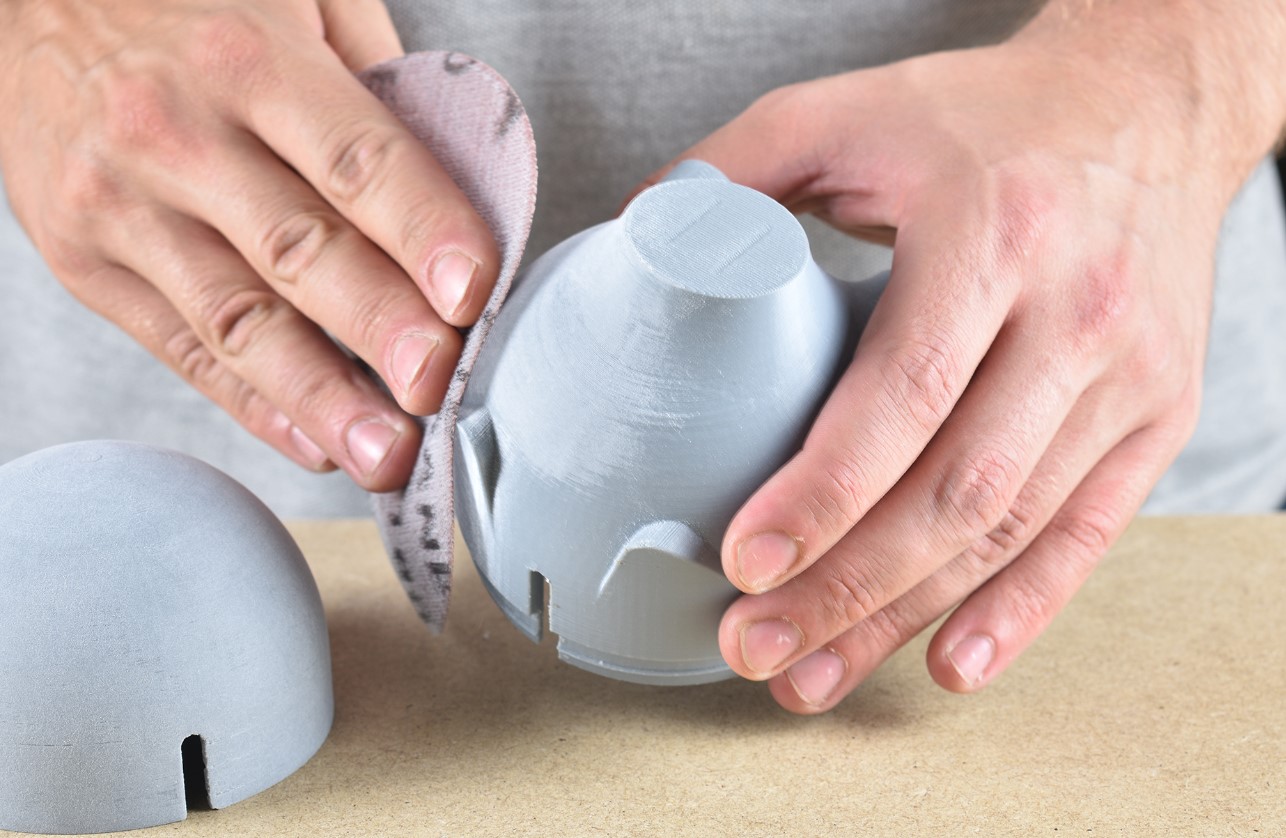
Next, we’ll need to sand the surface of your PLA 3D print. Even if you have the most adhesive spray paint, it won’t stick well to the surface of your print if it’s porous and rugged. Sanding your 3D print will help smooth out the layer lines on the model so the primer, and eventually the actual spray paint, sticks better to the model and doesn’t peel off easily.
So what sandpaper is best for smoothing PLA? I recommend starting out the process with some 80 or 100-grit sandpaper and sanding the entire surface of your model.
I recommend dipping your sandpaper into water while sanding the model’s surface. This technique is known as “wet sanding” and helps you get the most out of each piece of sandpaper.
After the first round of sanding, move on to higher-grit sandpaper, like 150 or 200 grit. Finally, finish the sanding process with some 300 or 400-grit sandpaper. This should make your model more than smooth enough to ensure terrific surface adhesion for the paint.
Once you’ve completely sanded your model, wash it in some water and dry it so that no unwanted bits of plastic are left on the surface. If they are, your primer layer might not stick as well to the surface of the model. On this note, let’s move on to the primer step!
Check out our related article on how to smooth 3D prints here to learn more.
Step 3: Apply a Primer
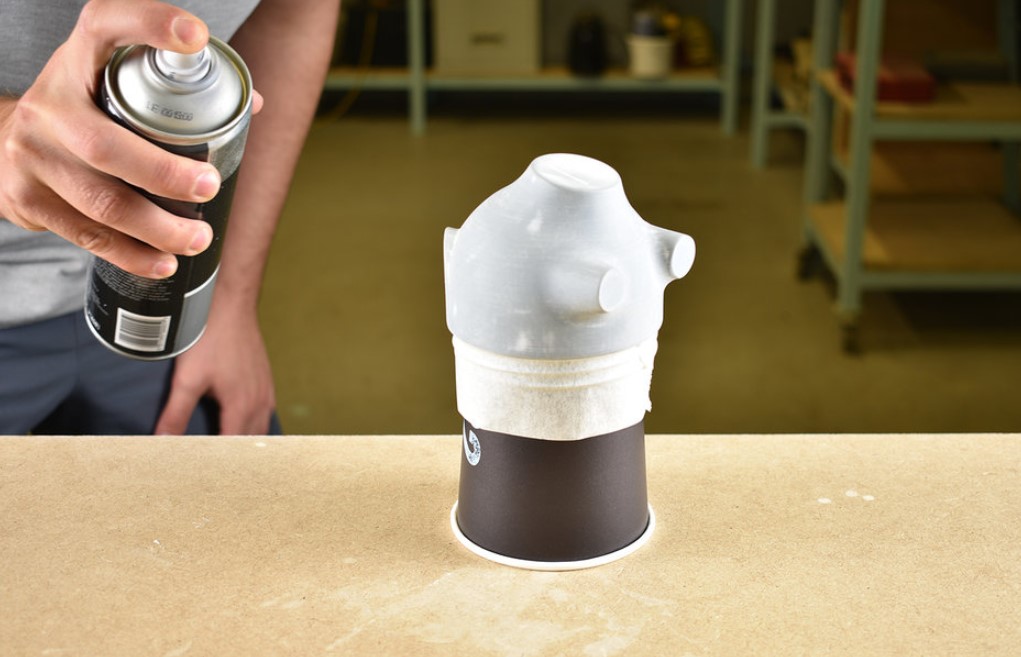
If you’ve never heard of it, a primer is a type of spray paint meant to be applied before your actual coat of paint. Primer paint further smoothens the surface of your part to help the actual paint stick better, thus making it last longer.
Note that your primer paint does not have to be your desired end color as the actual paint will completely cover the primer eventually. It’s worth mentioning that you can use a two-in-one primer paint that functions as both a primer and a paint. However, generally, using a separate primer yields a better finish than these two-in-one options.
Similar to my guidelines for choosing a paint for your PLA prints, your primer paint should also be acrylic-based or plastic-compatible. Rustoleum makes some great options!
Once you’ve got your primer, take your model outside or to a well-ventilated and not-too-windy area and lay it down on some old newspaper. Then, standing a few feet back from the part, shake the primer bottle and start spraying. Keep your strokes even and in one direction at a time to achieve the most even primer coat.
Then, let it dry! Primer paint typically dries super quickly, so 15 minutes should be enough, but feel free to wait longer if you want.
Step 4: Paint 3D Print
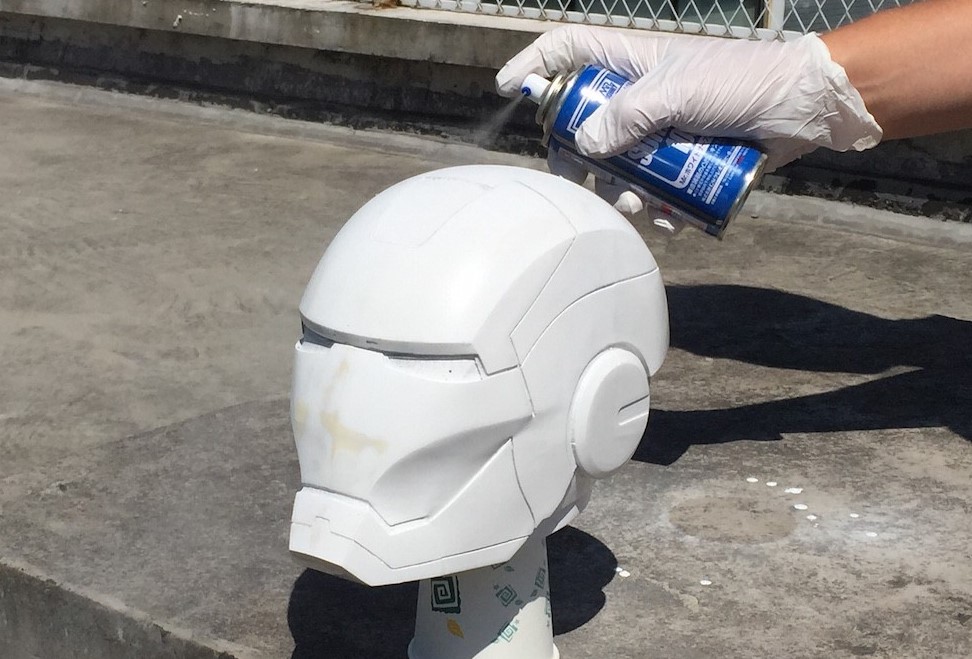
Now that your primer coat is applied, it’s time to apply the actual paint.
As I mentioned earlier, you can use either spray paint, airbrush paint, or physical brush paint. The first two are air-based and yield very even paint layers, but it’s easier to make more precise touch-ups with a physical brush. In this section, I’ll go over the process for spray painting your PLA prints as it’s easily the most popular method.
Start by opening your spray paint bottle and shaking it thoroughly. Then, standing a few feet back from your primed PLA 3D print, start spraying.
Make sure your paint strokes are even, you’re not squeezing the trigger too hard, and you only paint in one direction at one time. Not following these tips could result in dripping/running paint, overapplied paint, and other noticeable issues.
Once you cover the model with your paint once, give it between 15 and 60 minutes to properly dry. Some paints, especially enamels, require even more drying time, so I recommend checking the instructions on the specific bottle of paint you’re using.
After the coat dries, repeat the process! While there’s no one single number of coats that works for all PLA prints, generally at least two coats are recommended. And, if after the first two rounds of painting, your PLA model still doesn’t look the way you want it to, you can go in for a round 3 or even round 4!
Step 5: Apply a Clear Coat
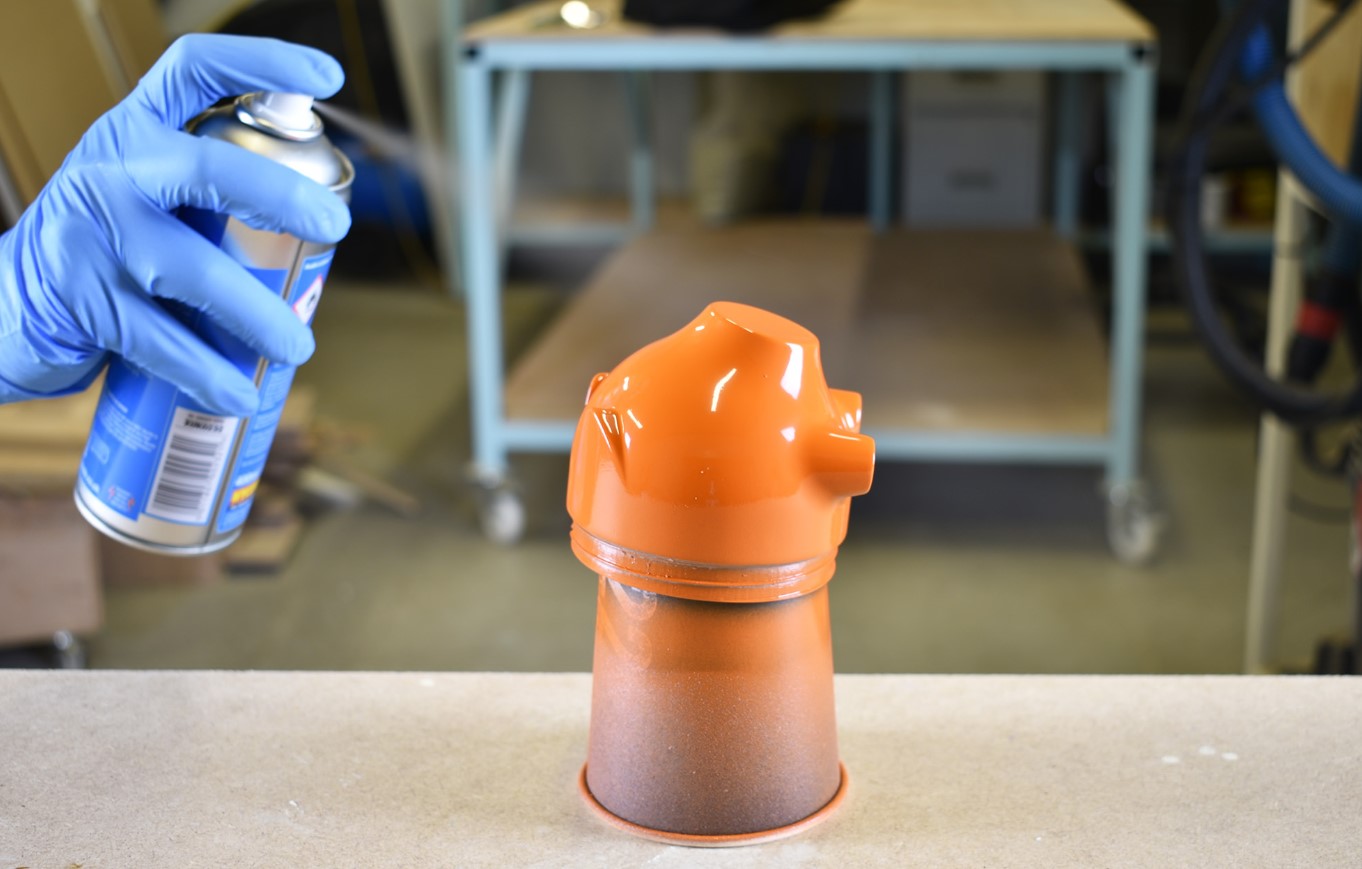
After you finish painting your model and let the final coat of paint dry, consider adding a clear coat of paint to the model. A clear coat will protect the paint from the elements, like rain, dirt, dust, and wind so that you don’t have to repaint the part as frequently. Plus, most clear coats give your 3D prints a visually-appealing glossy finish!
You can use basically any clear coat paint, but I suggest going with Rustoleum’s UltraCover 2X Clear option as, from my own testing, it provides long-lasting protection to the paint layers below. I promise I’m not sponsored by them, but all of Rustoleum’s paints work perfectly for PLA prints!
You should apply the clear coat the same way you would apply the primer or actual paint: stand a few feet back, make even strokes, and so on.
Can You Spray Paint PLA Without Sanding?
Yes, you can. However, it’s not recommended because most PLA prints are very porous due to the inherent layer lines caused by the FDM printing process. And paint does not stick well to porous or rugged surfaces.
So while you can skip the sanding process and go right to the primer and spray painting steps, I highly recommend not doing so unless you’re okay with a weak layer of paint that will likely peel off your print in a matter of weeks.
Can You Paint PLA Without Priming?
Yes! You can paint PLA 3D prints without priming, though the paint is much more likely to peel off much quicker than if you did.
Instead of just skipping the priming process entirely, I recommend using a two-in-one primer paint. These special paints are super common nowadays and function as their own primer, so you can essentially combine the priming and spray painting steps.
As I mentioned previously, the quality of a painted 3D print is usually better when you use a separate primer rather than a two-in-one option. But, the difference in quality between these two options isn’t too noticeable, so it’s usually not a problem.
Benefits of Painting 3D Prints
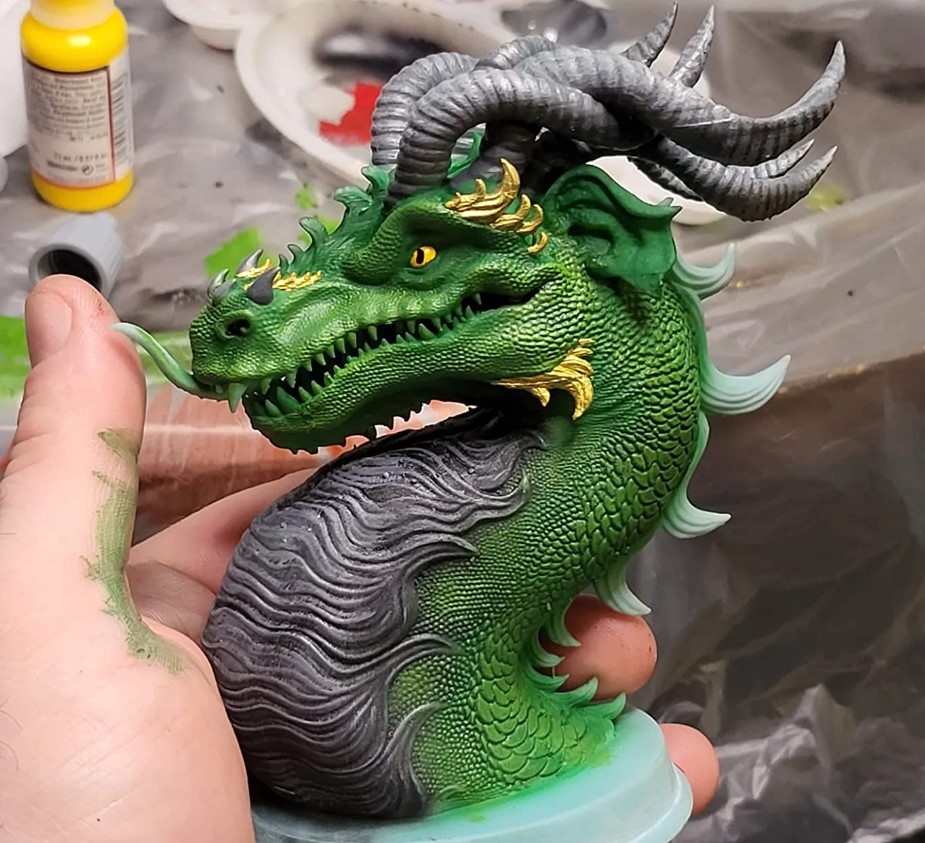
The most obvious benefit of painting a 3D print is making it look the way you want it to.
For example, let’s say you’re printing a phone case and want it to be green, but you only have a red filament. Printing the model in red filament and then painting it green afterward is not just easier than buying a green filament and creating a slicer profile for the material, but it’s also a lot more economical. That’s because a typical can of spray paint costs only around $10, while a typical spool of filament costs around $22.
But changing the appearance of a model isn’t the only benefit of painting a 3D print. Did you know that painting 3D prints also makes them stronger and more durable?
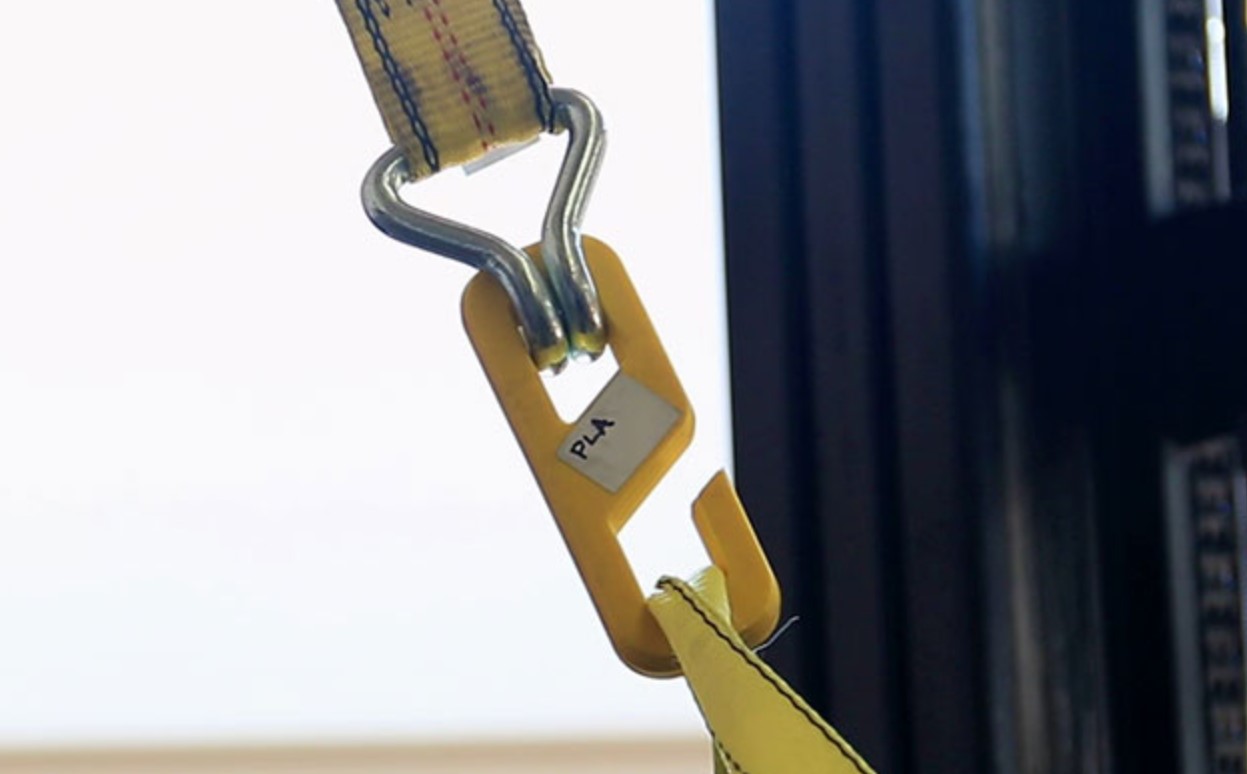
The strength of a 3D print is all about the part’s layer-to-layer adhesion, which refers to how strong the connection between each layer of the printed model is. Painting a 3D print helps better connect the layers of the model because the paint material acts similar to glue, helping keep the layers of a model together. While painting a 3D print only improves the part’s strength a little bit, it’s better than nothing!
Additionally, painting 3D prints can also make them more UV resistant, meaning they can last longer outside, under the sun’s UV rays. Moreover, PLA plastic is known to deform quickly when exposed to UV rays. However, when you paint a PLA 3D print, you’re coating it in a more UV-resistant substance, better shielding the actual plastic from the UV light.
As you can see, painting 3D prints, especially PLA ones, is a terrific idea!
Spray Paint VS Paint Brush VS Air Brush
The three most popular ways people paint parts, including 3D prints, are with spray paint, a physical paint brush, and an airbrush. But how are each of these techniques different? I’ll explain that in this section!
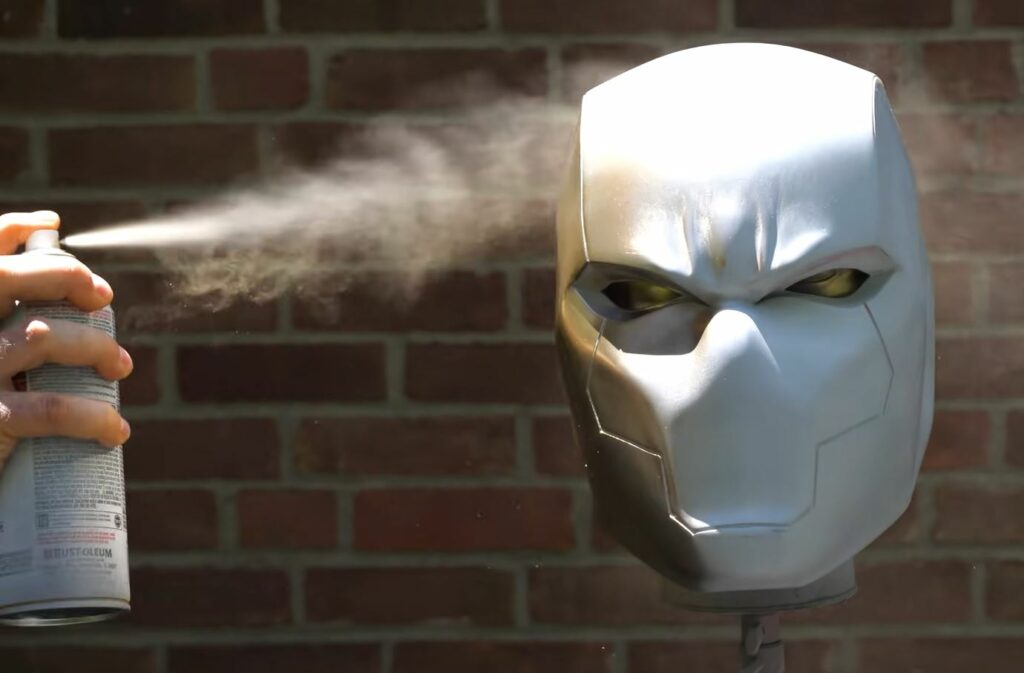
First off, spray paint is a form of aerosol paint that’s compressed and trapped in a metal can. Because it’s an aerosol-form paint, this method yields super-even coats of paint on surfaces. And, spray painting is very economical because you don’t need any extra hardware to use the spray paint and most cans cost less than $15.
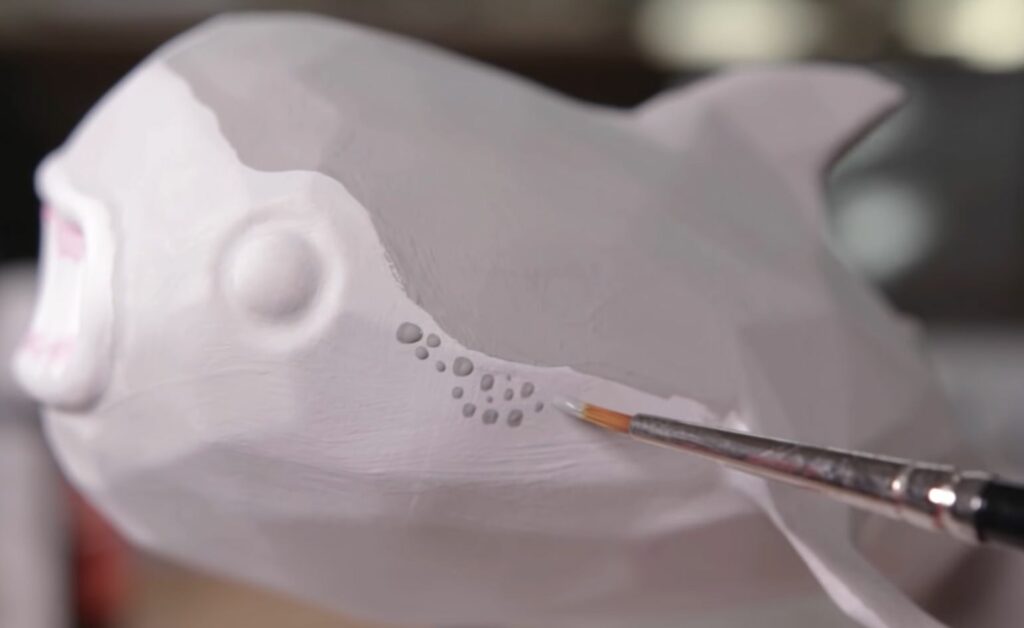
Second, a physical paintbrush is a pretty self-explanatory tool. You just dip the bristle brush in a liquid paint substance, which runs pretty cheap at most hardware stores, and then stroke the brush across the surface of a part. This method is also very inexpensive, but you have to clean the brushes after using them and you can usually see brush marks on the surface of your part.
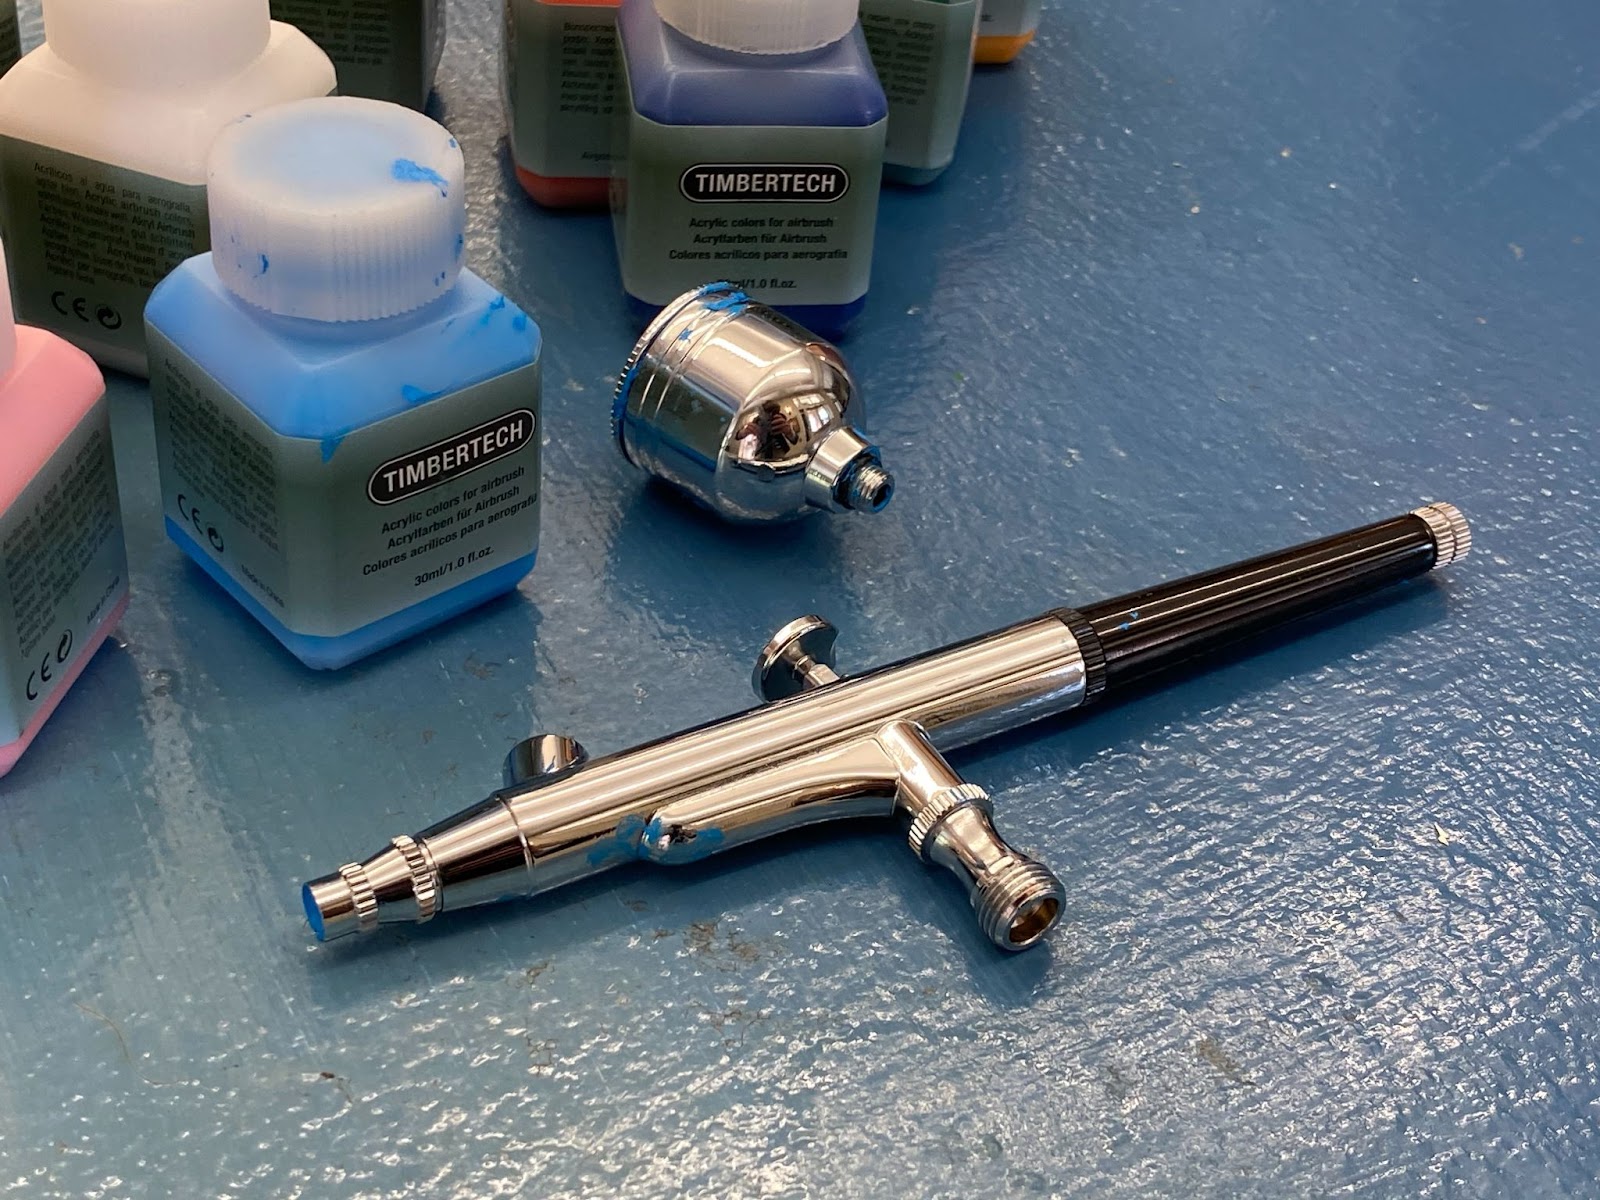
The third and most expensive form of painting is with an airbrush. This method involves using a special mechanical tool (the airbrush), an air compressor, and a small jar of paint. When you pull the trigger on the airbrush tool, the air flows through the system, mixing with the liquid paint and shooting out the nozzle in an aerosol form.
Airbrushes are the preferred choice of most painting professionals as they allow for a great deal of precision in the painting process while also yielding super fine, even, and thin layers of paint. However, airbrush tools and air compressors can cost over $100, and there’s a pretty steep learning curve to this method, so it’s not always the best option for novices.
Conclusion
There are many reasons you might want to paint a PLA 3D print, like customizing the model’s appearance, making it more UV resistant, or even improving its durability.
No matter the case, painting PLA 3D prints is super easy and the process can be broken down into five simple steps. First, you need to prepare the model, removing any rafts or supports, before moving on to step two, sanding the surface.
After smoothening out the model and making the layer lines less obvious, you can apply a primer coat and then a few coats of your preferred plastic-compatible paint. Finally, it’s recommended that you apply a clear coat to preserve the previous coats of paint and protect the model from the elements.
It’s that simple!
Related Articles: