
Printing with resin uses a photochemical technique and UV light for printing layered 3D objects. 3D resin printing can be straightforward when you know what you are doing. One question often asked by many people new to curing resin prints is how long does it take to dry 3D resin prints?
Depending on your curing method, resin prints can take anywhere between two minutes and three days to cure. Two-component resins will also take longer to dry.
In this article, we discuss curing resin, the various curing methods, and how to get the best results.
Table of Contents
- What Does Curing Resin Mean?
- Why is Drying the Resin Print Important Before Curing?
- How Long Would it Take to Dry Resin Print?
- How to Cure Resin Print?
- Methods Used in Curing
- How Long to Cure Resin Prints?
- Indications Resin Curing is Done
- How to Identify if the Resin Print is Overcured?
- Why is the Resin Print Sticky?
- Bottom Line: How Long to Cure Resin Print
What Does Curing Resin Mean?
Curing resin is a process that uses heat and UV light to strengthen and harden printed 3D images. When used with a 3D printer, resin curing allows your 3D prints to become stable when the curing time is complete.
Curing 3D resin print differs from epoxy resin because it does not require other components, such as an accelerator for hardening. The 3D resin cures through direct contact with a source of UV lighting.
Every 3D image requires different post-curing times and temperatures to achieve maximum results. Keep reading to learn more about resin curing.
Why is Drying the Resin Print Important Before Curing?
Drying your resin print before curing is a crucial step in the curing process of 3D resin prints for various reasons. Firstly, undried resin prints have a sticky finish that makes it difficult for the resin to cure evenly. The surface finish may not cure evenly if the resin print isn’t completely dry beforehand.
Some resin prints can also crack if they are not completely dry. Additionally, undried resin prints may leave drips during the curing process.
How Long Would it Take to Dry Resin Print?
Drying times for resin prints vary depending on several factors. Typically, resin prints can dry in five to 30 minutes under a UV lamp. However, two-component resin takes much longer to dry. Some products using two components can take up to three days or longer to dry.
Factors that might impact your resin print drying times may include:
- The size of your resin mold
- The size of the object you are filling or coating with resin
- The method of curing you are using
- The type of UV lighting you are using to cure
- The thickness of your resin product
- The color of your resin print
Light-colored prints finish the curing process faster than dark colors.
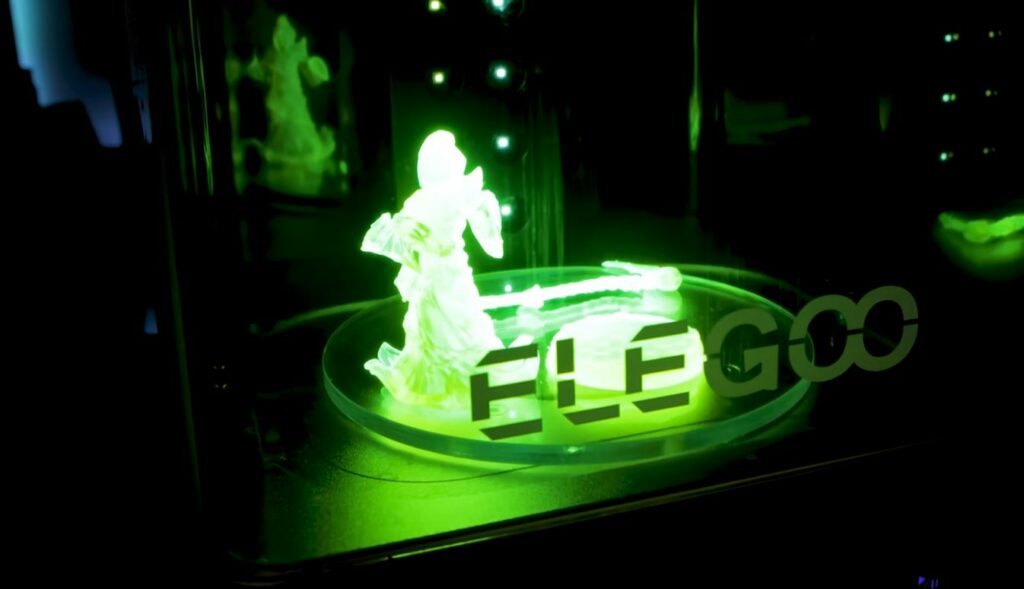
How to Cure Resin Print?
3D resin printers build layered models with the help of UV lighting. When the print is complete, it will need cleaning before moving on to the next step in curing through additional UV lighting.
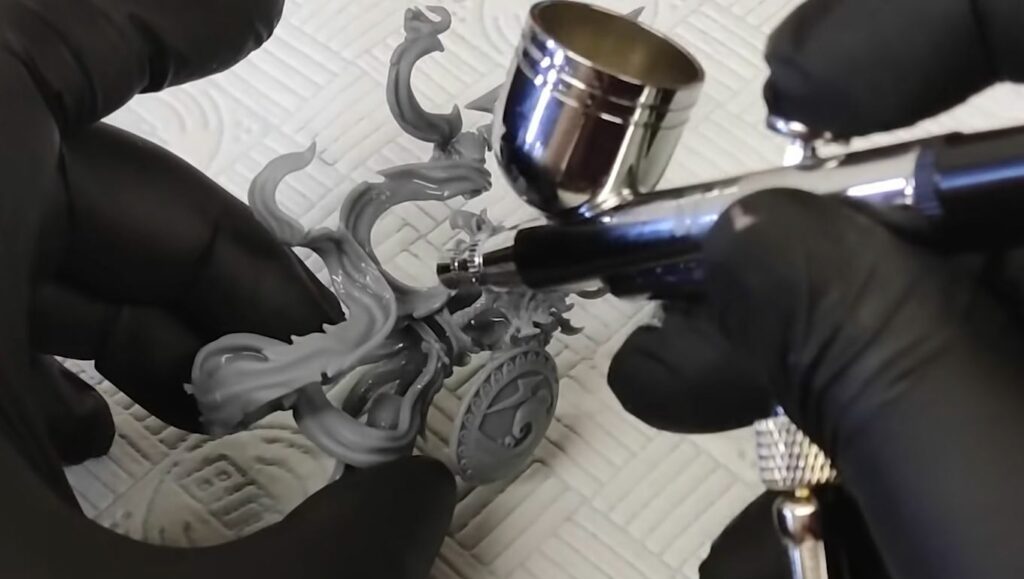
Cleaning the Resin Print
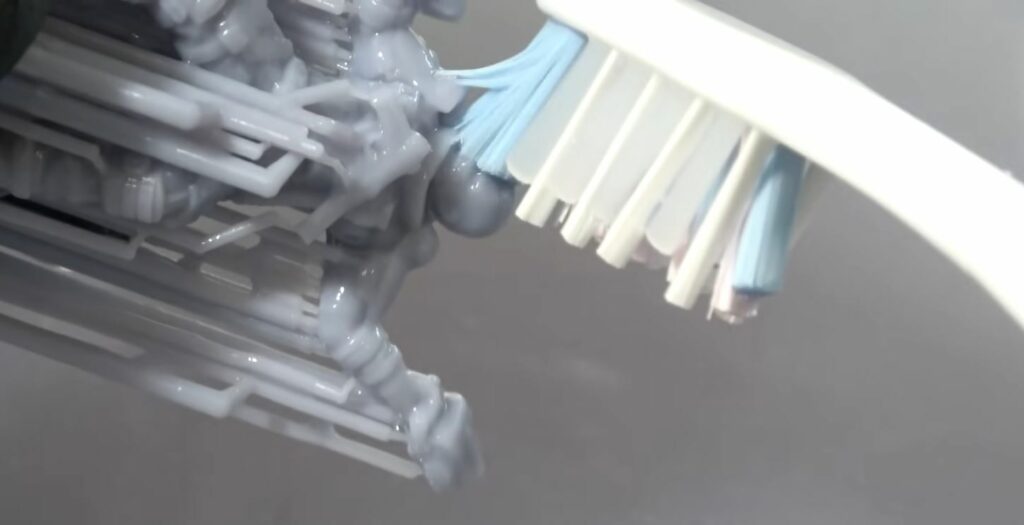
After printing is complete, your resin print is ready to be cleaned. Cleaning your resin print is an essential step because it maximizes the quality of your finished product.
However, before cleaning can begin, there are steps to take to ensure your safety. You must wear gloves and safety glasses to protect your skin and eyes from the harmful fumes and chemicals in the resin solution.
You should also follow the following tips:
- Wear a face mask to prevent breathing in the fumes
- Have paper towels or a warm rag handy for messes
- Clear your workspace, so the resin does not get on anything important
If you accidentally come in contact with resin, wash your skin with warm soap and water immediately to reduce having it harden onto your skin or cause adverse reactions.
When you are all set, you can wash the resin print with isopropyl alcohol.
Washing with Isopropyl Alcohol
Using 3D printers can get messy. After the removal of the final product from the 3D printer, it will have uncured resin on it.
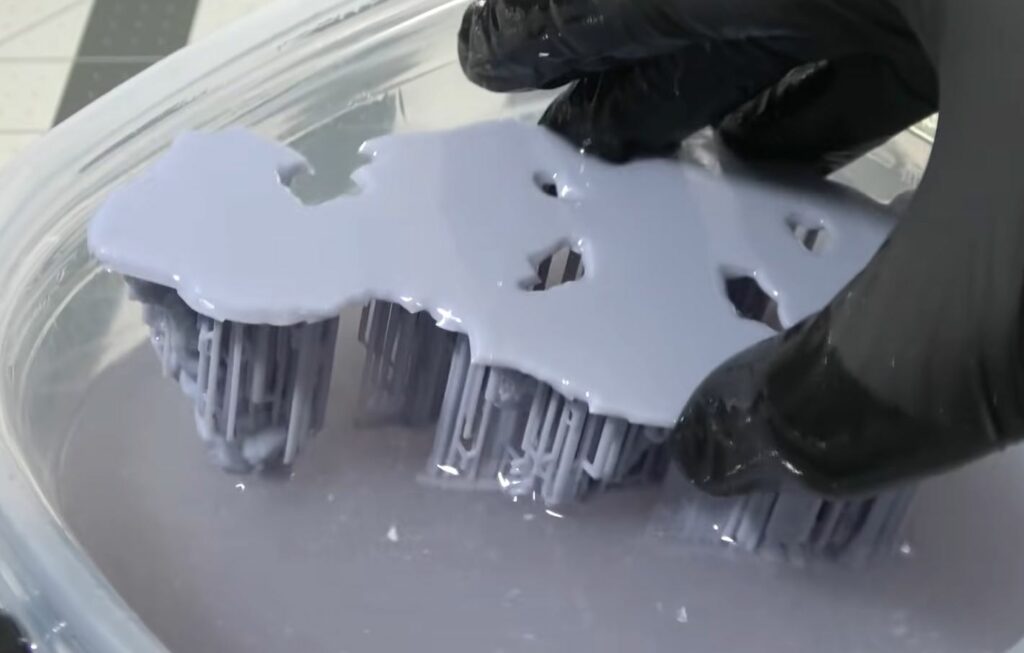
Although there are other methods of cleaning your 3D prints, washing the 3D resin print with isopropyl alcohol is a cost-effective way of removing excess resin before it hardens onto your finished piece.
Submerge your finished product in a container of isopropyl alcohol and swish it from side to side to remove the leftover resin. Repeat as necessary until your product feels smooth and resin-free. You can find isopropyl alcohol at most art stores or pharmacies.
Do You Remove the Supports Before or After Curing?
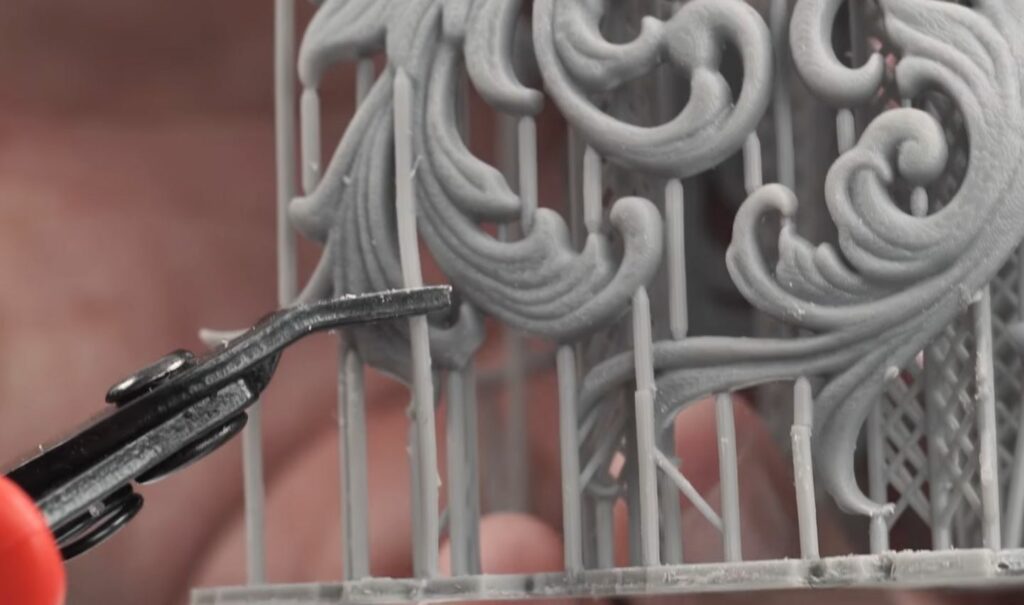
Remove your 3D print supports by soaking them in warm water, then pulling the supports off before curing for the following reasons:
- To reduce the chances of breakage when the material is still soft before curing.
- Removing the supports before curing is easiest when the resin is still soft.
- To make it easier to wash your product before curing.
Methods Used in Curing
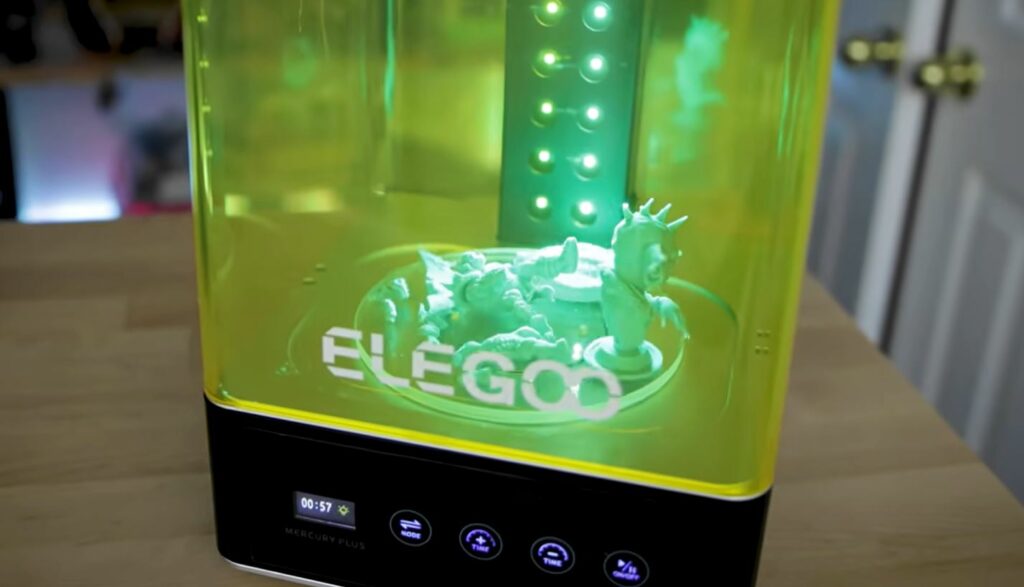
We learned resin prints go through the curing process by being exposed to ultraviolet light. Using a curing machine is one of the most common curing methods. You place your 3D print inside the machine, and the UV light works effectively to cure the entire object.
However, besides a printer, there are several other ways of curing 3D prints. Here is a list of other effective methods used in curing resin prints:
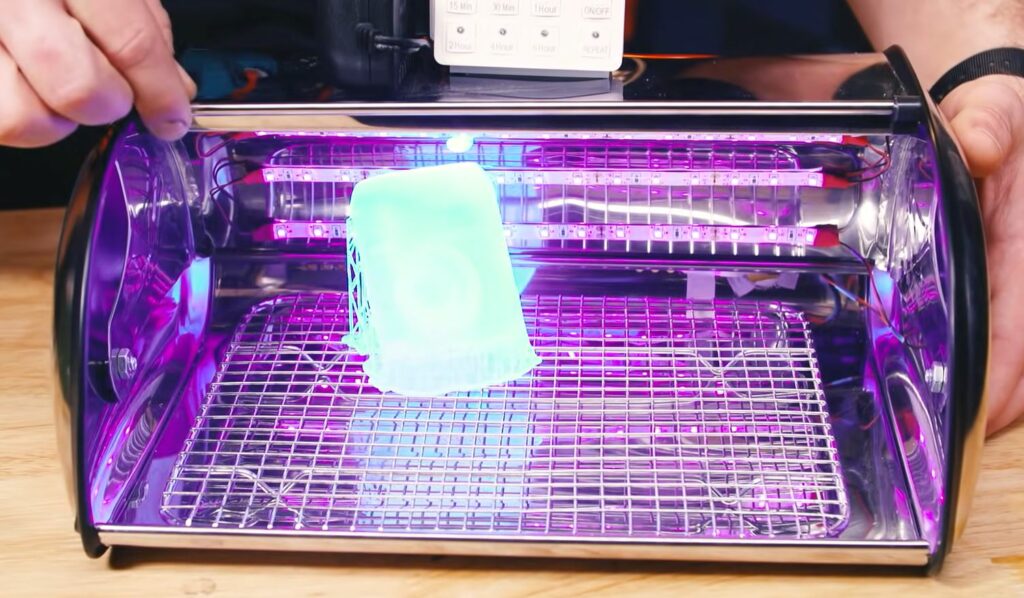
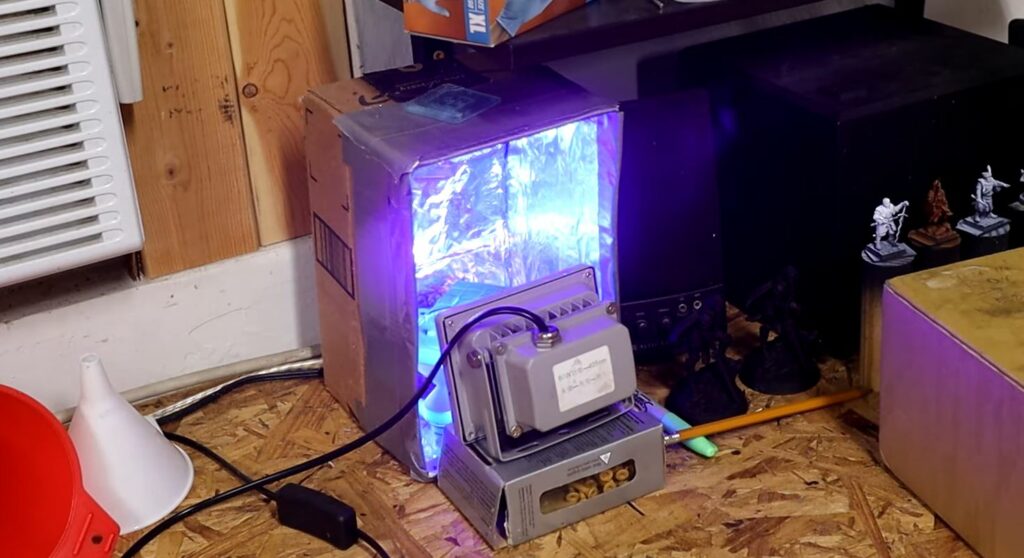
UV Lamp
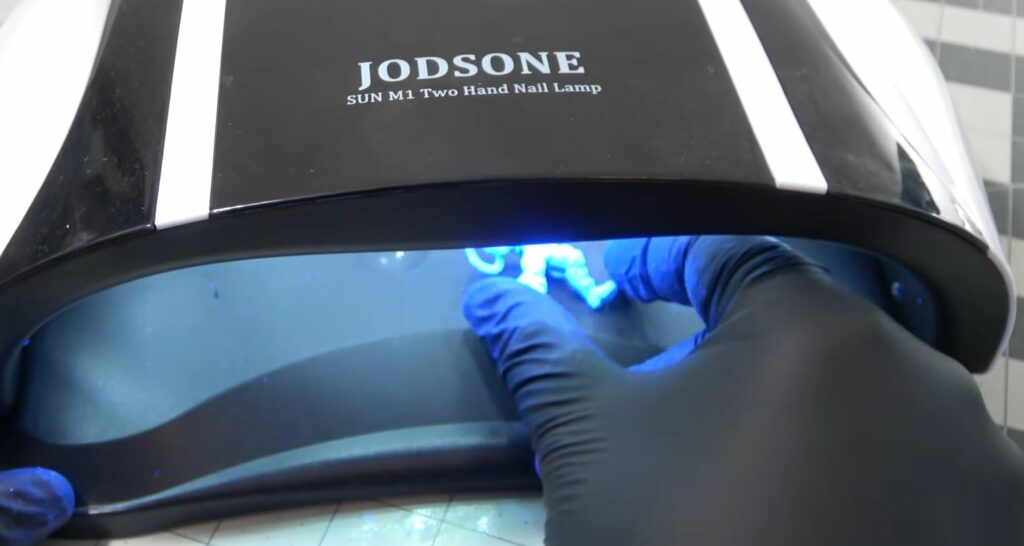
A UV lamp is an alternative method used in curing resin. Beauty salons use UV lamps to dry nail polishes. This affordable option is less powerful than curing machines. But it can still work effectively in curing 3D resin prints.
One downfall of the UV lamp is that it does not offer unified curing results. Some people manually rotate their objects to ensure all sides cure evenly with a UV lamp.
You can also solve this problem by adding reflective material on each side of the UV lamp to reflect the light onto the 3D print surface for even light distribution.
UV lamps are a practical and cost-effective solution for curing your 3D resin prints.
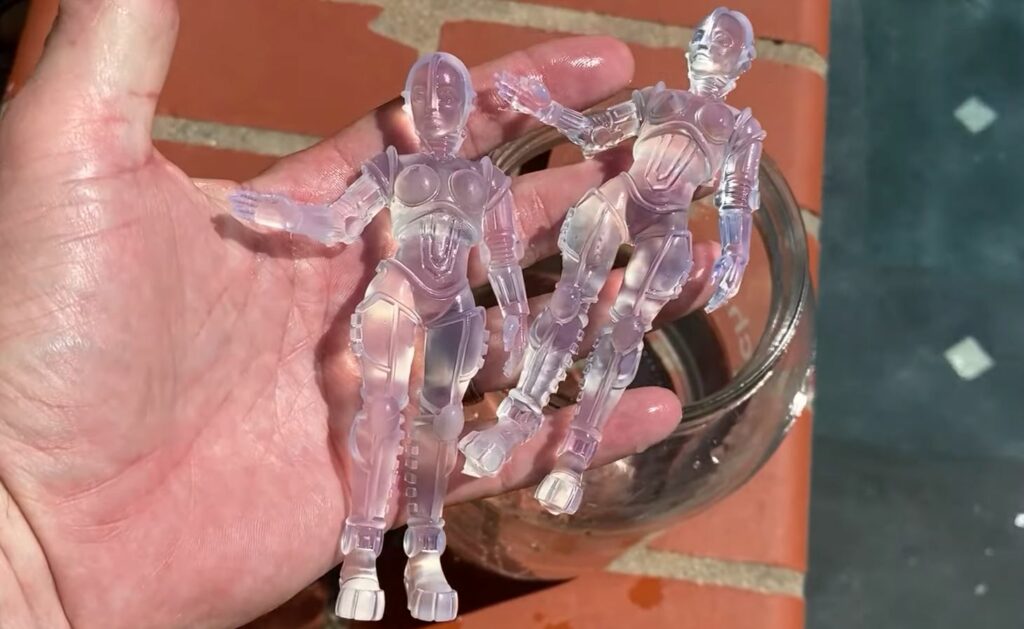
Sunlight
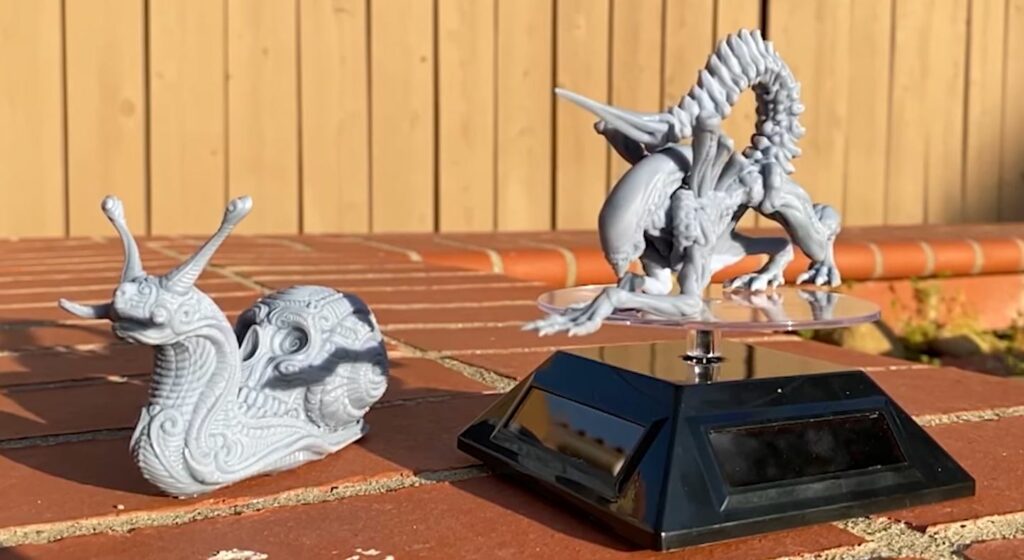
Sunlight is another inexpensive method of curing resin prints for anyone looking to save some cash on their projects without spending money on a fancy printer.
Sunlight offers a natural source of UV light that can work to cure your projects. Because sunlight is not as strong as UV printers, it will take longer for your prints to cure using this method.
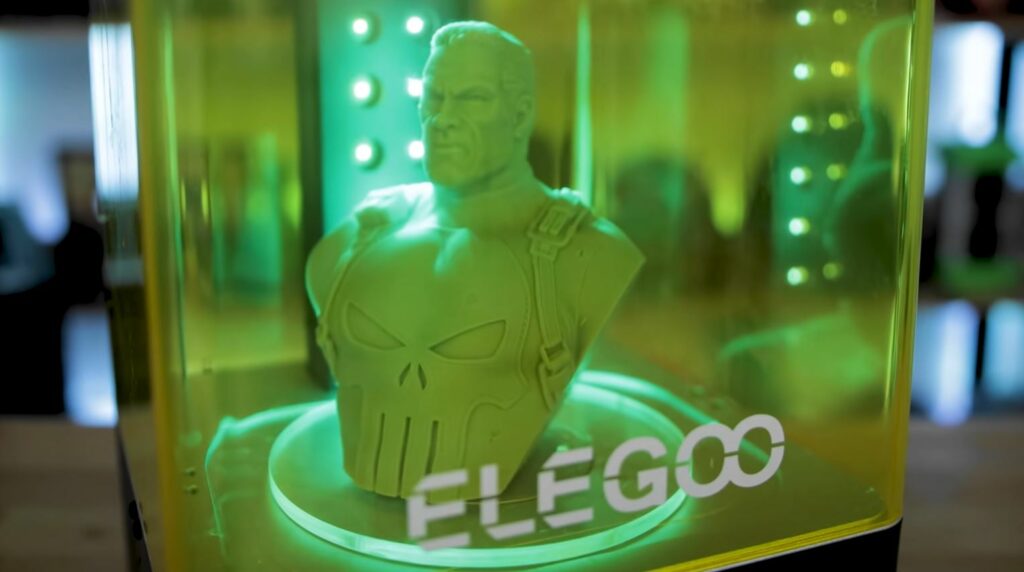
Curing Station
A curing station uses a post-processing solution to cure your 3D resin prints and prepares them for the final application of resin.
Many curing stations have built-in washing stations to clean excess resin off your final piece. This feature is more costly but saves manual clean-up.
Some manufacturers offer 3D printers and curing station bundles to save on costs. So make sure to shop around when selecting your device.
Curing stations are ideal for anyone who plans to do a large amount of 3D resin prints. It is a more costly option. But it is beneficial for quicker workflow and less mess.
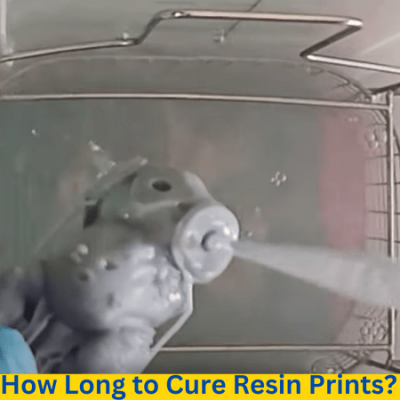
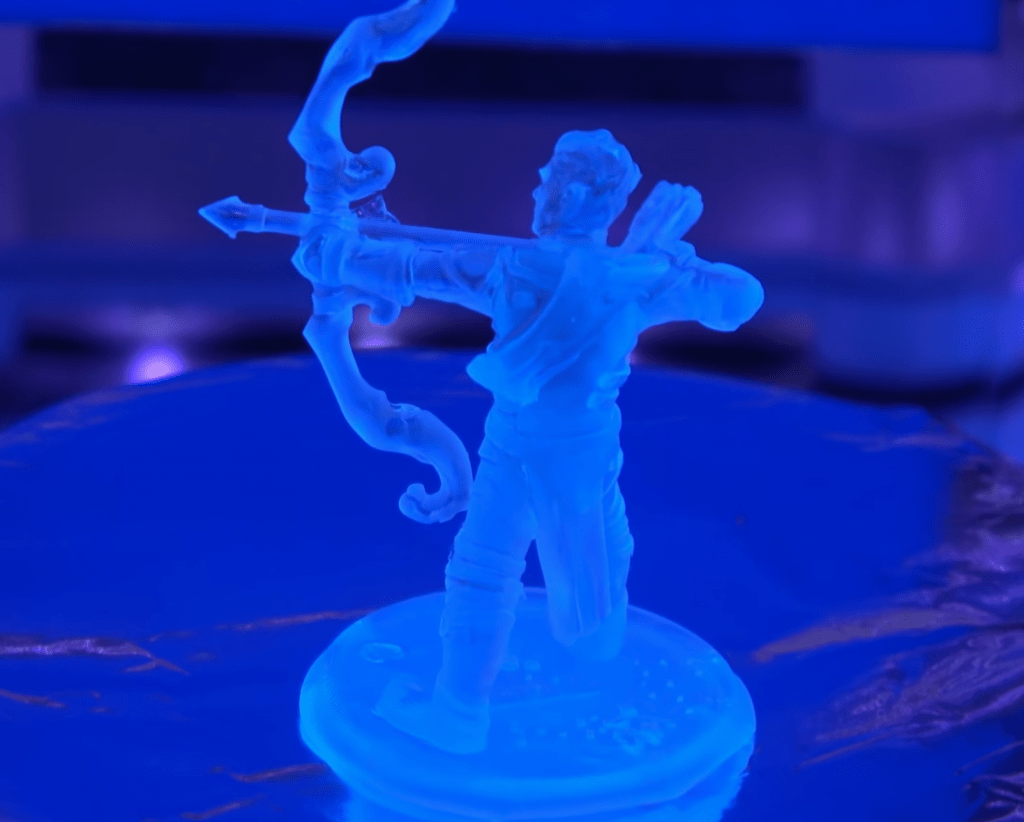
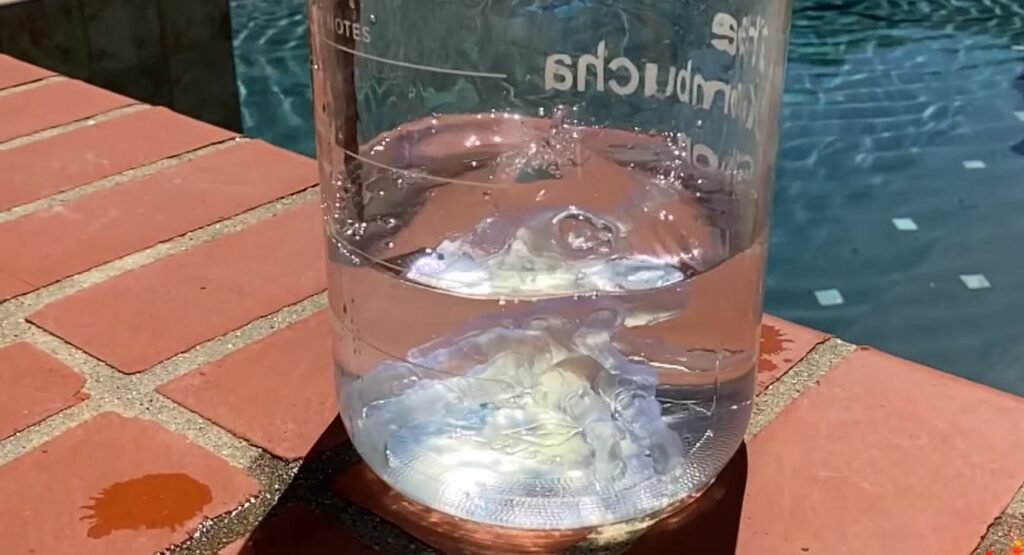
Water Curing
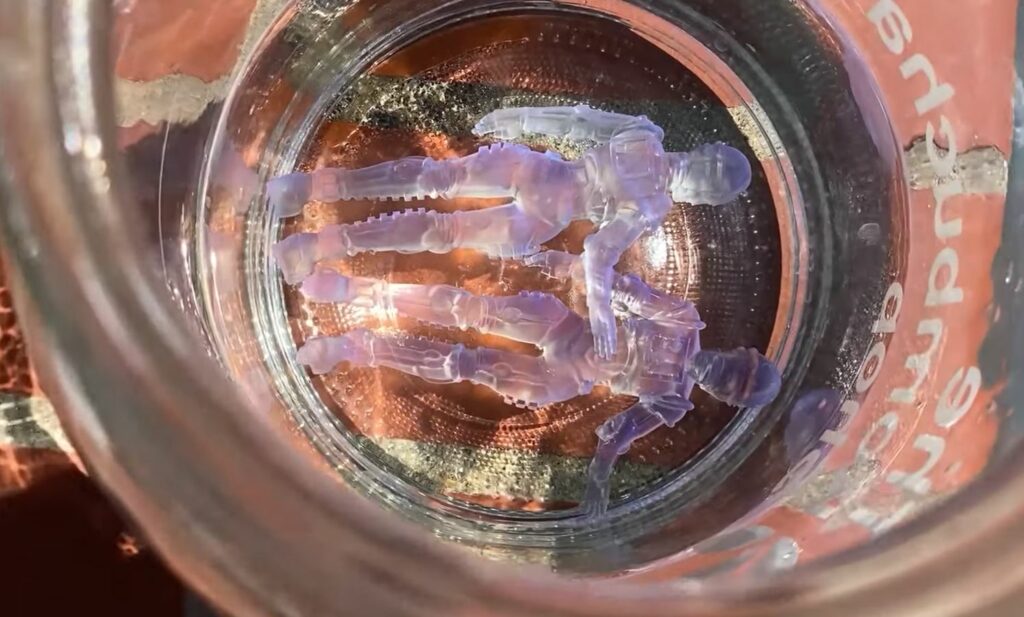
Water curing is another method used to cure 3D resin prints. This method reflects light evenly from all edges so the sunlight can reach small areas on the resin prints.
Water curing offers a harder finished surface and a more uniform finish compared to other curing methods.
This method also does not require any fancy equipment to use. All you have to do is submerge your prints in a large container of water after washing the excess resin off them.
Place the container near a UV source, such as direct sunlight or a UV lamp. Water curing is faster than other methods and reduces curing time.
How Long to Cure Resin Prints?
Drying times for curing resin prints may vary depending on the method of curing. Here is a list of approximate curing times for the different methods:
UV Lamp
The UV lamp method of curing your resin prints is cost-effective and quicker than other curing methods, such as the sunlight method.
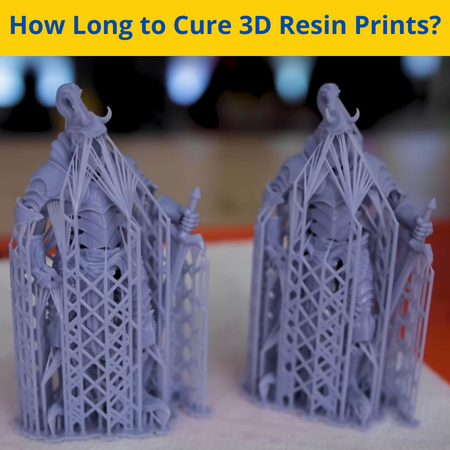
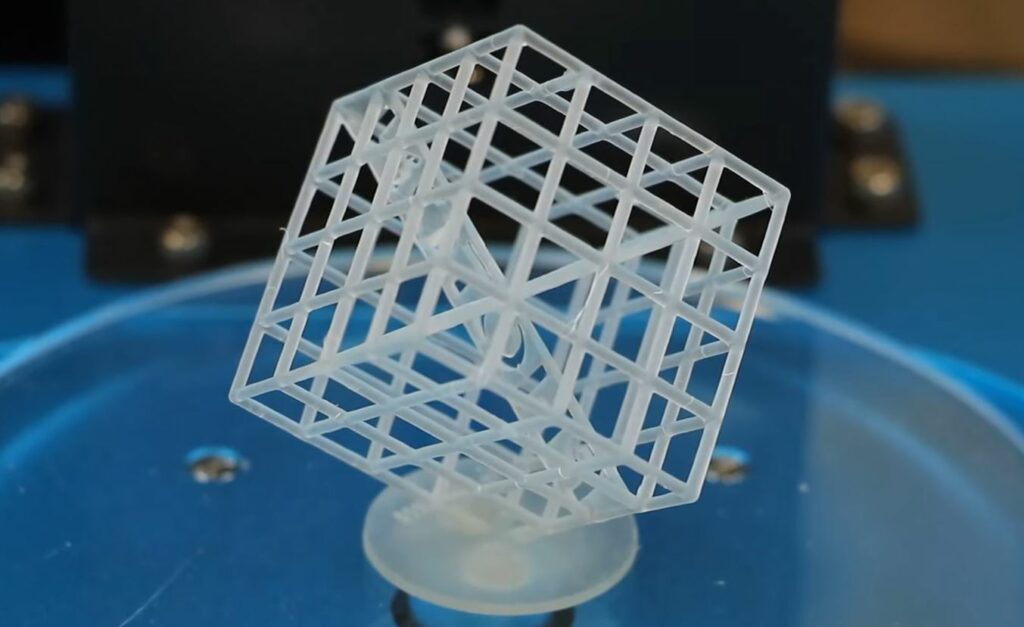
Curing times for a miniature resin print will take approximately two minutes per side to cure. Medium-sized resin prints will take around three to four minutes per side to cure, and large prints of 100mm or more will take six to eight minutes per side to cure.
These curing times may vary slightly, depending on the strength of your UV lamp.
Sunlight
Using the sunlight curing method is cost-effective. However, it will take longer for your prints to cure than other methods.
Curing times for miniature resin prints using the sunlight curing method take approximately one to two hours.
Medium-sized resin prints may take around two to three hours of curing time using the sunlight curing method.
Large prints of 100mm or more will take ten hours or more to become completely dry.
Curing Station
Using the curing station method of curing your resin prints is another quick-curing method for people on the go and looking for a faster method of curing.
Using this method, miniature prints will take approximately one to two minutes to cure. On the other hand, medium resin prints take around two to five minutes to cure using the curing station method, and large resin prints take anywhere from five to 20 minutes to cure.
Water Curing
Water curing is another method of curing resin prints that is effective and quick. Miniature prints usually take approximately two minutes to cure using this method, whereas medium to large resin prints takes around seven to 11 minutes.
However, it is crucial to check your product regularly to determine if it is dry because each method of drying time varies depending on several factors, including the following:
- The room temperature
- The amount of natural sunlight on the particular day of curing
- The texture of the resin used
Indications Resin Curing is Done
Because each resin print will cure at varying times according to the above factors, it is difficult to put an exact timeline on curing times.
Here are some signs to look for when determining if your resin print has finished curing.
The Print’s Texture
The texture of the print looks smooth and finished when the curing process is complete.
Odor
The odor of the resin will not smell as strong when curing is complete.
Appearance
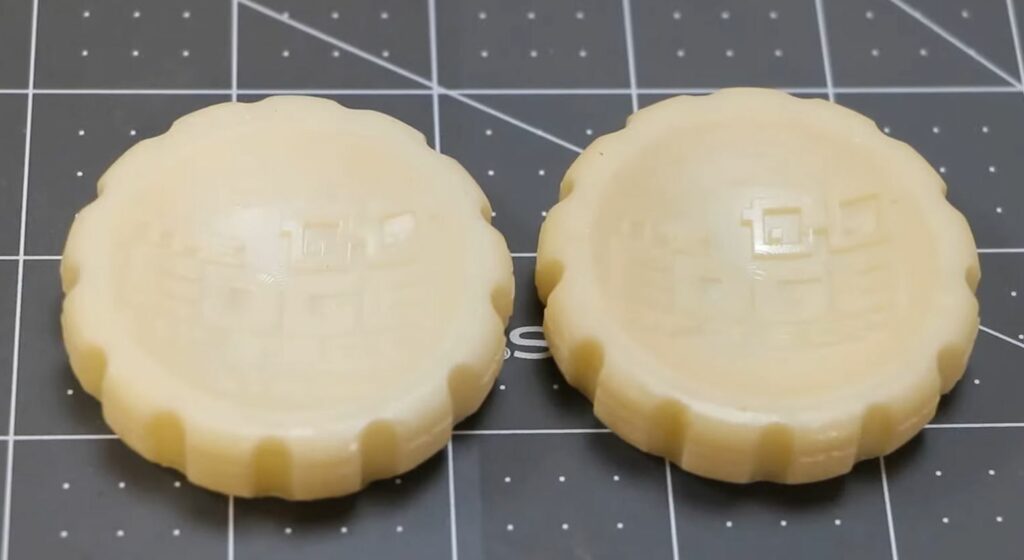
Your finished piece will have a matte finish when fully cured. On the other hand, a glossy appearance might show your resin print is under-cured.
How to Identify if the Resin Print is Overcured?
When your resin print is fresh off the printer, it is usually soft and tacky. Your finished piece requires curing to help solidify your resin print and help strengthen your final project.
As discussed earlier, there are several types of effective curing methods to strengthen your piece. However, if your project cures for too long, the results can be devastating.
After spending several hours printing your 3D resin model, it would be a shame to have your final project ruined by over-curing.
Here are some sure signs you have cured your project for way too long:
- Discoloration of your resin print
- Resin prints become brittle
- Formation of cracks in your resin print
Discoloration includes white patches or your item turning a slightly yellow shade.
Why is the Resin Print Sticky?
When your 3D resin print comes off the printer, it is often sticky. A sticky resin project is nothing to worry about. Once you wash the 3D resin print, the stickiness should dissipate.
If your product still feels sticky after the first wash with isopropyl alcohol, don’t be afraid to re-wash until it feels smooth and free from excess sticky leftover resin.
Bottom Line: How Long to Cure Resin Print
We hope we have provided some beneficial information to consider when exploring the possibilities of the best curing methods for 3D resin prints.
As discussed, there are several effective methods of curing 3D resin prints, including the UV lamp, the sunlight method, a curing station, and the water curing method. Each method will take different amounts of time, ranging from two minutes to three days.
After careful consideration, we think the UV lamp method is the best. The UV lamp method is cost-effective, fast, and efficient. It also leaves a beautiful finish on your resin project.
Related Articles: