
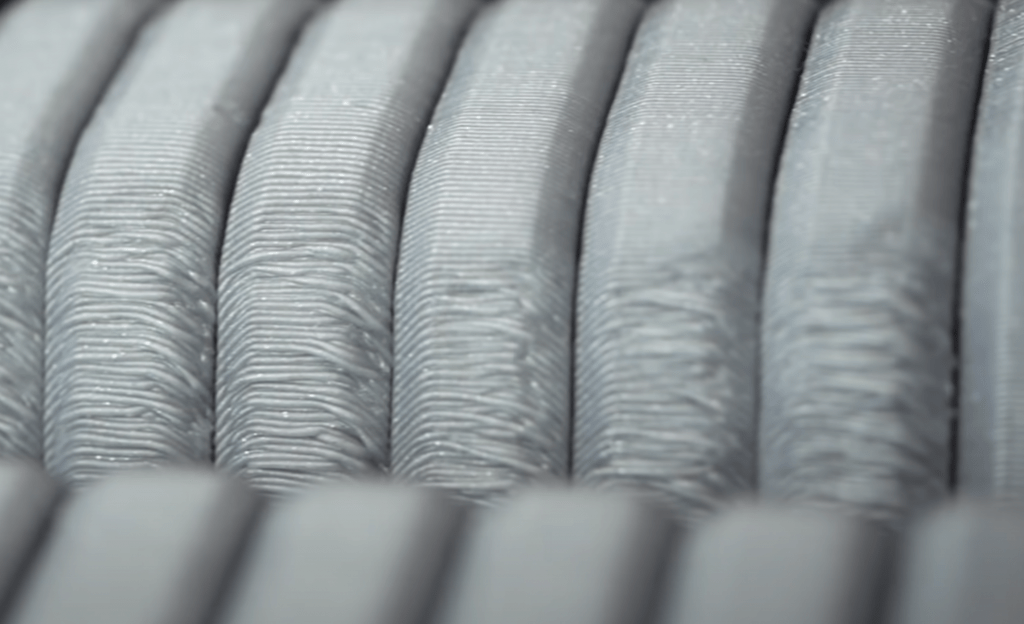
If you’ve ever held a 3D print in your hand, you probably noticed the layer lines. Layers are what make a 3D print unique and different from traditionally-manufactured objects.
The layer height is a setting for 3D printers that controls the distance between these layers.
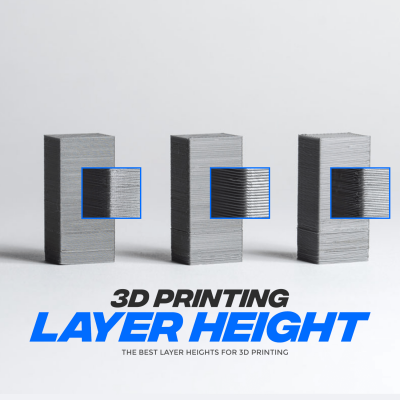
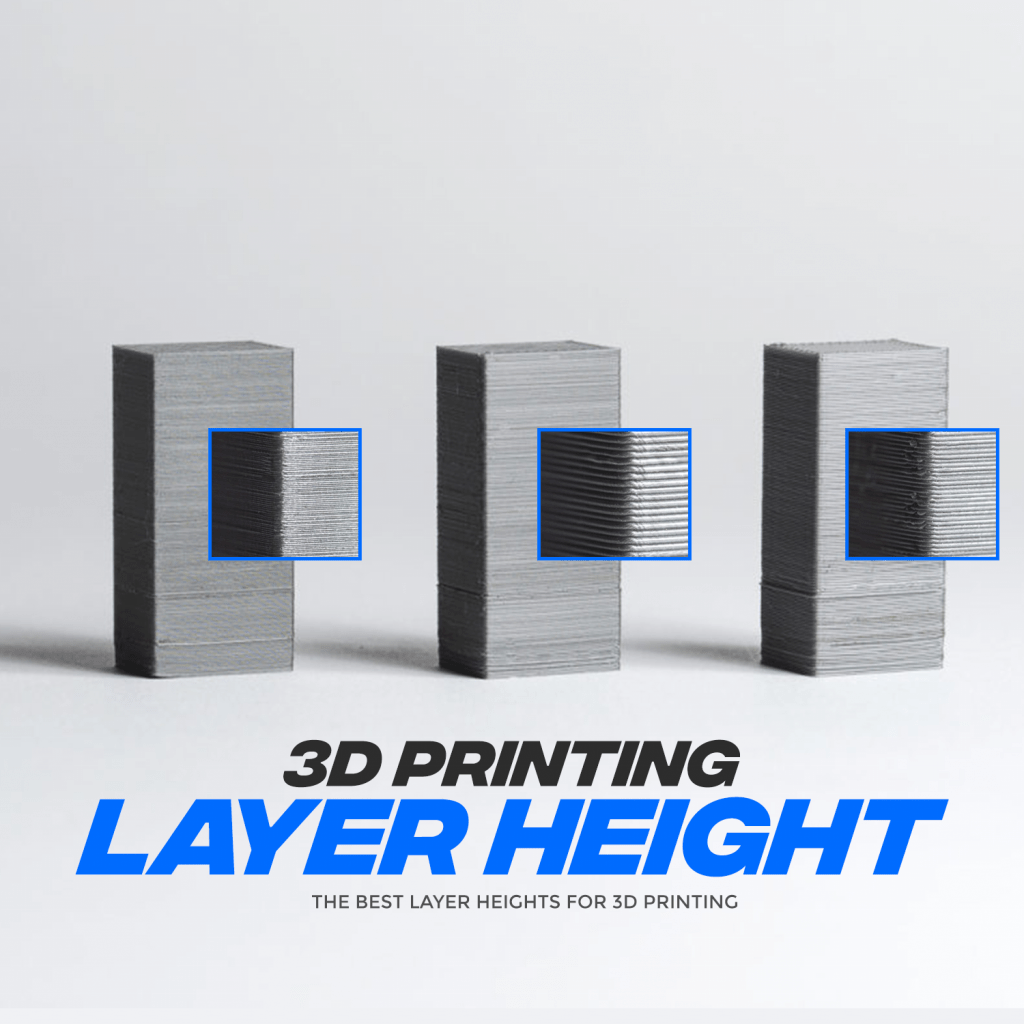
If you use a larger layer height, the layers on your 3D print will be more noticeable because they’ll be taller. Conversely, if the layer height is smaller, there will be more layers, but they’ll be less visible because each is smaller.
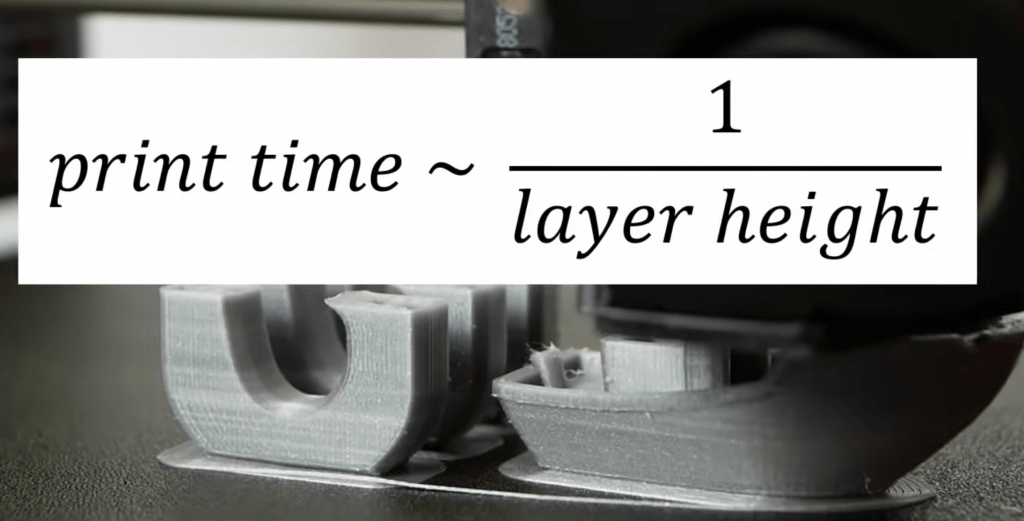
Besides the layer thickness, the layer height also affects the strength of your part, how much detail is on the model, and how long the print takes.
The best layer height for 3D printing is 0.2 mm, which provides a great mix between part strength, printing time, and detail. For more detailed prints, a layer height of 0.04 mm is best. And if you need maximum strength, then a 0.3 mm or larger layer height will work well!
Want to learn more about 3D printing layer height and how you can use it?
Keep reading!
Table of Contents
- What is Layer Height?
- Why is Layer Height Important?
- Best Layer Heights
- Layer Height Motor Rule
- Large Layer Height vs Small Layer Height
- Layer Height VS Nozzle Diameter
- Does Layer Height Affect Strength?
- Does Layer Height Affect Printing Speed?
- What is the Minimum Layer Height?
- What is the Best First Layer Height?
- Conclusion
What is Layer Height?
Layer height is one of the most important settings in 3D printing. It controls the distance between each layer of a 3D print.
In other words, layer height is the distance the nozzle moves up, along the Z-axis, after each layer.
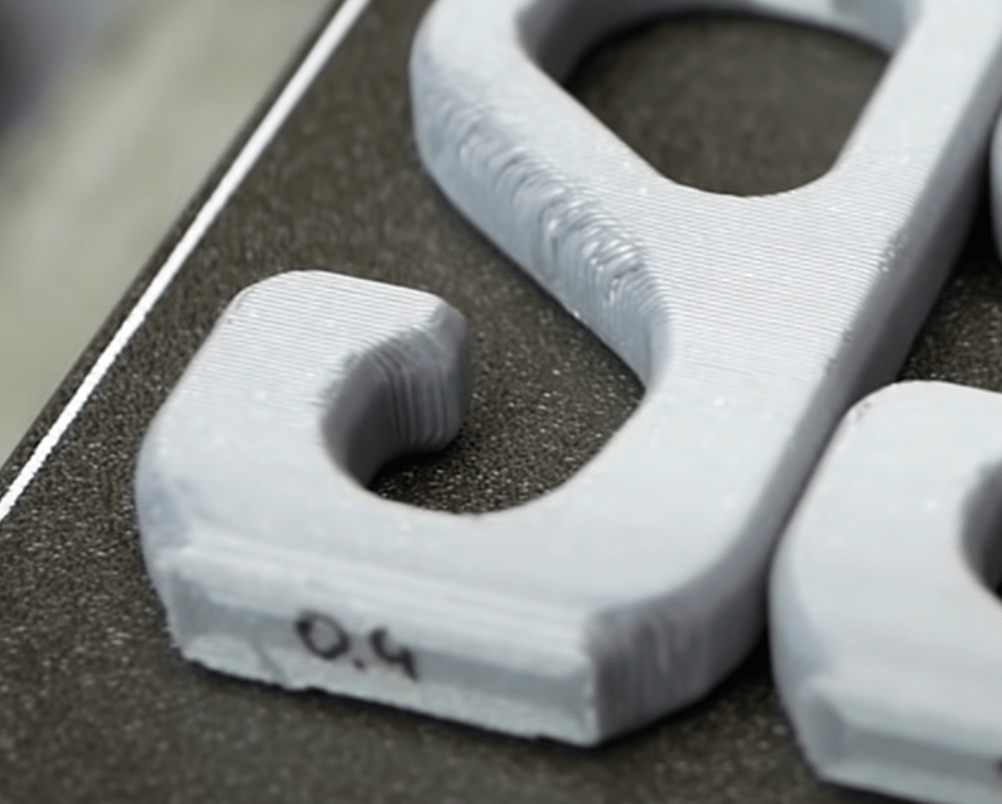
The most common 3D printing layer height is 0.2 mm as this value works perfectly for 0.4 mm diameter nozzle, which is the most popular size of 3D printer nozzle. However, layer height can be as small as 0.04 mm or as large as 0.4 mm.
Why is Layer Height Important?
Layer height is extremely important for 3D printers because it affects a few different factors for a 3D print, including its strength, amount of detail, and print time.
As we’ll discuss later, a larger layer height produces stronger models, and prints will take less time. A smaller layer height, though, will allow for more detail to go on a 3D model.
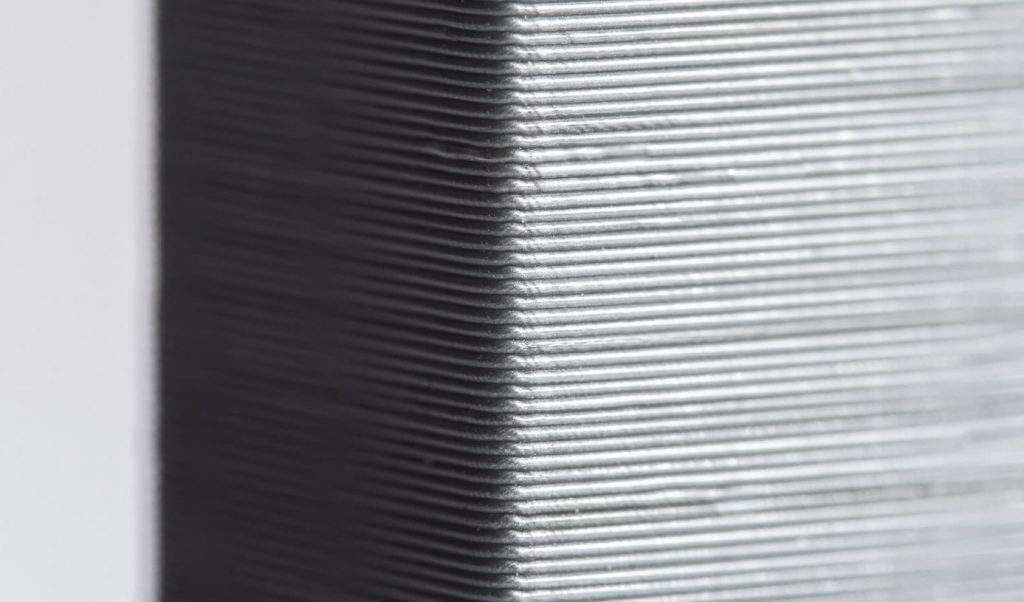
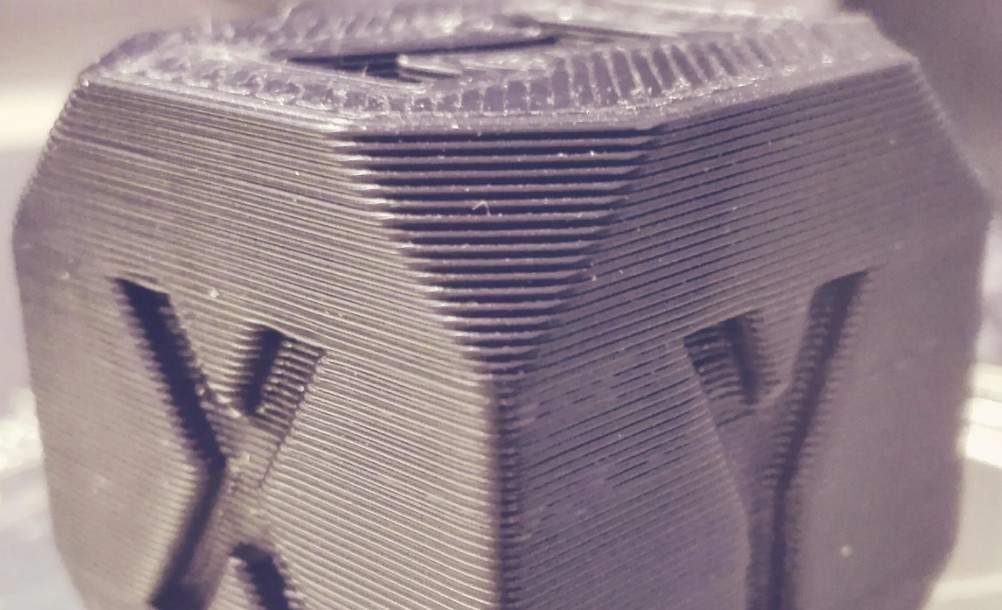
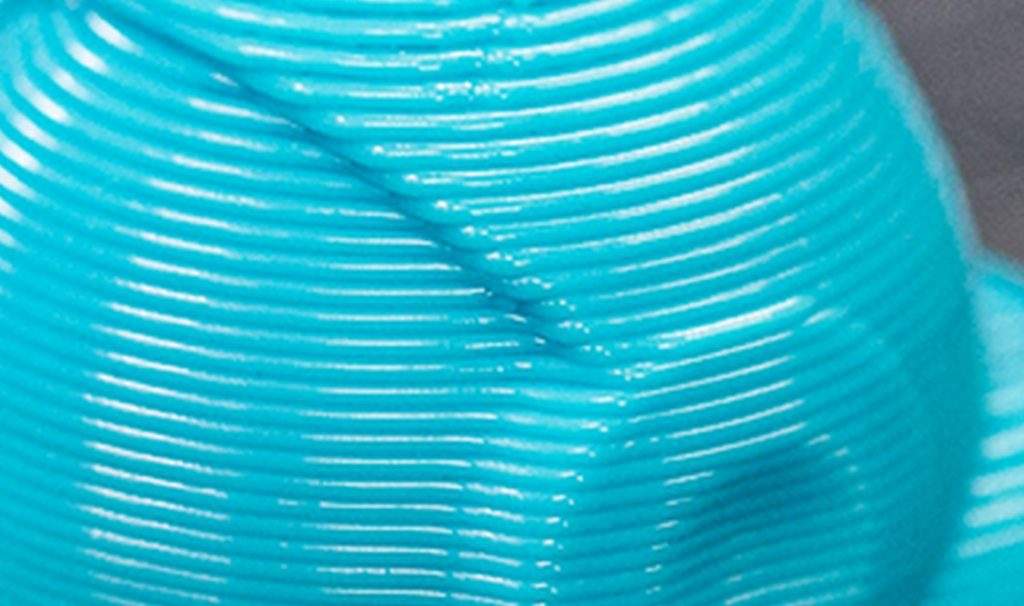
It also impacts how obvious the layer lines are on the outer surface of a 3D print. Moreover, a larger layer height makes the layer lines more visible because there are thicker layers.
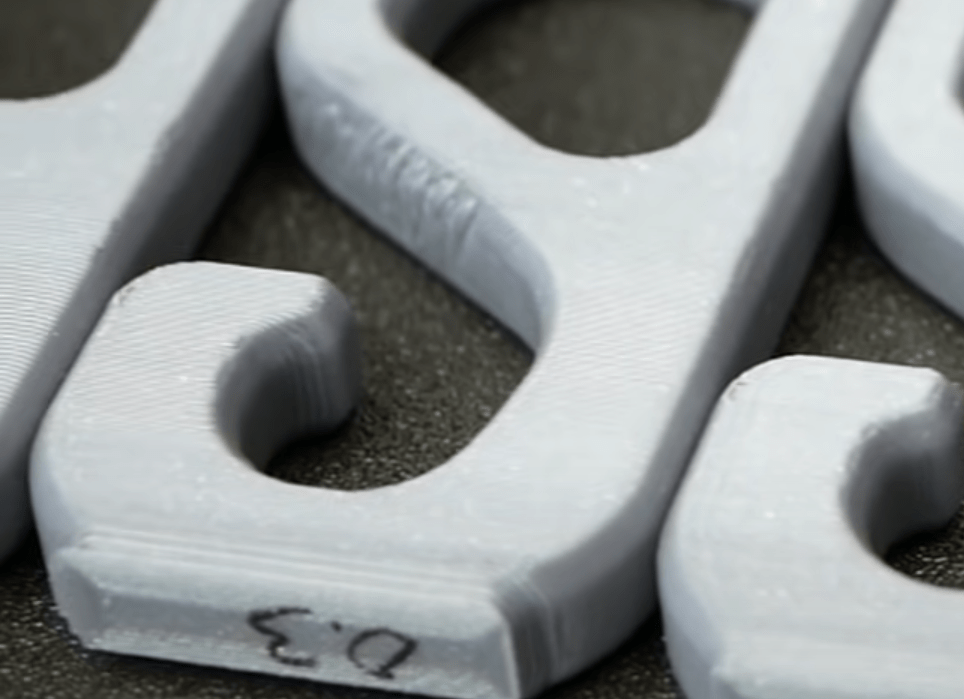
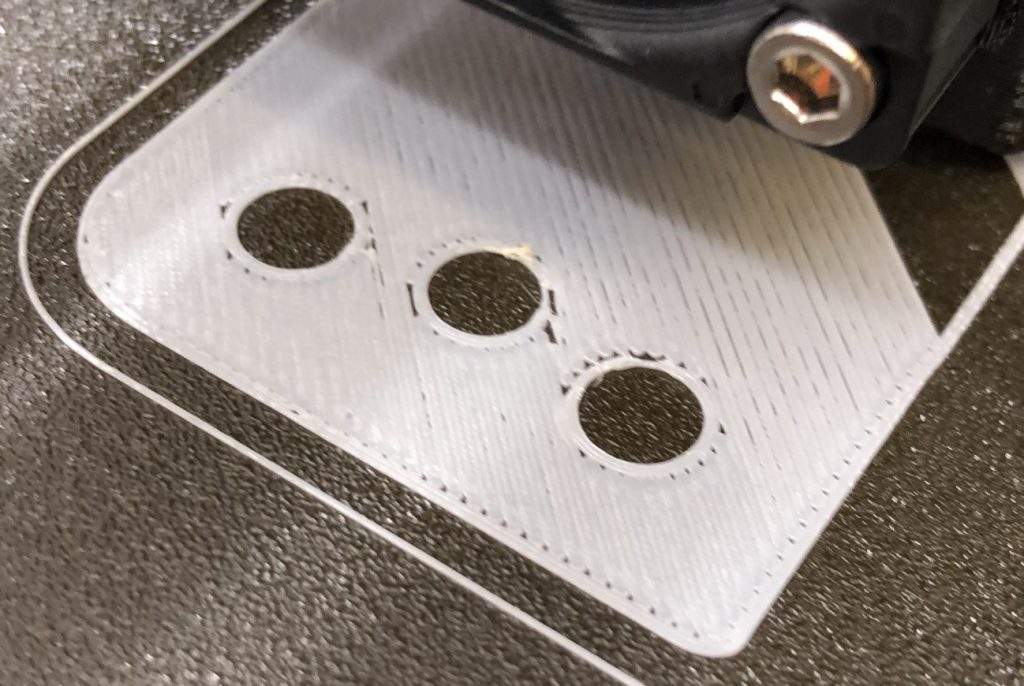
Depending on the 3D print and its intended use, a specific layer height may be best. For example, if you’re printing a miniature model, such as a Dungeons & Dragons figurine, then a layer height of 0.05 mm would be best. But if you’re printing a door lock, a larger layer height, such as 0.32 mm, would be best.
Best Layer Heights
There is no single best 3D printing layer height for all users. And different values for this setting are best for different types of prints and purposes.
Below, I’ve gone over some of the best layer heights you can use, discussing their benefits, disadvantages, and when you should use them.
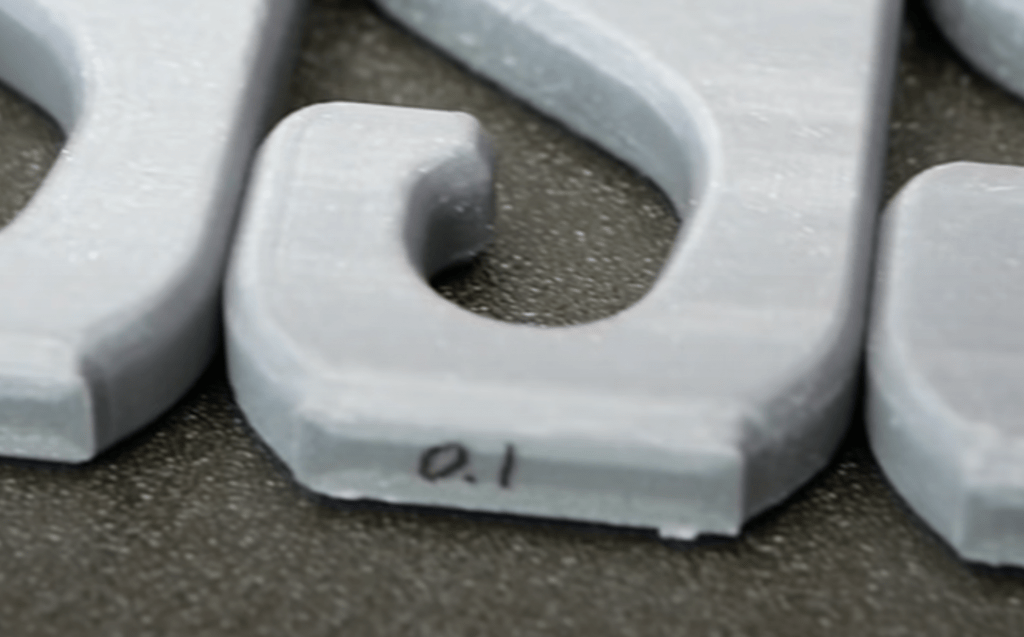
0.04 mm
First, we’ll start with the smallest layer height: 0.04 mm. While 0.04 mm isn’t technically the smallest you can go, it’s the lowest reasonable value, as anything smaller might not work with the hardware on a typical consumer-grade 3D printer.
0.04 mm is the perfect layer spacing distance when detail is your main concern on a 3D model, like if you’re printing War Hammer figurines or D&D miniatures.
A super small layer height, like 0.04 mm, maximizes detail on a print because it means a model will contain more layers. And more layers mean more opportunities for the printer to insert detail or small features on a model.
Sadly, there’s a price you pay for the detail provided by a 0.04 mm layer height. Just as more layers equals more detail, it also equals more potential breaking points for your 3D print, so models made with this small of a height will be weaker. And the extra layers also mean extra print time, so prints will take longer.
0.1 mm
0.1 mm is another useful layer height. I consider 0.1 mm on the smaller side of layer heights, so detail is still the main focus with this value. But it’s not as small as 0.04 mm, so it provides a bit more strength for models and also lowers the print time significantly.
As such, a 0.1 mm layer distance is perfect for printing models where you want a lot of detail but also want a decent print time and some strength.
I like to use 0.1 mm for printing parts like screws, where detail is needed for the threads, but I also want some strength. Small gears, sprockets, and similar structures also work well with this layer height.
0.2 mm
0.2 mm is considered the standard layer height for 3D printers, and it can be used for printing a wide variety of models.
Moreover, compared to the 0.04 and 0.1 mm layer heights, 0.2 mm provides a lot more strength and lowers the print time significantly. While detail is reduced with this larger layer height, it’s not all that noticeable unless you’re printing miniatures or other very small models.
I suggest using a 0.2 mm layer spacing for any general 3D print, such as a phone case, water bottle holder, or really any other model that’s not too small. That’s because this layer height offers the perfect mix between print time, part strength, and detail for most 3D prints.
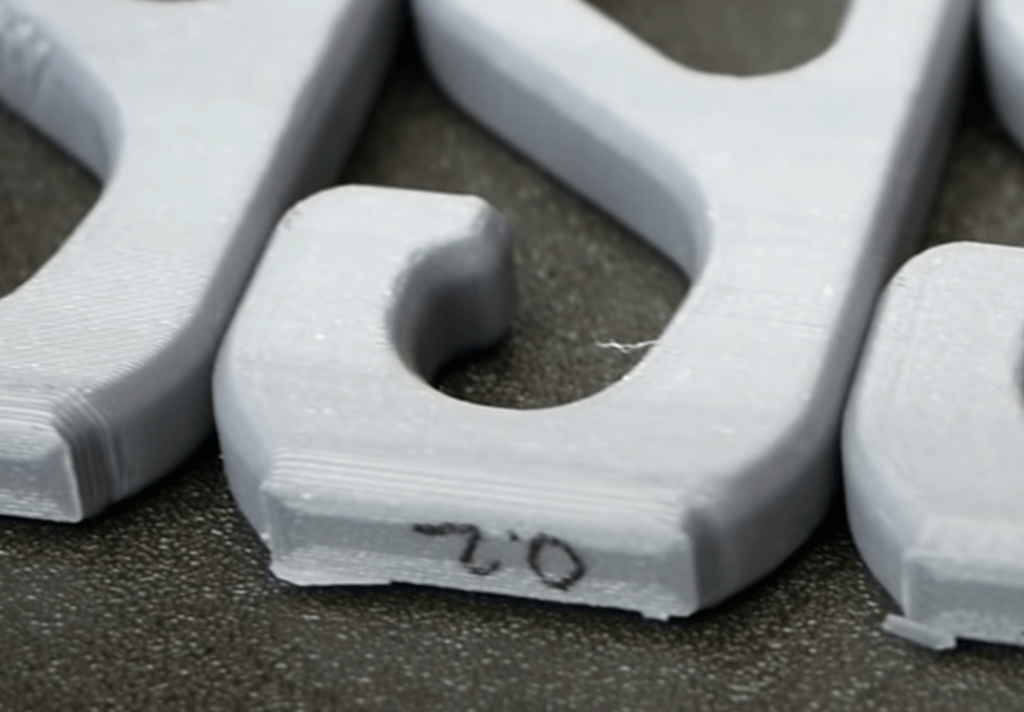
0.3+ mm
Lastly, we have a layer height of 0.3 mm and greater, which is considered large on the spectrum of commonly-used layer height values.
Moreover, with a layer height of 0.3+ mm, your 3D print will have noticeably fewer layers compared to if you used a 0.04 or 0.1 mm layer spacing. As such, the print time will be a lot lower, and the parts will be a lot stronger. But, of course, there won’t be as much detail in your prints.
I suggest using a layer height of 0.3 mm or higher whenever you need prints to be strong, and detail doesn’t really matter.
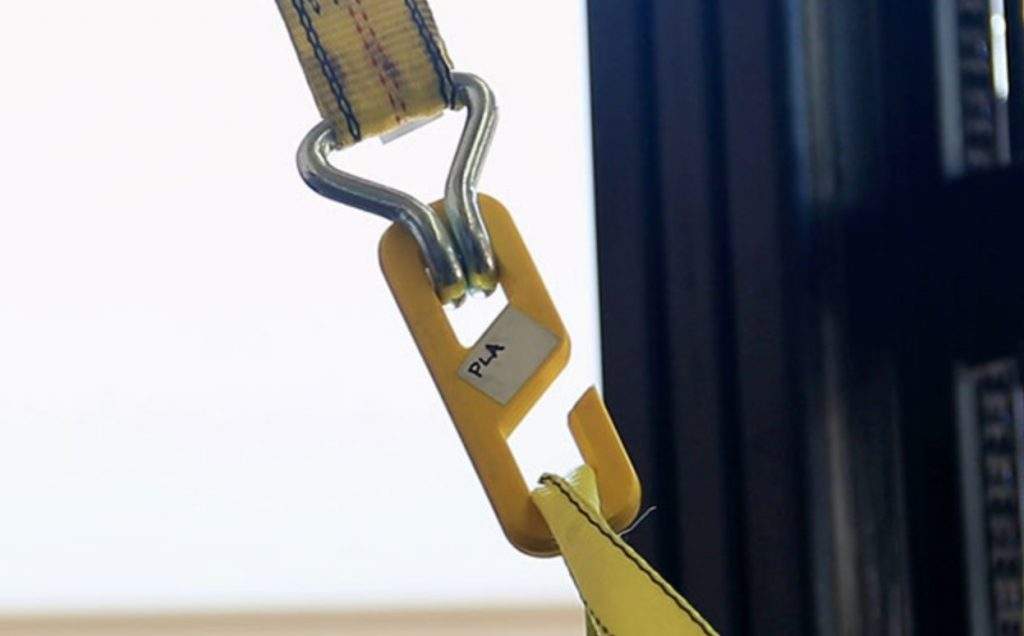
For example, I like to use a layer height of 0.32 mm when printing a part for my drone or a phone holder for my bike. That’s because I need these parts as strong as possible, and they don’t have a lot of detail or small features on them.
Layer Height Motor Rule
When setting the layer height, there is a rule that I like to call the Motor Rule. Proposed by some YouTubers a few years back, the Motor Rule tells us that the 3D printing layer height works best when it’s a multiple of the motor step distance.
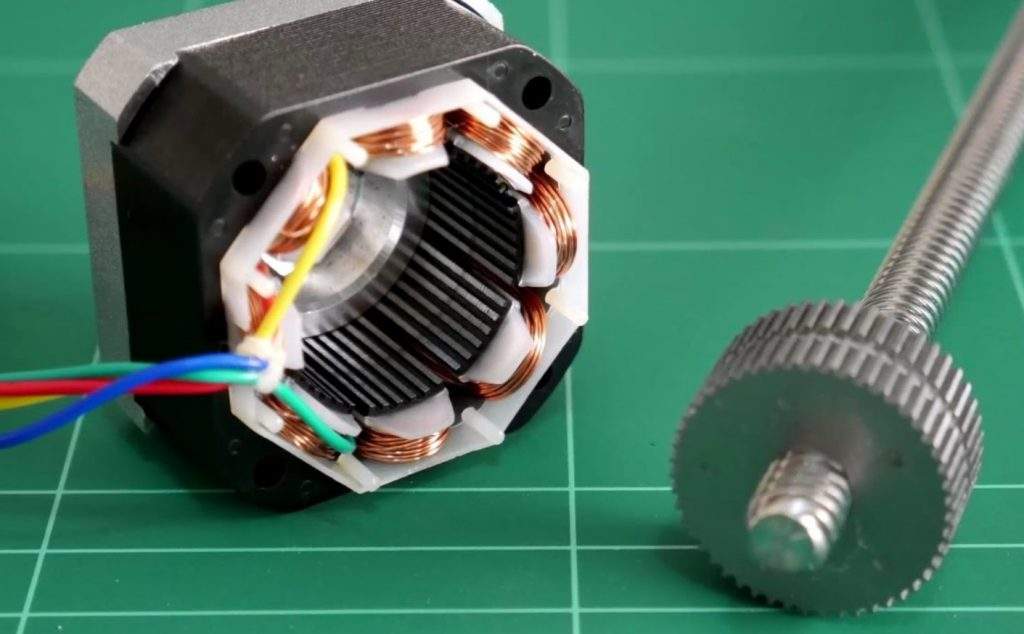
For reference, stepper motors rotate in small increments, known as steps. It’s best to have the motors move in full steps because this is a lot more accurate than micro-stepping (moving in half steps).
Most 3D printers, such as the Creality Ender 3, use NEMA-17 stepper motors that have a step distance of 0.04 mm. As such, you should use a layer height that’s a multiple of this value, such as 0.04, 0.08, 0.1, 0.12, 0.16, 0.2, 0.24, or 0.28 mm.
Large Layer Height vs Small Layer Height
A larger layer height means that fewer layers will be used for a print. As such, there are fewer potential breaking points for the 3D print, making it stronger. Additionally, a larger layer height reduces the print time because there are fewer layers, so the nozzle doesn’t have to make as many passes as it would with a smaller layer height.
On the other hand, a smaller layer height yields more layers for a 3D print, which means longer print times and more potential breaking points for the print. However, with a smaller layer height comes more detail. That’s because a smaller layer spacing value gives the printer a lot more room to print small features compared to a large layer height, meaning prints will be more detailed and precise.
Layer Height VS Nozzle Diameter
Nozzle diameter is commonly confused with layer height, as both 3D printing parameters can affect the strength and level of detail on a 3D model. But they’re not the same.
Layer height and nozzle diameter basically go hand-in-hand. In other words, one controls the other.
Moreover, the nozzle diameter is a physical measurement that defines the diameter of the exit hole on the 3D printer nozzle. The larger the nozzle diameter, the higher the flow of filament because more material will be coming out of the nozzle. As such, a high nozzle diameter means thicker walls because each nozzle pass is wider.
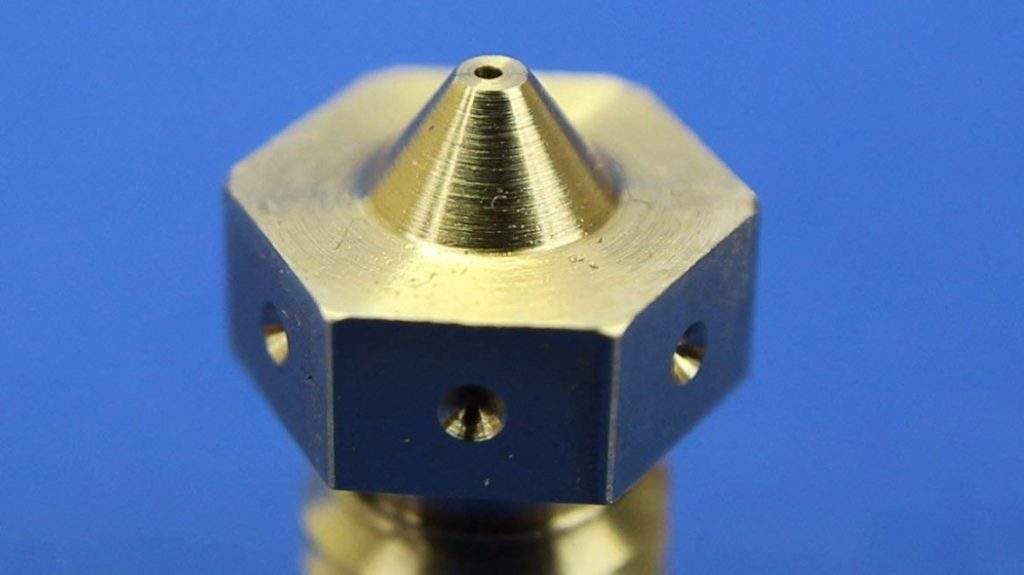
The layer height, as we’ve explained, is a digital slicer setting. And, while you could technically set the layer height to whatever value you want, regardless of your hardware, it might not work. That’s because the layer height is affected by the nozzle diameter.
Moreover, we can think of the nozzle diameter as a limiter for the layer height. For example, if you’re using a 0.4-mm nozzle (most printers), then you’ll realistically only be able to use a layer spacing value between 0.12 mm and 0.28 mm.
If you want to use super small layer heights, you’ll have to also use a super small nozzle diameter. A general rule of thumb is that for every 0.1-mm change in nozzle diameter, allow yourself to change the setting by 0.05-mm in the same direction. This rule is based on starting with a 0.4-mm nozzle and a 0.2-mm layer height.
Does Layer Height Affect Strength?
Yes!
The larger the layer height, the fewer layers there will be on a print. And, if there are fewer layers on a print, then there are fewer potential breaking points on the print. So, the larger you set the layer height, the stronger your print will be!
Does Layer Height Affect Printing Speed?
Kind of!
Layer height is one of the most impactful settings on print time. Moreover, a larger layer height will significantly drop the print time because fewer layers will be printed.
But, the reason I say “kind of” is because the layer height doesn’t affect the actual printing speed of the machine, which is controlled by the “Print Speed” setting in your 3D slicer.
What is the Minimum Layer Height?
There really isn’t a minimum layer height for all 3D printers. However, if you have a nozzle with a 0.4 mm diameter, like most printers, then the suggested minimum layer height is 0.12 mm. That’s because the layer height and nozzle size basically go hand-in-hand, and if you want to use a smaller layer height, you’ll have to use a smaller nozzle diameter.
But if you switch to a smaller nozzle diameter, such as 0.05 or 0.1 mm, then you’ll be able to safely print with layer heights including 0.04, 0.08, 0.1, and 0.12 mm.
What is the Best First Layer Height?
For most prints, a 0.2 mm first layer height works best.
Furthermore, it’s common to use a larger layer height for the first layer to provide adequate bed adhesion for the print. That’s because if the first-layer layer height is larger, more material will flow out of it, providing better first-layer bed adhesion.
I like to set a first layer height of 0.2 mm as this works great for most filament materials such as PLA, ABS, and PETG. The only exception I have is for nylon filament, which I use a 0.3 mm first layer height for.
Conclusion
Layer height is easily one of the most important slicer settings for 3D printing.
The effects of layer height include the strength of the model, printing time, level of detail, and even the appearance of layer lines on the print. As such, it’s absolutely vital that you use the right, practical layer height for your 3D prints.
For most prints, such as a phone case or water bottle holder, I suggest using a 3D printing layer height of 0.2 mm as it’s best for general prints, which need some strength and some detail.
But, if you’re 3D printing miniatures or models with a lot of small features, then you should use a smaller layer height of 0.04 or 0.1 mm, as these values provide the most detail. And on the other side of the spectrum, if you’re printing a model that requires a lot of strength, like a bike part, then you should use a layer height of 0.3+ mm.
Hope this helps!