
Slicers. You can’t live without them, at least not if you want to 3D print something. But, with so many different 3D slicer programs out there, most free, it can be difficult to know which one fits your specific needs.
While Cura and PrusaSlicer have been the two most popular FDM 3D slicers for the past five years, Creality Slicer, a relatively-new 3D slicer developed by the famed 3D printer manufacturer, Creality, is gaining traction.
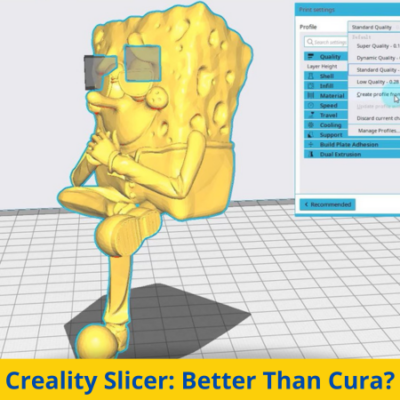
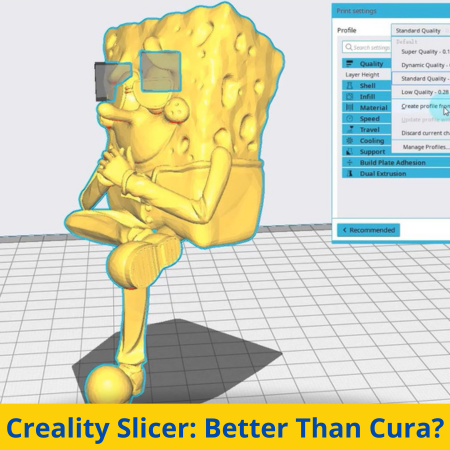
Creality Slicer boasts some exceptional features, such as fine-tuned slicer profiles for popular Creality printers, customizable supports, and a built-in firmware updater, leading some to wonder: is it better than Cura? While there’s no one answer to this question, it’s undeniable that Creality Slicer offers some advantages over Cura, especially for users with Creality machines, like the popular Ender 3 (Pro/V2/S1) or CR-10.
Interested in learning more about Creality Slicer and how it compares to UltiMaker Cura? Just keep reading!
Table of Contents
What is Creality Slicer?
Creality Slicer is a 3D slicer software, developed by Creality, the manufacturer behind some of the most popular budget 3D printers, like the Ender 3 (Pro/V2/S1), CR-10, and more! Creality Slicer is a Cura fork, meaning the Creality devs used an older version of UltiMaker Cura as a base for Creality Slicer and added in their own modifications, including interface changes and extra features.
Unlike UltiMaker Cura, the most popular 3D slicer for FDM printers, Creality Slicer is not open-source, meaning the software can only be changed by Creality developers with no help from the community. But, Creality Slicer is completely free, which is always lovely to hear.
Of course, Creality wants everyone to use Creality Slicer so they can have a larger influence in the industry, hence why they ship every Creality 3D printer with a memory card containing the software and instructions for setting it up. But, on top of that, Creality is slowly but surely adding features to their proprietary slicer to attract even more users. We’ll go over these features in the next section, so stay tuned!
Features
Creality Slicer, while forked from Cura, has many intuitive features that make it stand out from UltiMaker Cura. In the sections below, I’ll be going over some of the coolest and most useful features offered on Creality Slicer that make the platform stand out.
User Interface
As you might expect from a fork software, Creality Slicer’s graphical user interface looks a lot like UltiMaker Cura. If anything it actually looks a bit older, especially when compared to the newer versions of Cura.
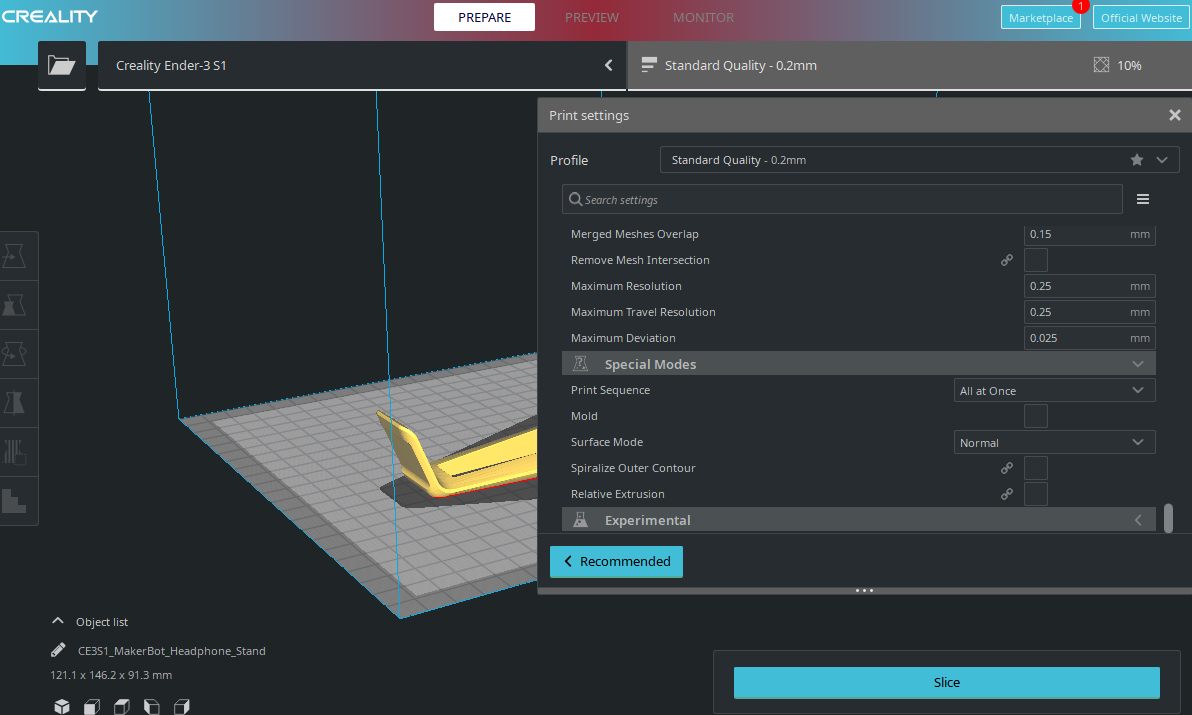
Nonetheless, Creality Slicer’s UI is still visually appealing, with a simplistic blue-and-white color scheme, and a smooth-running (most of the time) search feature. Plus, all of the print settings on Creality Slicer are well-organized, making the platform very easy to use.
Customized Supports
Let’s face it, we all need a little support in life, and so do our 3D prints. Creality Slicer offers a wide range of customizable support structure options, allowing you to fine-tune the supports for your specific 3D model.
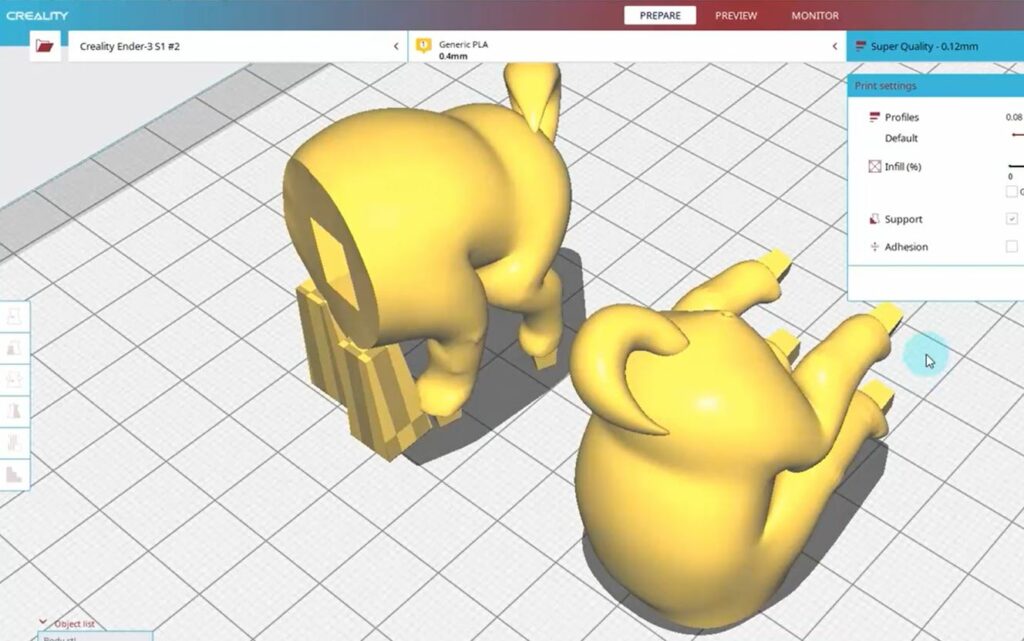
As you would expect, Creality Slicer has all of the basic support settings, like support density, Z distance, and support pattern. But what makes Creality Slicer extra special is its more advanced support settings, such as tree supports, and customizable cylindrical supports, a feature not seen on basically any other slicer program.
You can access the customized support settings in Creality Slicer by clicking on the stair-step icon on the left hand side of the interface. Then, just click on a section of the model that you want supports for, and a support structure will automatically generate to fit the needs of the selected overhang. It’s a great feature for when you want just a small amount of support structures to preserve filament material and reduce print time.
Creality Cloud Integration
If you take yourself over to the “Extensions” tab, located on the top menu bar, you’ll find an option titled “Creality Integration”. Here, you have a few options to integrate Creality’s popular mobile app, Creality Cloud, with your computer slicer.
Furthermore, once you link your Creality Cloud account to your Creality Slicer instance, you can upload saved models and G-code files from the app directly into your slicer. This is a feature I love because I can find a cool model that I want to 3D print while riding the bus home, and then, open Creality Slicer and immediately upload it without having to find it again.
Firmware Updater
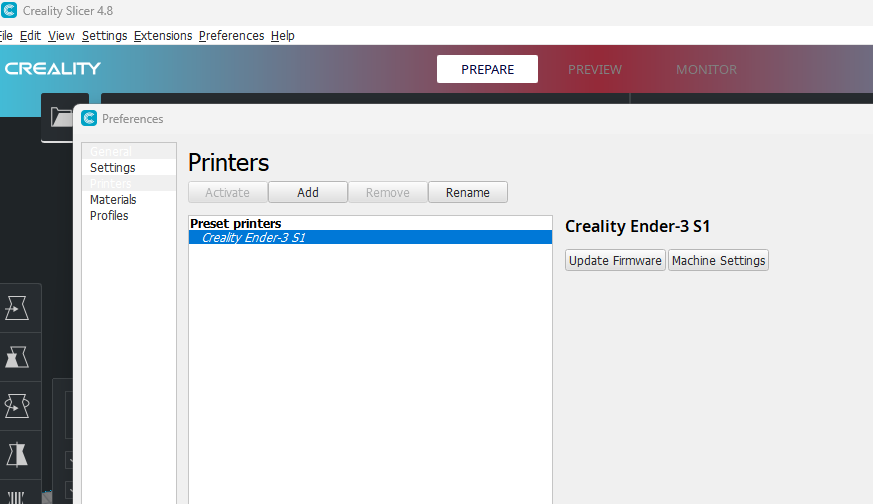
Another excellent feature on Creality Slicer, located in the “Manage Printers” section of Creality Slicer is a built-in firmware updater. Historically, updating the firmware on 3D printers, especially budget ones like the Ender 3, has been a challenging and confusing process.
I mean, on PrintingAtoms alone, we have at least three different articles about firmware and the updating process.
To simplify the whole process, Creality Slicer made a built-in firmware updater on Creality Slicer. While a similar feature on Cura exists, it almost never works and little effort is being put into its development, per GitHub records. But, on the other hand, Creality Slicer’s firmware updater works on almost all Creality 3D printers, if you connect your computer to the machine’s motherboard (via USB).
Pre-Made Slicer Profiles
Lastly, it simply wouldn’t make sense for Creality to make a slicer that doesn’t obviously favor Creality printers. Creality Slicer only natively supports Creality and UltiMaker 3D printers. This means that Creality Slicer only has pre-made, fine-tuned slicer profiles for printers from these two companies.
It is possible to use Creality Slicer with a third-party printer, like one from Anycubic or Elegoo, but you would have to make your own custom slicer profile and fill in all of the parameters and settings on your own.
But, it’s important to note that, from many user experiences, the pre-made slicer profiles for Creality printers perform a lot better than those featured on UltiMaker Cura, PrusaSlicer, and other 3D slicer programs. This means you likely won’t have to do as much slicer tuning to achieve better print quality if you’re using the default settings from Creality Slicer versus one from another platform.
Creality Slicer VS Cura
Cura and Creality Slicer are inherently very similar because Creality Slicer is a fork of Cura. However, over the past few years, Creality developers have made changes to the platform that make it noticeably different.
First off, the interface of the two is now slightly different. In my opinion, Cura’s user interface runs smoother than Creality Slicer’s interface and is also a bit easier to use and more visually appealing. But Creality Slicer’s interface is still, objectively, pretty good.

As for settings, Creality Slicer offers a lot fewer adjustable print settings than Cura, and this seems to be on purpose. Moreover, Creality Slicer could have just copied all of Cura’s settings, but they instead removed many of the less-useful ones to simplify the slicing process and appeal to more novice users.
But, what Creality Slicer does have that Cura doesn’t is customizable support structures, with the option to insert auto-generated square and cylindrical support structures for overhangs. I love this feature because it makes conserving filament material easier than ever when printing models with slight overhangs.
Another difference between the two is Creality Slicer’s integration with Creality Cloud, the mobile app from Creality for finding 3D printable models. While I doubt the feature is used too much by users, I think that it makes the process of finding a model and slicing it a lot more seamless.
Finally, Cura offers pre-made slicer profiles for hundreds more printers than Creality Slicer, which only natively supports Creality and UltiMaker 3D printers. While this is a pity for users with non-Creality machines, for those of us who have exclusively Creality machines, it’s actually a benefit. That’s because the pre-made slicer profiles on Creality Slicer are typically better developed than those on Cura.
When to Use Creality Slicer?
I recommend using Creality Slicer if you have a Creality 3D printer, like an Ender 3, CR-10, or 3DPrintMill. That’s because no other 3D slicer offers the same level of native support for these machines as Creality Slicer.
On top of more fine-tuned slicer profiles for Creality printers, Creality Slicer also makes it easy to update the firmware on Creality 3D printers.
I also think you should use Creality Slicer if you’re new to 3D printing and don’t want to be overwhelmed by hundreds of confusing slicer settings, like those you’d see in Cura. It’s likely that you won’t even ever change these slicer settings, so Creality’s decision to outright remove them from their platform doesn’t really hurt the slicer’s functionality but it does make the platform much easier to use.
How to Setup Creality Slicer?
Getting started with Creality Slicer involves downloading the software application and configuring the program to your specific 3D printer. As such, I’ve split this setup section into two parts:
Downloading
Installing Creality Slicer is super easy, and you can follow the step-by-step instructions below to properly download this 3D slicer software:
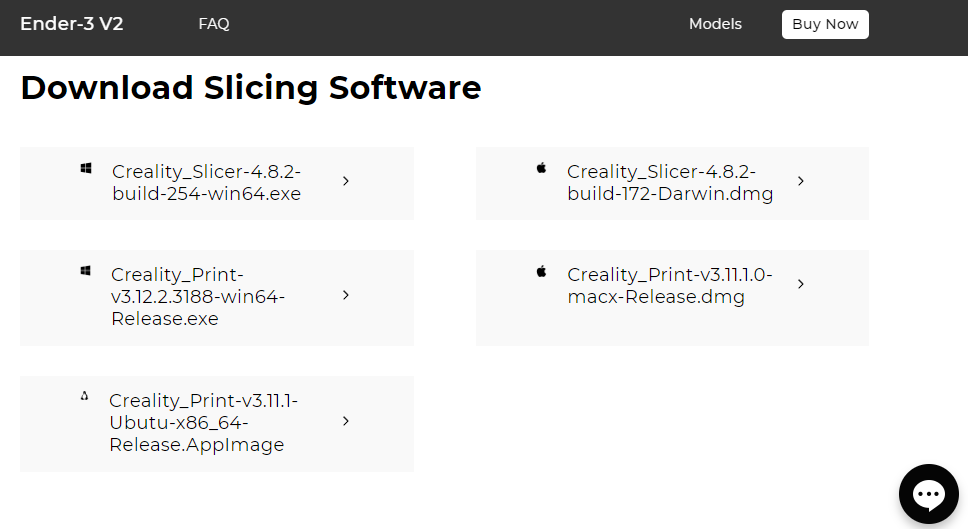
- Open a web browser on your computer and go to Creality’s software page.
- From the sidebar menu, choose the make and model of your Creality 3D printer. Once your own the download page for your respective printer, scroll down until you see “Download Slicing Software”.
- Click on the downloader that fits your computer’s system. Creality Slicer is currently available for Windows, MacOS, and Linux.
- Once the setup file has finished downloading, open it. A pop-up box will appear, where you should click “Next” and then agree to the terms and conditions.
- Choose what drive on your computer you want the slicer software to be downloaded in, and select any add-ons that you want for the program. Personally, I recommend checking the “Open GCODE Files” add-on as this is a useful feature, not included in Creality Slicer by default.
- Click “Finish” and open Creality Slicer.
And that’s it! You’ve now downloaded Creality Slicer.
Initial Configuration
After you download and open Creality Slicer, you’ll want to configure the software for your specific 3D printer. Remember, Creality Slicer only natively supports Creality and UltiMaker 3D printers, so you can skip this section if you’re using a third-party printer (requires custom configuration). The steps below will guide you through the initial configuration process:
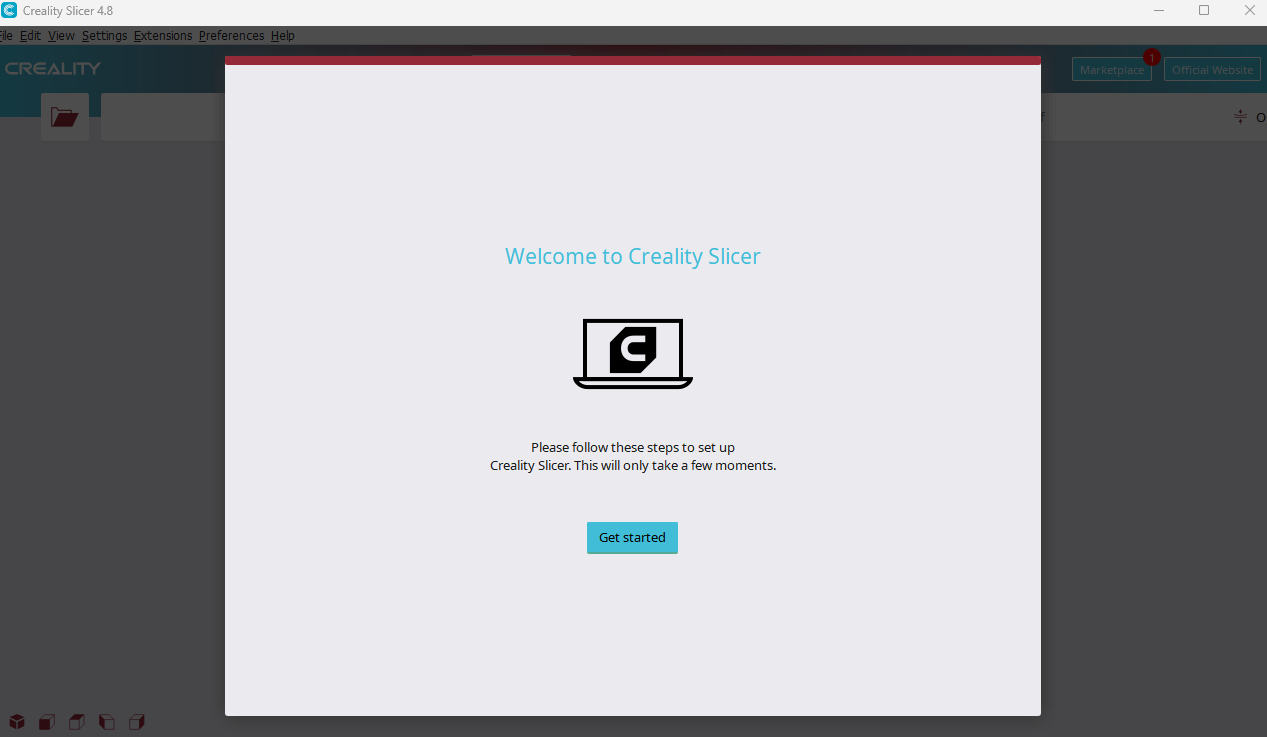
- Open Creality Slicer on your computer, and click “Get Started” when prompted.
- Agree to the user terms, and then click “Next”.
- A list of compatible 3D printers will show up, including Creality machines, like the Ender 3, and UltiMaker machines, like the UltiMaker S3. Choose your printer’s make and model from the list, or the “Guest Customization” option if you’re using Creality Slicer with a third-party machine that’s not natively supported.
- Note that if you choose to make a custom slicer profile, you’ll have to manually insert the machine parameters for your printer, including the bed size, print height, and more.
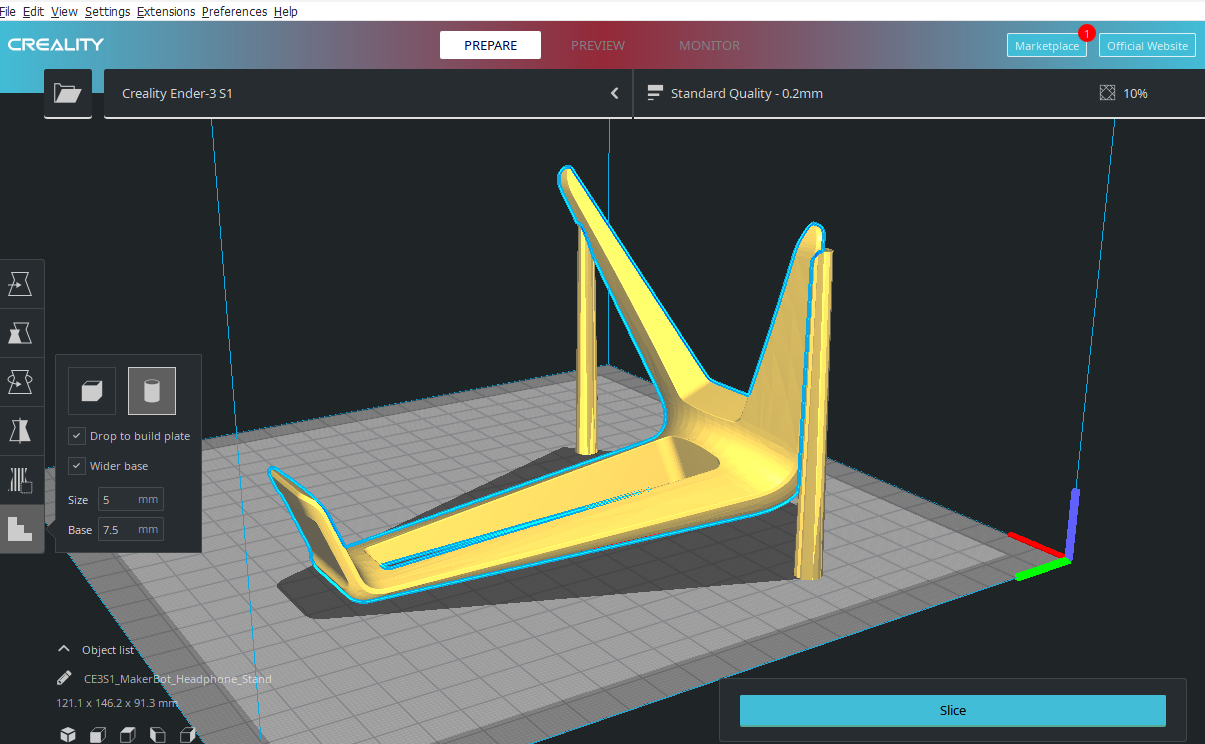
- At the top right of the user interface, click the box labeled “Standard Quality” to see and adjust the slicer settings.
And that’s it! You’re now ready to start using Creality Slicer with your 3D printer to turn 3D models into 3D print files.
It’s worth noting that while Creality Slicer’s pre-made profiles for Creality machines are very well-tuned, you will likely have to adjust some of the settings on your own, depending on the results of your prints. But this is true with any 3D slicer profile because all machines are different!
The Verdict
Overall, Creality Slicer and Cura are both terrific 3D slicer programs that offer many great features. But the two slicers aren’t exactly meant for the same audiences.
Cura is a better option for people with non-Creality 3D printers, like an Anycubic i3 Mega, as Creality Slicer doesn’t natively support these third-party machines. Cura also has significantly more slicer settings available, making it the superior platform for more experienced users who want the most control over the printing process and know what they are doing.
On the other hand, Creality Slicer is the better option for beginners and intermediate-level users with Creality 3D printers. Creality has extremely high-quality profiles for Creality 3D printers, like the Ender 3, that don’t require as much tuning as pre-made profiles on other platforms. Additionally, Creality Slicer has a simplified interface with fewer advanced settings to make the slicing process a bit easier for users.
Hope this helps!