

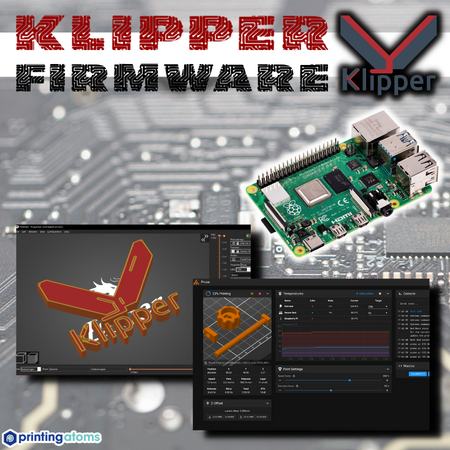
Klipper firmware is all the rage these days in the 3D printing world, and rightfully so! The bleeding-edge 3D printer firmware can make your 3D printer faster as well as give it some other improvements regarding printing capabilities.
And the community behind Klipper is devoted; people swear by this open-source firmware project!
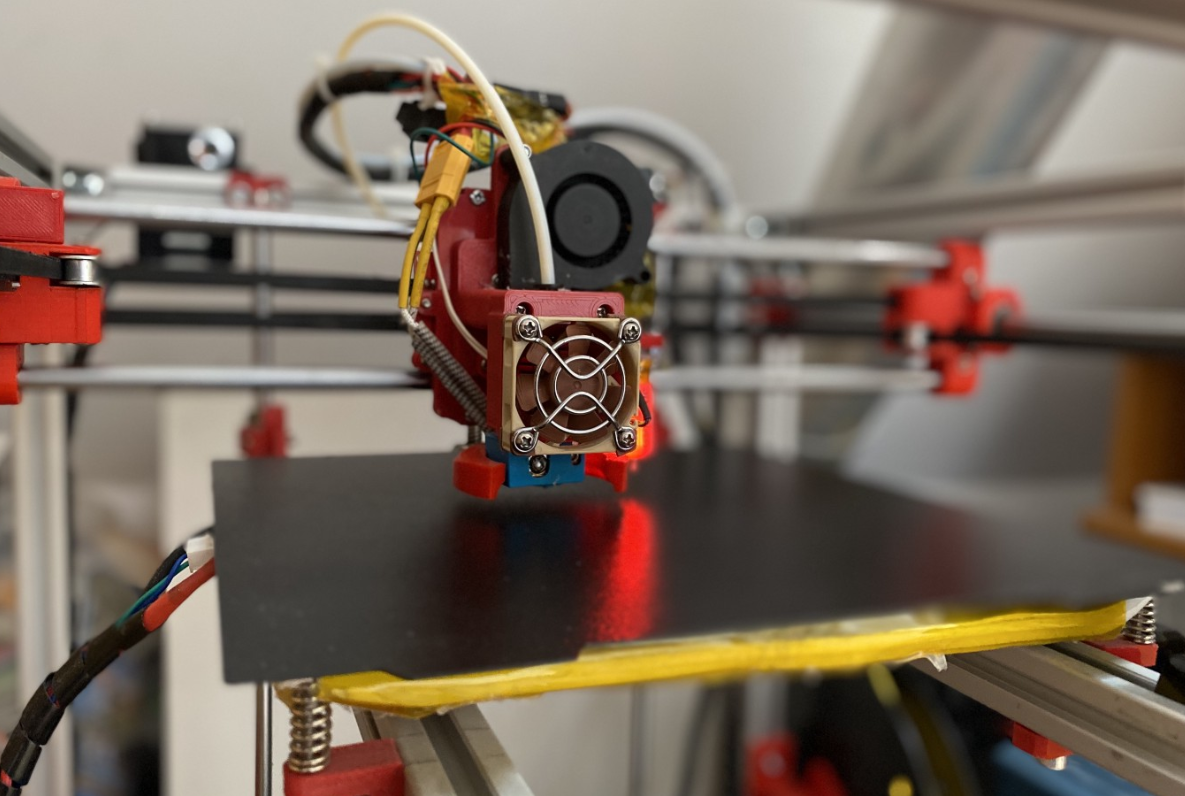
But Klipper isn’t your average 3D printer firmware like the many Marlin forks out there. Instead, Klipper takes an entirely new approach to how 3D printers operate, using a Raspberry Pi (or another computer board) alongside the typical 3D printer motherboard to process and execute G-code commands more efficiently.
I gave Klipper a shot on my 3D printers and have found the program to be exceptional when it comes to printing performance. On top of lower print times, Klipper also yielded much more precise prints through its input shaping feature. And the many online interfaces, like Fluidd and Mainsail, make using the firmware day-to-day a breeze.
In the sections below, I’ll go over what Klipper is, how this innovative firmware works, and more! Enjoy!
Table of Contents
What is 3D Printer Firmware?
Before I dive into Klipper firmware, it’s worth going over what 3D printer firmware, in general, is.
Although you can’t see it, firmware is one of the most important parts of a 3D printer. Firmware is responsible for processing incoming G-code commands (from a print file) and telling the right hardware what to do. Without firmware, none of the motors, sensors, or other hardware connected to your printer’s motherboard would move in a coordinated manner to make the part you want.
Today, the most popular 3D printer firmware is Marlin. Unlike the firmware run on fancy-schmancy 3D printers like MakerBots, Marlin is an open-source firmware project, meaning it’s community-developed and completely free.
Marlin has reigned supreme in the 3D printer firmware space due to its wide compatibility with hardware, and its decent printing performance. In fact, almost all consumer-grade 3D printers, like the Creality Ender 3 and Artillery Sidewinder, use some form of Marlin firmware (usually a fork with a few printer-specific changes).
What is Klipper Firmware?

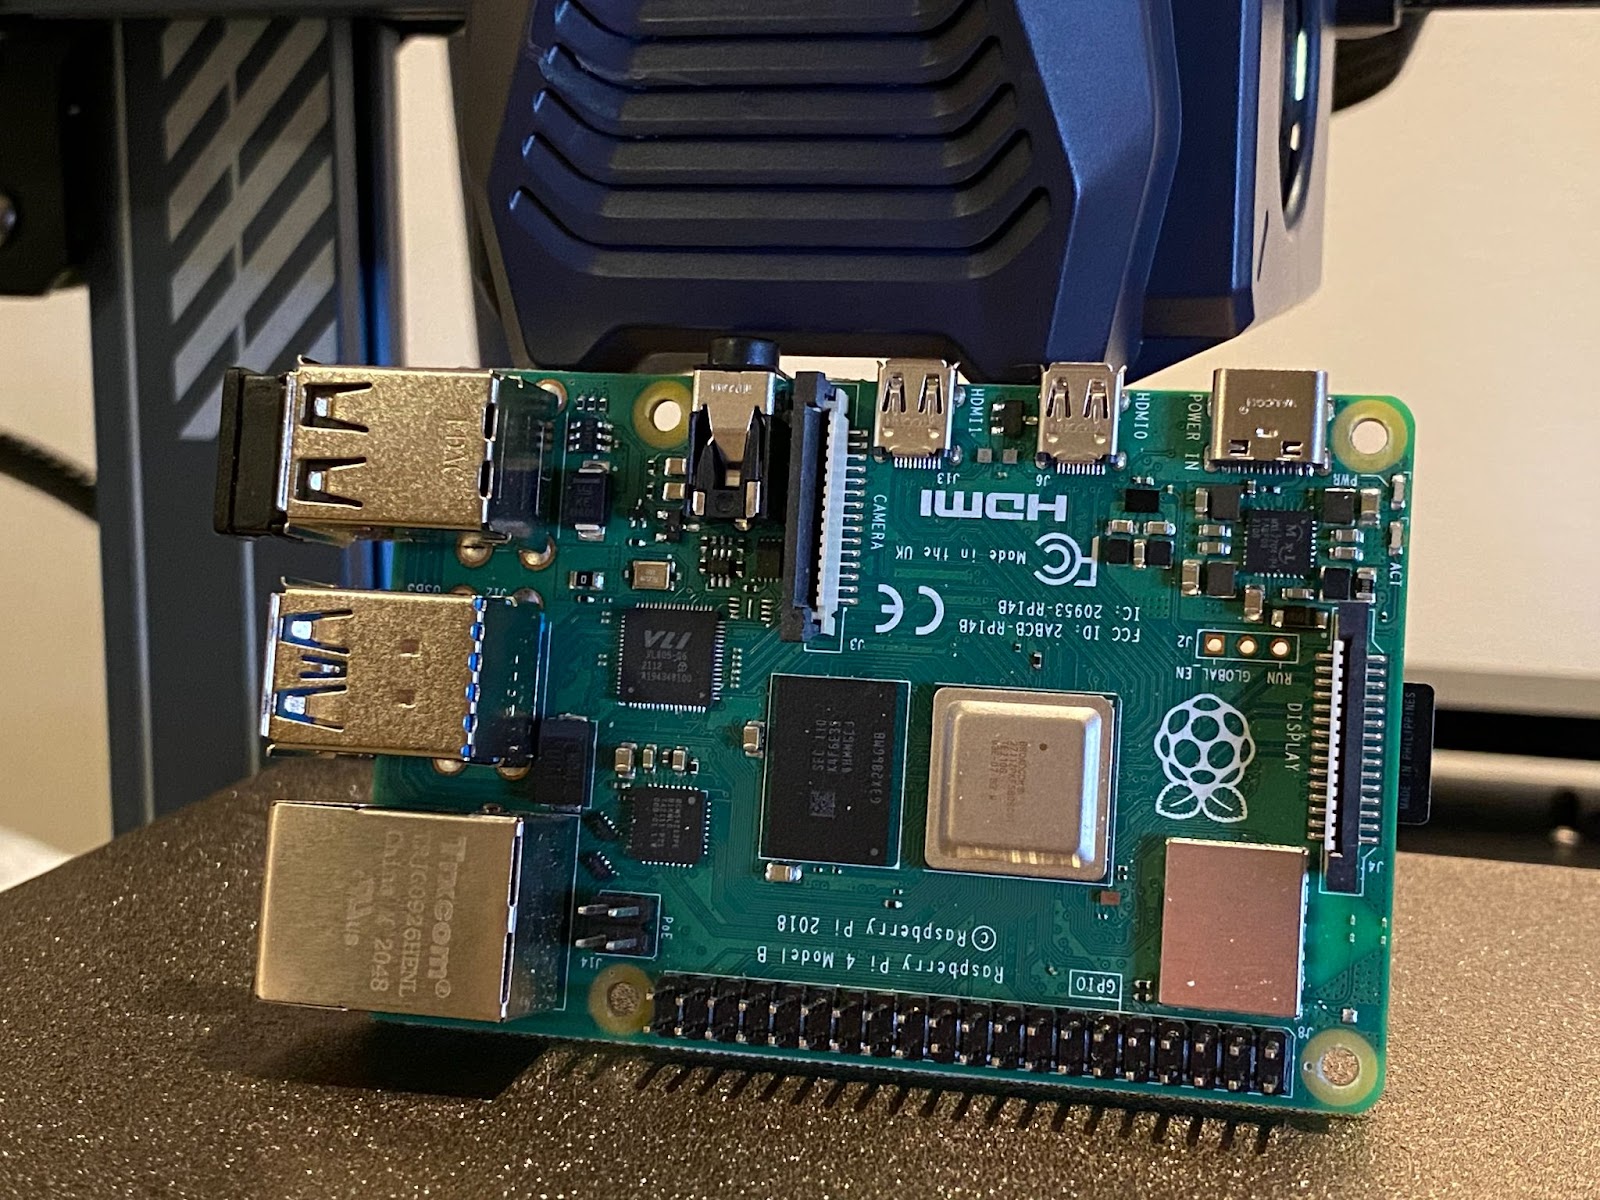
Klipper firmware is a special type of 3D printer firmware that uses a completely different hardware configuration than traditional 3D printer firmware packages like Marlin. I’ll go over more about how Klipper works later, but the main thing to remember is that Klipper uses a computer board (e.g. Raspberry Pi board) to help the 3D printer motherboard work faster.
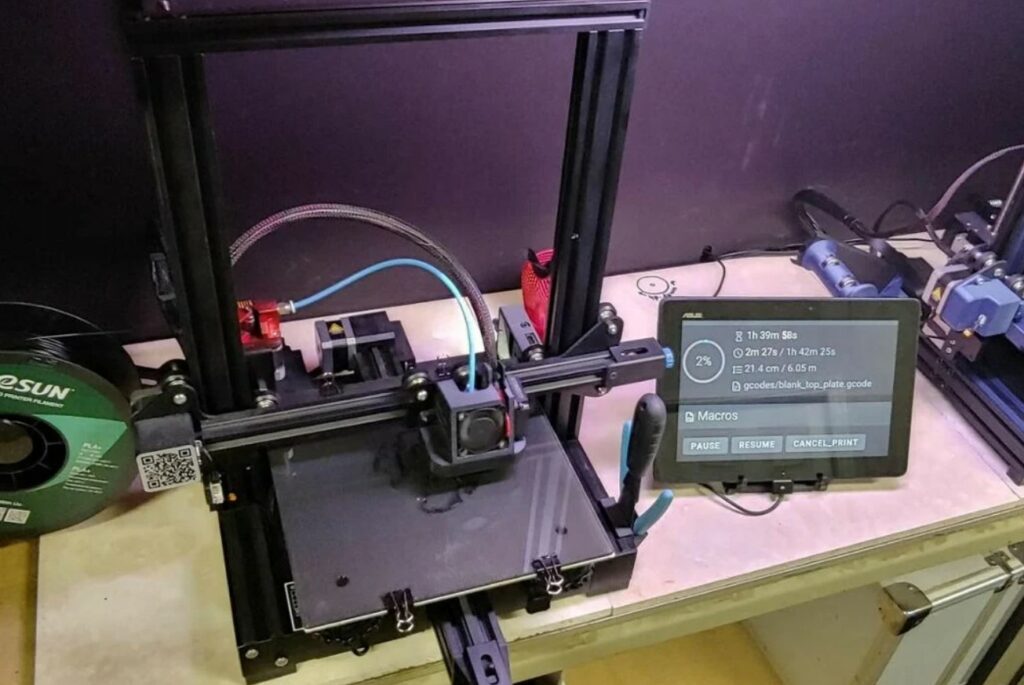
Klipper, just like any other firmware, processes G-code commands from print files and tells the right hardware to do exactly what it needs to form the desired 3D model. But, unlike other firmware programs, Klipper doesn’t typically use an LCD interface.
Instead, most people use Klipper on their 3D printer only through a web interface (e.g. on your phone), as Klipper currently doesn’t support many of the LCDs that are integrated on printers like the Ender 3. Luckily, due to a lot of support behind Klipper, there are many different printer control web interface options out there, including Fluidd, Mainsail, and more!
Klipper also has a handful of other great features, like input shaping, linear advance, and arc support, all of which go a long way in improving the quality of prints. These features are seldom included in most default configurations of Marlin firmware.
How Does Klipper Work?
Klipper works by using a computer board (often a Raspberry Pi) to lighten the load of the 3D printer motherboard so it can focus solely on controlling hardware. Moreover, Klipper hands the G-code processing responsibilities to the connected computer board, as the processing chip on computer boards is much faster at processing commands than the processor integrated into 3D printer motherboards.
With this configuration and division of responsibilities, the printer is able to print a lot faster without running into issues like stuttering, which are frequent for Marlin users running their machines with high print speeds.
Because Klipper needs to connect to both a 3D printer motherboard and a Raspberry Pi board (or other computer), it’s actually both a firmware and an operating system. But most people (including myself) just refer to Klipper as a firmware because it makes life easier (and sentences shorter).
It’s also worth noting that most people also simultaneously run a printer control server (and web interface) from the computer board used in their Klipper configuration. It’s very similar to how you would host an OctoPrint server off of a Raspberry Pi board connected to your printer’s motherboard; only, with Klipper, the Pi board is also processing the G-code commands.
And there are many different Klipper-based printer control servers, which have web interfaces that you can use to remotely control and monitor your 3D printer. Examples include Fluidd, Mainsail, Kiauh, OctoPrint (works on Marlin and Klipper), and Moonraker.
While it’s a bit complicated, Klipper is a terrific firmware (and OS) to run on your 3D printer setup due to its many different benefits, which I’ll cover in the next section.
Why Use Klipper?
There are many different reasons to use Klipper, and in this section, I’ll go over the main benefits of this special firmware (and OS) configuration.
Faster Prints
First off, Klipper is great for making 3D printers faster. While Klipper doesn’t directly control the speed of print jobs (that’s set in your 3D slicer), it enables you to use higher print speeds without running into print quality issues.
Moreover, because computers are more efficient at processing commands than microcontroller boards (3D printer motherboards), Klipper can handle more movements per second than typical 3D printer setups. As such, you can use higher print speeds without your printer stuttering or running into other print quality issues.
And if this is confusing you, just think about it like this: Klipper’s use of a computer board, in line with the 3D printer motherboard, allows every process to run faster. Because of this, you can get away with using higher print speeds without sacrificing print quality.
On top of being able to handle higher print speeds, Klipper also is great for using higher acceleration values, which further reduces the time prints take.
Check out our article on how to speed up 3D printing and the fastest 3D printers here if speed is your middle name.
Wide Compatibility
One of the most important aspects of any 3D printer firmware package is its hardware compatibility. The more parts, including motors, sensors, and heating components that a firmware supports, the more people the firmware is accessible to. The devs behind Klipper recognized this, which is why Klipper has an ever-expanding list of compatible hardware.
Sadly, though, one thing Klipper has been unable to support is printer-specific LCDs. Moreover, Klipper isn’t compatible with most of the default screens on printers, like the Ender 3. As such, most users turn to internet-enabled web interfaces to control their 3D printers.
Many Web Interface Options

As I’ve mentioned, Klipper doesn’t support many of the LCDs that come in stock on consumer-grade 3D printers. While this is a bit of a problem, it has led the way for many open-source web interface programs to be developed by the community.
For Marlin printers, one of the only free options for a web interface that can control your 3D printer is OctoPrint. But Klipper printers have numerous options, like Fluidd, Mainsail, and Moonraker.
And, unlike with Marlin printers, no additional hardware needs to be added to set up a web interface for controlling your Klipper printer. That’s because the printer control server, which entails the web interface, is hosted on the same computer board used for processing G-code commands in a Klipper printer setup.
Another thing worth noting is that these web interfaces for Klipper are extremely well-developed. They make OctoPrint look like a dump! This is likely because Klipper web interfaces serve as the main way that users control their Klipper 3D printer, so having a visually-appealing theme, easy-to-use layout, and many control features is essential.
Printing Performance Features
Lastly, one of the best things about Klipper are its printing performance features. Because of the additional computing power in Klipper setups, there’s a lot more room for performance-related features that can yield better print quality. Some of these features include input shaping, linear advance, a built-in stepper phase endstop algorithm, and more.
While I can’t go into detail on all of these features today, they all improve the performance of 3D printers.
Advantages & Disadvantages of Klipper
To sum it all up for you, I’ve listed the pros and cons of Klipper below:
Advantages
- Wide hardware compatibility (e.g. ABL sensors, heaters, motors)
- Faster G-code processing (enables faster prints)
- Many well-developed web interface options
- Input shaping (improves printing precision)
- Linear advance (improves printing precision)
- Stepper phase endstop algorithm (improves bed adhesion)
- Large community backing
- Fast development (new features are added nightly)
Disadvantages
- Lack of support with printer-specific LCDs
- Requires a computer board (increases costs)
- More difficult setup process
- Not as supported by manufacturers
How to Set Up Klipper Firmware on a 3D Printer
Update: there’s now an easier way to install Klipper and that’s with the Creality Sonic Pad (a tablet that’s made specifically for 3D printers). Check out our in-depth review of the Sonic Pad here as we put it to the test.
Setting up Klipper firmware, as I’ve mentioned, is a bit of a complicated process. In the steps below, I’ve gone over how you can set up Klipper firmware and the corresponding OS. While everyone’s individual installation will be slightly different depending on your hardware and desired web interface, I’ll do my best to make the instructions useful for everyone.
But before we get started, make sure the following conditions are met:
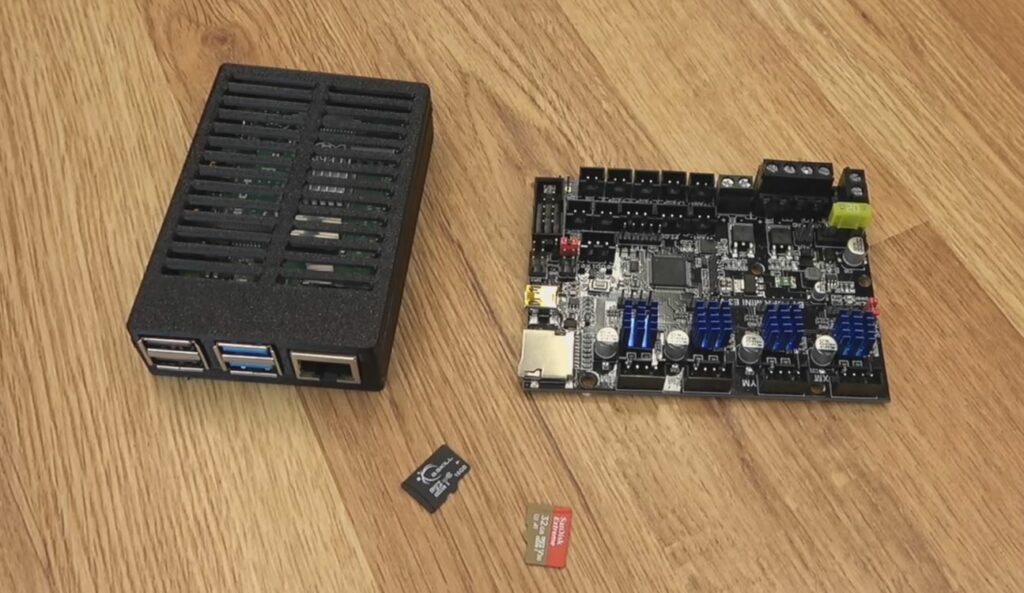
- You have a single-board computer (SBC), like a Raspberry Pi board.
- You have a USB cable for connecting the Pi to your 3D printer motherboard.
- You’ve checked that both your SBC and 3D printer can work with Klipper.
- You have both a MicroSD card for your 3D printer and one for your SBC.
- You have a computer (e.g. laptop, PC) with a MicroSD card reader (or converter).
- You have Putty, Raspberry Pi Imager, and a web browser installed on your laptop or PC.
If you have all of this, then let’s get started!
- Insert the MicroSD card (from your SBC) into your computer and find the right OS image for Klipper and whatever web interface you plan on using. For example, if you plan on using Fluidd as your Klipper web interface, install FluiddPi, the respective OS.for Fluidd.
- Use Raspberry Pi Imager to flash that OS image to your SBC MicroSD card.
- Once flashed, open the file explorer on your computer and configure the WPA-supplicant file on the MicroSD card for your Wi-Fi network. Save the file once you’ve made the right changes.
- Insert the MicroSD card into your SBC and power it on.
- On your computer, open a web browser and type in the IP address of your internet-connected Pi board to access the web interface for the server.
- Open Putty on your computer, connect to your Pi board, and send the following commands:
- git clone https://github.com/KevinOConnor/klipper
- /klipper/scripts/install-octopi.sh
- cd ~/klipper/ and then the phrase make menuconfig
- Navigate to the microcontroller section of the pop-up interface and make sure the setting matches the microcontroller chip on your 3D printer’s motherboard. For the Ender 3 V2, this will be “STMicroelectronics STM32”.
- Set the “Bootloader” option to 28 KiB or whatever the correct value is for your board.
- Go to the home menu and set the “USB connection” to “Serial”.
- Exit and save your changes (by clicking “Y”).
- Send the following command:
- Make
- Locate the “Klipper.bin” file in your Pi board’s configuration files and load it on the MicroSD card for your 3D printer.
- Turn your 3D printer off, insert the MicroSD card, and power the printer on to load the new firmware.
- Connect your Pi board to your 3D printer’s motherboard via a USB cable.
- Make the proper configuration changes to the configuration files on your Pi board so that everything is specific to your 3D printer (and its connected hardware).
And that’s it!
While you might have to do some of your own digging to get the more printer-specific steps, this guide should get you through most of the installation process. You can always check Klipper’s installation docs to learn more about the specifics of the process!
Klipper Firmware VS Marlin Firmware
Klipper firmware is a lot different from Marlin firmware, as well as all the Marlin forks that are ubiquitous in the consumer 3D printing space.
First off, the two different firmware programs are vastly different in their hardware architecture. On one hand, Marlin uses the 3D printer motherboard to process G-code commands, schedule motor movements, and send power to the right hardware. But Klipper uses both the 3D printer motherboard and a connected computer board, dividing the responsibilities to make the printing process more efficient.
Secondly, Marlin is more supported by 3D printer manufacturers. This has allowed the program to receive more funding and support and is the main reason why Marlin works with printer-specific LCDs and Klipper does not.
On a similar note, there are more web interfaces for Klipper than for Marlin. This is largely because web interfaces are the primary way Klipper users control their 3D printers, while Marlin users have more options.
Next, Marlin is a bit more slowly developed. Because so many people use it, the developers of the program are more focused on making the firmware stable rather than innovative. On the other hand, more features are added to Klipper, which gives users access to the latest innovations in the 3D printing space.
Finally, the setup process for Marlin is much easier than for Klipper. With most 32-bit 3D printer motherboards, to install Marlin firmware, all you have to do is upload a BIN file to the board (via MicroSD card). But setting up Klipper requires additional hardware and, thus, many additional steps.
Conclusion
Overall, Klipper is a great option for anyone who wants to print faster and gain access to some of the most innovative 3D printing features out there. While installing Klipper is vastly more complicated than Marlin firmware, the features Klipper brings definitely make it worth it.
Klipper not only significantly reduces the print time for 3D models but also improves the quality of prints compared to Marlin firmware. And, as Klipper is becoming more adopted by the 3D printing industry, its features and hardware compatibility are rapidly expanding.
So, if you want to spice things up and are okay with a slightly difficult installation process, then I strongly suggest trying out Klipper!