

Whether you’re 3D printing a name tag or a custom robot part with an embossed serial number, chances are you’ve printed a model with text before. And, if you haven’t yet, you probably will in the future.
While text comes pretty easy to us humans, it’s a bit more complicated for 3D printers to replicate.
The intricate design of each letter and number, combined with the fact that most text features on 3D printable models are super small, make it difficult for 3D printers to yield a clean print. And, if the text comes out messy, then it won’t be readable, which is no good for you.
But don’t worry! There are a few tips and tricks for achieving high-quality, easily-readable text on 3D printed parts, such as setting the right wall thickness, choosing the right font, and tightening the belts.
Follow along to learn more about the different ways you can 3D print text and how you can make the best text features on 3D prints!
Table of Contents
Why is 3D Printing Text Difficult?

3D printing text, whether it’s standalone or a part of a larger 3D model, isn’t usually a walk in the park. There are a few factors that make 3D printing text difficult.
The first reason is that most text features that you’d find on a 3D model are small. The smaller the size of the text (font size and model scale), the less room the 3D printer has to mess up, and the more noticeable print quality defects (e.g. stringing) will be.
Moreover, your 3D printer will have to maintain a high level of movement and extrusion precision to be able to achieve clean, readable text.
Besides their size, text features are also difficult to print because they are somewhat intricate in their design. Just take a look at your keyboard. Each of those letters and numbers has a unique shape that must come out perfectly to be readable.
Finally, 3D printing text can be difficult based on its position on a 3D model. Of course, 3D printing flat text that’s oriented perpendicular to the print bed will be easy, but if the text is angeled and embossed off the side of a model, the print job will be a lot more difficult.
But don’t let these challenges stop you! If you follow the tips in this article, you’ll be able to print high-quality, readable text without any issues!
Two Types of 3D Printed Text
Before we get into how to 3D print text, though, it’s important to go over the two main types of 3D printed text: embossed and debossed. In the sub-sections below, I’ve briefly gone over each type/style of 3D printed text.
1. Embossed
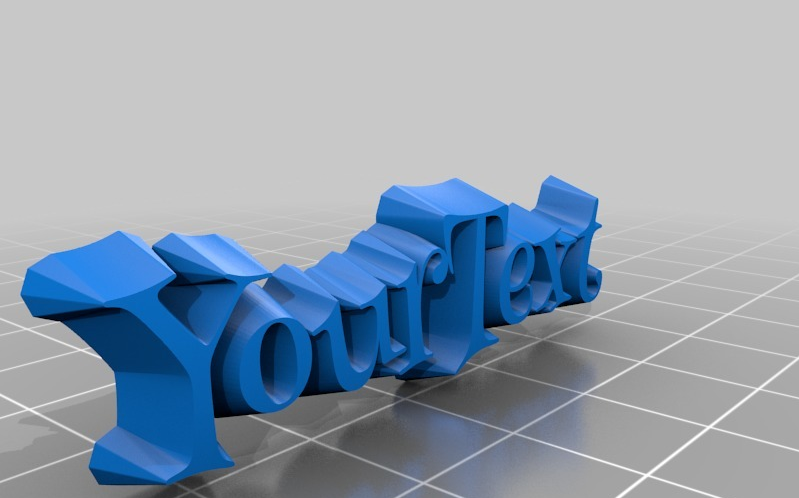
Embossed text is text that is slightly protruding (extruding) from a base surface. In other words, the text characters are sticking out from the surface below them. Below is an image of basic embossed text on a 3D model:

Another thing to note about embossed text is that, because the text features are protruding, your model will consume more filament than if the text were debossed. But, unless you have a ton of text on your 3D print, it shouldn’t be a significant amount of filament.
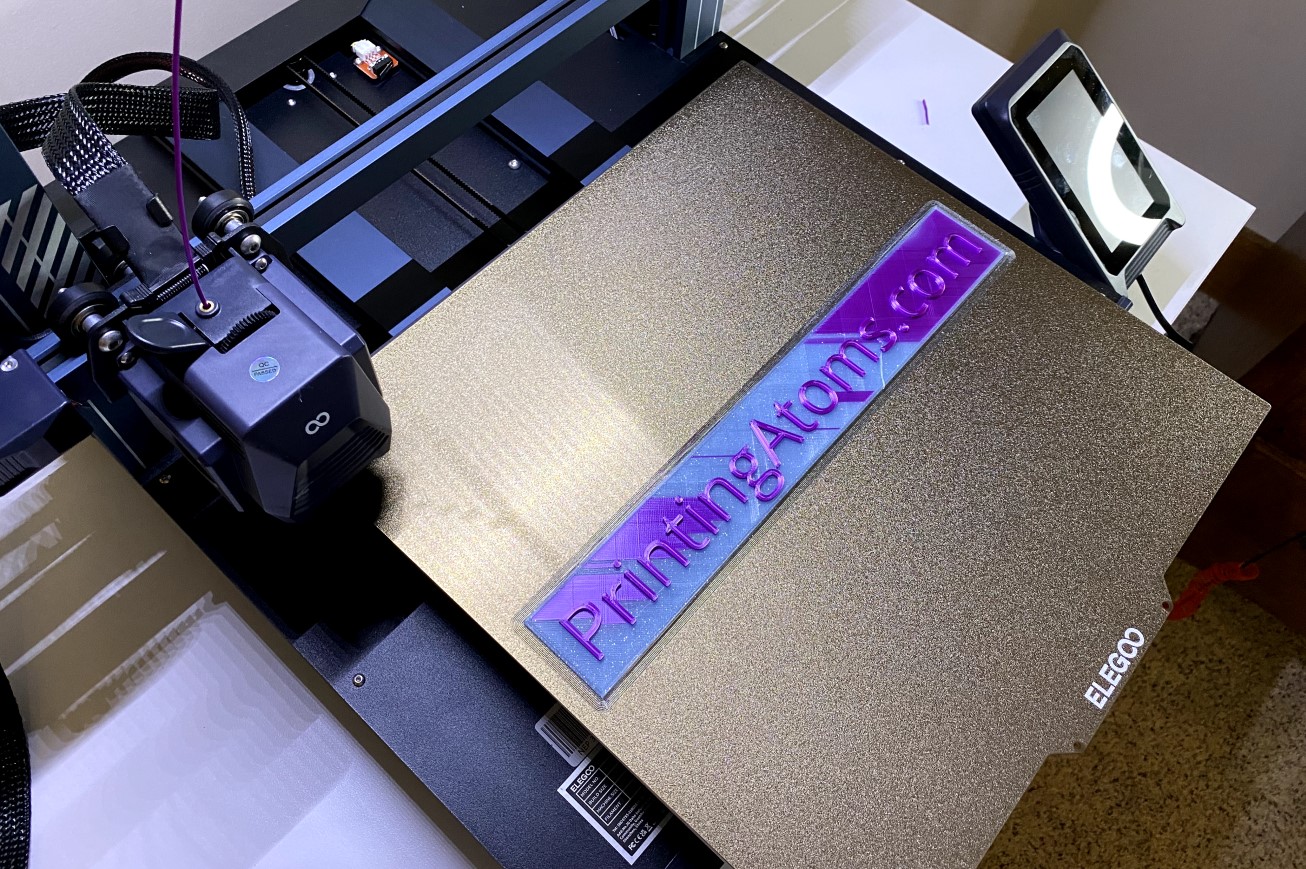
Embossed text is usually much easier to read than debossed text because it’s more eye-catching. Additionally, with embossed text features, you can utilize mid-print filament swaps at the first layer of the text features to make the text a different color from the rest of the model so it’s even easier to read. Here’s an example I made the other day:

2. Debossed
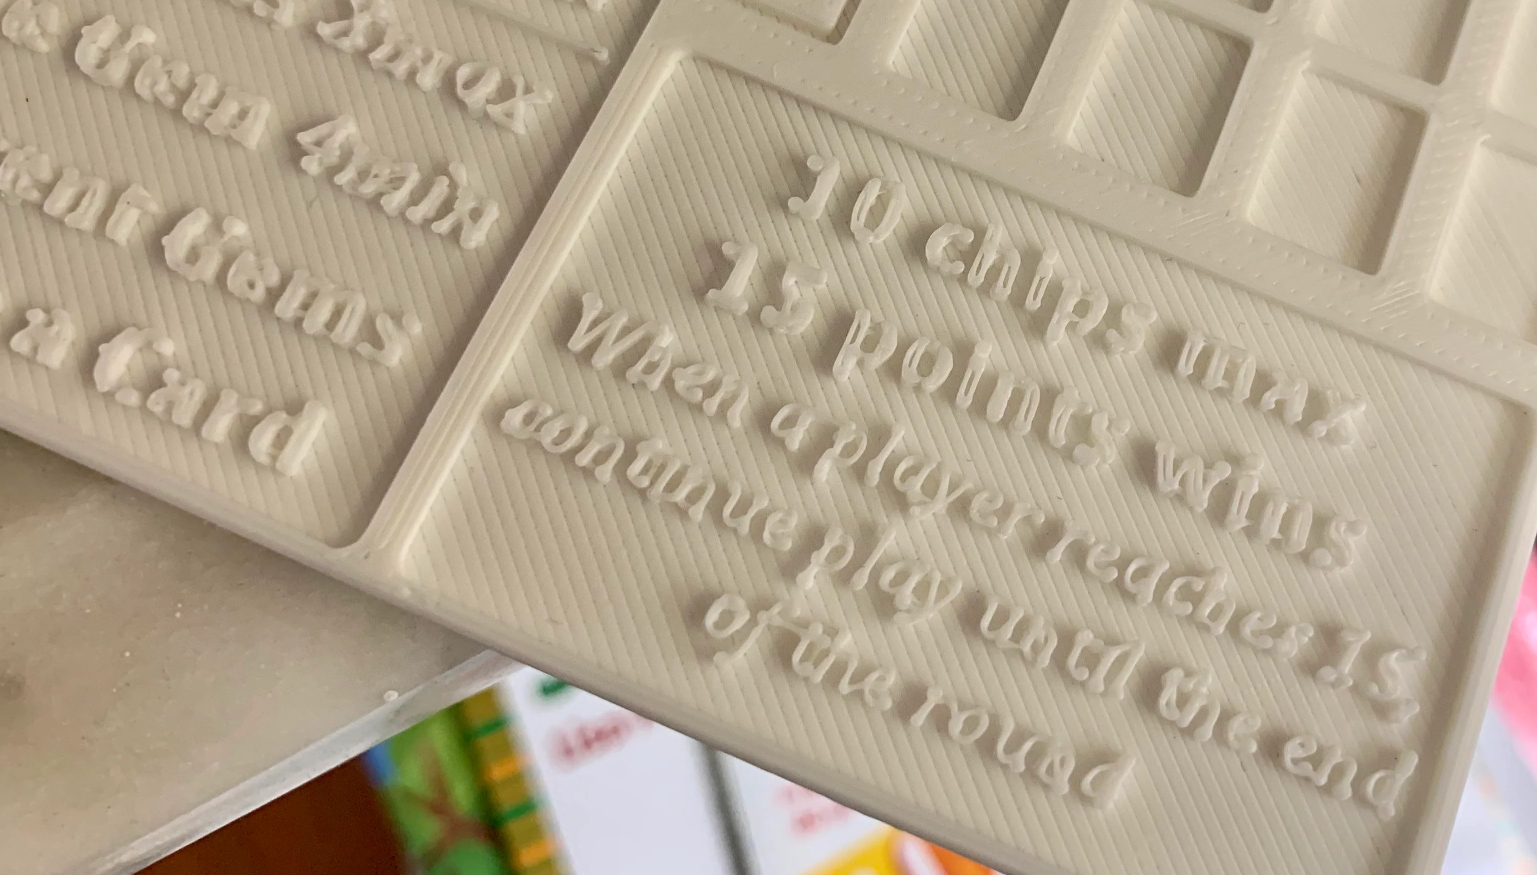
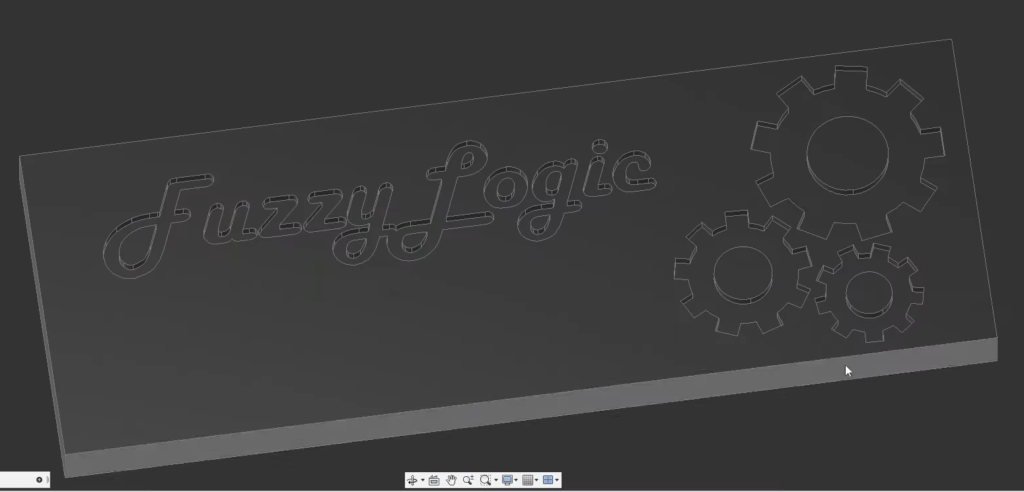
Debossed text is just the opposite of embossed text; it’s text that’s sunk into the body of a model. In other words, debossed text is text features that have been cut or engraved into the body of a 3D model. Below is an image of basic debossed text on a 3D model:
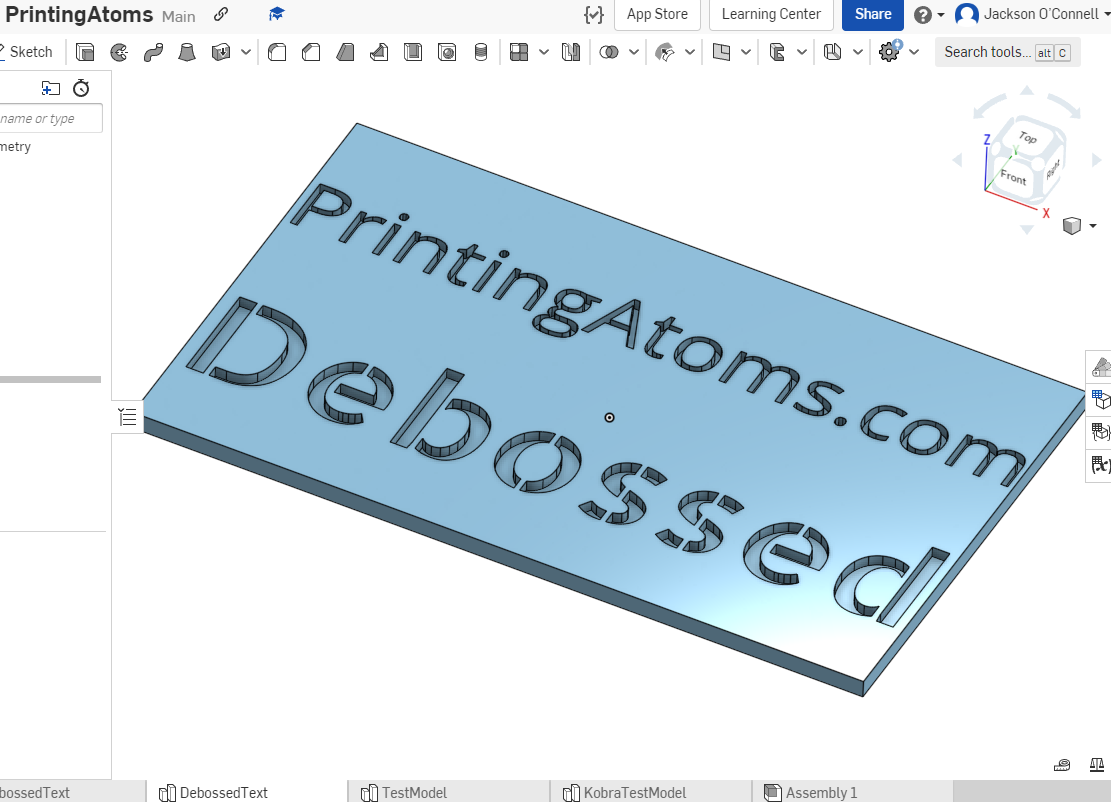
While debossed text is easily readable in any CAD software, it’s usually more difficult to see when it’s actually 3D prints. But debossed text still offers some advantages, such as when you want to conserve filament or cut down on print time.
It’s also easy to paint the debossed text if you have a small brush because you can sweep the paint through the letters easily.
How to 3D Print Words & Text
Now that you know some background info, let’s dive into the best method for 3D printing text. In the sections below, I’ve gone over my step-by-step process for achieving clean, readable, and high-quality 3D printed text, starting from the design process.
1. Find or Design a 3D Model
First, you’ll need to either find or design a 3D model that you want to add text to.
If you’ve never 3D printed something before, I suggest finding a model online unless you know how to use computer-aided design (CAD) software. Some good repositories for 3D printable models include Thingiverse, Printables, and MyMiniFactory.
Once you have your base 3D model finished, make sure you download it in a 3D model file format, like STEP or STL.
2. Open in CAD Software
Open your downloaded 3D model in a CAD software program, like Fusion 360, Onshape, or Solidworks. Don’t worry if you’re not an expert at CAD. Everything we’ll be doing today in a CAD software is super basic.
For complete beginners, I recommend TinkerCAD.
3. Add a Text Box

With your base 3D model loaded into your CAD program of choice, create a sketch and add a text box wherever you want on the model. Then, just write in your desired text!
4. Choose Font
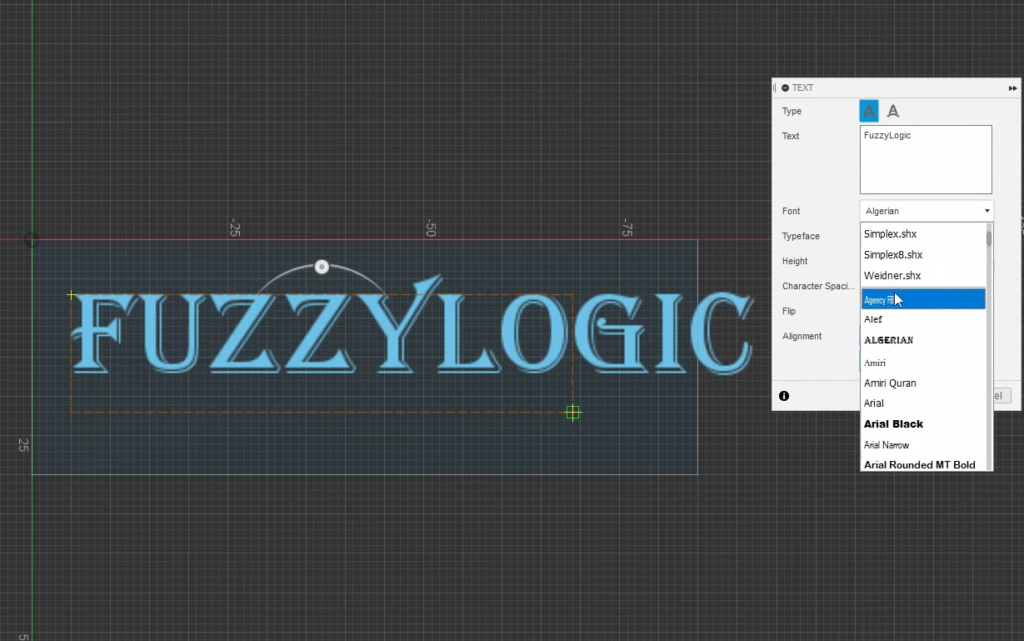
Next, we’ll have to choose a text font of the text. Most CAD programs, like Onshape and Fusion 360, offer a handful of fonts and other text element features (e.g. mirror text) that you can use. All of these options and controls are available in the text box editor tool in your CAD program.
You can choose whatever font you think looks best, but remember that the more complex and intricate the font design, the more difficult the print will be, and, thus, the more likely it is to fail.
I suggest using a basic font, like Open Sans, Arimo, or Arimo Sans. But, if you’re trying to make the text look super cool, you might want to use a more complex font, like Allerta Stencil.
Once you choose a font, exit out of the text box editor and save the sketch.
5. Emboss or Deboss Text
With your sketch complete, it’s time to bring those 2D features into the 3D world. To do this, you’ll have to first decide if you want to emboss or deboss the text features. You can check out the previous section where we went over the two types of 3D printed text to make your decision.
To emboss the text, select the sketch with the text box, and use your CAD program’s extrude feature. Make sure the extrude tool is set to “new” or “add” as this will create solid, protruding text features.
To deboss the text, first, make sure that your sketch (with the text) is positioned on a surface of your base 3D model. Once you confirm this, click your CAD program’s extrude feature and set the tool to “remove” or “cut”. This will deboss your selected sketch into your base 3D model.
6. Finalize 3D Model
Next, make any other changes to your 3D model that you need to. This might include adjusting the extrude value to further emboss or deboss the text, adjusting the size of the text, or changing the font.
7. Export Model to 3D Slicer
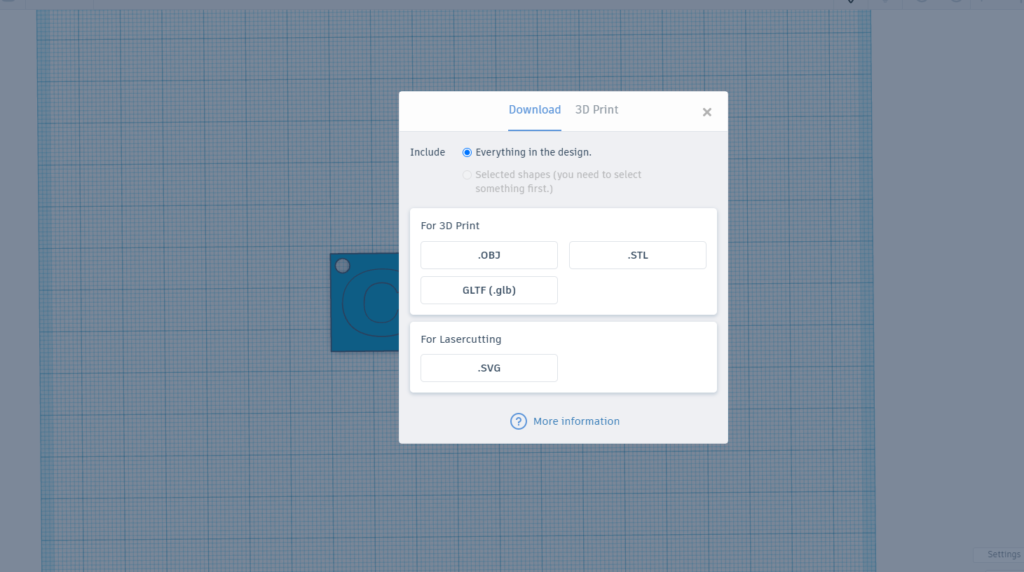
Once you’re done with your 3D model, export the part from your CAD program in a 3D model file format. I suggest exporting into the STL file format, as this format is the most universally accepted among 3D slicers.
After you export the model, upload it to your 3D slicer program (e.g. Cura, PrusaSlicer).
8. Orient Model Correctly
Adjust the orientation of your finalized 3D model in your 3D slicer so that the text is facing up. This will yield the best results. However, in some instances, the text might have to be oriented a different way (e.g. off the side of the model); and, if this is your case, don’t worry.
9. Choose Slicer Settings
Next, it’s time to adjust the slicer settings! For reference, slicer settings control how your 3D printer actually prints your imported 3D model and these settings can have a large impact on the quality of your print.
There are a few important slicer settings to consider adjusting when printing a model with text, and I’ve listed them below:
- Wall Thickness: The wall thickness setting controls how wide the solid walls are on your 3D model. I suggest setting the wall thickness to at least 2 mm to ensure the text features will be strong.

- Layer Height: The layer height controls how tall each layer of your 3D print is. I recommend using a 0.2-mm layer height as this will yield a good mix between print quality, strength, and print time.
- Infill Density: If the text features on your 3D model are large enough, they might have infill inside of them. If this is the case, consider using a relatively-high infill density, like 40-100%.
10. Export & 3D Print
After adjusting the slicer settings, it’s time to get printing. Slice the model, export it in the G-code format, and upload that file to your printer!
Tips for 3D Printing Text
But wait, there’s more!
In the sub-sections below, I’ve gone over some additional tips for printing the best text features!
1. Calibrate E-Steps
First, I suggest calibrating the E-steps on your printer, which is also called calibrating the extruder. Doing so will ensure that your machine’s filament extrusion is accurate and precise so that all of the text features are printed well and don’t get messy.
2. Level Bed
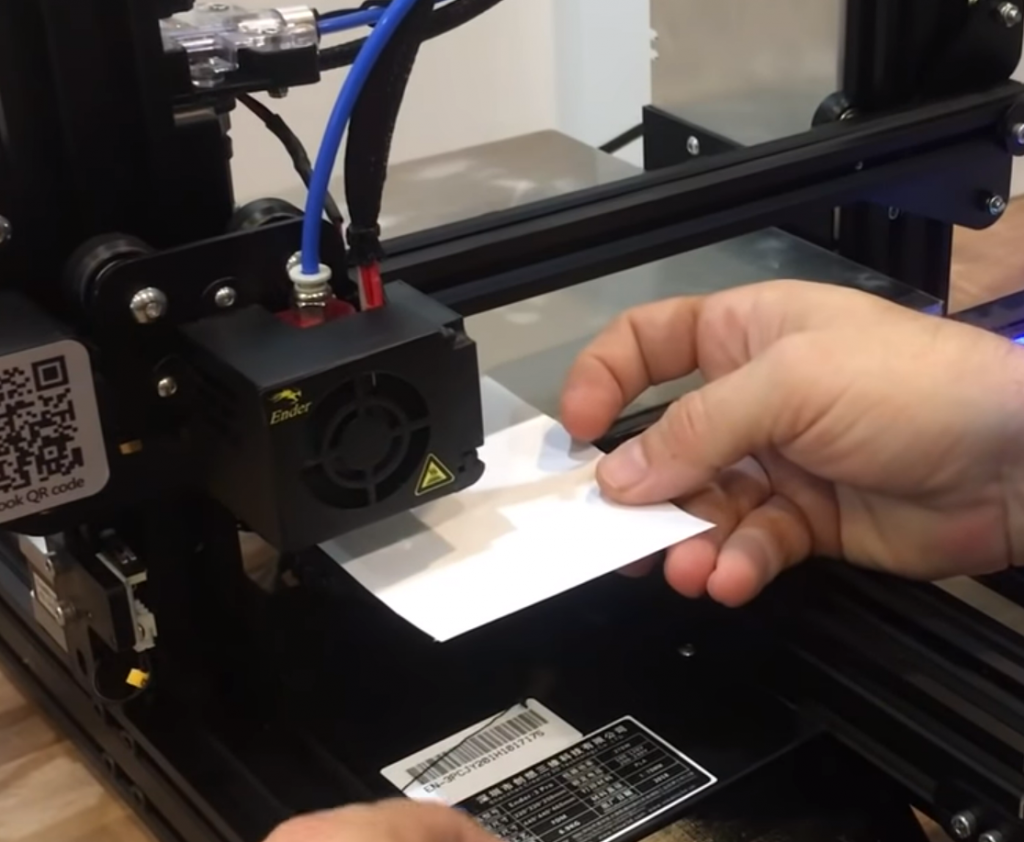
Next, you should make sure to level the bed. An unlevel print bed can cause a whole host of print quality issues, including messy text features.
On top of leveling the bed, you should also make sure to calibrate the Z offset value as this goes hand-in-hand with bed leveling to ensure a successful print.
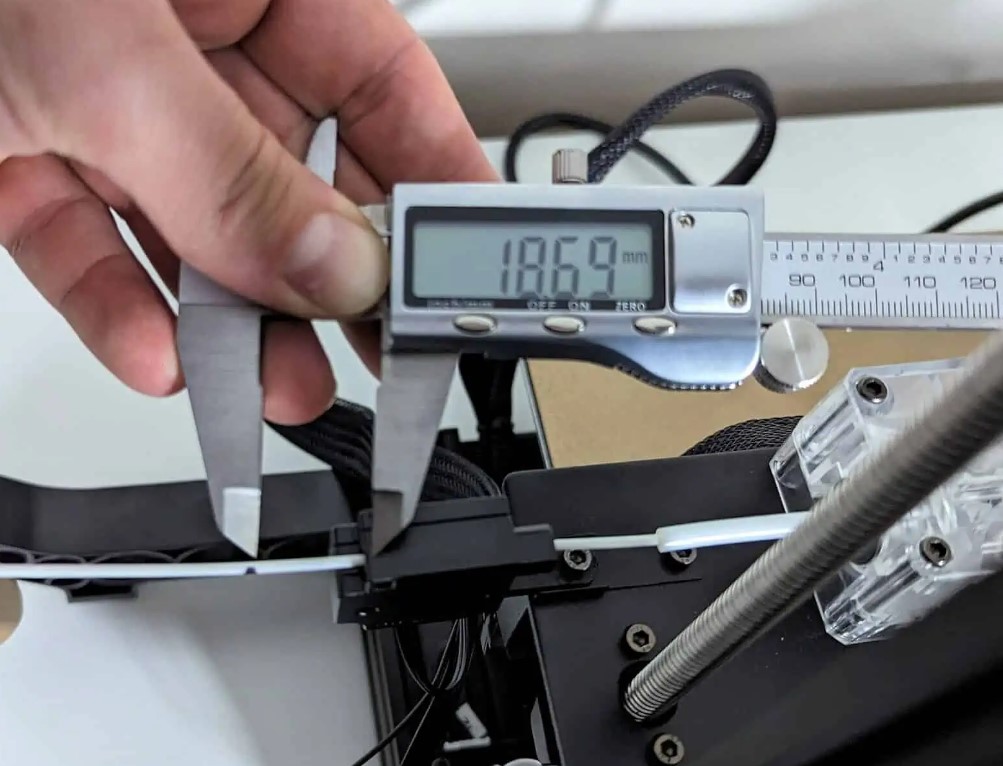
3. Tighten Belts

Lastly, make sure to tighten the belts on your 3D printer. If there’s a lot of slack in the belt line, your printer will almost 100% struggle with printing small details and features, like text characters.
Conclusion
In conclusion, 3D printing text can be a useful and fun way to add unique designs and personalization to various projects.
The actual process to design a 3D model with text is fairly simple. You start with a base 3D model, add a text box in a CAD program, choose a font, and either emboss or deboss the text.
The printing process, on the other hand, is a bit more difficult as most 3D printers struggle to yield clean, readable text features. But, if you adjust the right slicer settings and calibrate your printer as we outlined in this article, then you should have no problem achieving high-quality, easily-readable text features on your 3D print.