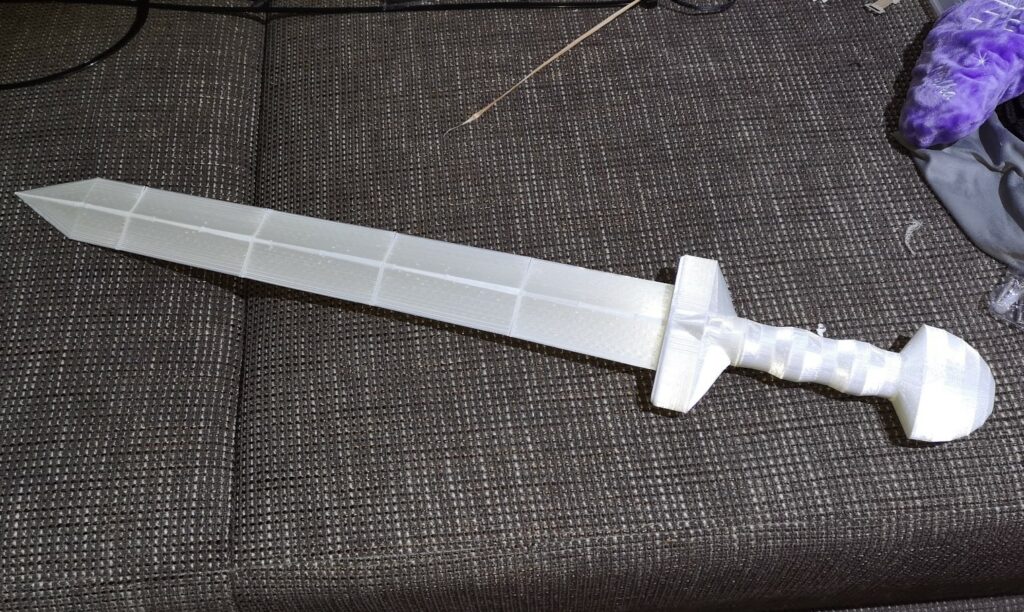
 Did your 3D print break? Or maybe you’re printing a really long part, like a sword? Whatever the case, at some point or another, you’ll need to glue 3D printed parts together.
There are many different options for gluing 3D prints, from super glue to acetone, and each differs in the strength of the bond, compatible filament materials, and complexity of the process!
My favorite way to glue 3D prints is super glue. Super glue isn’t necessarily specific to 3D printed parts, but it works very well for almost every filament material, including PLA, ABS, PETG, and more.
But, if you want the strongest bond, I recommend using acetone or epoxy resin. Acetone only works with certain filament materials, like ABS and ASA, but the bond it provides is second to none. And, if you’re gluing PLA or PETG 3D prints, which aren’t soluble in acetone, epoxy resin is the next best option and it provides super strong and long-lasting bonds.
Keep reading to learn about more of the best glue options for 3D prints and more!
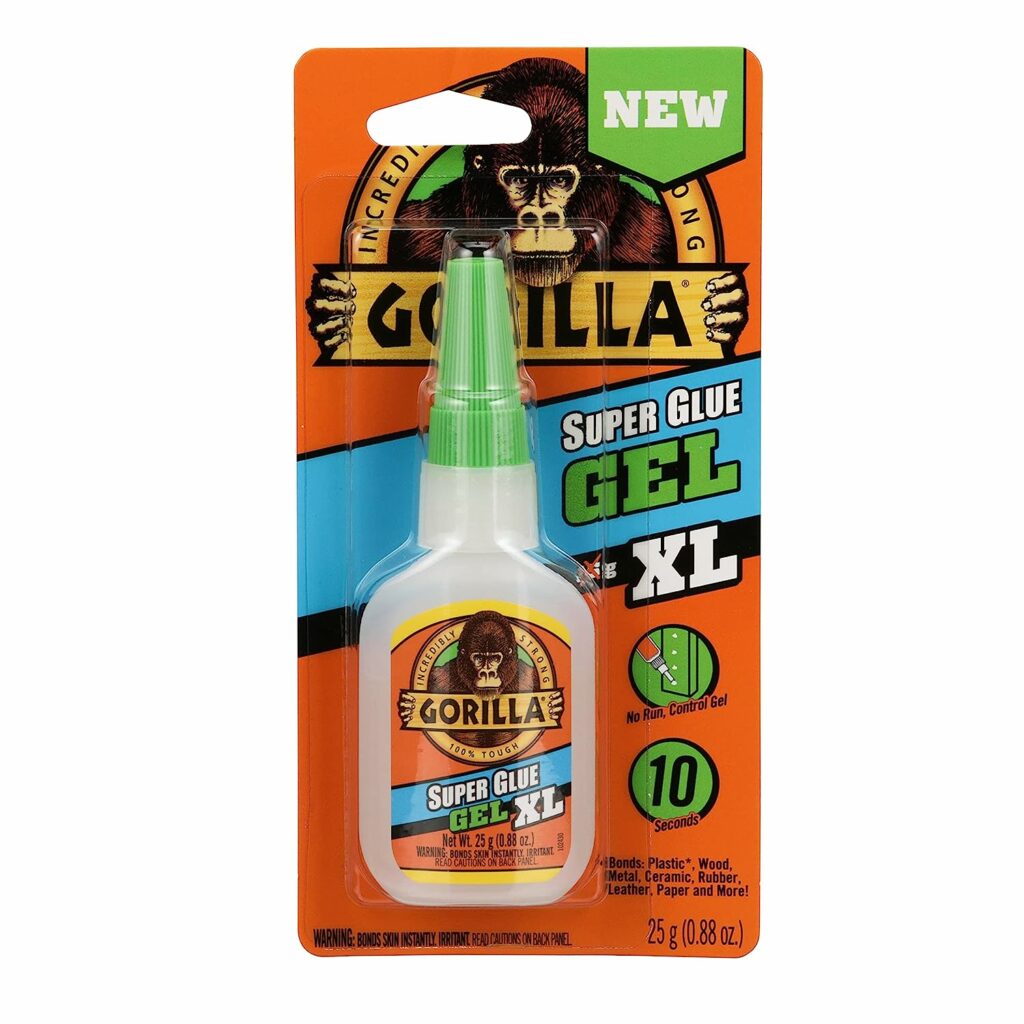


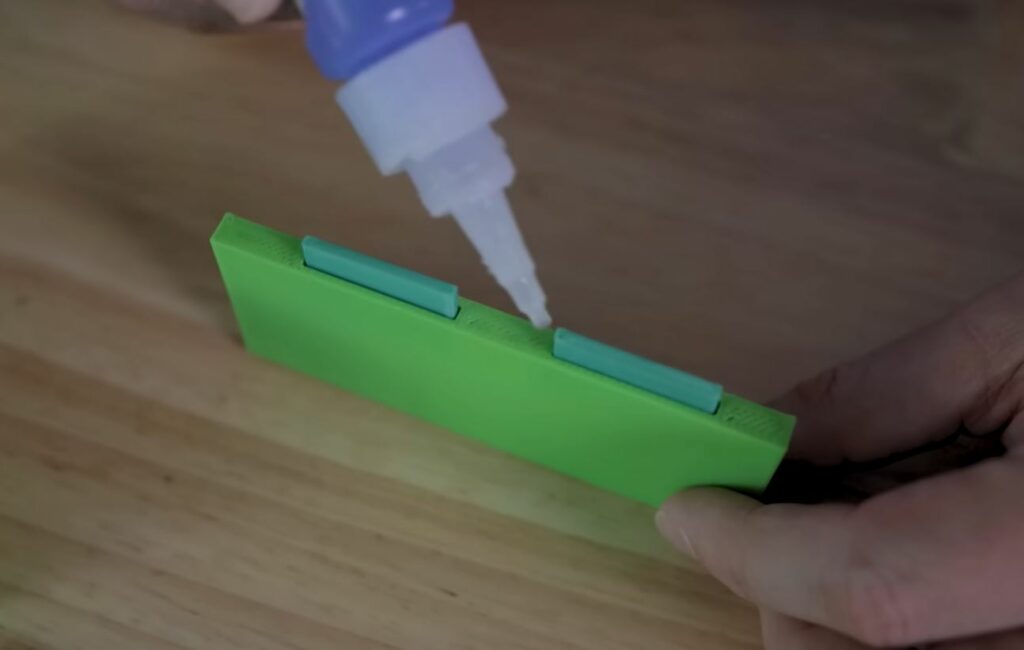
First up, we have super glue. You can probably find some generic super glue or Gorilla Glue, my personal favorite option, in a drawer in your house, and it’s super cheap, too, costing about $5 for a small bottle online or at your local store. And super glue works miracles when it comes to bonding 3D printed parts!
If you’ve ever accidentally gotten super glue on your fingers, then you know how strong super glue’s bond is. Just a few drops of this substance can create a super strong bond for your broken or segmented 3D prints.

Using super glue is also very easy; just open the bottle, apply a few drops of the adhesive on both of the parts you’re bonding and hold them together for a few minutes. I recommend getting a clamp so your hands don’t accidentally slip and ruin the bond.
Additionally, it’s a good idea to lightly sand both sides of the 3D prints that you’re gluing together as it will provide more grip and yield a longer-lasting bond.

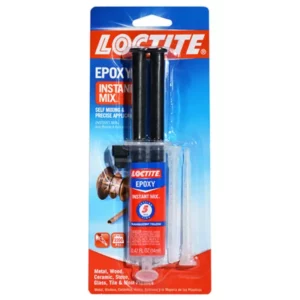
Epoxy resin is a common adhesive mixture, used for bonding all sorts of parts, including wood, metal, and, of course, plastic. Epoxy resin is also very durable and waterproof so if you’re gluing together 3D printed parts that will go outside, definitely consider this option.
Epoxy resin works on basically every 3D printing filament material, including PLA, PETG, ABS, ASA, nylon, PC, and more. The compatibility of this glue option is unlike any other!
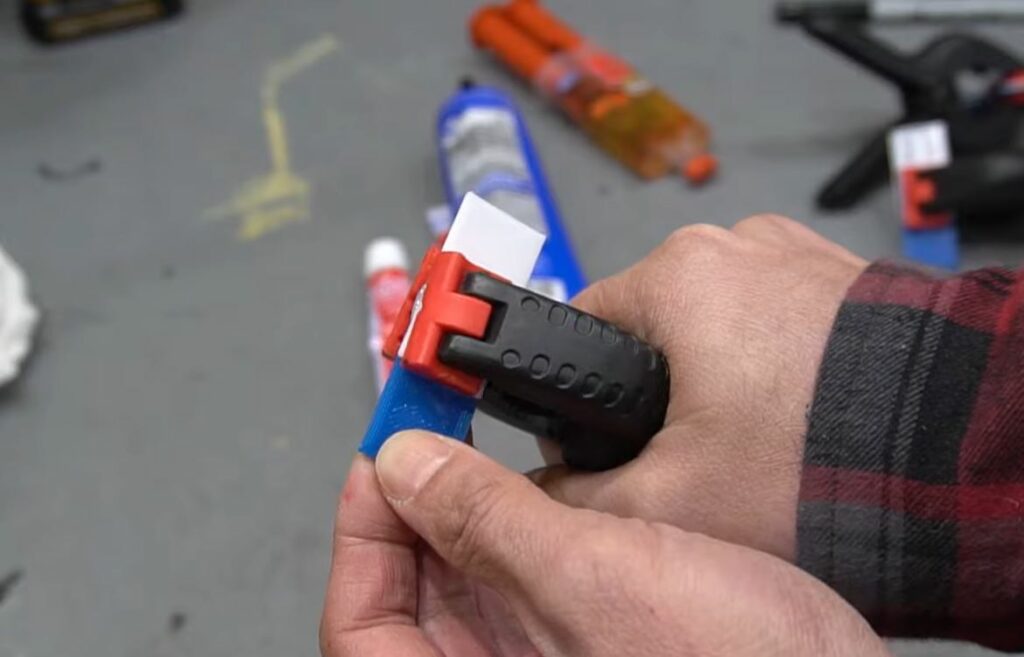
As you can see in the image below, Epoxy resin is usually shipped in a syringe, with two containers that separate the bonding agents. To use this resin glue, pull off the cap from the syringe, and press down on the plungers to combine and extrude the two chemicals over the areas on your 3D prints that you want to glue together.
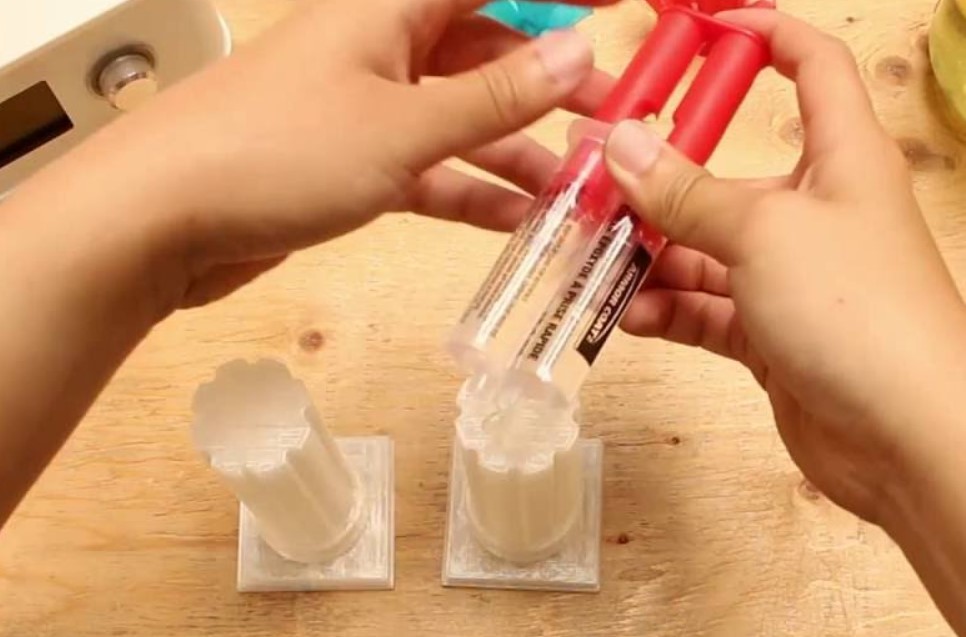
Then, like with any other glue, compress the parts you’re gluing together and hold them tightly (or use a clamp) for a few minutes before letting the glue dry, in place, for an hour or two.
Once dried, your 3D printed parts will be firmly attached to each other, with a very unnoticeable and seamless connection!
Another benefit of this gluing option is that Epoxy resin is very inexpensive, costing under $10 for a single-use syringe on Amazon. For reference, you can use just one syringe of Epoxy resin to glue together 5-10 different 3D printed parts, assuming you’re not overapplying the glue.
So, if durability is what you desire, then look no further! Epoxy resin creates super strong, waterproof, and durable bonds between 3D prints! And you won’t have to worry about material compatibility because this resin works with pretty much every widely-used filament material.

3D Gloop is a glue specifically meant for bonding 3D printed parts, and it’s largely catered towards cosplay enthusiasts who frequently need to glue 3D prints for larger projects, like a helmet or sword.
But, unlike the other options on this list, 3D Gloop is a 2-in-1 glue substance, serving as both a bonding adhesive and a 3D printer bed adhesive. That’s right! On top of using this product to bond 3D prints, you can lightly coat your print bed with 3D Gloop to prevent bed adhesion issues like warping and first-layer curling.
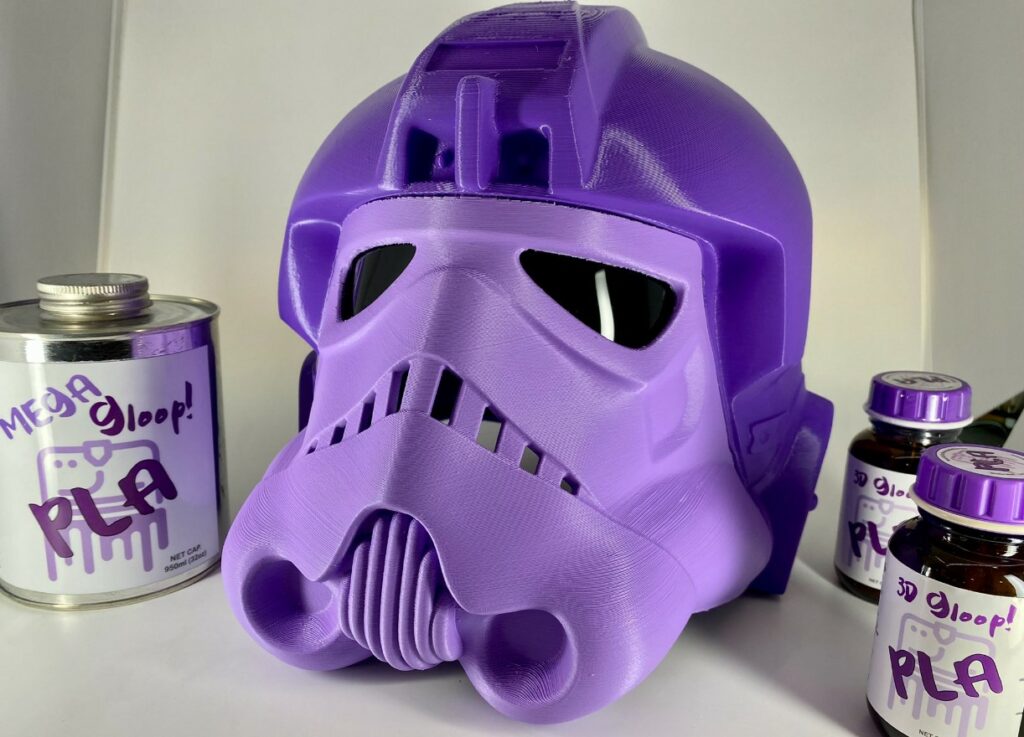
Another cool aspect of 3D Gloop is that it comes in three versions, each meant for a different filament material, including PLA, ABS, and PET (works with PETG prints too). Because each 3D Gloop mixture is designed specifically for one filament material, the bonds typically last a lot longer than those made with universal glue products, like Gorilla Glue or hot glue.
Additionally, it’s worth noting that 3D Gloop sells their products in three different sizes: nano, regular, and MEGA. If you’re an avid cosplay enthusiast or have a tendency to break 3D prints, the MEGA will give you the best bang for your buck!
So, if you want to achieve the strongest bonds between your 3D prints, whether in PLA, ABS, or PETG, 3D Gloop is the best on the market!

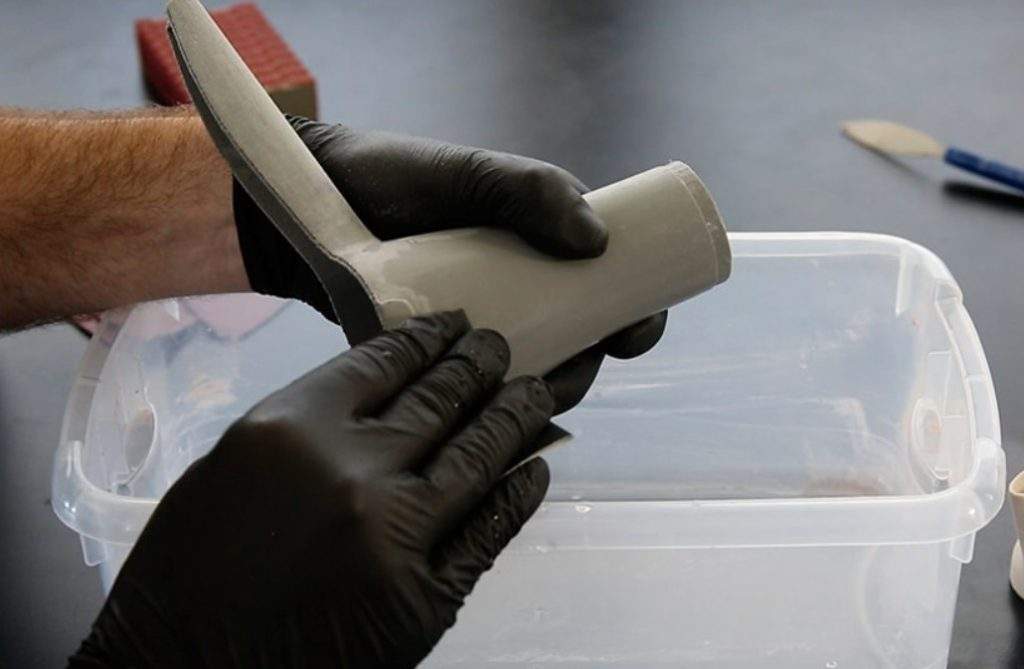
You might have heard of using acetone, the main chemical in nail polish remover, to layer smooth 3D prints made in ABS, ASA, or HIPS filament. But did you know that you can also use it to bond 3D prints made with these materials?
Furthermore, acetone acts as a solvent for ABS, ASA, and HIPS plastics, meaning it can dissolve these materials. For layer smoothing purposes, this is helpful because you can expose parts 3D printed with compatible materials to acetone vapors and the top surface will smooth out significantly, making the layer lines practically invisible.
For the same reason, acetone works for layer smoothing it can also be used as a bonding chemical for these materials. Moreover, you can use acetone to soften the surfaces on two 3D prints, hold the parts together, and, in a few minutes, they will form a very strong bond.
Acetone bonding is my personal favorite method for gluing 3D prints in ABS and ASA because it’s very reliable and I already use it for layer smoothing ABS parts, so it’s super convenient. In fact, I just used acetone to make a five-part 3D printed sword!
Plus, unlike other methods (e.g. hot glue gun), gluing parts with acetone doesn’t leave a trail of residue on the 3D prints you’re bonding. Additionally, it’s worth noting that you can use acetone to clean glass and metal (e.g. spring steel) build plates as the material loosens up stuck bits of plastic.
But, if you want to use this type of glue, there are a few things to remember. First, make sure you’re using a compatible filament material, like ABS, ASA, or HIPS (won’t work with PETG and PLA plastic).
Second, make sure to hold the two parts that you’re gluing together firmly and for at least ten minutes. This will ensure a strong and long-lasting bond between the parts.
Third, try to not mix and match filament materials. Moreover, don’t try to use acetone to bond an ABS 3D print with one made with ASA or HIPS filament. The strength of an acetone bond relies on the materials blending together when they dissolve from the acetone, and the process won’t form a strong bond when you mix materials.

Next, a hot glue gun is one of the most convenient ways you can glue 3D prints because you probably have one stuffed away in a drawer already. And, if not, hot glue guns are super inexpensive, usually costing under $15 at a hardware or grocery store.
Hot glue guns work kind of like an FDM 3D printer: a thermoplastic material is pushed towards a heating element, turns to a molten form, and is selectively extruded. Of course, a hot glue gun is handheld rather than a standalone machine, and the thermoplastic is a stretchy glue rather than a more rigid material (e.g. PLA, ABS).

Using a hot glue gun is also super easy; just load a stick of glue into the back of the device, plug it in, wait for the nozzle to heat up, and then pull the trigger. The glue will melt and come out pretty evenly! Just make sure not to use too much glue as it will show on the seam between the models and hurt the visual appearance of your part.
Unfortunately, while hot glue guns are super accessible and easy to use, they don’t provide super strong bonds for 3D prints compared to the other options on this list. Moreover, the actual adhesive materials that hot glue guns use, mainly EVA and APAO, are not the same as the materials used for 3D printing (e.g. PLA, ABS). Because of this, hot glue guns won’t cause a natural fuse between two 3D printed parts, resulting in relatively weak bonds.
Nonetheless, if you don’t need a super strong bond between your 3D prints, a hot glue gun will work just fine!

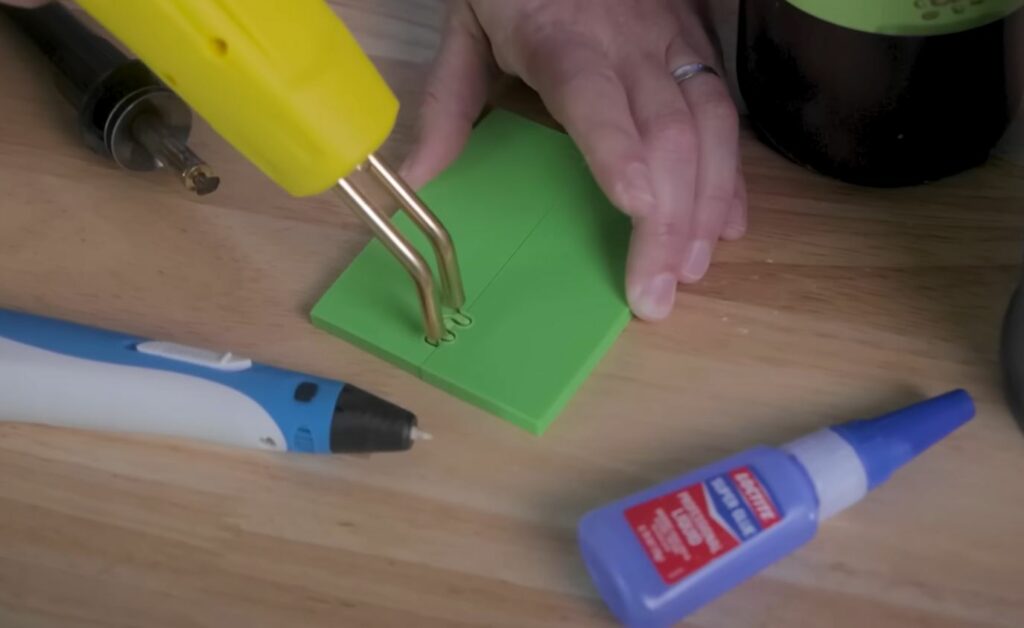
A 3D pen, if you’ve never heard of it, is basically just a hot glue gun that uses 3D printing materials, such as PLA and ABS, rather than specialized glue materials like EVA and APOA. 3D pens are super useful for making three-dimensional plastic drawings and even small repairs to 3D prints. Plus, a 3D pen is perfect for bonding 3D prints, especially when paired with another gluing method!
The first benefit of using a 3D pen to glue 3D prints is that you don’t need to buy glue sticks as you would for a hot glue gun. Instead, you can just cut off a strand of your 3D printer’s filament and load it into the 3D pen, saving you time and money.

Despite the fact that the material from the 3D pen is the same as that of your 3D prints, the bond formed from 3D pens isn’t always strong. This usually stems from poor surface adhesion of the material extruded by the 3D pen on the actual 3D printed parts. Because of this, I recommend using a different gluing method, such as acetone or super glue, alongside a 3D pen to form the strongest bond possible.
But, what 3D pens are great for is making seamless bonds! Moreover, if you use the same material for your 3D printer and 3D pen, the color of the glue-acting material will match that of the parts you’re bonding. Additionally, once you bond the parts with a 3D pen, you can sand down the surface of the extruded plastic to make the connection look seamless.
When to Use Glue for 3D Prints?
The first reason you might want to use glue for 3D prints is to make multi-part projects. This is fairly common in the cosplay space because most 3D printers, like a Creality Ender 3, don’t have the print space to print larger cosplay items, like a sword or chest plate.
Instead, you have to split up larger models in a CAD software program and print each individually. After all the parts are complete, you can glue the pieces together to create your desired project.
Of course, it’s always better to print the pieces pre-assembled because layer-to-layer bonds in a 3D print will always be stronger than bonds made with glue. But, as I said, this isn’t always an option when making larger projects.
Another reason you might want to use glue is to repair your broken 3D prints. Because some filament materials, mainly PLA, are pretty weak and brittle, 3D printed models can break or crack even if you drop them on the ground just once. In these scenarios, you can apply a thin layer of glue to the broken pieces or areas (if it’s just a crack) of the 3D print to repair it.
As I mentioned, glue bonds aren’t usually as strong as the internal bonds between the layers of a 3D print. But, if the 3D print doesn’t need to be strong or durable, then it’s a perfectly okay solution.
How to Apply Glue to 3D Prints?
While different glue substances might require slightly different steps for the best results, the general process is the same. I’ve gone over the main steps in the sections below:
Sanding
Start by sanding the areas of the 3D printed parts that you plan on joining together. This will provide more grip between the parts and allow whatever glue you use to bond the pieces better.
I recommend using 220-grit sandpaper as it’s decently rough that’s perfect for gluing, but any grit under 600 grit should be fine.
Once you sand the sides of the 3D print, make sure you remove any leftover plastic particles from the surface by wiping the surface with a dry cloth. After that, it’s gluing time!
Apply Glue
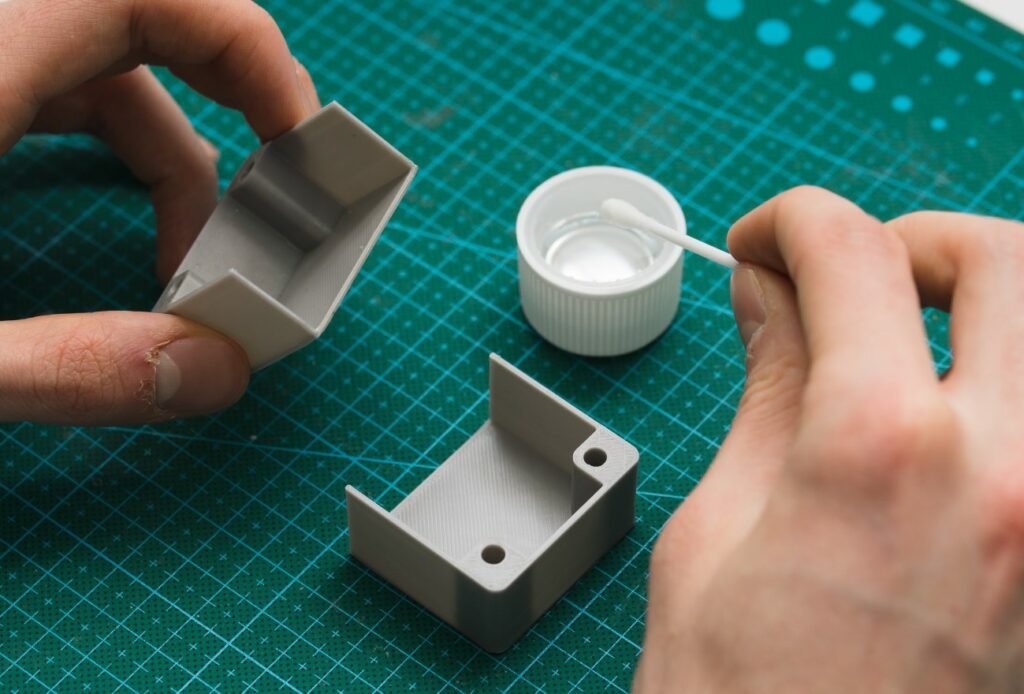
If you have to mix your glue to get it ready, such as in the case of Epoxy resin, do so at this point. Once ready to go, apply a thin layer of glue on both of your 3D printed surfaces and then stick them together.
I like to use a small paintbrush to apply the glue, but you can use whatever tool you have around; it shouldn’t make too much of a difference. Just make sure the connection is flush or else the bond will look bad!
Clamp Parts Together
Then, if you have a clamp available, tighten it around the parts that you’re gluing together as a clamp will usually be more stable and secure than your hands. Depending on the position and orientation of the parts you’re gluing, though, this might not be possible.
Clamp the parts together for at least ten minutes before letting go. Typically, the longer the parts are pressed together, the stronger the bond will be.
And that’s all! You can finish off the process by painting over the bond to make it look nice, but this is optional. You may also want to apply some more glue on the outside of the connected pieces as this is known to further strengthen the bond between the parts.
Considerations for 3D Printer Glue
When buying glue for your 3D prints, there are a few important factors to keep in mind. I’ve discussed the most significant considerations for 3D printer glue in the sections below:
Compatible Materials
First, it’s important to review what materials a glue works with. Moreover, some glues or gluing methods only work with a select few filament materials. For example, while acetone bonding yields strong and seamless bonds for parts made in ABS and ASA, it doesn’t work as an adhesive whatsoever for PETG or PLA plastic 3D prints.
Make sure to read the full description of any glue you’re considering to see what materials it works with. Checking user reviews for a specific glue product also helps!
To help you find the best glue for the filament material you’re using, I’ve made a helpful table below:
Filament Material: | Best Glue Option: |
PLA | Epoxy Resin, 3D Gloop, Super Glue |
ABS | Acetone, Epoxy Resin, Super Glue |
ASA | Acetone, Epoxy Resin, Super Glue |
PETG | Epoxy Resin, Super Glue |
Nylon | Epoxy Resin, Super Glue |
Polycarbonate | Epoxy Resin, Super Glue |
HIPS | Acetone, Epoxy Resin, Super Glue |
Longevity
Of course, the longevity of glue, or the bond it creates between 3D printed parts, is also very important. What’s the point of gluing parts together if they are just going to break apart?
While it’s difficult to tell the true longevity of a glue, checking user reviews and reading the table from the previous section can help you know how strong a bond a glue will make for your 3D printed parts.
Price
Lastly, price is another important consideration. There’s no point in spending bank on a glue that performs just as well as one that costs half as much.
All of the glue described on this list is pretty reasonably priced, so don’t worry about burning a hole in your wallet while trying to stick two 3D printed parts together. But, if you’re looking for the best bang for your buck, I’d recommend going with Epoxy resin or super glue.