
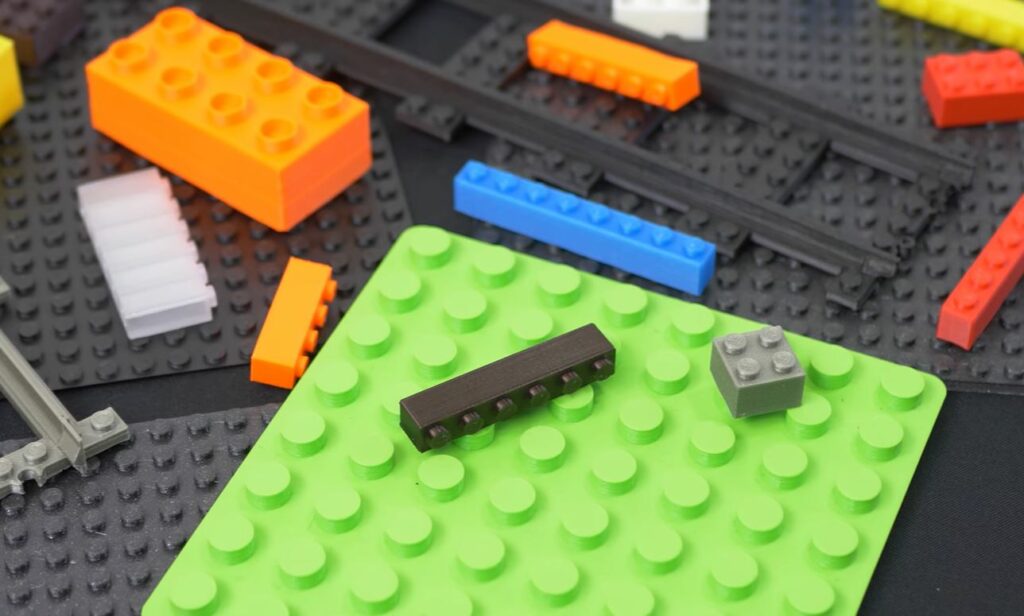
Who doesn’t love a good LEGO build, even if you’re a little above the recommended age for the sets? But don’t let LEGO’s price gauging prevent you from having your favorite parts and pieces. Instead, just 3D print them!
While real LEGOs are injection-molded, not 3D printed, they are still made of ABS, a popular material for FDM 3D printing. As such, 3D printed LEGO look and feel very similar to the real ones.
And, despite LEGO’s best attempts to get rid of them, there are thousands of different LEGO parts that you can 3D print, from rare Star Wars pieces to basic parts for custom builds. And 3D printing LEGOs will always be much cheaper than buying them in-store, as long as you’re okay with waiting a few hours for each print.
In the sections below, I’ve gone over the best process for 3D printing LEGO models and I’ve provided a list of some of the coolest LEGO parts you can make at home! Enjoy!
Table of Contents
How to 3D Print Legos?
3D printing LEGO models is not much different from how you would 3D print any other part. However, because you’ll want your 3D printed LEGO models to fit any real LEGO part (via the studs), you’ll have to pay close attention to the sizing and tolerances of your prints. Follow the steps below to achieve high-quality, cross-compatible LEGO 3D prints!
Download File or Create your Own Design
First, you’ll need a design. While you could design your own if you have experience with CAD software (e.g. Onshape), there are literally thousands of free LEGO models that you can download online. I’ll go over some of the best options in a later section, so stay tuned.
But, once you find the right model, make sure to export it as an STL file. This format is compatible with 3D slicer programs, like Cura, which are necessary for turning the part into a 3D printable file.
Choose Material to Use
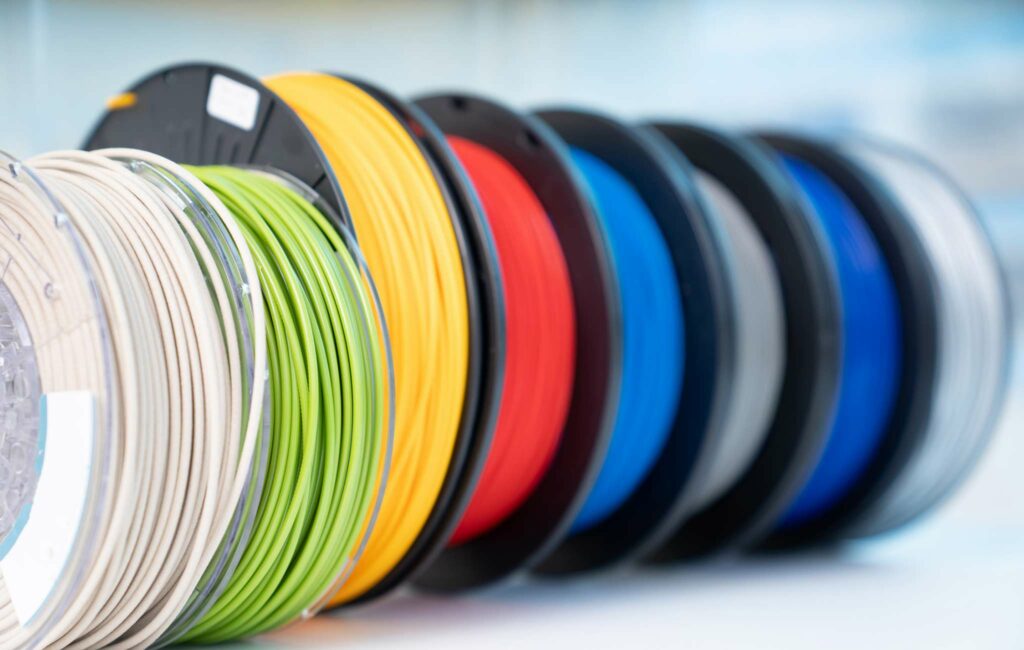
Next, it’s time to choose the right material. If you have an FDM 3D printer, like a Creality Ender 3 (Pro/V2), I recommend using ABS as this is the same material that real LEGOs are made out of.
Of course, to print ABS, you’ll need an enclosure around your printer for temperature purposes, but this is a small price to pay for the ability to make near-replica LEGO parts.
If you don’t want to incur the extra cost (and effort) of getting an enclosure for your 3D printer, though, don’t worry; you can also use PLA, PETG, or another filament material to make your LEGO parts!
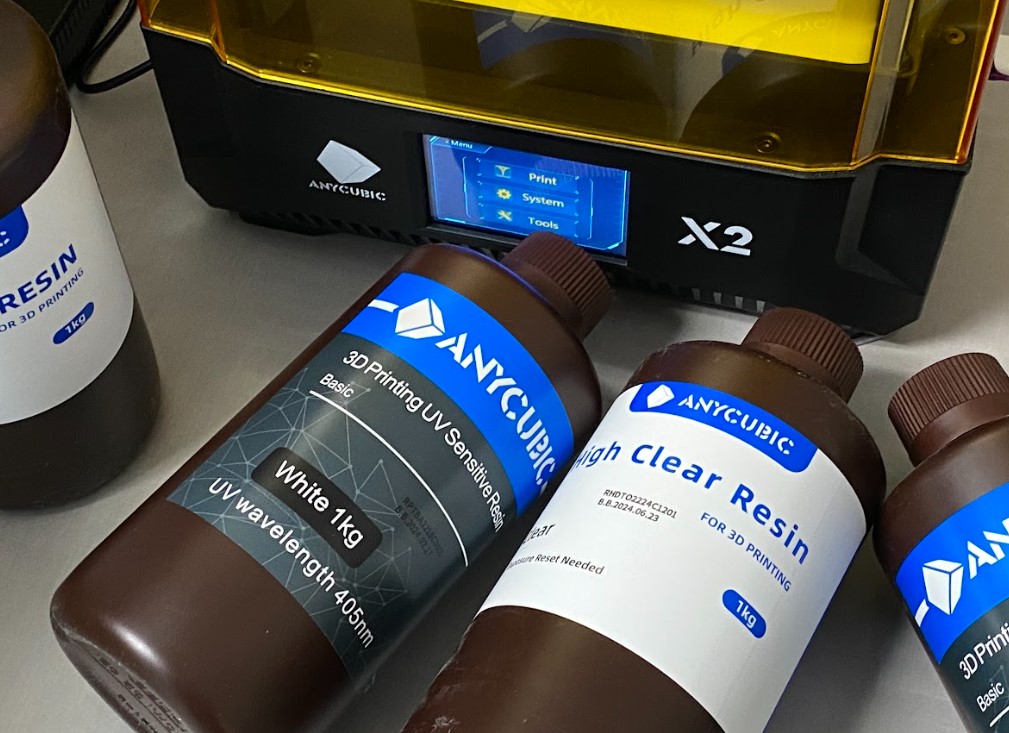
And, if you’re using a resin 3D printer instead, then any resin will work, whether it’s a standard resin, draft resin, or ABS-like resin.
Slice the Model
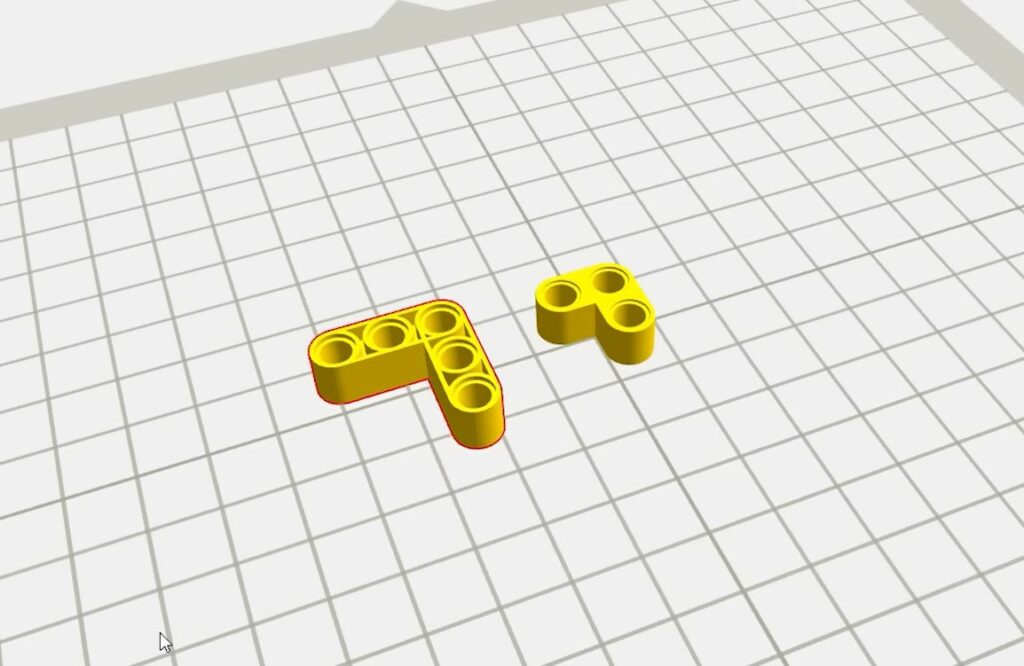
Once you’ve loaded the right filament (or resin) into your 3D printer, pull out your computer, open the slicer program of your choice, and load the STL file you downloaded previously!
In the slicer, make sure the settings are aligned with how you want the part to be printed. I recommend turning off supports if you can because these can leave a nasty texture on the outer surface of your prints. Additionally, make sure to use a brim or a raft to prevent warping from making your LEGO prints tilted and noticeably not real.
Once you’ve tuned all the settings you want, slice the model and load it onto your 3D print!
Print Your Own LEGOs
Now, print the G-code model! Like with any other print, make sure you properly prepare your 3D printer before starting the print job. This entails leveling the bed, making sure the nozzle isn’t clogged, and inserting the filament.
After you start the print job, I recommend watching the first few layers come down, so you know the print is off to a good start before leaving your machine unattended.
Check Dimensions
Once the print is complete, remove it from the build plate and take off any unwanted structures, such as supports, brims, or rafts. Now, it’s time to check the dimensions. After all, if your 3D printed LEGO parts don’t fit real LEGOs, what’s the point of them?
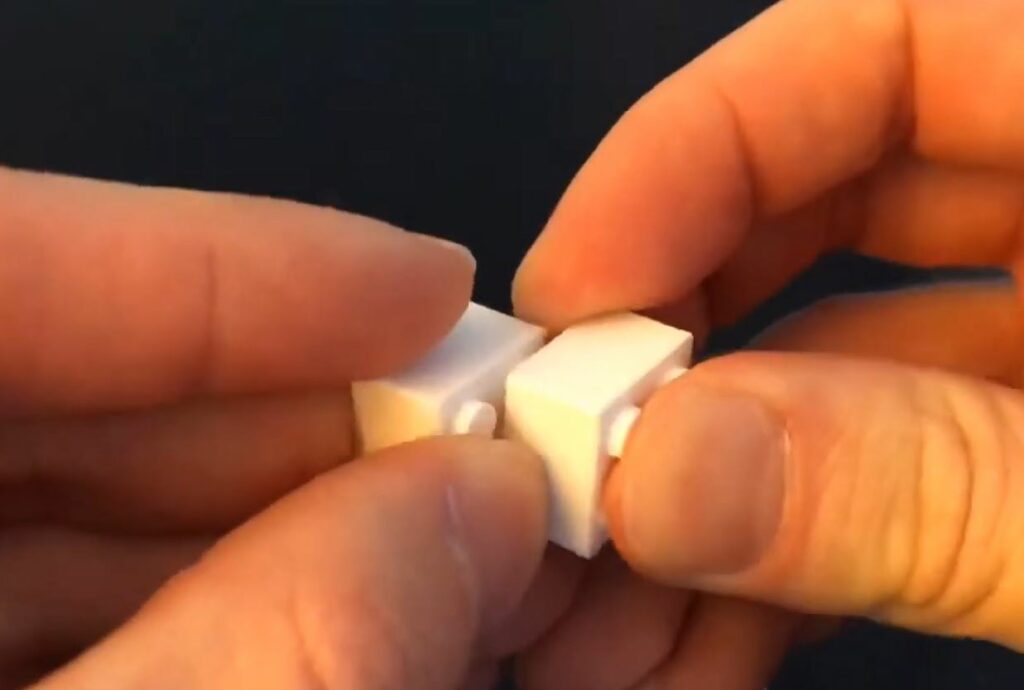
While you could take out a digital caliper and measure the dimensions manually, the best way to determine if your 3D printed LEGO pieces are compatible with real ones is to test it. As such, I recommend taking a real LEGO piece and seeing if the studs match up with those on your 3D print.
When you attach the real and the 3D printed LEGO pieces, evaluate if the parts have a good fit and grip, if the edges line up right, and other details. If they don’t, that’s okay. Make a note of what is wrong with your printed model and, next time, adjust the dimensions of your model to accommodate the issue. Remember: everything takes practice!
Post Processing
Once you have a LEGO 3D print that fits the way you want it, it’s time to post-process the model. This involves sanding, priming, and painting the model to improve its appearance and make it look just like a real LEGO part.
Sanding
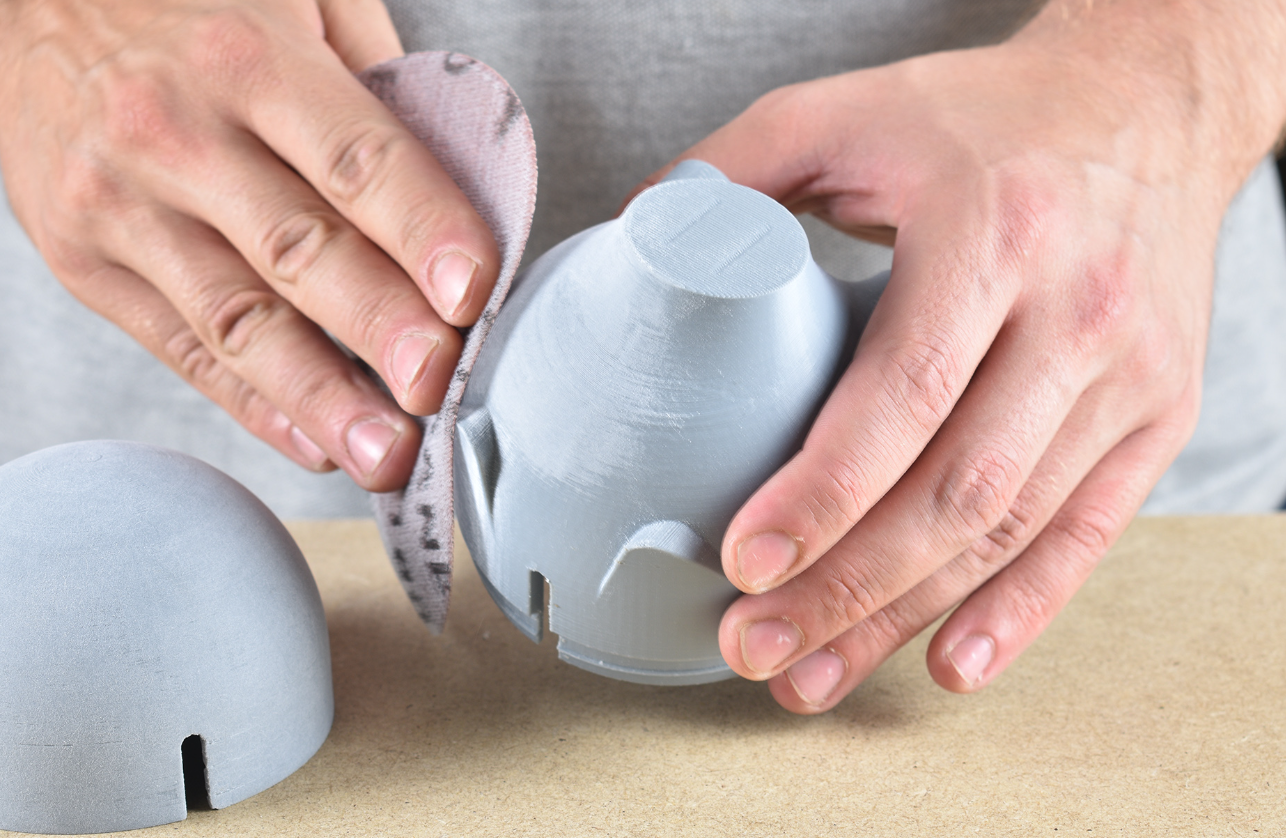
To start, I recommend using 220-grit sandpaper and sanding the entire outer surface of your 3D printed LEGO model. Then, using water as a lubricant, gradually move up to higher-grit sandpaper. I recommend stopping the sanding process when you get to 600-1,000-grit sandpaper as this should be pretty smooth.
Once you’re done sanding, wash the print so all of the small particles of plastic are off of the outer surface.
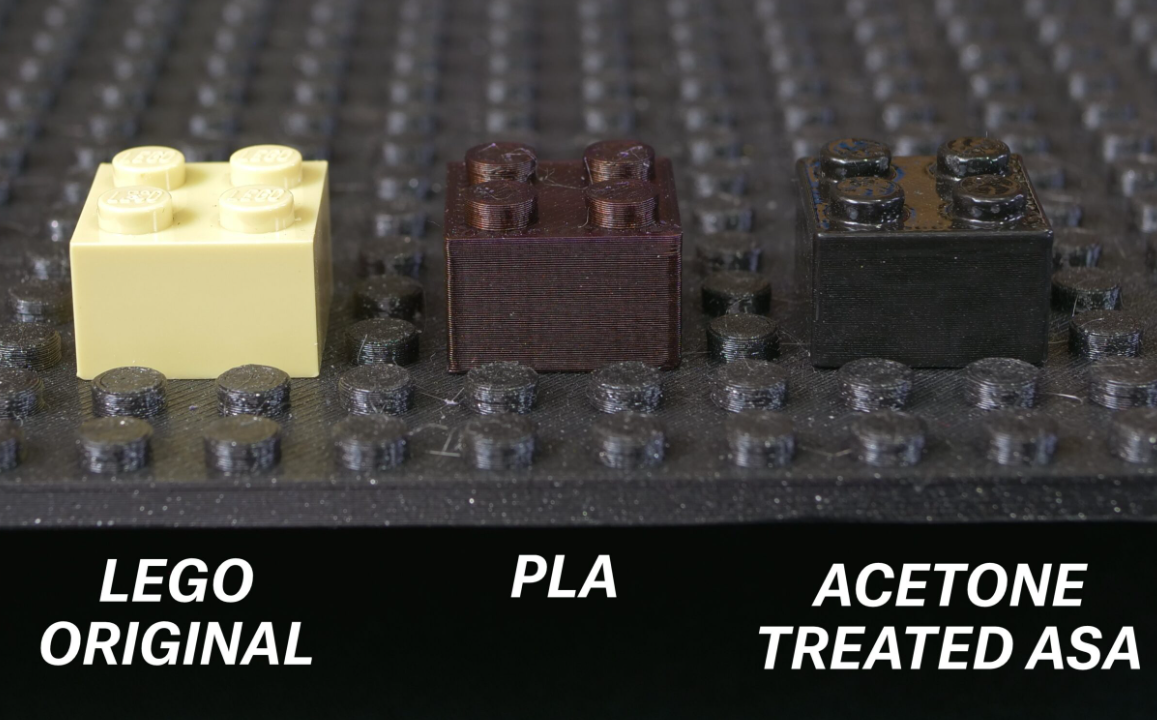
Acetone Smoothing
After sanding, if you’ve printed your model in ABS, you can use acetone smoothing to further smooth the outer surface of your LEGO 3D print. This process involves painting or fuming your 3D printed part with acetone, a solvent for ABS, to dissolve the outer layers of your print so that they’re super smooth! The process is super easy and definitely worth the time and effort if you printed your LEGO models in ABS!
Prime & Paint
Next, coat the model in primer paint. Once the primer dries, apply 2-3 coats of your actual paint. This paint should be the color that you want your final 3D printed LEGO part to be.
Finally, if you want to, add a clear or protective coat to your LEGO 3D print. This will make the base coats of paint more long-lasting and durable, so no one ever finds out your prints aren’t real!
Challenges in 3D Printing Legos
There are a few challenges when it comes to 3D printing LEGO parts. I’ve described the most significant ones in the sections below.
Accuracy
First off is the accuracy of the prints compared to the real LEGO parts. As you probably expect, LEGO isn’t exactly releasing the CAD files for all of their LEGO parts. Moreover, every LEGO design online is someone else’s replica based on the measurements they took of real LEGO parts.
Because of this, not all 3D printed LEGO models will have the same dimensions as their real LEGO counterparts. The more complicated and rare the part, the less likely the 3D printed version is to be exactly the same dimensions as the real LEGO version.
Compatibility with Real Legos
Second, the compatibility of 3D printed LEGO parts with real ones is another big issue. Even the most accurate and precise FDM 3D printers have tolerance issues, and if the tolerances aren’t measured right, your 3D printed LEGO parts won’t be compatible (fit) with real LEGO parts.
The best way to ensure functional compatibility between your 3D printed LEGO parts and real LEGOs is trial and error. Just keep printing the same model, adjusting the dimensions ever so slightly, until the studs and holes on the part fit with real LEGO pieces the way you want.
Of course, this process can be annoying, but it’s better than all of your LEGO parts having a terrible grip on real LEGO pieces.
Shape Deformation
Lastly, shape deformation can be another challenge when 3D printing LEGO parts. Even if the studs and gaps of your 3D printed LEGO models fit real LEGO pieces, the shape of the part might be ever so slightly deformed from issues like warping, messy overhangs, or over-exposure to acetone (for ABS parts). In this case, your 3D printed LEGO part might not look or feel as close to a real LEGO piece as you might want.
Best 3D Printed Legos
Looking for LEGO models to 3D print? In the bullet points below, I’ve listed over some of the best 3D printable LEGO models that you can download for free online. I’ve included all sorts of LEGO designs in the list, including super rare parts, basic ones, and custom-made LEGO designs.
- Lego Minifigure
- Han Solo in Carbonite
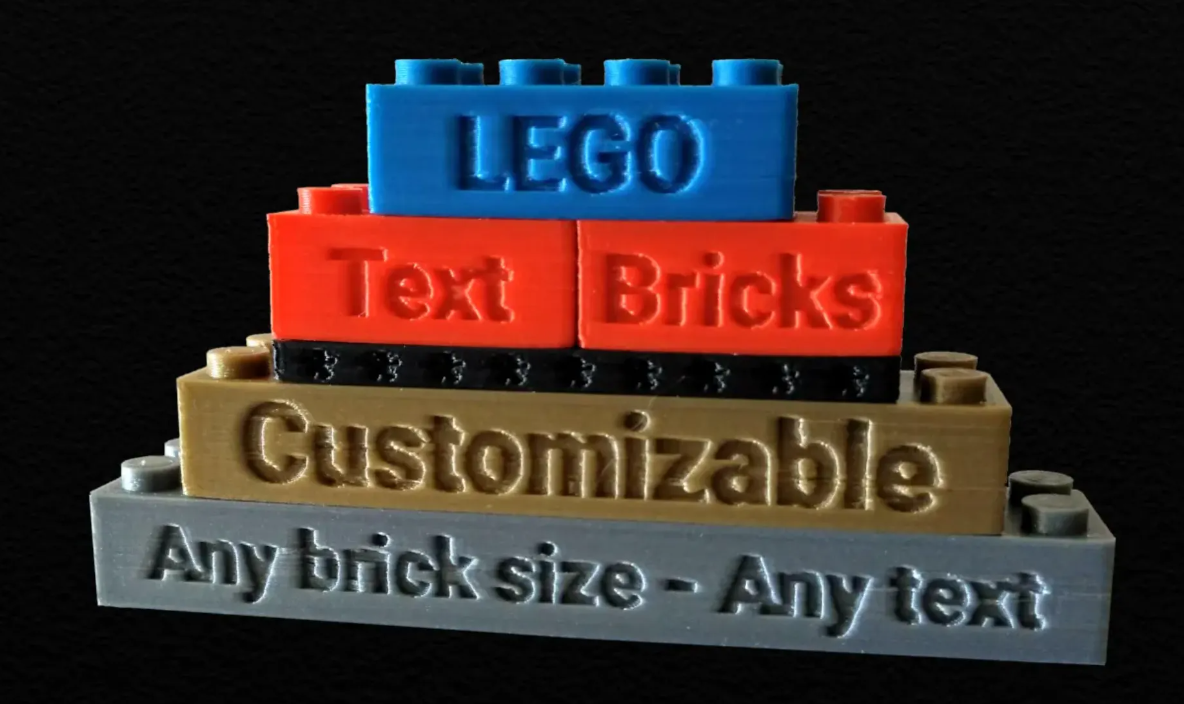
- Customizable Bricks
- Floating Ferry
- Lego Scythe
- Batman Plane
- Kylo Ren Lego Lightsaber
- Large Brick Flowers
- Lego Compatible Rollercoaster Looping
- Lego Man Toilet Holder Paper
Best 3D Printers for Legos
Don’t have a 3D printer but are interested in making your own LEGOs? Here are some of the best 3D printers for 3D printing LEGOs! Each of these machines is easily capable of achieving the accuracy and precision necessary for making high-quality LEGO parts!
- Creality Ender 3 V2: The Creality Ender 3 V2 is my personal favorite 3D printer for making LEGO parts. It’s super reasonably priced, costing under $200, and it has every feature you need to get started 3D printing your own LEGOs. This printer isn’t known for its reliability, but, if you like fixing things up, then it’s perfect. Plus, there are tons of community and company-developed mods available if you want to further enhance the machine’s abilities.
- Prusa i3 MK3S+: The Prusa i3 MK3S+ is one of the most revered FDM 3D printers on the market. While it costs a bit more than the Ender 3 V2, it’s worth it if you’re looking for a reliable printer that can consistently yield high-quality prints in a wide range of materials, including PLA, PETG, and, of course, ABS (with an enclosure).
- Phrozen Sonic Mini 8K: The Phrozen Sonic Mini 8K is a super precise resin 3D printer. With an 8K LCD screen, this MSLA resin 3D printer can achieve insane levels of detail on prints, much more so than any FDM 3D printer, making it perfect for printing heavily-detailed LEGO models.
For more 3D printers that work perfectly for 3D printing LEGOs, check out our article all about the topic!
3D Printing VS Buying Legos
To buy or to build, that is the question! In today’s market, 3D printing your own LEGOs is a much more economical decision because LEGO sets have gotten much more expensive over the past few years.
However, 3D printing your own LEGOs takes a good bit of time and effort. Most LEGO prints take at least an hour or two, and that might be time you don’t have or aren’t willing to give up. Plus, 3D printed LEGOs, despite your best attempts to make them look nice, will never be real LEGOs and can’t be sold on external platforms (e.g. eBay). Because of this, in some scenarios, buying LEGOs makes more sense!
Conclusion
Overall, 3D printing your own LEGOs is a great idea if you love LEGO sets but don’t have a million dollars to spend on official LEGO pieces, especially the rarer ones.
Luckily, there are thousands of LEGO models available for free online, which you can download, slice, and 3D print at home! The total cost of printing will be much less than buying them in a store. Plus, 3D printing your own LEGOs can be a fun family project and tunes your DIY skills!
If you want to 3D print LEGOs, it’s important that you figure out your specific machine’s tolerances so that your 3D printed LEGO pieces fit real LEGO pieces. Additionally, post-processing 3D printed LEGOs, including sanding, priming, and painting them, can help make the pieces look just like the real ones!
Hope this helps!