

Easily one of the best parts about owning a Creality Ender 3 printer is the ability to upgrade it.
Because the machine is open-source and has a large community following, there are tons of available modifications and upgrades for the Ender 3 and its offspring, like the Ender 3 Pro and Ender 3 V2.
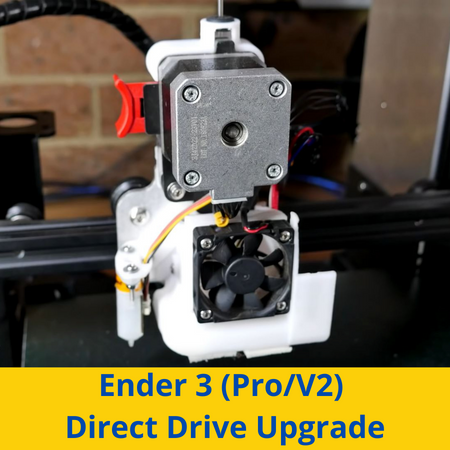
One of my favorite upgrades for the Ender 3 is a direct drive extruder. I own a handful of Ender 3 printers and have upgraded a few of them to a direct drive extruder over the years, and I love the results.
With a direct drive extruder (instead of the stock Bowden extruder configuration), you can easily print flexible filaments like TPU filament. Plus, direct drive extruders provide more accuracy in the extrusion process.
Perhaps the easiest way to upgrade the Ender 3 to a direct drive system is using a kit, such as the Micro Swiss Direct Drive Extruder kit. But you can also make this upgrade using a collection of self-sourced parts, including 3D printed brackets.
Want to learn more about the Ender 3 direct drive upgrade and how it can benefit you? Well, then, just keep reading!
Table of Contents
What is Direct Drive?
The term “direct drive” means that a 3D printer’s extruder is placed directly above the hot end assembly (where the nozzle is).
When an extruder is placed above the hot end, we call it a direct drive extruder or a direct drive extruder configuration. However, the extruder assembly itself isn’t necessarily different from a Bowden-drive extruder, which is the other type of extruder configuration (found on the stock Ender 3 [Pro/V2]).
Why Upgrade to Direct Drive?

The main reason you should upgrade your 3D printer to direct drive is if you want to print with flexible filaments, like TPU. Moreover, while flexible filaments can (technically) be printed on a Bowden-drive printer, like the stock Ender 3 (Pro/V2), the print quality will be very poor. That’s because flexible filaments tend to stretch when in a PTFE tube (in Bowden-drive printers), hurting the printing performance.
Another reason you might want to upgrade your Ender 3 to direct drive is for the improved extrusion accuracy and reduced stringing. Because the extruder is very close to the hot end in a direct drive system, there’s less room for error, and the extrusion process is a lot more accurate. As such, you can expect higher-quality prints, with less over or under-extrusion, with a direct drive extruder.
Plus, if you have a direct drive extruder, you can use a lower retraction distance in your 3D slicer while still achieving less stringing on prints than with a Bowden-drive extruder.
What You’ll Need
While there are many ways one can turn an Ender 3 (Pro/V2) into a direct drive printer, I’ve found the easiest and the least expensive option is to use the existing motor and move it so that it’s directly over the hot end. In the sections below, I’ve gone over what exactly you’ll need to make this upgrade.
1. Motor Bracket

For this upgrade tutorial, the most important part you’ll need is a motor bracket. This bracket will attach to your Ender 3’s printhead and will be the new location for your printer’s extruder stepper motor.
The easiest way to get a bracket like this is by 3D printing it, as there aren’t many purchasable options for this type of part because it’s a niche area. Thanks to the large community behind the Ender 3 (Pro/V2), there are many different direct drive brackets online that fit the Ender 3 to choose from.
For the original Ender 3 and Ender 3 Pro, I recommend using the Ender 3 Direct Drivinator from Thingiverse. And, if you have an Ender 3 V2 because the printhead carriage is slightly different, you should use a bracket like this V2-specific option from Thingiverse.
When printing the brackets, I recommend using a high infill density and a large layer height (0.2+ mm) when printing the bracket to make it as strong as possible. Remember: the stronger it is, the longer it will last on your printer!
2. Stepper Motor Extension Cable

As we’re moving the extruder stepper motor to a new position, further away from the motherboard, you’ll also need an extension cable for the motor. Any 6-to-6 pin (with 4 wires) should work, such as this Chinese option on Amazon (smallest length).
However, when you get the cable, double-check the internal wiring so you know all the wires are matched up to the right pins. While it’s rare, some users have received stepper motor cables with mismatched wires.
Also, if you know how to solder and have some spare wire, then you don’t even have to purchase an extension cable at all. You can just cut the existing wires and solder the extension pieces on to make the cable longer.
3. Tools
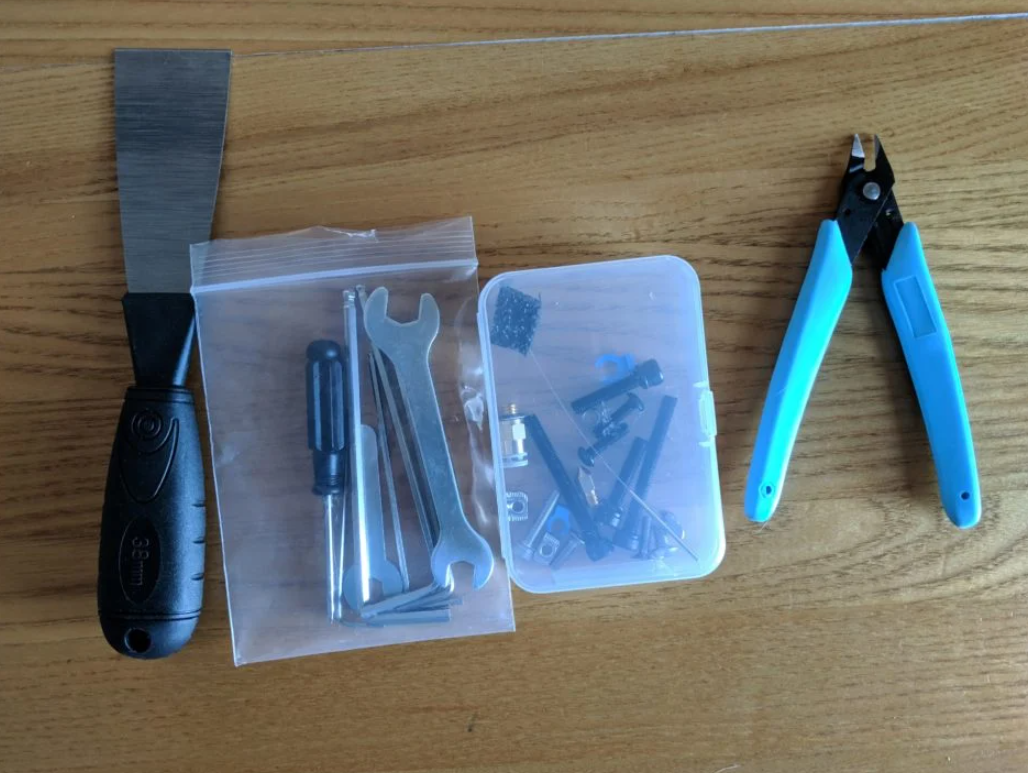
Next, you’ll need the tools that should have come with your Ender 3 (Pro/V2), as we’ll use these to disassemble the stock extruder and printhead assemblies as well as install the new hardware.
If you don’t have the original tools that came with your printer, just make sure you have a full set of Allen keys, the two-sided spanner wrench for the Ender 3, and a pair of pliers, just in case.
Alternative: All-in-One Printhead

As I mentioned, this article is for making the Ender 3 direct drive using as much of the original hardware as we can. However, an alternative method for making this upgrade is to replace the printhead and extruder entirely with an all-in-one option like the E3D Hemera or the Creality Sprite.
These “all-in-one” options are printheads that have the hot end, nozzle, extruder motor, and extruder assembly all under one roof, in one assembly. They’re a lot more compact than using a motor bracket, and they also tend to achieve a better print quality than using the original hardware. However, as you might expect, they’re also a lot more expensive.
So, while the rest of this article is meant for those upgrading their Ender 3 (Pro/V2) to direct drive using a 3D printed motor bracket, note that this is another path you can take.
Installation
Now, let’s get to installing your Ender 3 direct drive upgrade. In the steps below, I’ve gone over the exact steps for making your Ender 3 (Pro/V2) direct drive using the hardware described in the previous sections.
Preparation
Before we start the Ender 3 direct drive upgrade process, you should remove the filament from your printer and shut off your machine completely.
Step #1: Disassemble Extruder

The first thing we need to do for this upgrade is to disassemble the extruder assembly. You’ll find the extruder assembly (should be red or black) in the back-left of your printer, mounted to the X-axis gantry.
With the appropriate Allen key, unscrew the four bolts holding the stepper motor (on the lower half) to the extruder assembly (on the upper half). Make sure you keep a hand under the motor because, once that last bolt is loose, the motor will fall down (and it’s pretty heavy).
Unplug the stepper motor cable from the extruder stepper motor and install the extension cable to the end of the original stepper motor cable. Don’t plug the cable back into the motor yet, though.
Now, place the cable, the extruder stepper motor, the extruder assembly, and the four bolts you removed to the side.
Step #2: Disassemble Printhead
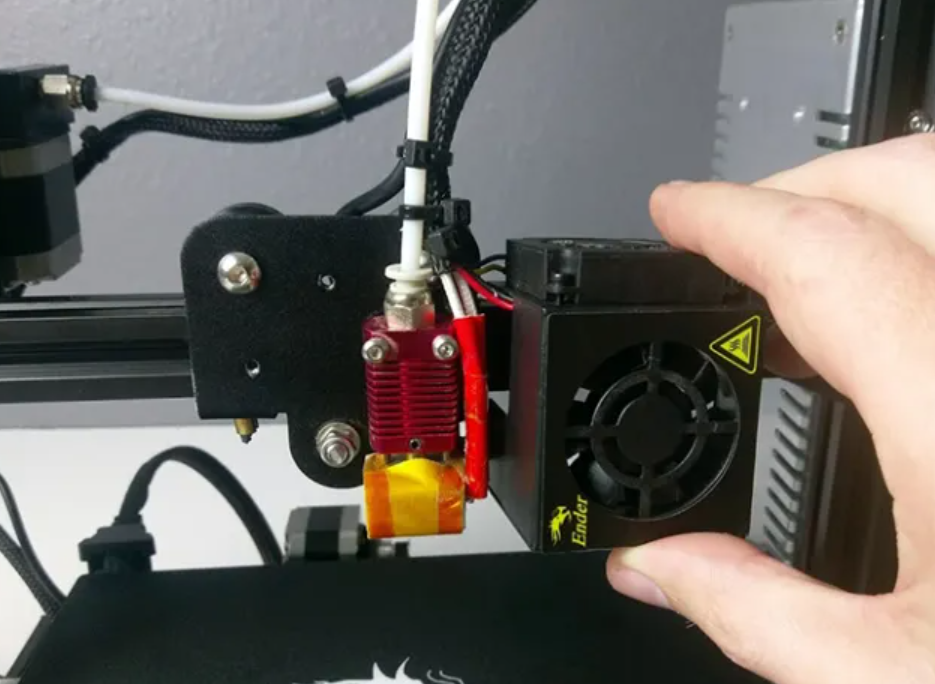
Now that we’ve got the extruder disassembled, we need to disassemble the printhead so that we can fit the motor bracket in the right spot. To do this, start by removing the two screws (only one for the Ender 3 V2) that hold on the hot end shroud. Once you pop the shroud off, you can let it hang by the fan wires or try to leave it on the X-axis gantry.
Next, loosen the two bolts at the top of the printhead carriage using the appropriate size Allen key for the front side and the two-sided spanner wrench for the back. The bolt won’t loosen unless you apply force to both the front and back sides!
Once loose, carefully take out the nut, then the bearing wheel, and finally, the spacer from each bolt. Then, take out both of the bolts, and set all of these pieces to the side.
Step #3: Fit Bracket on Printhead
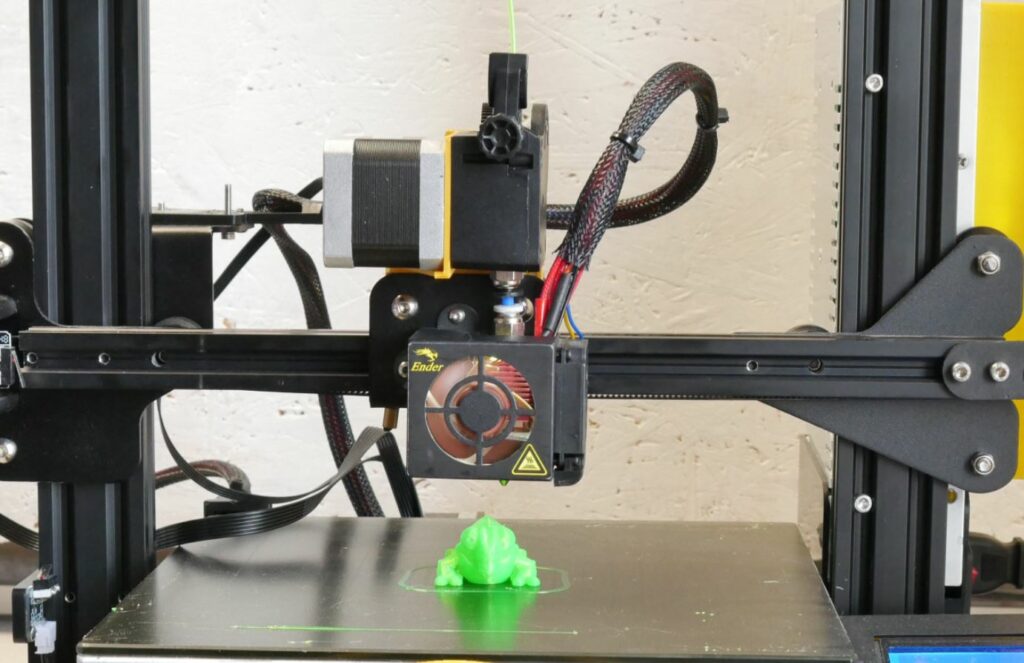
Now, it’s time to fit the motor bracket on the printhead assembly. Start by taking your 3D printed bracket and fitting it around the printhead carriage. Make sure it’s properly oriented, too; you can use the image below as a reference (minus the motor + extruder assembly):

Next, reinstall both of the bolts by pushing them through the printhead carriage and out the 3D printed bracket. Next, slide one of the bearing wheels onto each bolt, and finally, add the nut. We won’t need the spacers because the 3D printed bracket is acting as the spacer.

Finally, tighten the nut so that the assembly is properly secure, but the bearings can still roll freely.
Step #4: Attach Motor to Bracket
Next, we need to attach the motor to the bracket. I’ve provided another reference image below so you can have something to go off of besides just words, but I’ll still do my best to explain it.
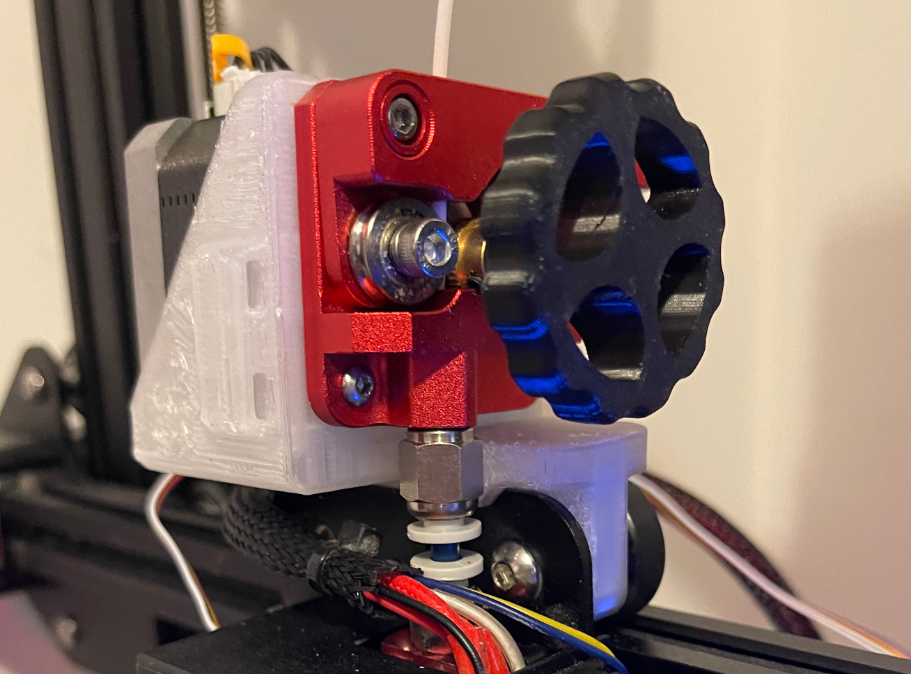
I’ve found that the easiest way to attach the extruder motor and assembly to the bracket is by starting with the assembly. Moreover, carefully pick up the extruder assembly you placed to the side earlier and line it up with the four holes on the 3D printed bracket. Remember, you want the PTFE coupler to be pointing down toward the hot end.
On this note, make sure (unlike the image) that there isn’t any PTFE tubing attached to your extruder. We’ll do that part later.
Next, slowly push each of the four bolts that you removed earlier through the extruder assembly and out the holes of the 3D printed bracket. You might have to tap the 3D printed bracket by using an Allen key to screw the bolts through the part. Don’t worry, though, as this isn’t too difficult.
Once all four bolts are through the extruder assembly and the 3D printed bracket, pick up your motor, and line it up its four screw holes with the four bolts. Make sure the motor is oriented so that the cable port is pointing upwards (away from the nozzle).
Then, gently push the motor towards the screws and, with the right Allen key, slowly screw in the bolts from the extruder assembly side so that they go into the screw holes on the motor. Eventually, everything will be tight and secure; try not to overtighten the bolts, though, as this could cause the 3D printed bracket to break.
Step #5: Complete Installation

Next, remove the hot end assembly from your printhead carriage by unscrewing the two bolts holding it on. Then take your old line of PTFE tubing and cut off a strand of about 80 mm. Then push the PTFE tube strand down the hot end’s PTFE coupler until it stops at the nozzle.
After that, take the hot end and push the remaining PTFE tube into the extruder’s PTFE coupler. 80 mm should be just enough, but you might have to go down to 75 or 70 mm, depending on what bracket you use.
Once you’ve got the right length, though, screw the hot end back on!
Finally, connect the stepper motor cable to the port on the motor.
And that’s it! You’ve successfully upgraded your Ender 3 (Pro/V2) to direct drive extrusion! Now you can peacefully print flexibles and benefit from accurate extrusion.
Direct Drive VS Bowden Extruder

The difference between a direct drive and a Bowden extruder (Bowden drive) is all about the placement of the extruder assembly in relation to the 3D printer’s hot end. Moreover, a direct drive system features the extruder placed directly above the hot end, while a Bowden extruder setup has the extruder separated from the hot end, with a PTFE tube (AKA a Bowden tube) connecting the two entities.

A Bowden extruder setup is typically less expensive than a direct drive system because direct drive extruders need to be lightweight so that they don’t limit the print speed of the 3D printer. That’s why you see a lot of budget 3D printers, like the Creality Ender 3, use Bowden extruders and not direct drive extruders.
As for performance, both Bowden and direct drive 3D printers can yield excellent prints, but direct drive setups are much better for printing flexibles. Additionally, direct drive extruder configurations are a lot better than Bowden setups when it comes to reducing stringing on prints. That’s because there’s less room for error between the extruder motor and the nozzle in a direct drive setup.

However, for beginners, Bowden extruders are preferable. That’s because they’re less compact, so they’re easier to work with, which is helpful for those just getting started with 3D printers.
Conclusion
So, if you want to print flexibles, are struggling with stringing on prints, or simply want to test out another upgrade on your Creality Ender 3 (Pro/V2), I strongly recommend making the Ender 3 direct drive upgrade!
Direct drive offers many benefits over the typical Bowden drive setup, including improved print quality for flexible filaments, lower retraction distance requirements, and more accurate extrusion.
And the upgrade is super easy, involving just two parts. Plus, the total cost of turning your Ender 3 (Pro/V2) direct drive costs anywhere from $0 to $10, which is very affordable considering the benefits direct drive brings!
Enjoy!
Related Articles: